Today I would like to talk about Masks.
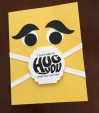
No, I don’t mean face masks as the cute card indicates. That was just fun to make. Although, I think we are all pretty tired of face masks, despite the good they do, I am not dwelling on that.
However, I do want to talk about masking when stamping. What is a mask you ask? Basically it is a way to cover up an area that you don’t want any ink on. There are several ways to mask something and I will provide you with a few examples here, but the possibilities are endless. Every crafter I know, will tell you that Post It Notes are our friend when it comes to masking. That little bit of Sticky makes the job easier as it allows you to move your mask around several times. The paper is very thin so it’s easy to stamp on without messing up your stamped images.

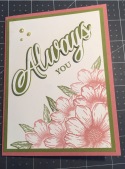
In this example I stamped a flower on my card stock then did the same with a Post It Note. After cutting out the stamped image on the post it note, I can now use that as a mask. By placing the mask over the flower it allows me to stamp another image without it overlapping my first stamped image. As you can see below, my mask is placed over the original stamp, and I am now able to stamp two smaller flowers. I also made masks of the smaller flower and continued to stamp, adding additional flowers and leaves. By using the masks the individual stamps do not overlap. As you can see on my finished card, there are multiple stamped images without any overlapping. The sentiment was from the Forever and Always Stamp Bundle and I have to say it is one of my favourite bundles.


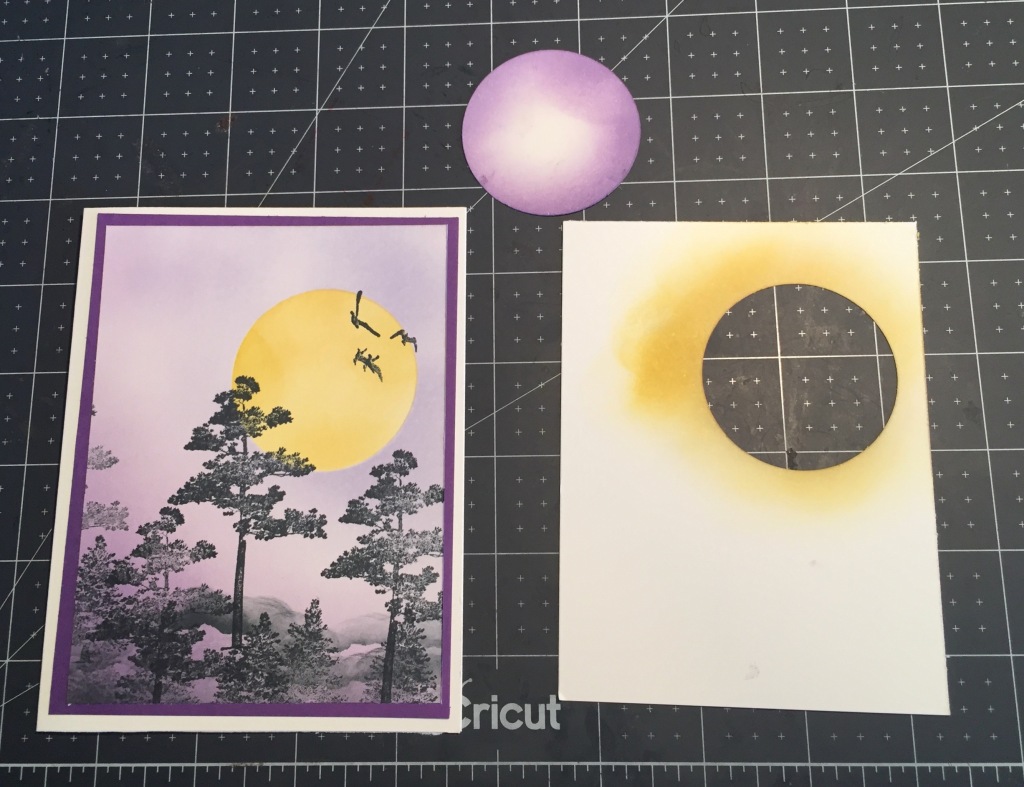
Another tpye of masking, which I have seen many, many times is a moon. In this example, I punched out a 2″ circle on a piece of card stock the same size as my card front. By placing this cutout over my card stock, only the circle is open for inking up. I then used my Blending Brushes to create my moon with a few different yellow’s for some interest. You can see below how the sponging shows on the mask but not the card stock. I then placed the circle cutout over the moon while I sponged the background colour over the rest of the card front. I also used a bit of torn paper along the bottom (another mask) to make some uneven ground cover. Once I was happy with that, I stamped my tree images from the Rooted in Nature Stamp Set on the card front. Of course adding a couple of birds from the Sailing Home Stamp Set flying in front of the moon just adds a little bit of added interest as well. The finished card includes the sentiment from the Forever Blossoms Stamp Set (another Favourite) along the bottom of the card so as not to interfere with the picture. I heat embossed the sentiment with silver and placed dimmensionals to make it pop up a bit (Heat embossing will be a tip for another day) I love how all the various stamp sets work so well together to create the final card.

My last example shows another type of mask. In this case I am blocking my cardstock and stamping around it. As you can see from the close up, I have stamped images above and below the mask, leaving the strip of card stock in between blank and protected.

Once this was completed, I coloured my flowers and leaves before removing the mask to protect against any slippage. My intention was to just stamp my sentiment in the blank space but it just looks too wide for my liking. I think next time, I will make the strip narrower. Oh well, plan B in action. I like to call it creative license. I created a mat to go across the card and stamped my sentiment on white before adding it to the card. The matting helps to make the sentiment piece just a little narrower and I am happy with the result.
My finished card has images from the Forever Blossoms Stamp set and the sentiment is from the Celebrate Flowers Stamp set. Again, I love how you can use different stamps to create a finished project.


As you can see, the March Paper Pumpkin kit includes a nice set of four stencils which in a way, is also a mask. It allows you to place the stencil over your card stock and by sponging over it, you will be able to create a beautiful background for your projects. Click here to subscribe before March 10th and it will be shipped free of charge right to your home.
The Kit contains enough supplies to create 8 cards—4 each of 2 designs, along with coordinating envelopes, printed card bases, die-cut paper pieces, embellishments, adhesive, and more!
Sale-a-bration ends in just 5 days so there is still time. For every $60.00 or $120.00 purchase from either the mini or the annual catalogue you can it’s still a great way to earn a FREE product from the Sale-a-bration brochure. Purchasing a 3-month pre-paid subscription is a wonderful way to experience Paper Pumpkin if you have never tried it before plus it will qualify for a free product. It doesn’t get better than that!
Well I hope you enjoy this post and maybe understand a little bit more about the various types of masking. I encourage you to try it and I would love to see what you come up with
As always, I welcome your feedback so please leave a comment or a suggestion for specific tips or techniques you would like to see. Better yet, like and follow my blog so you won’t miss out on future Helpful Tips, If you would like to be added to my email newsletter, please click here
Have a wonderful day and Happy Crafting!
Sue


