Making a unique card is always fun for me so today I decided to make a Triangle Fold Pocket card. It is so easy to make that I had to make a second one as well. Since you don’t need a lot of Designer Series Paper to make this card, it is a great way to use up some scraps as well.
To make this card
Score your card base at 4 1/4″ and fold and burnish the score line to create a good crease. Turn your card to landscape mode so the score line is at the top.

With a pencil and ruler, mark each side of the front of the card at 1 1/2″ down from the score line. Now mark another pencil mark along the bottom at the half way mark which is 2 3/4″. Now using your scoring tool or paper trimmer, score from the 1 1/2″ mark on the side down to the 2 3/4″ mark on the bottom. Repeat so both sides of the card front have the diagonal score line. Don’t forget to erase your pencil marks. Close your card and fold up the two score lines towards the top of the card, creasing with your bone folder. The two folds should line to create the triangle and this will create your pocket. How easy is that?
Optional: You can secure the pocket flaps with a small piece of washi or scotch tape on the top of the front flaps to hold them closed if desired but it’s not really necessary.
Take the 3 1/2″ x 3 1/2″ square of Designer series paper and cut it in half at a diagonal. Now cut one of the triangles in half again to create two smaller triangles. Add adhesive to the back of the larger triangle and apply it to the front of the two folded flaps. This will hold the flaps closed. At this point, if you want to you can add a strip of ribbon across the top of the flaps. Adhere the Basic White strip of card stock to the DSP strip then adhere to the card top just below the score line and above the pocket.
Tip: When cutting a triangle, place your cutting blade in the middle of the paper and cut towards the corners so you don’t crush the point of the DSP

Position the two smaller triangles to the bottom corners of your inside card stock, as shown. Stamp your greeting in between and then adhere your triangles. This way if you make an error, you can just flip it over and try again. Once you’ve done that, go ahead and adhere to the inside of your card.
Do as I say, not as I did. I wasn’t thinking at the time, and didn’t stamp my sentiment. If I mess it up, I will have to do some creative surgery to fix it.
To decorate the front of the card.
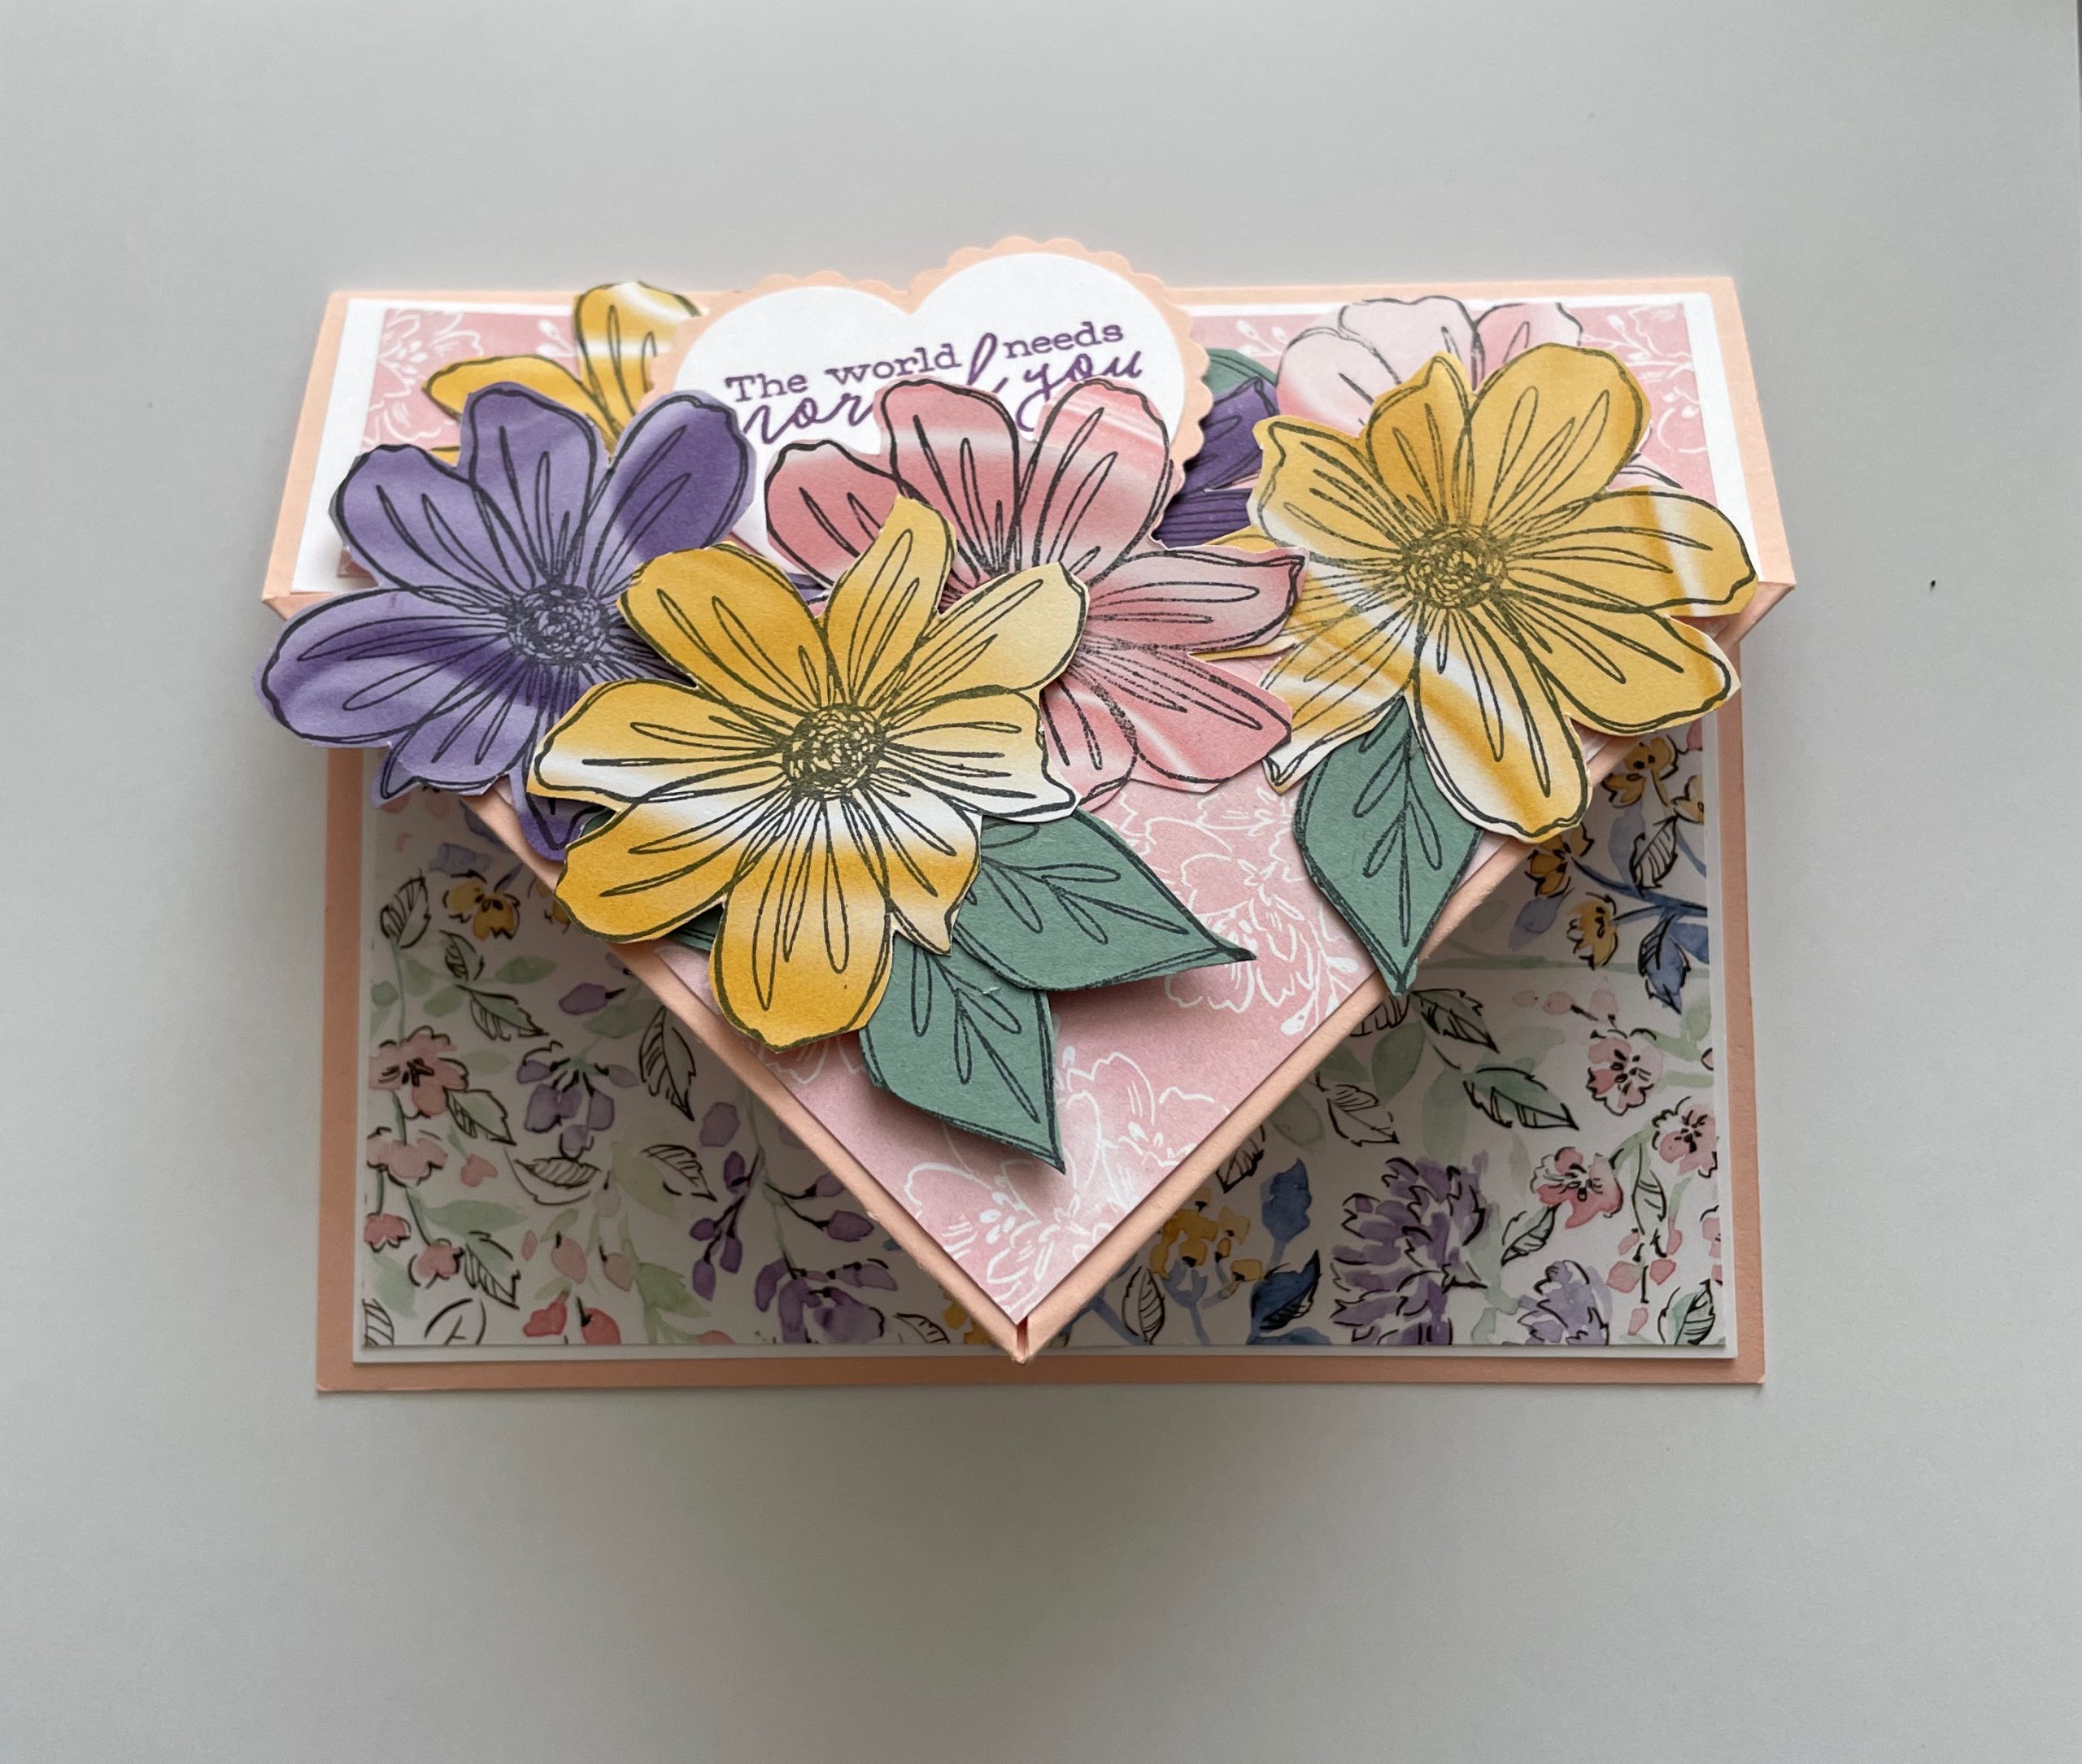
I chose to stamp flowers from the Art in Bloom stamp set several times on the Simply Marbleous designer series paper. I love how the variations of colour show on the flowers when they are cut out. For my card front, I cut out seven flowers. I also stamped 4 leaves from the same stamp set on a piece of Soft Succulent and cut those out as well.
I adhered the flowers and leaves to both the inside and outside of the pocket, taking care not to glue the pocket closed. I then punched out the hearts and stamped my sentiment before adhering to the inside of the pocket.

I seriously think the pocket would be perfect to insert a tea bag, a ghiraldi chocolate, a small wrapped cookie or a gift card for someone special. Below are two different looks using the same technique. The flowers on the right were coloured with blender pens but I really like how the flowers look on the left using the Simply Marbleous Designer Series Paper,


Supplies used
Pale Papaya Card Stock
- Card Base – 5 1/2″ x 8 1/2″
- Scrap for heart punch
Basic White Card Stock
- Inside card – 4″ x 5 1/4″
- card top – 1 7/8″ x 5 1/2″
- Scrap for heart punch
Hand Penned Designer Series Paper
- Front of card 3 1/2″ x 3 1/2″
- card top – 1 1/4″ x 5″
Scraps for stamping
- Soft Succulent Card stock
- Simply Marbleous Designer Series Paper
Stamp – Art in Bloom
Heart Punch Pack
Pencil and Ruler

Sale-a-bration is coming to an end on Feb 28th so that doesn’t leave you much time to grab those freebies.
FYI, I chose the Simply Marblebous paper as a free item and used some of it for the flowers on my card above and that is just one example of how to make it work for you.
There are so many ways to earn FREE STUFF but it all ends Feb 28th.
Check it out and if you have any questions, please contact me.
- For every $60 purchase, you choose ONE FREE $60 item from the Sale-a-bration brochure.
- For every $120 purchase, you choose ONE FREE $120 item or TWO FREE $60 items from the Sale-a-bration brochure.
- Join my team and become a demonstrator. For $135, you choose $165 worth of products PLUS ANY TWO FREE STAMP SETS from the mini or annual catalogues. That gives your a total value of over $200 for just $135.
- Purchase a 3 month prepaid Paper Pumpkin subscription and choose ONE FREE $60 item from the Sale-a-bration brochure.
- Purchase a 6 month prepaid Paper Pumpkin subscription and choose TWO FREE $60 items or 1 FREE $120 item, from the Sale-a-bration brochure.
- Purchase a 12 month prepaid Paper Pumpkin subscription and choose FOUR FREE $60 items or TWO FREE $120 items from the Sale-a-bration brochure.
Now that you’ve enjoyed this post…..
- Whenever you need crafting supplies, just CLICK HERE – You’ll be redirected to my Stampin’ Up! shopping page!
- Thank you for using my Current Host code RPRGXSXG when your order is under $200.00. All orders placed with me, will receive a gift from me as a thank you. I appreciate your support.
- Be inspired, CLICK HERE! to see even more crafting projects
- Shop the CLEARANCE RACK with discounts up to 60%
- Download The United Through Creativity Digital Download FREE from Stampin’ Up!
- Contact me to receive my Monthly Newsletter, CLICK HERE

Susan Beale
Independent Stampin’ Up! Demonstrator
Ontario Canada
Email: sjbeale@canadianstamper.com
- Website: www.canadianstamper.com
- Facebook: https:facebook.com/canadianstamper
- Instagram: www.instagram.com/canadianstamper


