Hi everyone, I have been really busy lately, making Christmas cards so I can get them all ready for mailing later this month.
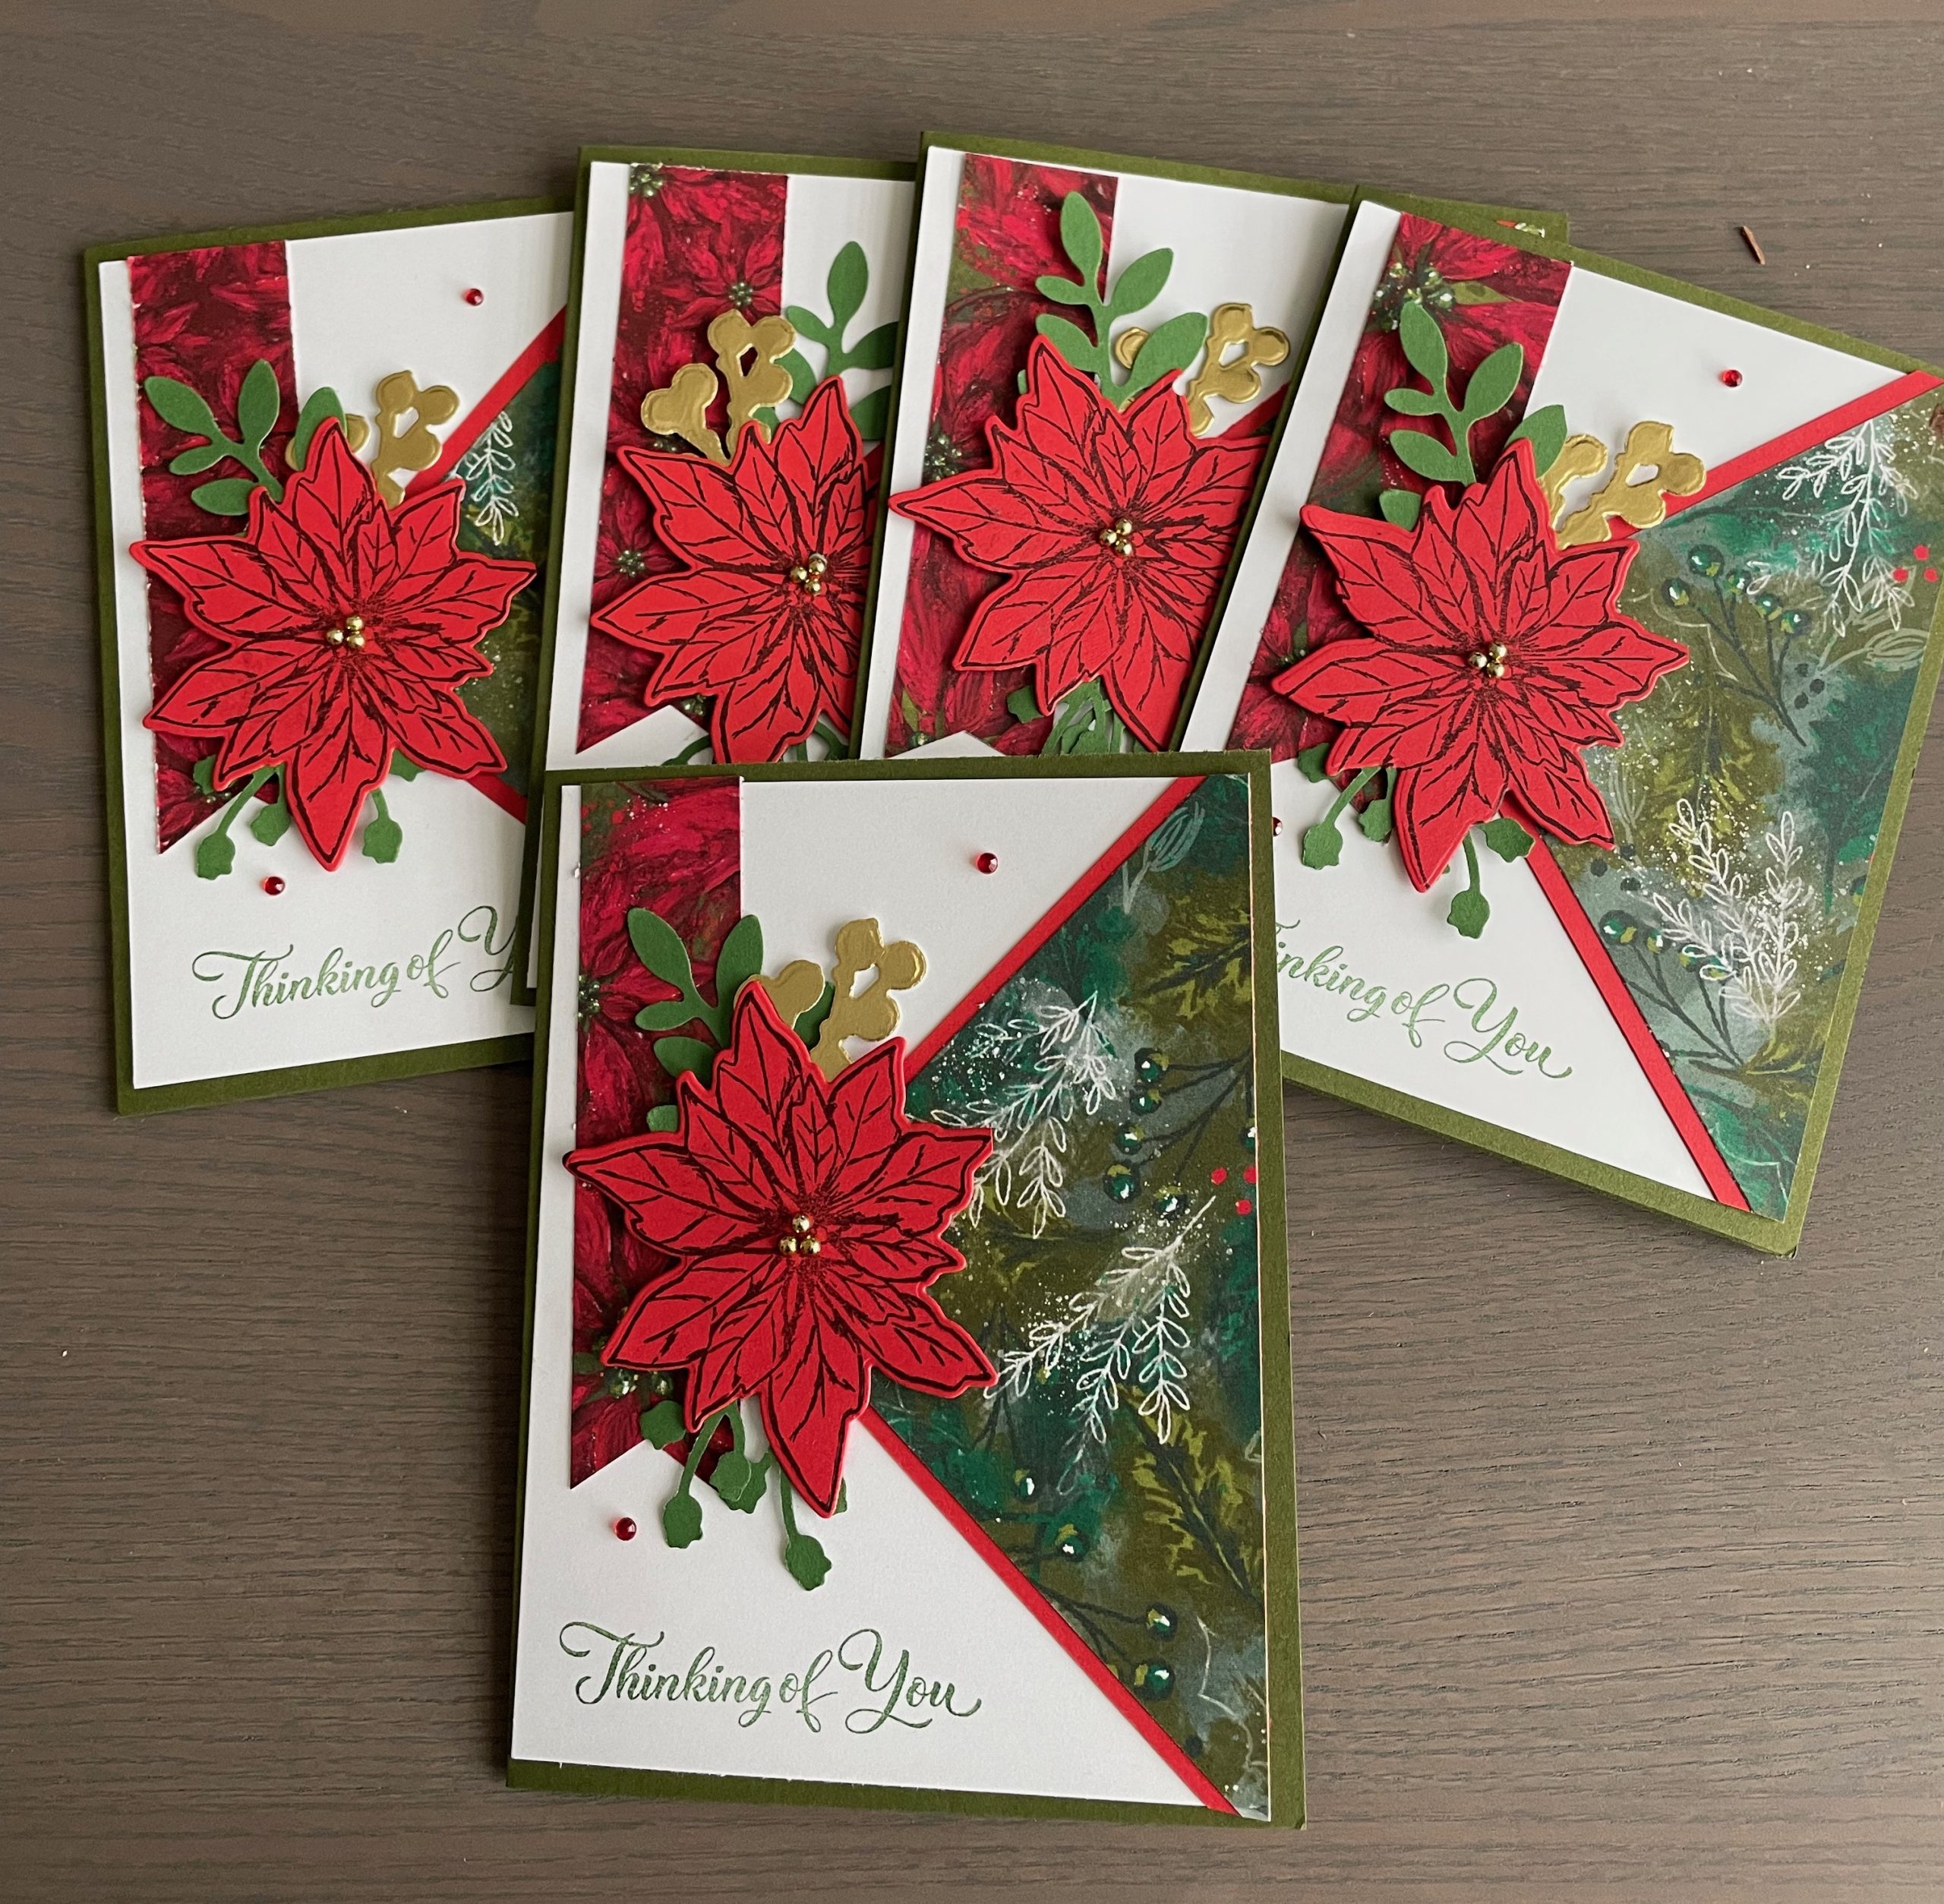
Today I would like to show you a set of cards I made using the Poinsettia Petals Stamp & die bundle and the lovely Boughs of Holly designer series paper. So let’s get started!
To make this card
Before making up the cards, I did the following ahead of time. It makes assembling your cards really easy and quick if you have everything all cut and ready ahead of time. Depending on how many cards you wish to make, you may want to make up several of each;
- Take the 4″ x 4″ piece of designer series paper and adhere to the 4 1/4″ x 4 1/4″ piece of Real Red card stock, Cut in half from corner to corner to make two triangles and set aside
- Stamp your floral image onto the scrap of Real Red and die cut it out and set aside.
- Punch out your leaves with the Boughs punch and die cut the gold floral image and set aside.
To assemble your card

First Stamp your sentiment onto the bottom left corner of the first piece of 4″ x 5 1/4″ piece of Basic White card stock. For my greeting I used the Garden Green ink pad.
This is also a good time to stamp your greeting for the inside as well so you can put away your ink pads.
Adhere your triangle pice of card stock as shown. Once adhered, flip it over and trim the end of the triangle off so it is flush with the card stock.
Take the strip of designer series paper and flag the bottom and adhere to the card front leaving approximately 1/4″ from the left side. It doesn’t matter if it overlaps the triangle piece since it will be hidden later. Make sure it is flush with the top and is short enough so it doesn’t cover your greeting. Trim if needed. You can see what I mean in the picture below.
Score your card base at 4 1/4″ and fold in half creasing with your bone folder. Adhere the card front to the card base.
For the floral image, I adhered the leaves and gold floral image to the back of my poinsettia. I then added dimensional’s to the back and adhered to the card front as shown.
For added bling, I added some gold festive pearls to the centre of my poinsettia and a couple of Red Rhinestone Basic Jewels to the card front.
As you can see, for the inside I stamped my greeting as well as a couple of poinsettia flowers in the corners. I had the stamp run off the card stock so you only see a portion of the floral image. I really like that look and use it often.


Crafting is not always perfect and sometimes, we have to get creative to hide those mistakes. However, this isn’t one of those times.
While assembling my cards, I forgot to add the flap on one of my cards.
I have to say that this is a pleasant mistake and I really like this card as well.
The inside is the same but the outside is a little brighter with more white showing. I am ok with that.
So, flap or no flap, which do you prefer?
Measurements
Mossy Meadow card stock
- 8 1/2″ x 5 1/2″ – card base
- Scrap – punching out leaves
Basic White card stock
- 4″ x 5 1/4″ – Cut 2
Real Red card stock
- 4 1/4″ x 4 1/4″
- Scrap – Approx 4 x 4″ – stamp and cut out poinsettia
Boughs of Holly Designer Series Paper
- 4″ x 4″
- 1′ x 4″ strip
Gold Foil
- Scrap – die cut floral image
Stamps
- Poinsettia Petals – Floral image & inside sentiment
- Go To Greetings – Sentiment on card front
Other
- Festive Pearls
- Red Rhinestones Basic Jewels
- Boughs Punch
You can purchase any of the supplies needed to make up these cards by visiting my ONLINE STORE. When shopping, please use my current Host Code – NNXZ6EGA before closing your order, if your order is under $200.00. If your order is over $200, do not use the host code as you will earn your own rewards. I appreciate your business so for anyone who shops with me, I will send you a gift and thank you card from me.
Product List
")
")
 Designer Series Paper")


While you are making your Christmas cards, don’t forget about making Christmas tags for all your gifts. This November, Paper Pumpkin delivers this and more with its one-of-a-kind, holiday-themed crafting experience. This festive kit includes 12 fun, sparkly gift tags and (as always!) an exclusive stamp set—plus everything you need for a successful holiday crafting experience. If you haven’t signed up for Paper Pumpkin, you can do so before Nov 10 to receive this kit. To sign up today, CLICK HERE and you will receive your kit later this month.

As a paper pumpkin subscriber, you can also purchase these cute little bags separately through my online store, as as an add on to your kit for just $4.00 which compliments the November Paper Pumpkin kit perfectly.
Add-On Includes:
* 12 food safe paper bags
* Bag size: 4″ x 6″ (10.2 x 15.2 cm)
* Crumb Cake with a festive design

They bags can be filled with treats to make up a cute thank you gift for someone such as a teacher or babysitter. You could also make them into an adorable gift to be set at each place setting around your holiday table. Who doesn’t love treats right? Any small gift or even a gift card can be added to this bag and tucked into your Christmas tree for an added surprise. So many possibilities.


