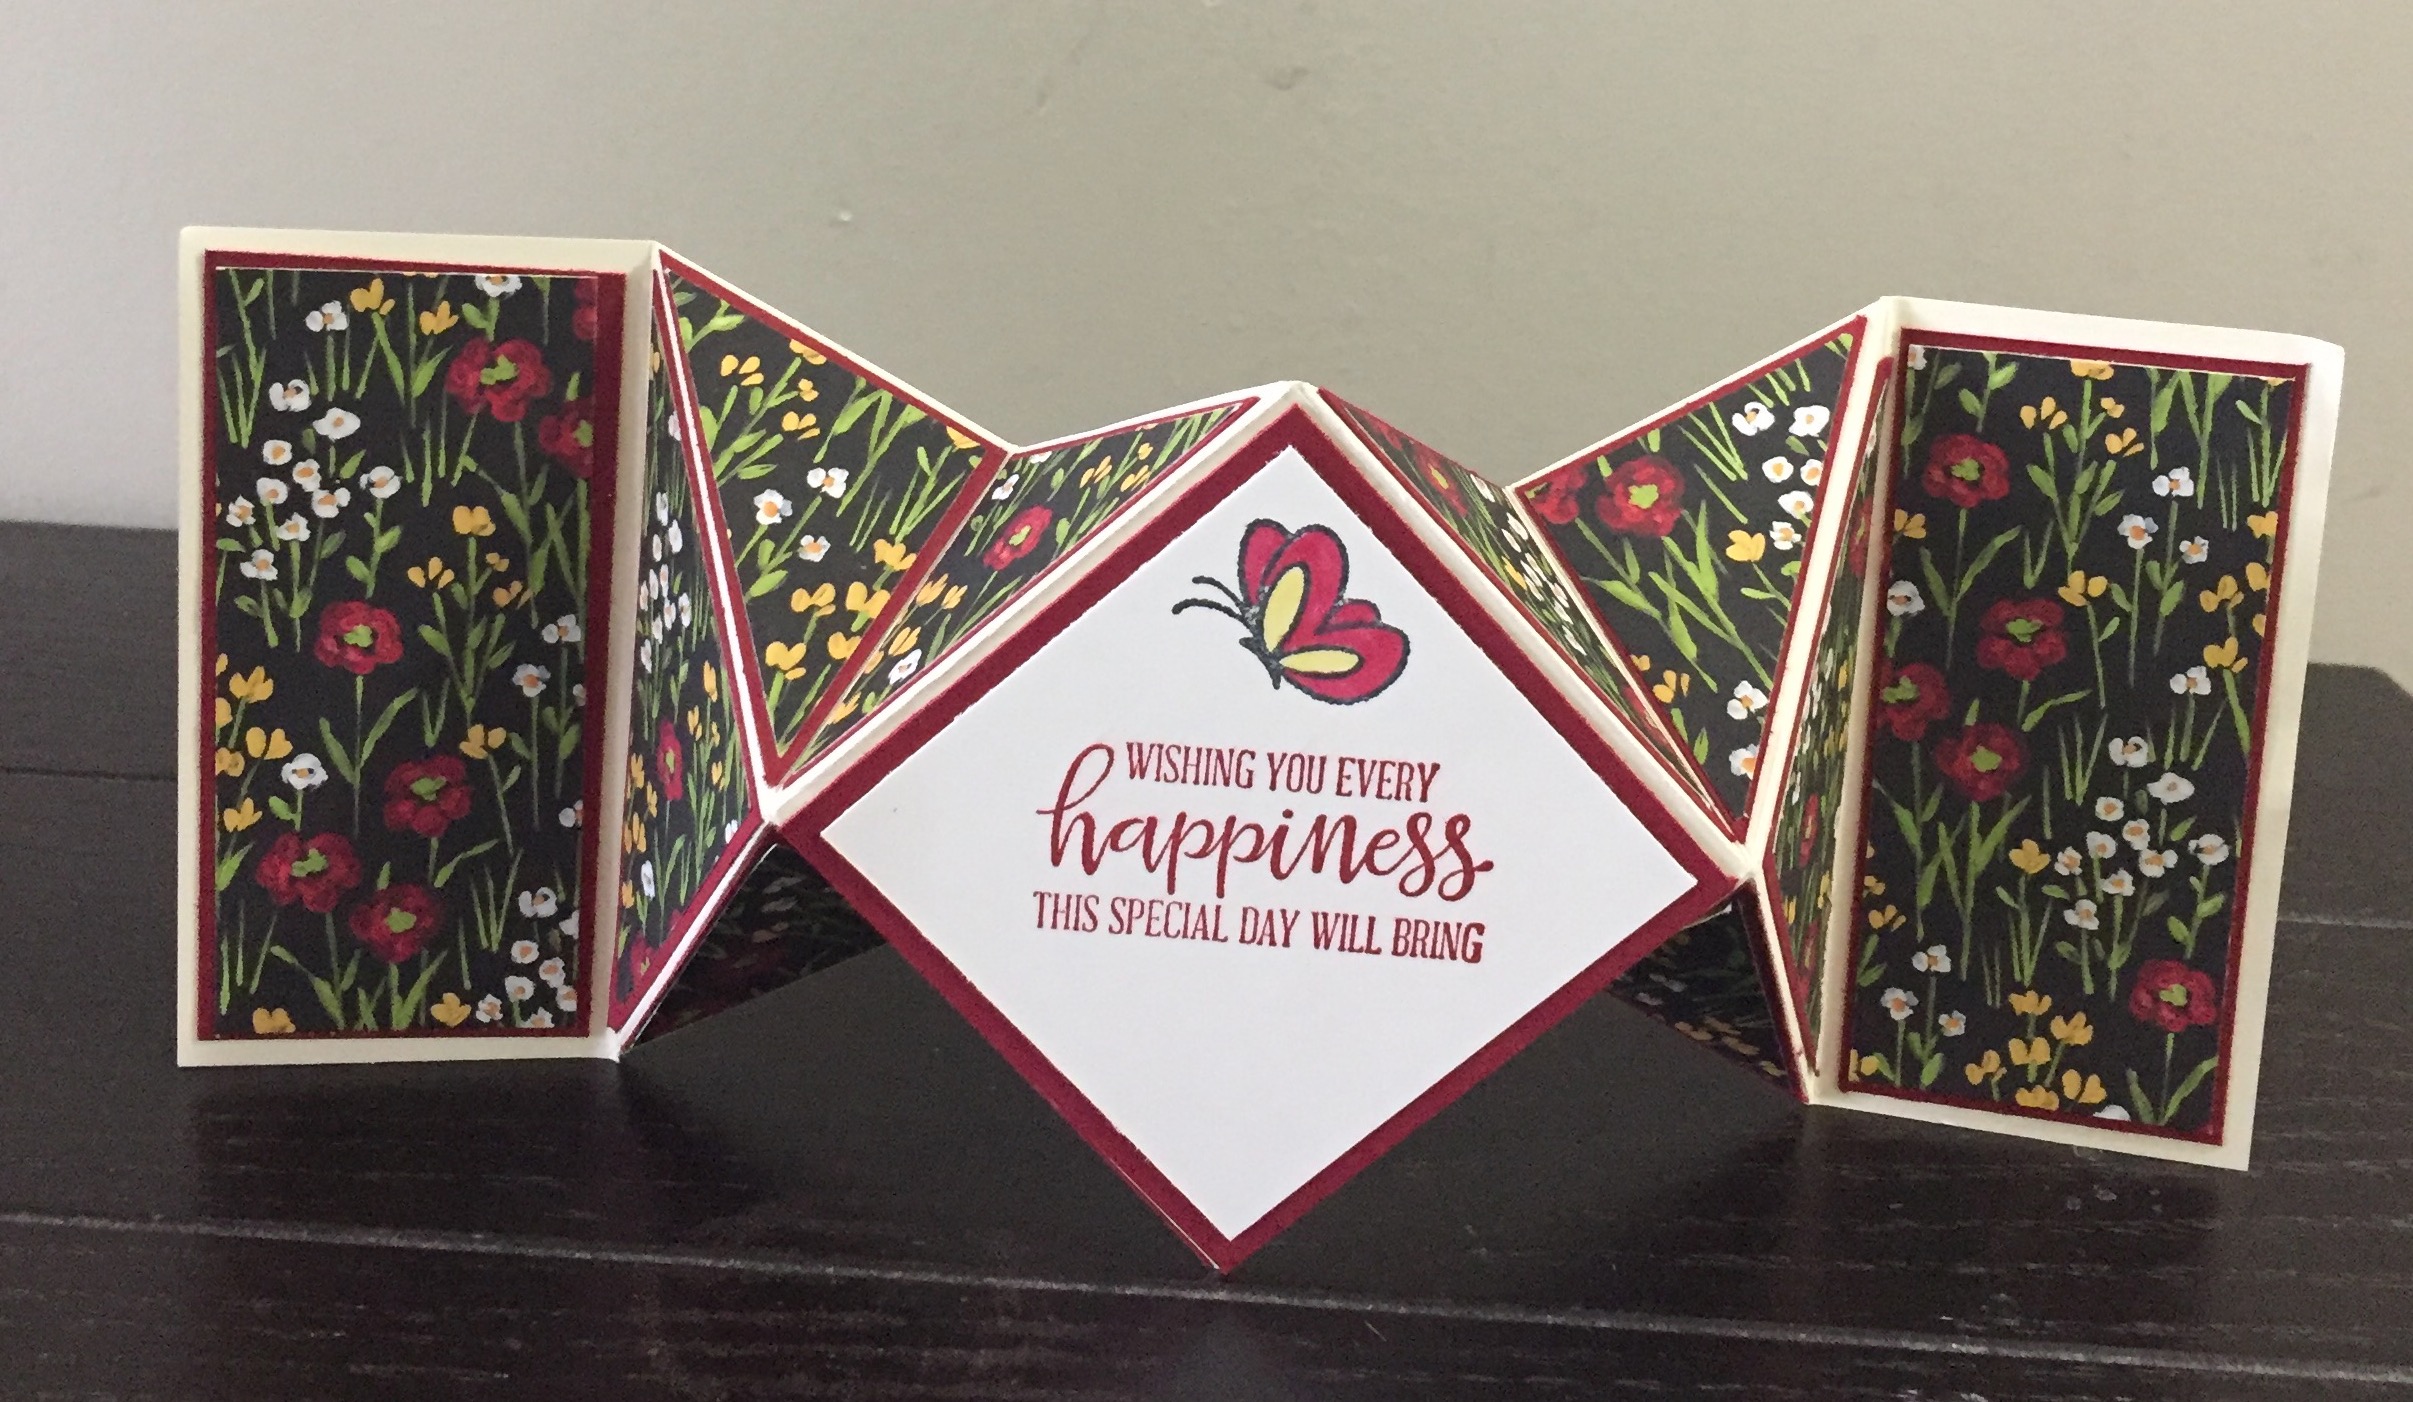
Today I would like to share with you a cute little card that is rather small in size at just 4″ square. I love how it looks, standing up on a table top.
Note: There is not a lot of room for sentiments on this card but you could replace the decorated panels with plain card stock and stamp a sentiment there.
To make this card;
- Start with a 12″ x 4″ piece of card stock. Heavy duty Designer Series Paper could also be used but I would not recommend the thinner Designer Series paper for this card because all the scoring and folding could tear the paper.
- Score the paper at 2″, 4”, 8” and 10″, along the long side.
- With a pencil, make a small mark at 6” on both the top and bottom of the paper.
- On the top of the paper, score a diagonal line from the first score line (2”) to the 6” pencil mark on the bottom of the paper. You can use your scoring tool or you can use your Take Your Pick tool with the large Stylist tip and a ruler to score the line. Flip the paper around so the bottom is now at top and repeat the scoring from the 2″ score lint to the 6″ pencil mark.
- Turn the paper around to the other end and repeat. You will now see the diamond shape on your card stock. Don’t forget to erase the pencil marks afterwards. Below is a diagram on your score lines. I marked them with a pencil so you can clearly see what it should now look like.
- Now, fold the two outside panels inward (valley fold) at the score line and burnish. Fold the two other vertical score lines outwards (Mountain fold). Fold all the diagonal score lines and burnish all folds with your bone folder to create a crisp crease. This will help to keep the card closed.
- Fold all the diamond fold lines inwards (gently pressing from the top and bottom) so you will have a diamond shape in the middle of your card with the side panels behind it. Crease all fold lines to help it lie flat.

TO DECORATE THE CARD;
If you are using Designer series paper, to make your card, you can let the paper be the decorations which makes for an even simpler card to make and then decorate the front diamond. Since I used card stock, I elected to decorate as follows;
For the Side Panels,
- First, adhere the panel mat and DSP together then adhere to the side panels
For the interior portion.
- Mat; On your first square, cut each square in half diagonally to create two triangles and set aside. (you will only need two of these
- Dsp: Repeat with the first square. (again, you will only need two of these)
- Adhere the two DSP triangles to the mats and then adhere to the large triangles on either side of the panels.
- NOTE: If you are using directional DSP, as I did, make sure the your triangles are facing in the correct direction before adhering. Lining them up before adhering will ensure you have a nice finished project.

For the Smaller Triangles
- Mat: With the second square, cut each square in half diagonally to create two triangles Now cut each triangle in half. You should now have four triangles. Now cut each of those in half for a total of 8 triangles.
- DSP – Repeat with the second Square
- Adhere all the triangle DSP’s to their corresponding mats. As you can see in the picture above, I lined up all the triangles to make sure the direction was correct before adhering to the card.
- It’s all starting to come together now, don’t you think?
FOR THE FRONT OF THE CARD
- Stamp you sentiment on the White card stock.
- Add any embellishments you want to make
- Adhere the card stock to the mat and then adhere to the front of the card. I didn’t use dimmensionals because this card is already bulky so I didn’t want to add to that.
- Optional: This card doesn’t really close on it’s own so you could wrap a piece of ribbon around the card as part of your embellishment to hold it closed. It will easily fit in an envelope though.
Supplies required
- Card Stock – 12″ x 4″ (Very Vanilla)
- Side Panels
- 1 ¾” x 3 3/4” Mat (Cherry Cobbler)
- 1 5/8” x 3 5/8” DSP (Field and Flowers)
- Interior (Cut two of each)
- MAT – 3 3/4” x 3 3/4” (Cherry Cobbler)
- DSP – 3 3/8” x 3 3/8” (Field and Flowers)
- Middle Diamond
- 2 3/4″ x 2 3/4″ Square Mat (Cherry Cobbler)
- 2 1/2″ x 2 1/2″ Square Card Stock (Whisper White)
Stamps
- Sentiment – Peaceful Moments
- Butterfly – Touched My Heart
I hope you have enjoyed this post, please like and follow my blog to see future posts. As always, I welcome your feedback so please leave a comment.
Would you like to be added to my email newsletter? please provide your contact information here
Have a wonderful day
Sue
Leave a Reply