Today I would like to share with you the Acetate Window Card. This beautiful card isn’t technically a fancy fold card but it’s a little different than a standard card which is why I am sharing it. Although you can make this card without the window sheet, your card will be a lot flimsier since you lack that added support.
To assemble this card
- First fold your card base in half and burnish with your bone folder to create a nice crease
- Line up your card base in your paper trimmer and cut your card front 1 1/2″ from the fold line.
- Take the piece you just cut off, and cut it at 1 1/4″ The remaining piece can be put aside to use on another project.
- Turn your card base around (horizontal) and place two glue dots on the inside top corners of the flap
- Lay down your window sheet piece on the inside of the card so it lines up with the bottom of the card then close the flap over it.
- Add glue dots to the second piece along the bottom and lay it over the bottom of the window sheet.
- Line up and stamp your sentiment on the Basic White card stock. You want to make sure it will show up through your window.
- Adhere to the inside of the card
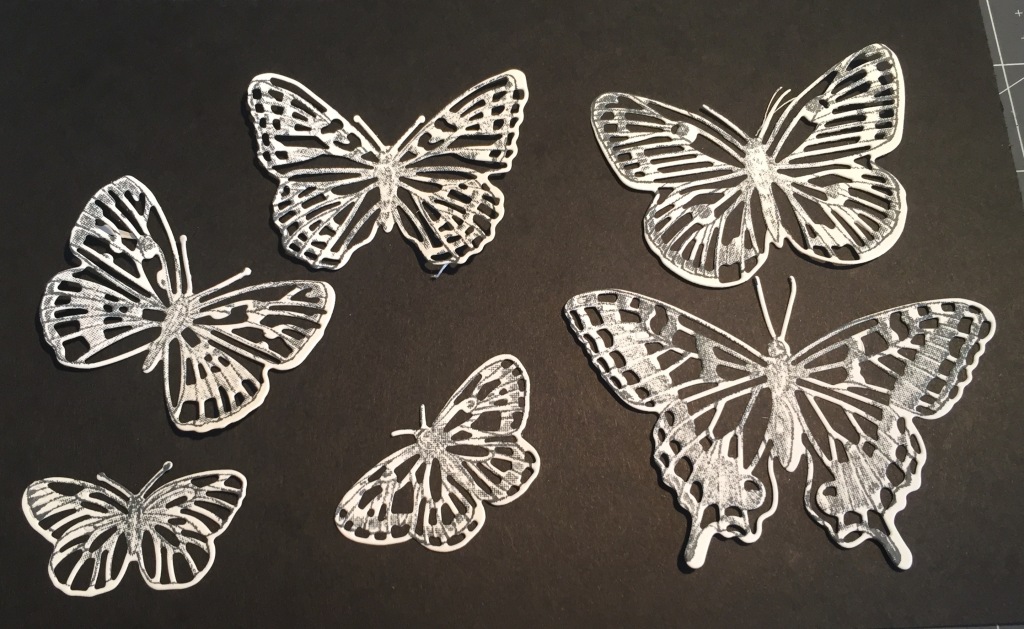
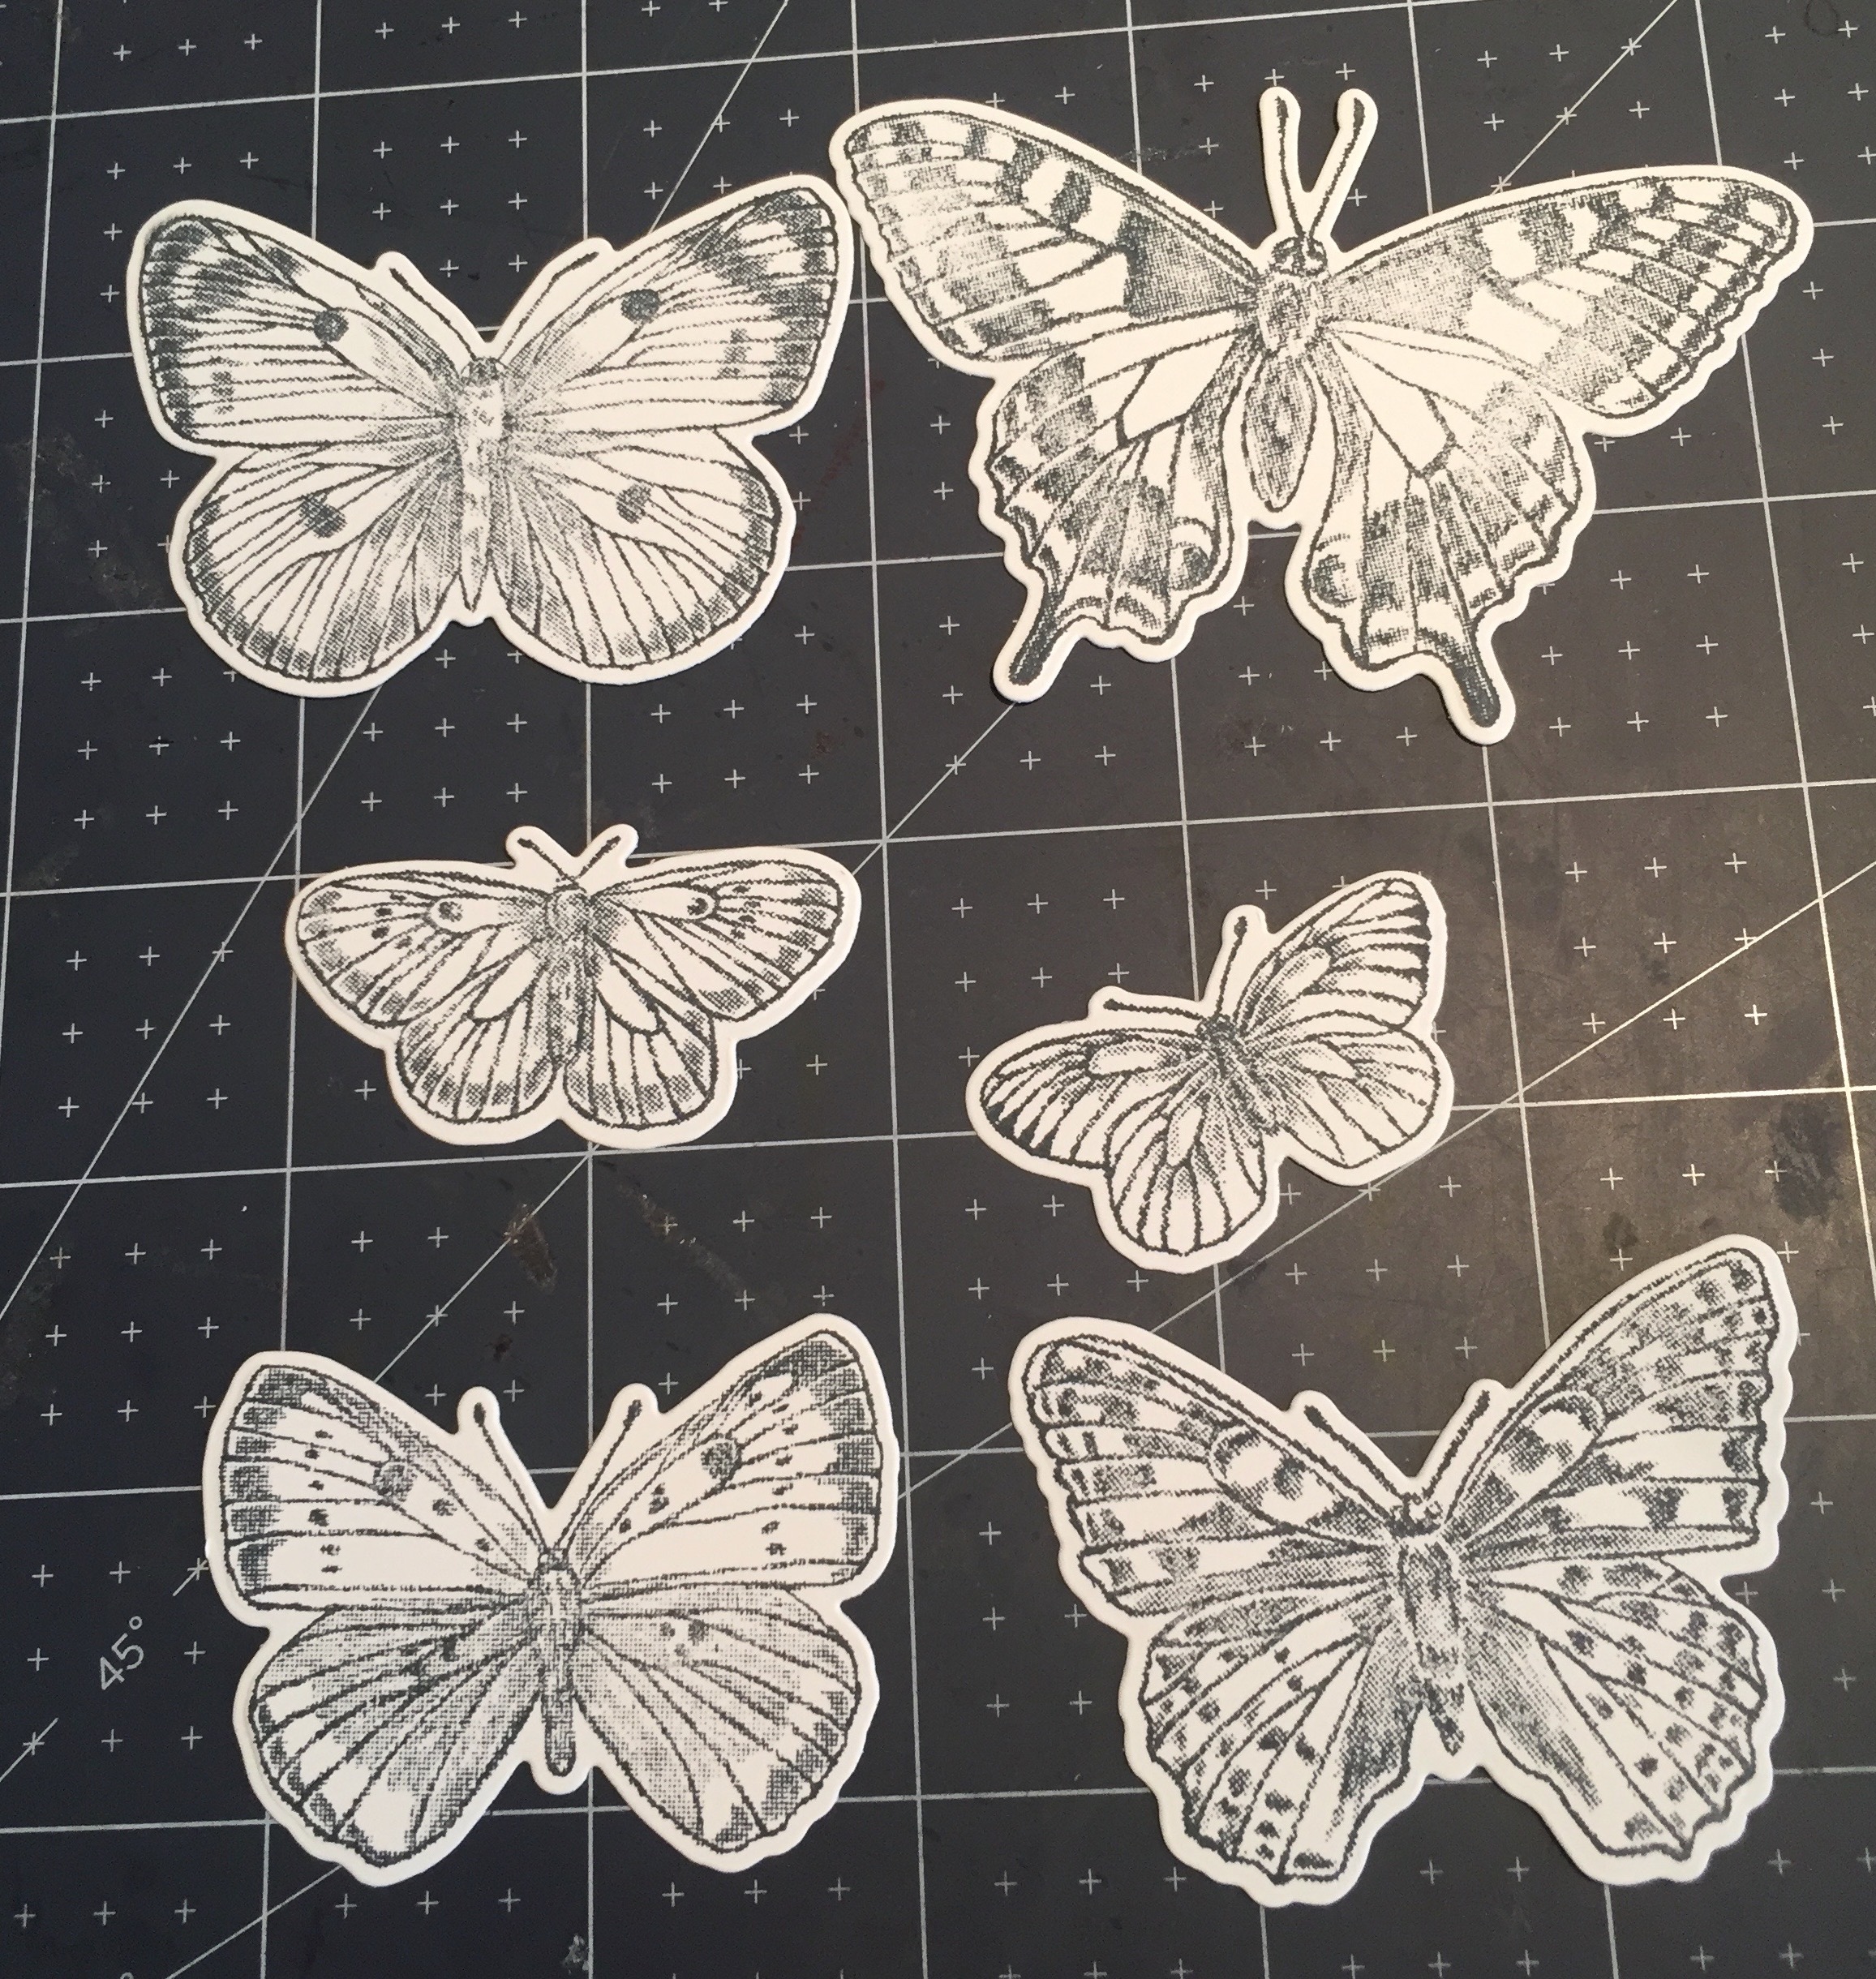
- Stamp your butterfly images on the scrap paper. Colour and die cut them out.
- Lay your butterflies over the front of the card so the touch both the top and bottom piece. Adhere the two butterflies to the top and bottom panels only. You do not want any glue on the window sheet portion.
- OPTIONAL: Cut two additional pieces of DSP and align them to the inside of the card at the top and bottom.
Below is my finished card. I elected to add DSP to the panels and then added a couple of butterflies to the inside of the card as well but this is optional


To Make this card you will need the following supplies;
- Basic Black Card Base – 8 1/2 x 5 1/2″
- Basic White Card Stock – 5 1/4″ x 4″ (inside the card)
- Basic White Card stock scrap for stamping the butterflies
- Acetate Window Sheet – 5 1/2″ x 4 1/4″
- True Love Designer Series Paper (DSP)
- 5 1/4″ x 1″
- 5 1/4″ x 1 1/4″
- Stamp/Die Set – Butterfly Brilliance Bundle
- Stamp Set – Celebrate Sunflowers (Sentiment)
- Ink – Tuxedo Black Memento
- Adhesives
- Glue Dots
- Stampin’ Seal

I also wanted to show you how beautiful the Butterfly Brilliance Bundle is. The Stamp/Die set is an early release stamp set for the new annual catalogue coming out in May. At first when I saw it, I wasn’t overly impressed with it but I purchased the bundle anyways.
OMG, I am now thrilled that I did. Not only does it come with one large stamp for all six butterflies but it comes with so many dies which makes crafting so much easier. Stamping these butterflies will make beautiful backgrounds on your card stock and they are actually modelled after butterfly species from around the world!
The stamp is a single stamp so will require the larger “F” block to accommodate it. However, you could also separate the butterflies by cutting up the stamp so you can use it on smaller blocks. It will make it a little trickier to cut them out using the single die but it’s doable.
To visit my online store and see all the beautiful products Stampin’ Up! has, click here. If you place an order through me, please use my March Host Code 3JTVASQ6 and you will be automatically be entered into my monthly draw.
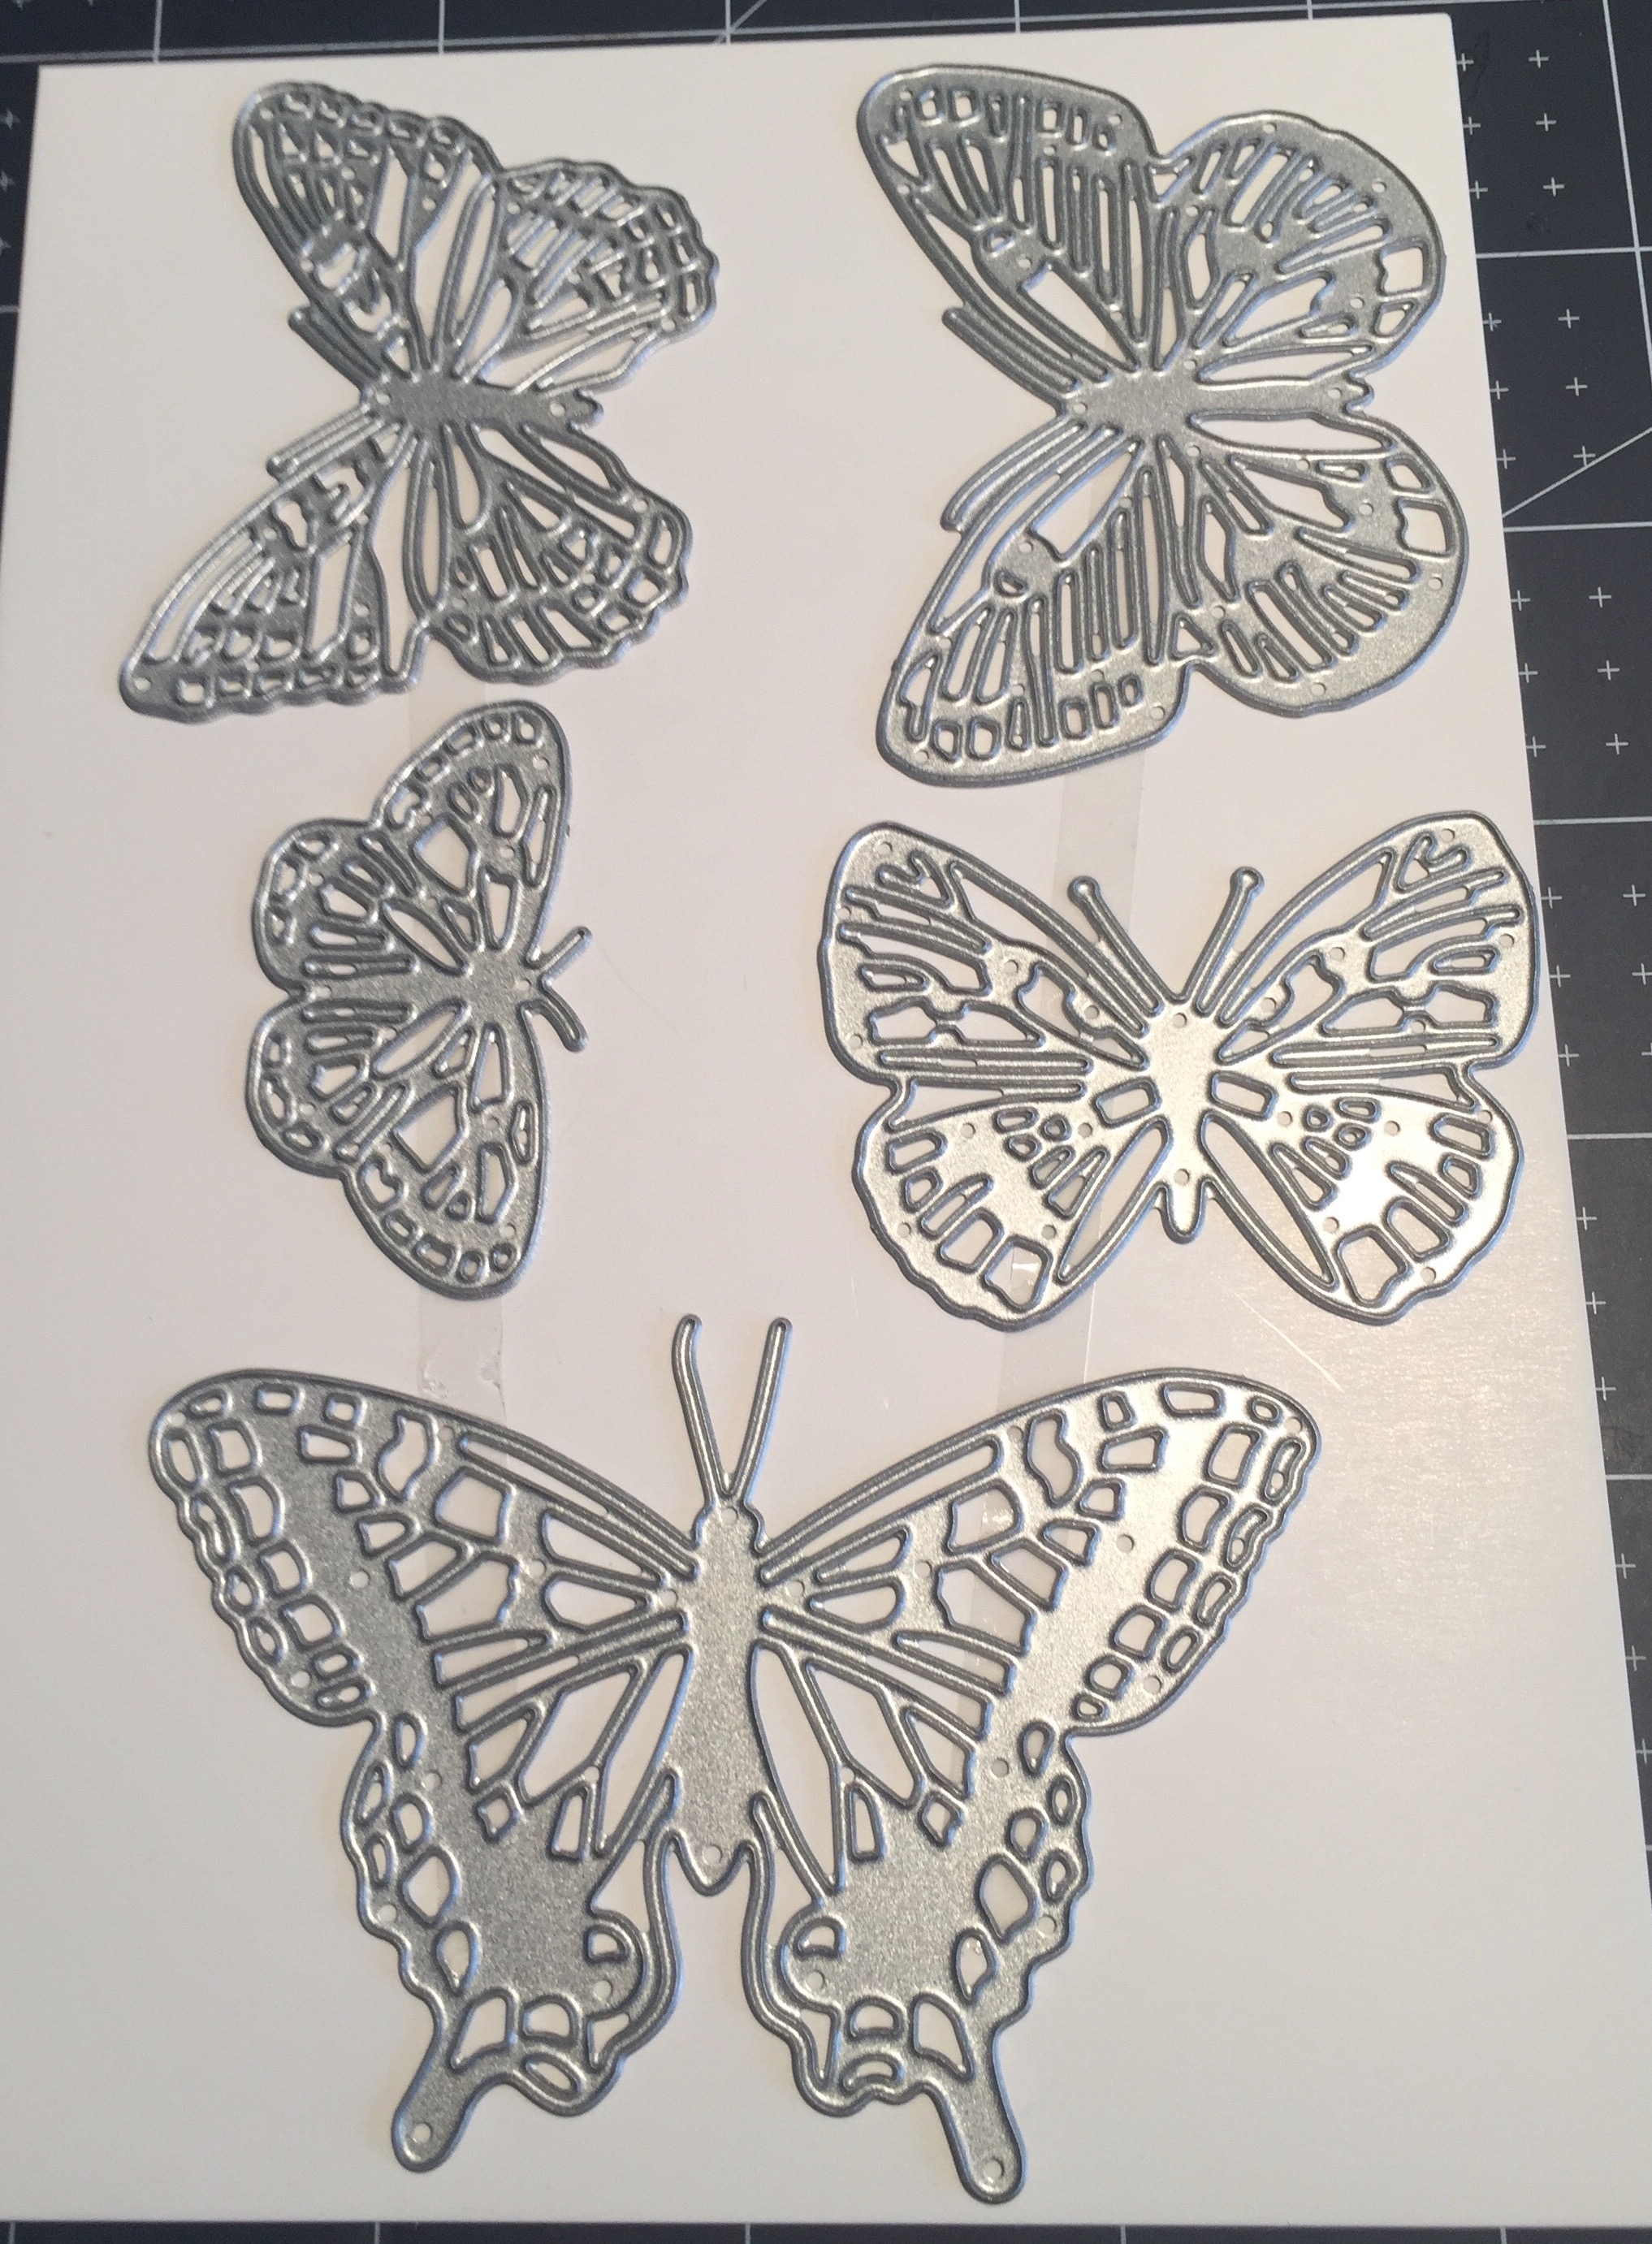


The individual dies cut out intricate butterflies, while the single large die cuts will cut out the outline of your stamped image. Depending on your project you have two options to choose from. How cool is that?
I really enjoy showcasing different cards and sharing techniques and as a Stampin’ Up! demonstrator, I always welcome new team members, regardless of your crafting experience. As a team, we get together to craft, share ideas and learn from each other while enjoying the social aspect of being on a team of like minded people. If you would like to join my team, please provide your contact information here and I will add you to my monthly newsletter.
I hope you have enjoyed this post and will give this window card a try. This card could be used with so many different images so your possibilities are endless.
As always, I welcome your feedback. Should you have any questions or comments, please leave me a comment and I will get back to you ASAP!
Leave a Reply