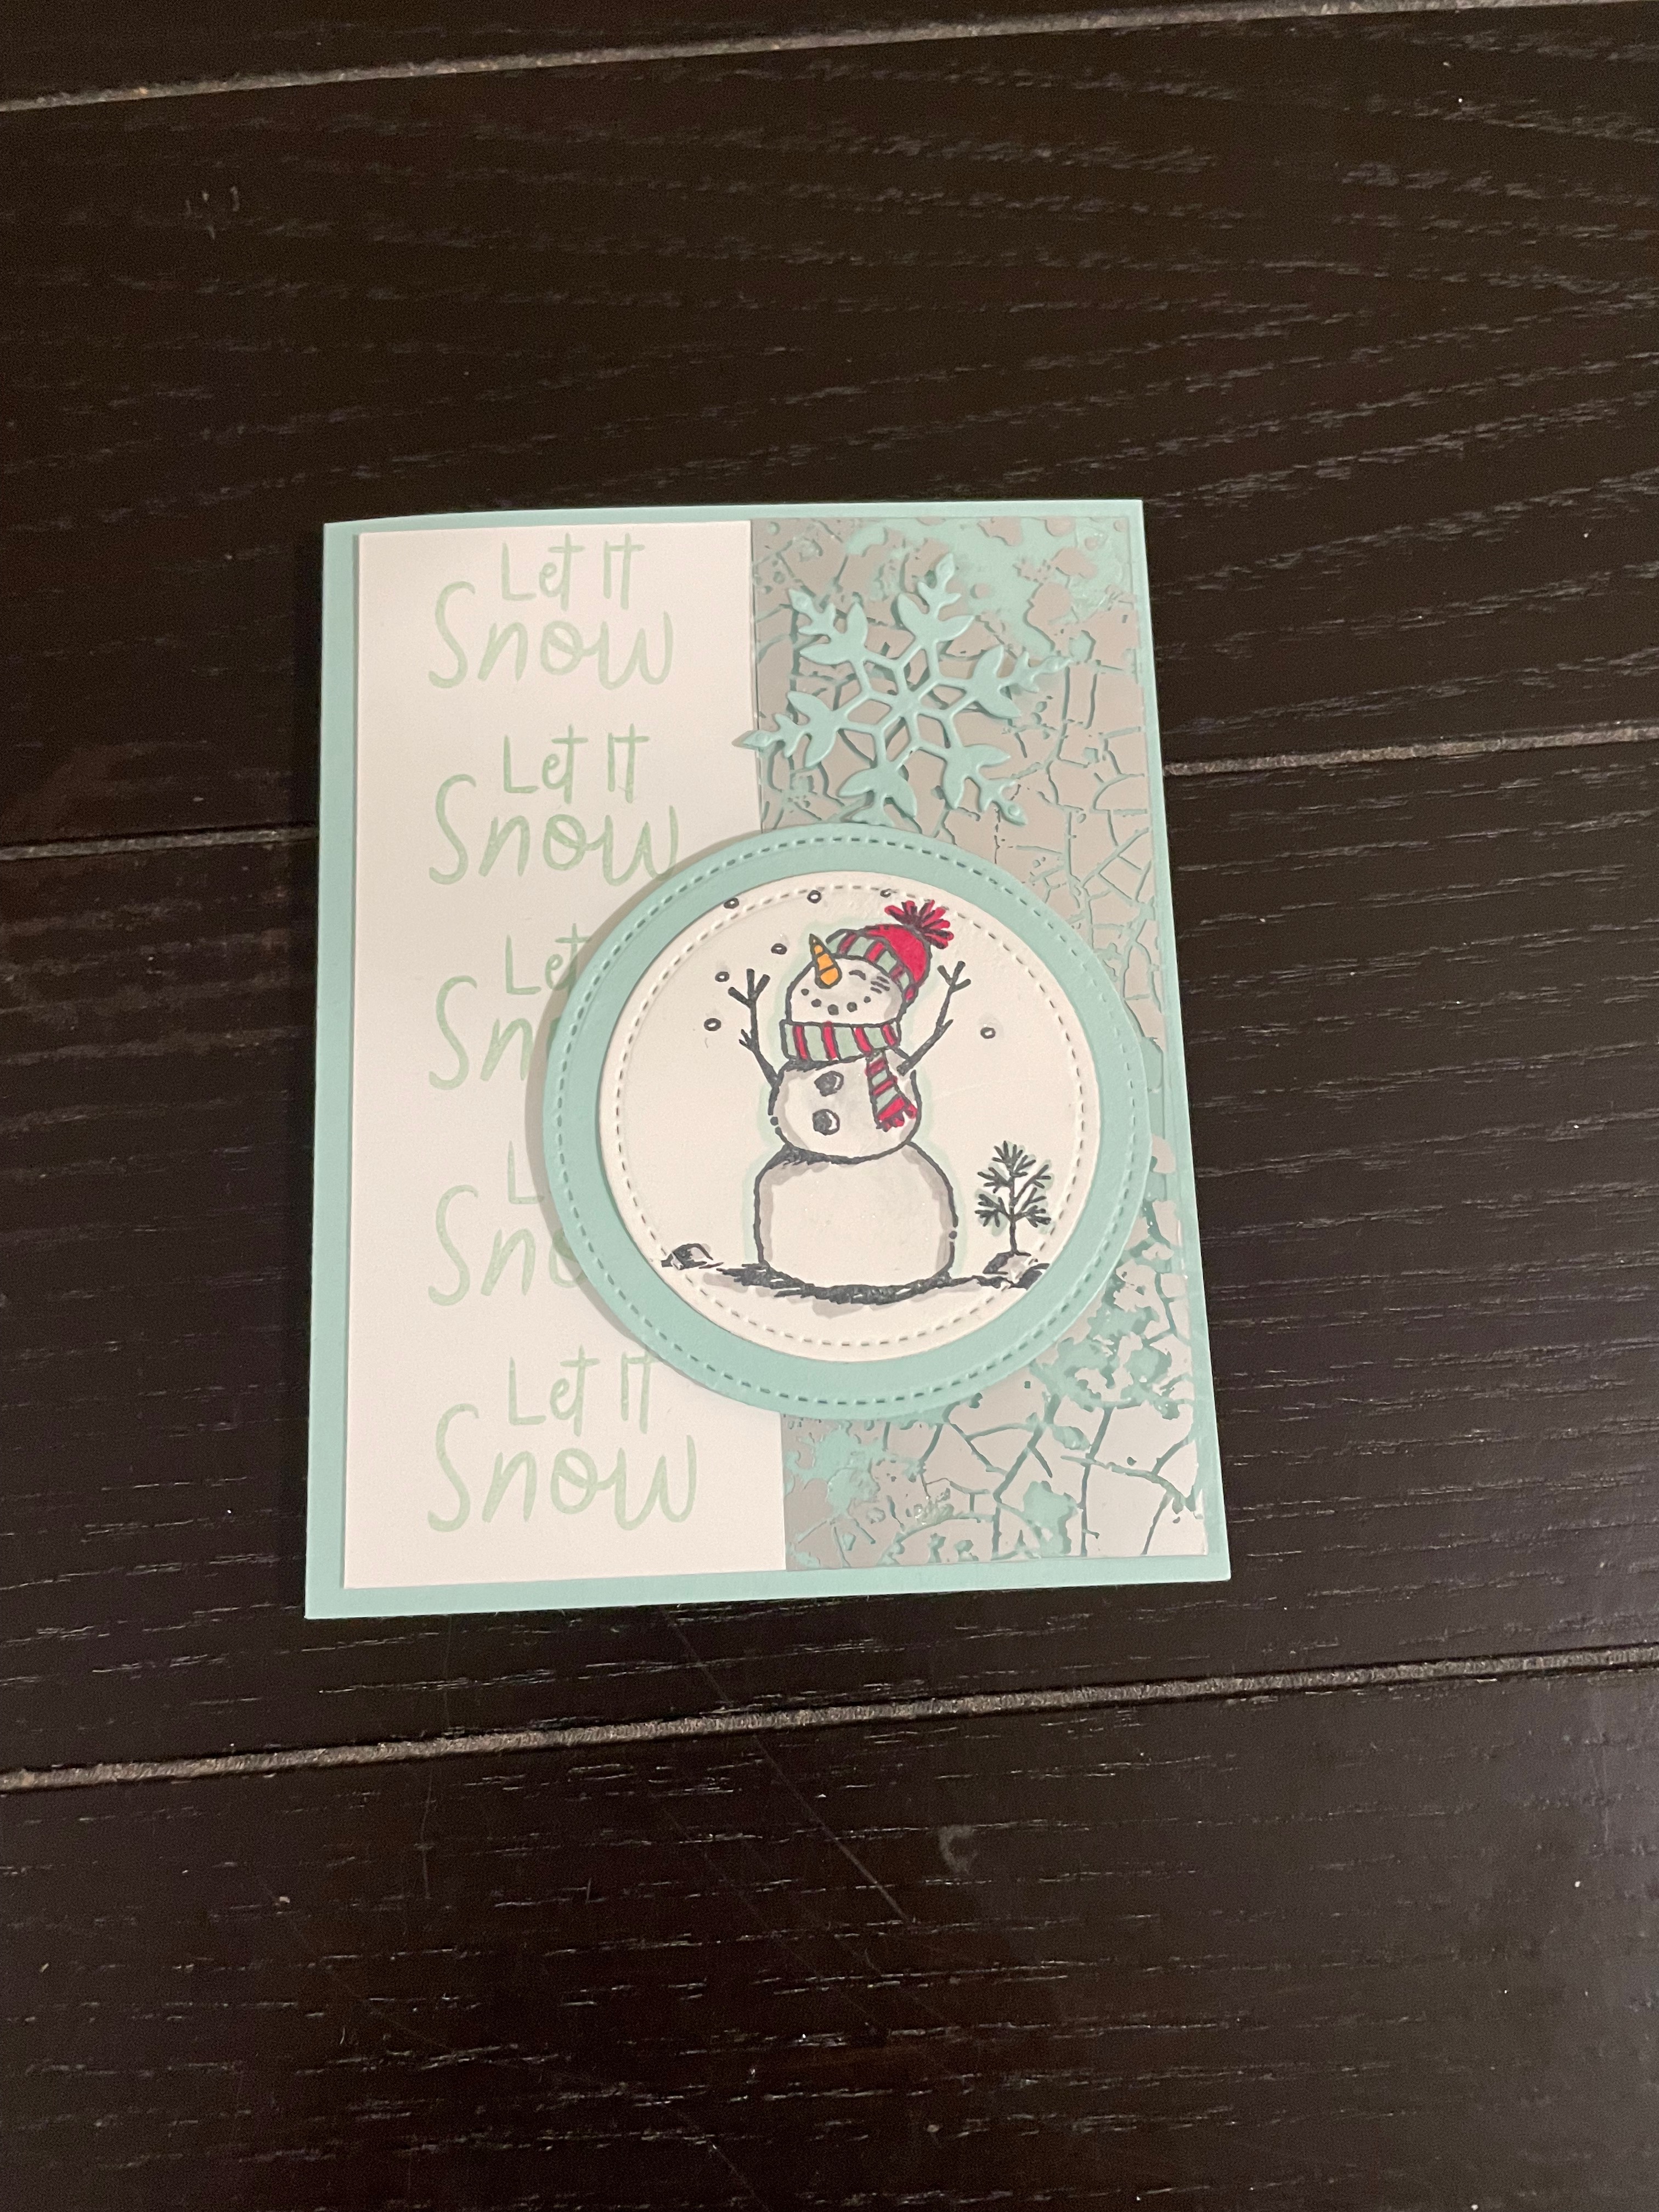
Yesterday, I arranged to have my snow tires put on. Like it or not, we are in November and winter could arrive at any time so I like to be prepared although I hope I won’t need them for a while yet. I still need to buy new winter boots so that is on my to do list. Anyways, with that in mind, I decided to make this card to celebrate the change in season.
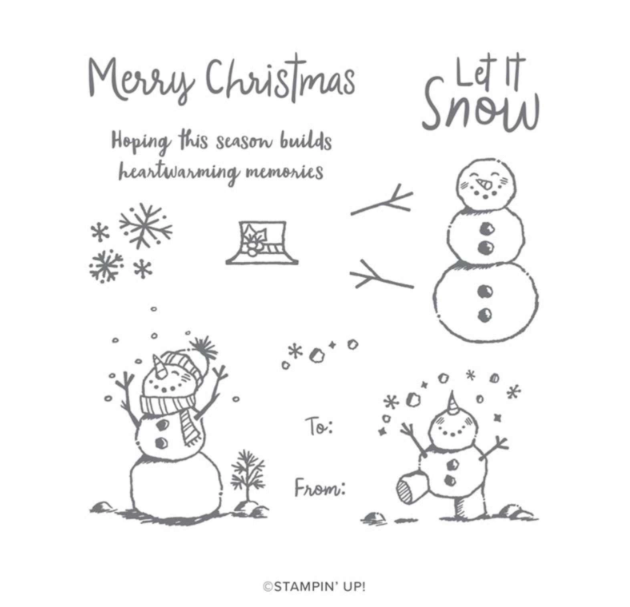
The frosty friends in the SNOWMAN SEASON stamp set will warm any heart. You can create a flurry of projects using these happy snow-people and I love how each one has it’s own personality. Below is a picture of the stamp set and a few ways you can use it; cards, gift boxes and tags to name but a few.
This wonderful stamp set can be found on my online store, just CLICK HERE! to shop 24/7. DON’T FORGET, when making a purchase with me, please use my November Host code 6M22K4YC. I like to reward my customers with a FREE GIFT from me along with my personal thank you card


To Make this Card
I took my card base and scored it at 4 1/4″ and burnished with my bone folder to give it a nice crisp fold and set aside.

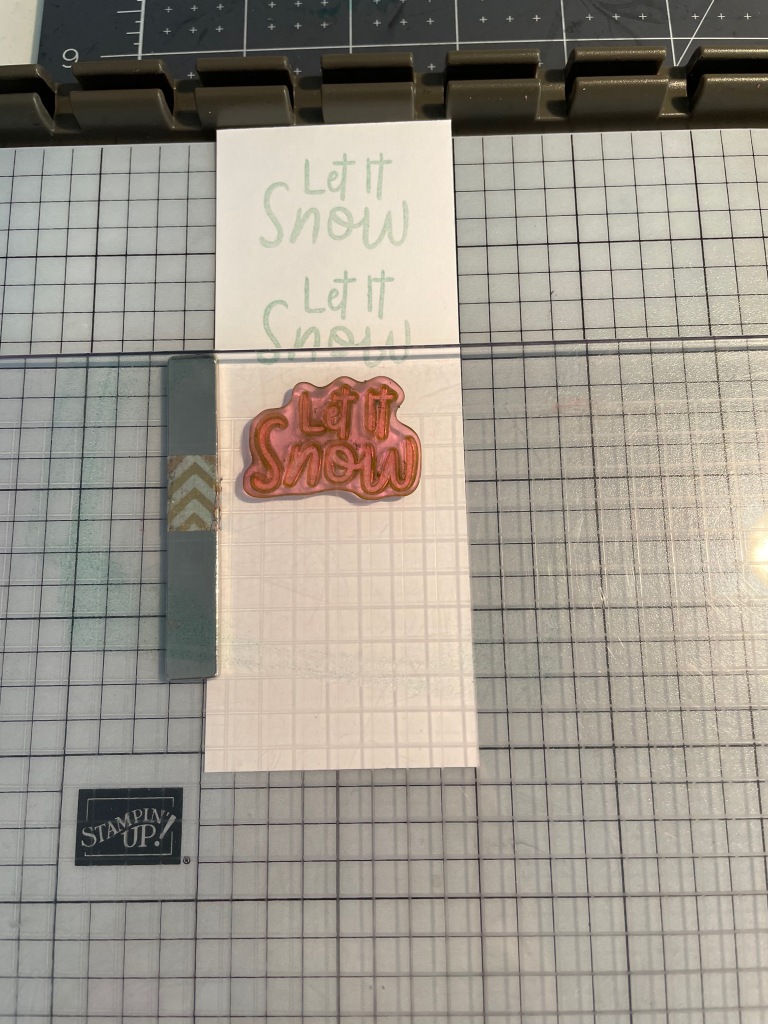
I then took my Basic White card stock and placed it on my Stamparatus. I arranged the “Let it Snow” stamp on my plate, so it would evenly line up down the piece of card stock.
As you can see in the picture, I inked it up, then stamped it. I then moved the plate down one notch and repeated the ink/stamp again. I was able to stamp it five times, down the paper.
I love this tool because just by moving the plate down a notch each time, the stamp is perfectly aligned with the one above it. It would be very hard to do that by hand.
Once my stamped greeting was completed, I adhered it to the left front of the card. For the right side, I used some retired clear Mercury Glass Designer Acetate added than it to the right side of the card front. With the acetate, I used glue dots to adhere it and placed them on the larges opaque portions so it wouldn’t show through. I love how the paper colour filters through the Mercury Glass.

To finish my card front, I cut out two stitched circles, one in Pool Party and the other in Basic White. I stamped my happy snowman and coloured it using my blender pens. I then adhered it to the larger circle and added it to the card front with dimensional’s. I also cut out a snowflake from the SO MANY SNOWFLAKE DIES which coordinates beautifully with the SNOWFLAKE WISHES Stamp set. I then attached it to the card front as well. To finish off my card, I painted my snowman with some WINK OF STELLA to make him sparkle. You don’t really see it in the picture but it catches the light beautifully when you hold the card in hand.
TIP: If you outline the stamped image in pool party, you won’t really notice it but it helps made the image stand out just a little bit more. I do this with most of my stamped images.
To finish off my card on the inside, I stamped my greeting and a few snowflakes from the same SNOWMAN SEASON stamp set. Eh Voila! I now have a cute little card to add to my Christmas card collection.
Hmm… As I type this, I am thinking that I should address my cards as I complete them and they will be all ready to mail out when we get closer to the Christmas season. What a time saver that will be.


Supplies used
Pool Party Card Stock
- 5 1/2″ x 8 1/2″ Card Base
- Scrap – circle and the snowflake
Basic White Card Stock
- 2″ x 5 1/4″ – card front
- 4″ x 5 1/4″ – Inside of card
- Scrap – Circle
Mercury Designer Acetate
- 2″ x 5 1/4″
Snowman Season Stamp Set
So Many Snowflake Dies
Stamparatus
Do you regularly restock your craft collection?
Do you always want the latest and greatest Stampin’ Up! supplies?
If you answered “yes” to either of the questions above, the Start with Savings promotion is for you.
We all love to save money, on crafting supplies, right? Well now you can. For a limited time, from Nov 4-31, 2021 ONLY, I invite you to join my team and get your starter kit for just $100.00 instead of $135.00 (regular price)
What can you expect in the kit?
- Your choice of $165 worth of products (savings of $65.00)
- A past paper pumpkin kit (value $30.00)
- A box of current catalogs (FREE)
- Business supplies (ONLY if you want to earn some added income)
- FREE shipping on the kit
NOTE: There are no expectations to sell or do parties.
As a demonstrator you will enjoy a 20% (minimum) discount on all your hobby purchases for as long as you remain a demonstrator. That is like having a permanent coupon!
What are you waiting for?

This wonderful suite of products is now available to purchase.
Discover delight, peace, and paradise with this exclusive, early-release collection when you enter the garden.
Stems, sprigs, berries, and twigs abound in the beautiful and bountiful Eden’s Garden Collection!
Explore the elegance of Eden with this exclusive, early-release collection. Only available while supplies last!
The Eden’s Garden Collection includes:
EDEN’S GARDEN CLING STAMP SET (10% OFF)
• 10 cling stamps
EDEN DIES (10% OFF)
• 5 dies
EVER EDEN 12″ X 12″ SPECIALTY DESIGNER SERIES PAPER
• 12 sheets of patterned paper: 2 each of 6 double-sided designs
EVER EDEN 12″ X 12″ COTTON PAPER
• 10 sheets: 5 each of 2 colors
GARDEN GEMS
• 140 pieces
• 2 shapes in 3 sizes: round (3 mm, 4 mm), marquise (5 x 4 mm)
• Adhesive-backed
Coordinating colours include Cherry Cobbler, Evening Evergreen, gold foil and Soft Succulent
All you need to complete your projects are ink, cardstock and your choice of adhesive.
This see this wonder suite of products in detail, visit my online store, just CLICK HERE! to shop 24/7. DON’T FORGET, when making a purchase with me, please use my November Host code 6M22K4YC. I like to reward my customers with a FREE GIFT from me along with my personal thank you card.
If you want to see future posts, I invite you to like and follow my blog so you won’t miss out. If you would like to be added to my email newsletter, please provide your contact information here. I provide monthly emails with all the latest updates so you won’t miss out.
Until next time, happy crafting!
Sue
Leave a Reply