Happy Friday everyone, It’s a rainy day today so it’s a great time to stay home and try your hand at making this lovely card. I was inspired by Catherine Sanders card from “Always IMPRESSing Stampers” and thought I would make one up to share with you. It’s not exactly the same design but similar. I love how you can take one card design and CASE it to make it your own unique version.
CASE = copy and share everything (give credit to the originator; they will appreciate it)
This card is using the new Pansy Petals Stamp/Die bundle which can be found on page 29 in the new annual Catalogue from Stampin’ Up! I have to tell you, this suite of products is absolutely gorgeous. The stamp set includes 23 stamps including 6 sentiments and the dies can be used to cut out stamped flower images but they also can be used to cut out both large and small flowers and leaves from the coordinating Designer Series Paper. I love that!
So let’s get started.
To make this card
Take your card base and score on the long side at 2 1/2″ and again at 6 1/2″. Fold the card stock towards each other at the score lines and give them a good crease with your bone folder.
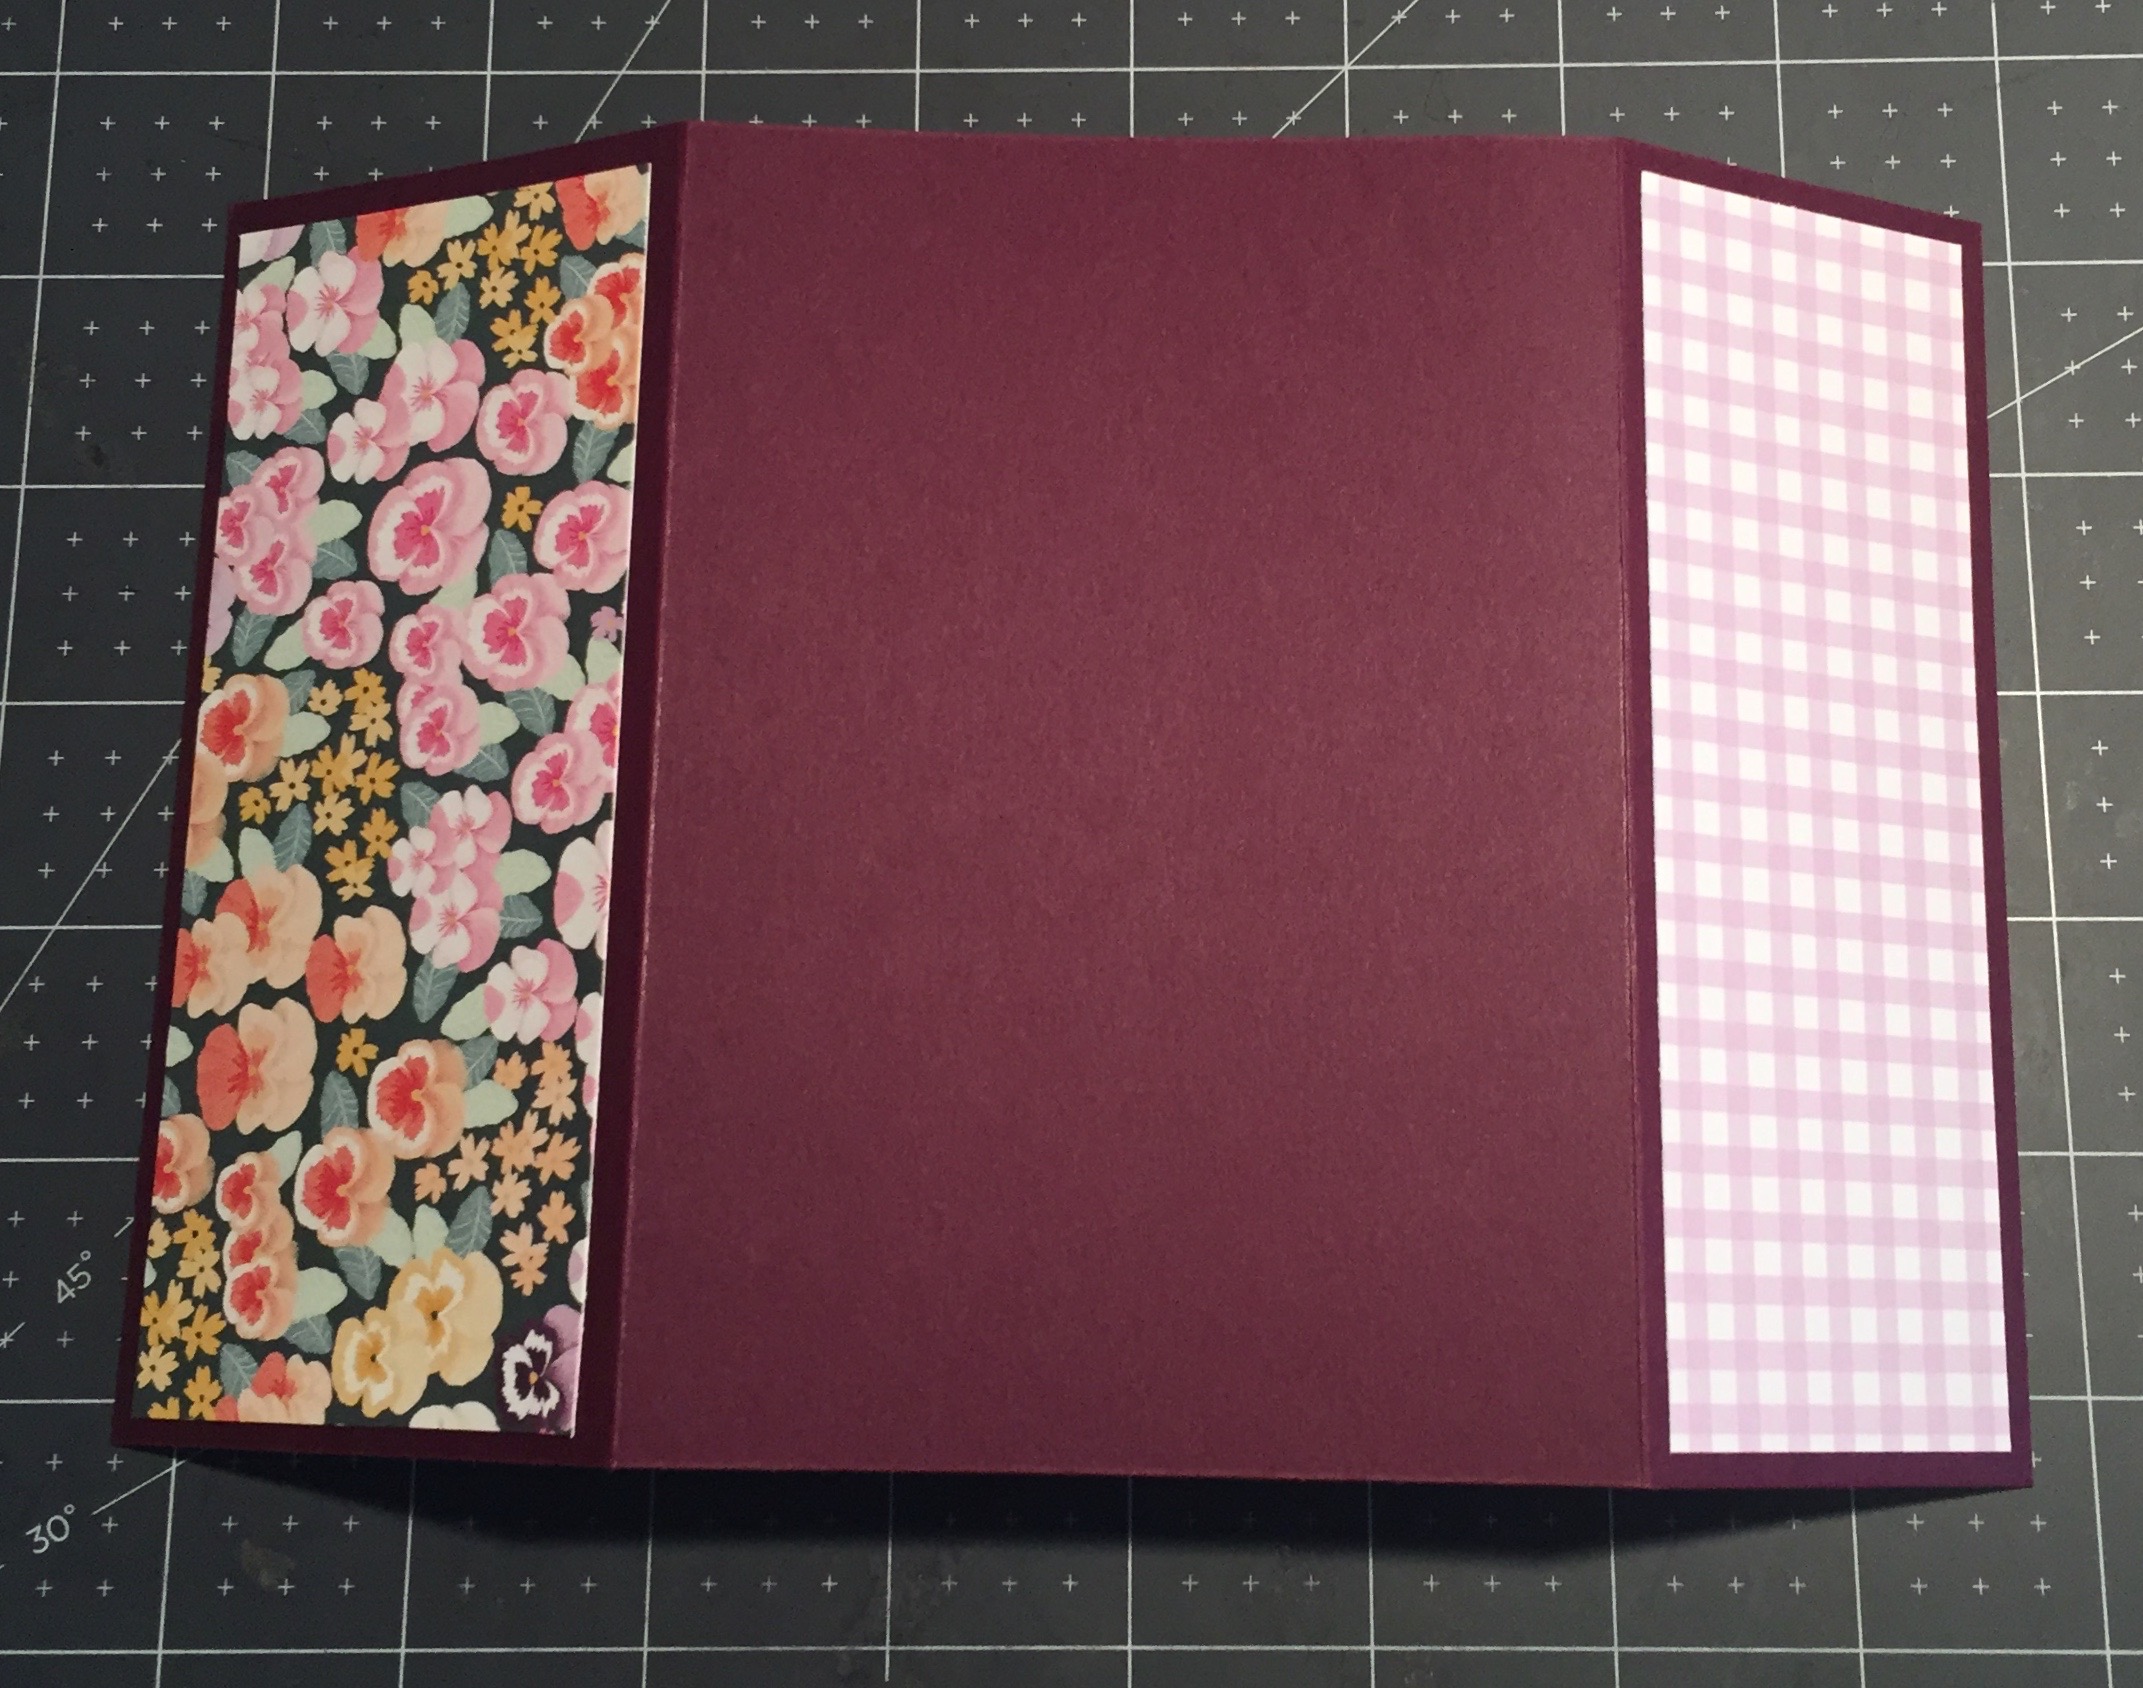
Go ahead and adhere the two Designer Series Paper panels to the outside of your folded card. It should look like this.
Now turn your card around so that it is in landscape position. The smaller panel is the bottom of your card

Once you have done that, add some glue along the outer edges of the bottom panel and fold up to the inside of the card. This creates your card holder pocket.
Stamp your sentiment for the inside greeting towards the top, and insert to make sure it fits. If it’s a little tight, you can trim it down a little. Set aside for now.
To make the front greeting, die cut the shape from the Painted Labels die, then stamp your greeting. This is such a versatile card, any greeting will work. I used the greeting from the Pansy Petals stamp set. Now add glue to the back of your greeting, but only to the top half. Position your greeting so it overlaps the bottom panel, pressing down to ensure it sticks. Can you see my error? The greeting isn’t exactly straight on the card, I’ll have to fix that.

Now to decorate your card.
Using the Pansy Petals dies, cut out your flowers and leaves from the Designer Series paper. Adhere 1 large and two small pansies around the greeting, adding your leaves as well because flowers and leaves just go together right? Option: Add dimmensionals to one or two of the flowers to make it stand out a little more. In hindsight, I should have done that
TIP: Take care that your flowers and leaves do not fall below the folded top panel or they will show the other side of the DSP when you open the card.

Take your card insert out and decorate it with flowers and leaves around your greeting. Don’t use dimmensionals on the inside so your card insert slides in and out easily and your card doesn’t become too bulky
In my example, I made this a Mother’s Day card, using the sentiment from the Inspiring Iris Stamp set (retiring soon) but the insert could easily be changed to a birthday card with a gift card tucked into the pocket.
In Catherine’s design, she used the Scalloped Control dies (also in new catalogue) for both her front greeting and the inside greeting. It gives the card a prettier look with the scalloped edging all around it. I didn’t have this set at the time, so made do with what I had. It’s what we do all the time right? I missed those on my pre-order but they have since been ordered and I should receive them next week. Something to look forward to.
Supplies required
- Blackberry Bliss card stock – 5 1/2″ x 8 1/2″ – Card base
- Basic White card stock
- 4 3/4″ x 3 1/2″ – Inside card
- 4″ x 2 3/4″ — Greeting
- Pansy Petals Designer Series Paper
- 5 1/4″ x 2 1/4″ – Top
- 5 1/4″ x 1 3/4″ – Bottom
- Pansy cut outs for the flower decorations.
- 1 Large Pansy and 4 small pansies
- 6 leaves
- Die – Painted Labels
- Stamp/Dies – Pansy Petals
- Ink Pad – Blackberry Bliss
- Liquid Multipurpose Glue

Have you ever wondered what these kits include? Well this month’s Paper Pumpkin kit contains enough supplies to create 9 cards—3 each of 3 designs—and coordinating envelopes. The all-inclusive kit includes printed card bases, die-cut paper pieces, embellishments, adhesive, and more!
It even comes with the official bubble gum of the MLB—a ballpark favorite! You can chew while you craft or slide a piece into a card as an added surprise.
In addition to this catch of a kit, we have one more way you can become an all-star. The Paper Pumpkin SUBSCRIBE-A-THON!
The Paper Pumpkin SUBSCRIBE-A-THON goes into effect May 7th and lasts just 3 days or while supplies last. Paper Pumpkin has a LIMITED SUPPLY of Batter Up! kits to offer at this special SUBSCRIBE-A-THON rate. New subscribers (only) can steal the Batter Up! Paper Pumpkin Kit at an un-bat-able deal for just $7.00 CAD! It’s a great time to pick up a kit and see what it’s all about. You can cancel or suspend your subscription at any time without penalty. (I love that!)
This promotion price will only apply to new month-to-month subscriptions; prepaid subscriptions are not eligible for the discount. To subscribe and get this kit for $7.00, click here between May 7 and May 10th only so mark your calendars or you could miss out! Once 7 May hits, new subscribers need to enter the code HOMERUN0521 before the sale ends to receive this special introductory price!
Check out the video from Paper Pumpkin, by clicking here
While staying at home, it’s makes a fun project for the entire family so give it a try.
I hope you have enjoyed this post, please like and follow my blog to see future posts. As always, I welcome your feedback and so please leave a comment. I invite you to try your hand at making this card and I would love to see a picture of your creation.
Would you like to be added to my email newsletter? please provide your contact information here
Leave a Reply