Hi everyone, I hope you are doing well and staying safe. I am pleased to say that I have received my first vaccine for this terrible virus and my second shot is already scheduled. it’ brings peace of mind.
While staying home, I thought I would share the Painters Tape technique with you this week. Although this technique can be used to create all sorts of backgrounds, I wanted to highlight all the new In-Color 2021-2023 with you so thought this could be a fun way to do that.
To make this Card
Take your card front and place over paper to protect your workspace.
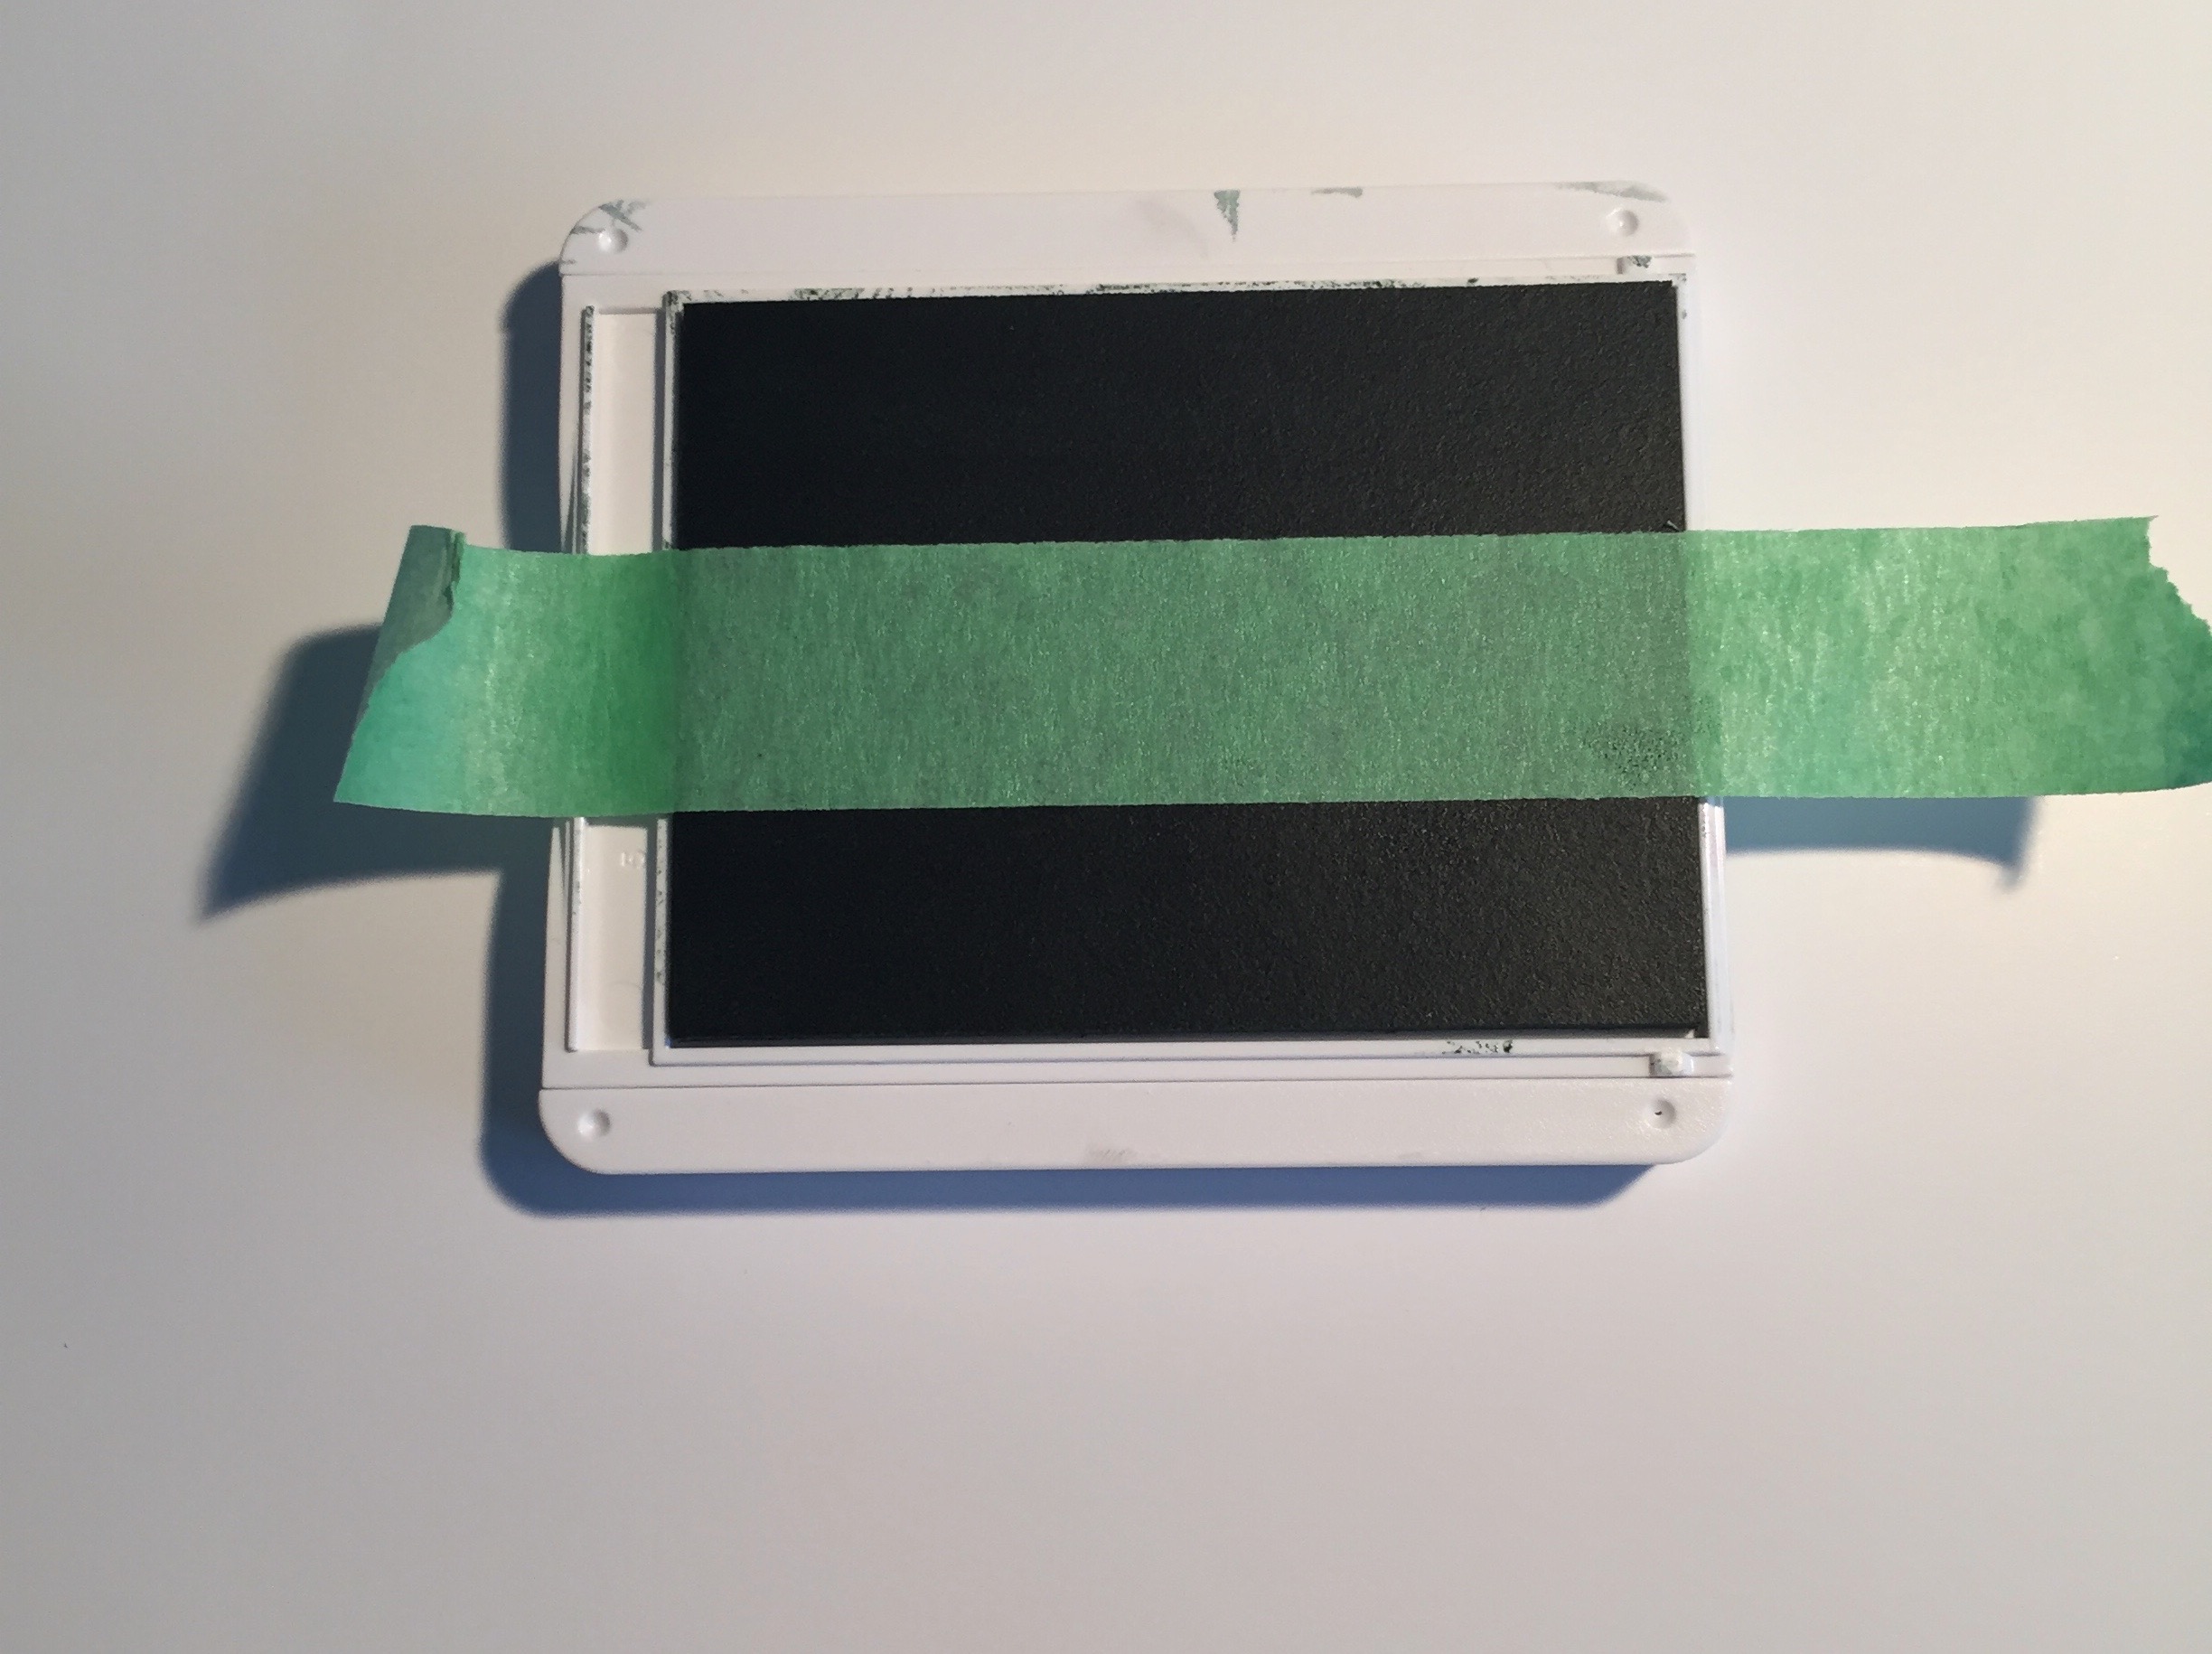
Take a strip of painters tape that is longer than your card front and press it gently over your ink pad with the sticky side facing down.
Your tape will need to be longer than your ink pad so move it over the ink pad, pressing gently to pick up the ink
TIP: By moving your tape over the ink pad, it doesn’t create any firm lines along the edge of the ink pad. It makes it hard to hide.

This pictures shows how the first line looks. it definitely won’t be a clean strip but don’t worry about that. It’s meant to look that way.
Now continue across your card front, using a different colour for each strip.

Once you have your strips down, you can adhere it to the matting, then adhere it to the front of the card. I have to say, I am loving these new In-Colors and they will be around to the next two years.
I chose to make this a landscape card but you can make it a portrait card as well.

I then added a ribbon across the middle and just tied a knot instead of a bow and added a glue dot to the back to hold it in place.
I then stamped my greeting and used the same colour ink as the matting, then used the Lovely Label Punch to punch it out. I love my punches, just saying.
Before adhering it, I used my sponge dauber around the greeting to add a little colour, then adhered it to the front, using dimmensionals. So how easy was that?
This card is just a fun way to create a background using your ink pads and you can use any colours you want. Although this card is pretty bright, it is a fun way to show off the new In-colors.

For this card, I used only two colours to create the background. I used Sahara Sand and Crumb cake, then once the background was done, I stamped the images from the Dragonfly Garden stamp set, in Early Espresso.
The dragon fly was stamped in versa mark, then embossed in gold and punched out with the dragon fly punch. The sentiment was also embossed in gold but the picture doesn’t do it justice. As you can see, with a more subdued colours, the background does actually fade into the background, while the stamped images over it, stand out.

The retiring products will disappear as of May 3rd to make way for all the new products coming in the new annual catalogue. If you haven’t had a chance, visit my online store to see all the great deals. There are numerous items that have already sold out, but between the Last Chance and the Clearance Rack there are still lots of deals to be had. Don’t forget! All orders placed in April using my monthly Host code 69DMREB2 will automatically be entered into my monthly dray
I hope you have enjoyed this post, please like and follow my blog to see future posts. As always, I welcome your feedback and so please leave a comment. I invite you to try your hand at making this card and I would love to see a picture of your creation.
Would you like to be added to my email newsletter? please provide your contact information here
- Basic White Cardstock
- 8 1/2″ x 5 1/2″ – Card Base
- 5″ x 4 3/4″ – Card Front
- 5″ x 3 3/4″ – inside card
- 2 1/2″ x 2 1/2″ Scrap – Punched sentiment
- Polished Pink Cardstock
- 5 1/4″ x 4″ – Mat for the card front
- 5 1/4″ x 4″ – Mat for the inside of card
- Inpads
- Fresh Freesia
- Polished Pink
- Evening Evergreen
- Soft Succulent
- Pale Papaya
- Ribbon – Polished Pink
- Painters tape – One strip for each colour
Leave a Reply