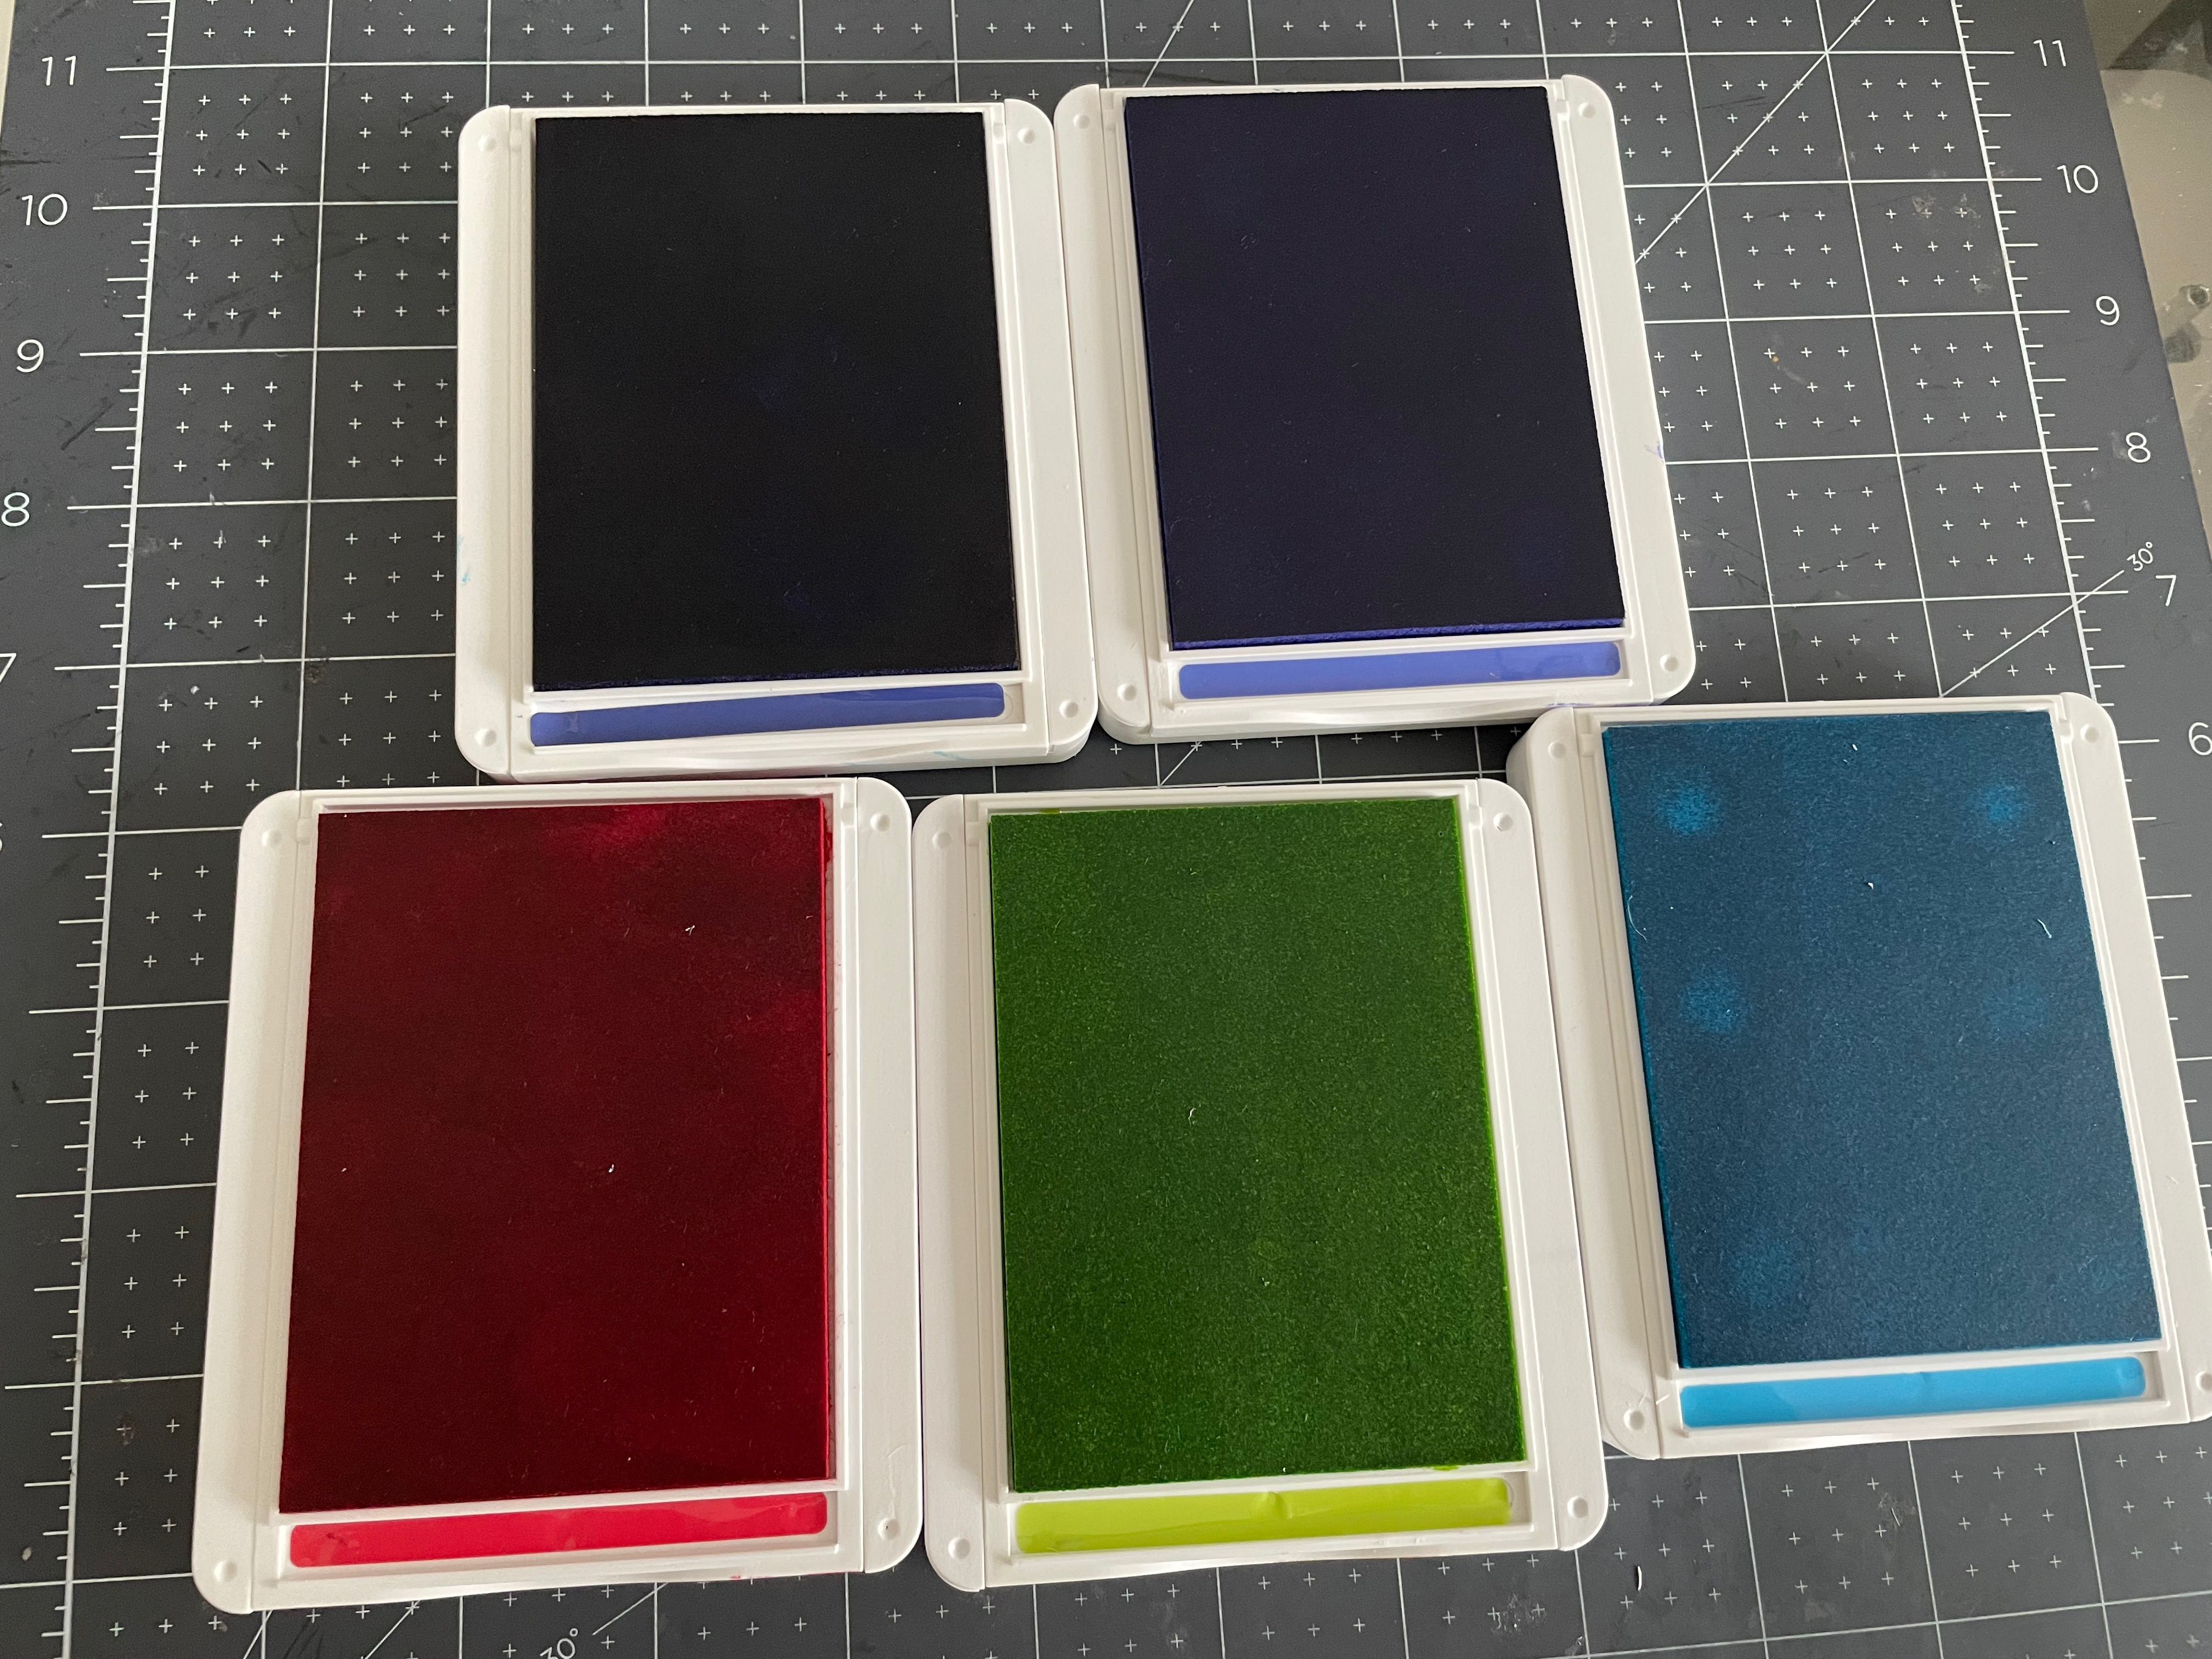
When Stampin’ Up! first introduced the new In-Colors I have to say I was less than impressed. However, since they will be around for the next two years, I went ahead and ordered them so I could add it to my arsenal of supplies. Well, after receiving them, I wonder why I ever thought differently. These colours are gorgeous!
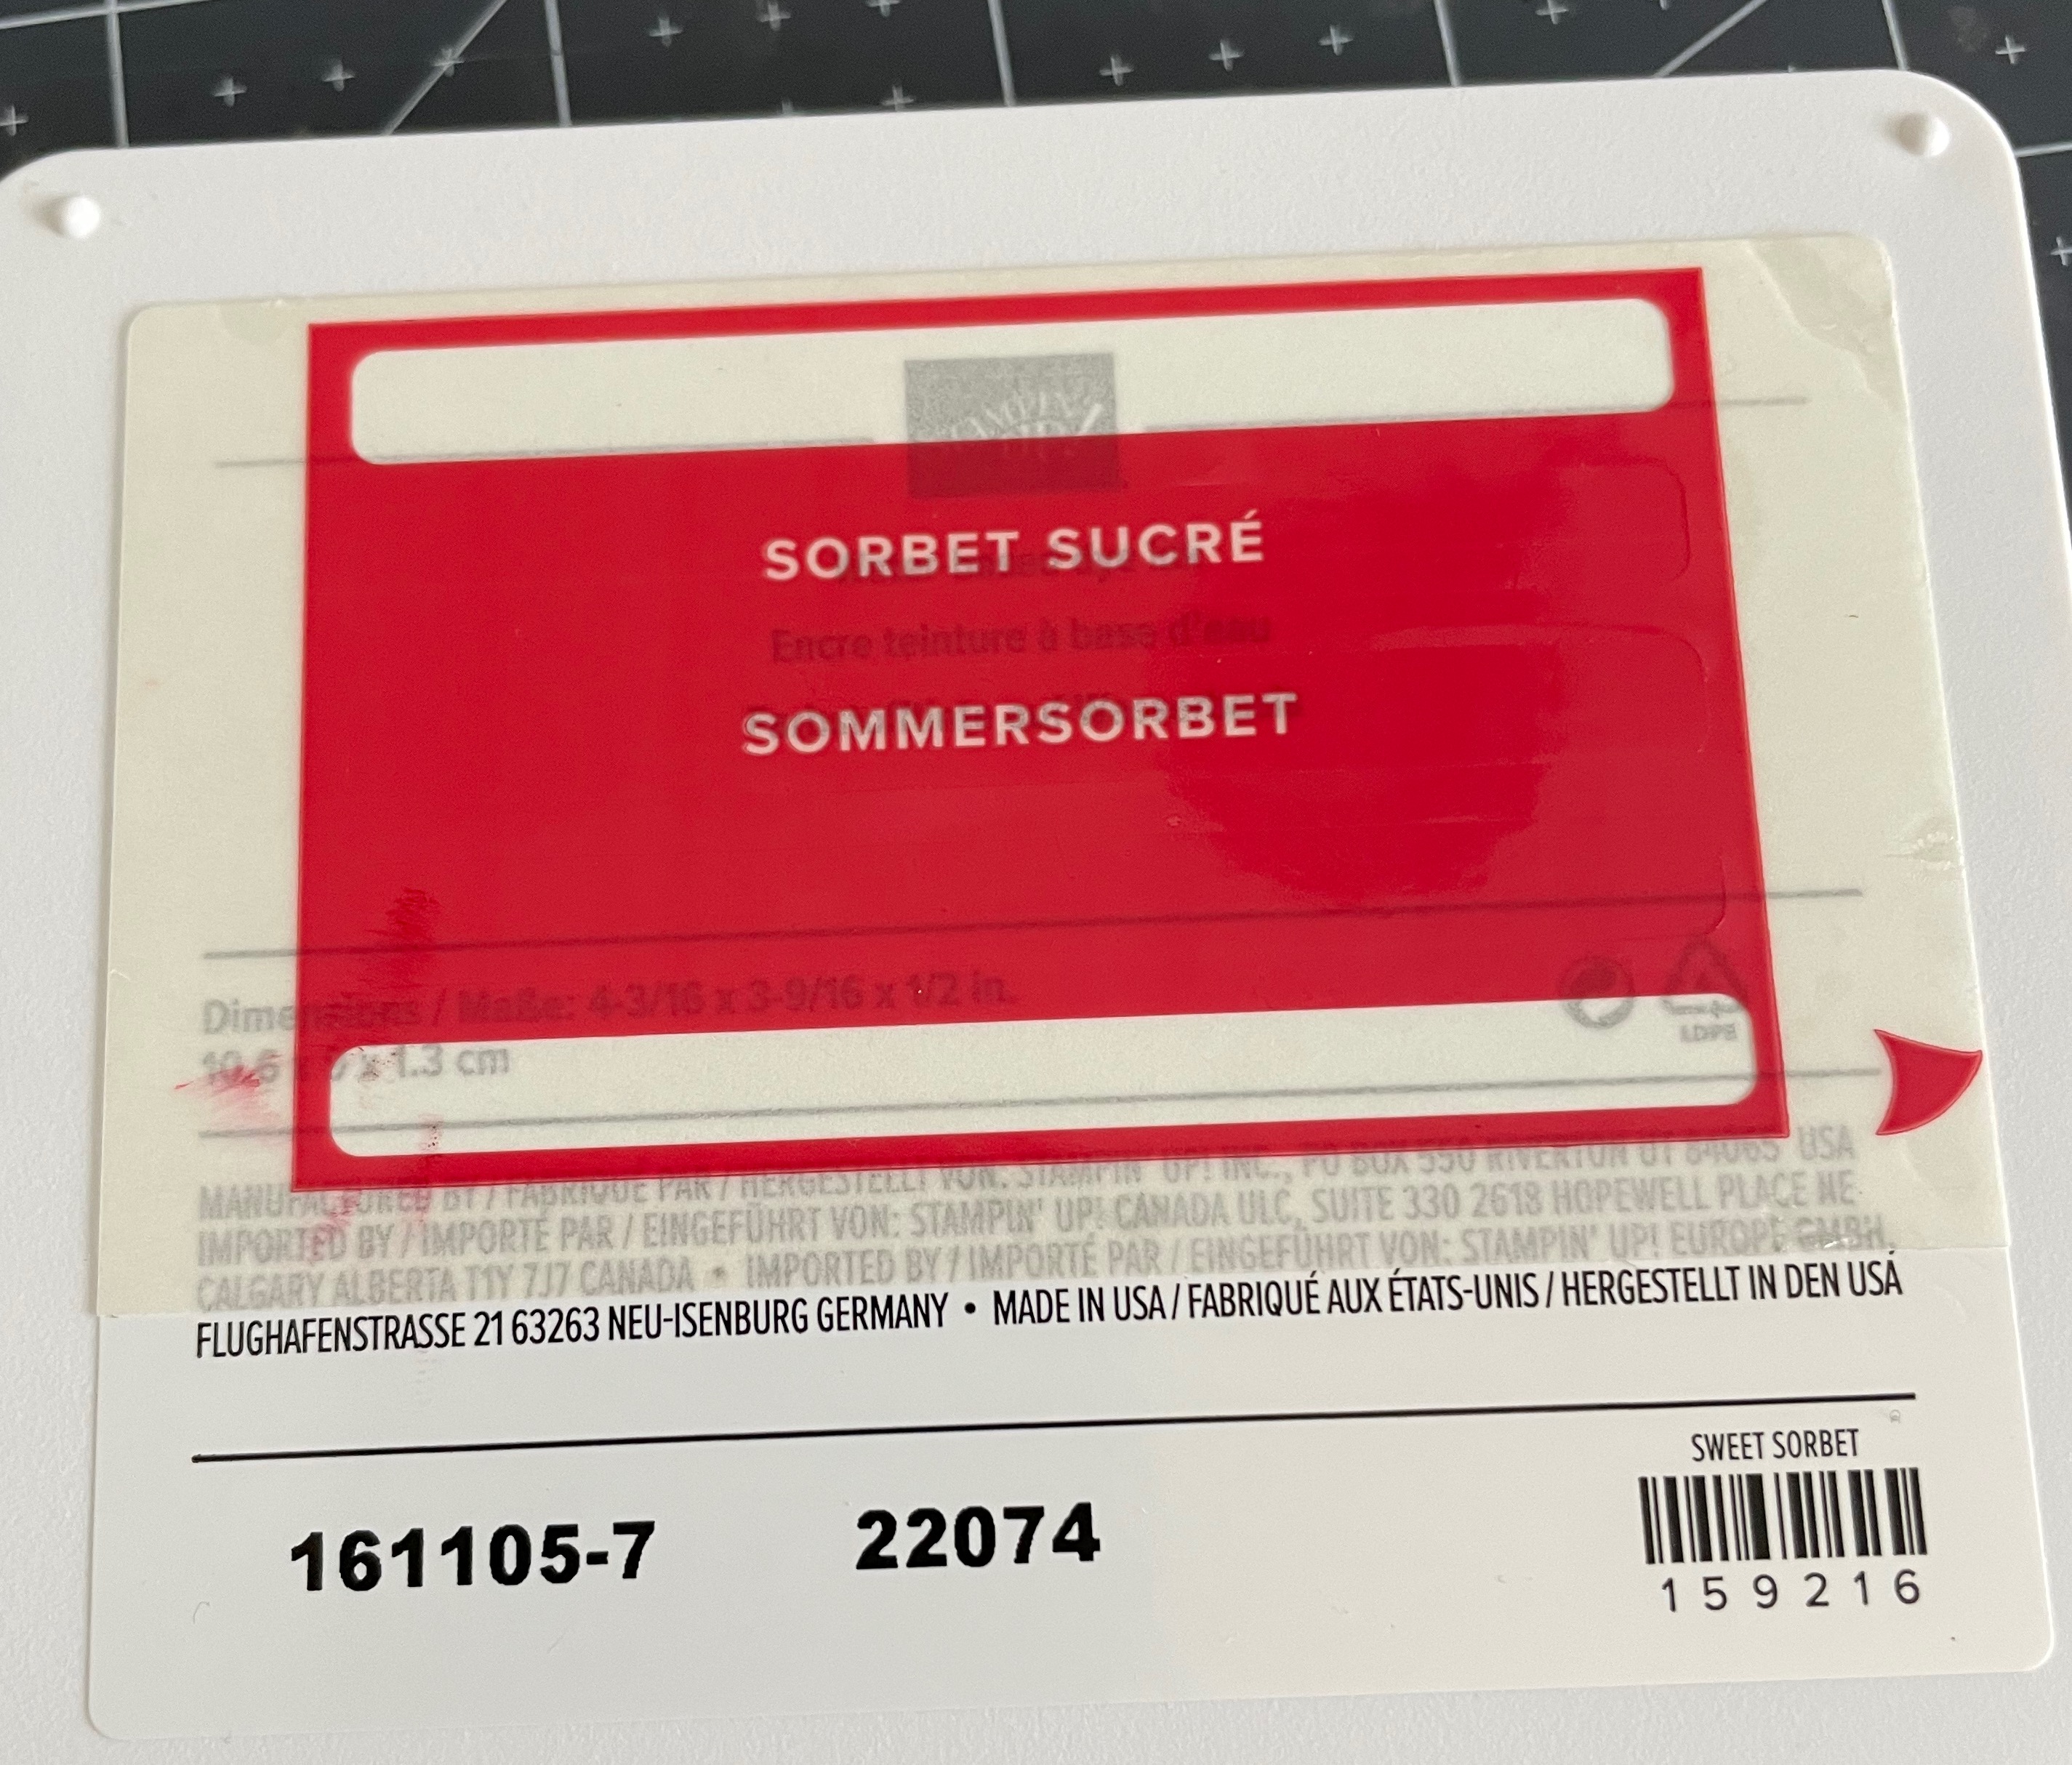
The first thing I did with each coloured ink pad was to label them. Each ink pad has labels on the bottom which can be peeled off and added to your ink pad. The name (in 3 languages) can be applied to the outside front so when they are stacked, it makes for easy reference. It also comes with a blank coloured strip which can be applied to the inside of the open pad. This is very helpful when you have several ink pads open. How sweet is that?


I also purchased a package of the In-Color Designer Series paper. Each package includes four different patterned papers in each of the In-Colors which makes it so easy to create when everything works together. Of course, I also had to get the card stock to go with it. Add some ribbon and mat decorative dots in the same colours and I am all set to create.


I chose to make up these Joy Fold cards in the five new colours. It is such an easy card to make but looks like you spent a lot of time making them. I send out a lot of thank you cards so I always like to have some on hand at all times. You never know when you will need one right?

I used the Shaded Summer Stamp set for the floral image and the greeting. I also added a couple of the mat dots for some added bling. It just adds a little something to the finished card, don’t you think?
This floral image brings out all the details in each of the gorgeous colours. I honestly don’t know which one I like more.
What do you think? Leave me a comment below, telling me which is your favourite
- Starry Sky
- Tahitian Tide
- Orchid Oasis
- Parakeet Party
- Sweet Sorbet
All of these products can be purchased on May 3rd, when the 2022-2024 Stampin’ Up! annual catalogue goes live. You will be able to see all the new products on my online store by CLICKING HERE
Until then, check out the “Last Chance Sale” to see which products will be retired for good on May 2. Products are only available while supplies last and are selling out quickly. When shopping, please use my current Host Code – 4JMJR99N for any orders under $200. Everyone who shops with me, will receive a gift and thank you card from me to you, in appreciation of your support. Who knows, you just might receive one of the cards above.
To make this card
Score your main card base at 5 1/2″ and fold and burnish with your bone folder. Glue the Designer Series Paper (DSP) to the white mat for the inside of the card then adhere to the inside of the card. Glue the DSP to the white mat for the card front and adhere to the front of the card base. Pretty easy so far right?
Stamp your image and greeting on the two Basic White card pieces for the mini card front and the inside. At this time, I chose to leave the inside blank so I can add my message as the need arises. With your mini card folding backwards, line it up so the fold is on the right hand side and the open part of the card folds over the main card front. Adhere to the back of the card to the inside portion of the card base. Glue your stamped basic white pieces to the front and inside of the card. Decorate with a little bling. Et Voila! Your card is complete.
Don’t forget to decorate your envelope with DSP on the envelope flap and/or a stamped image on the front.
Supplies
- Main Card Base – 8 1/2″ x 4 1/4″
- Mini Card Base – 8″ x 3″
- Basic White Matting
- 5 1/4″ x 4″ – Inside card
- 2 3/4″ x 3 3/4″ (2) – Inside and outside of the Mini card
- 2 3/4″ x 4″ Card front
- Designer Series Paper
- 5 1/4″ x 4″ – Inside card
- 2 3/4″ x 4″ Card front
Reader Interactions