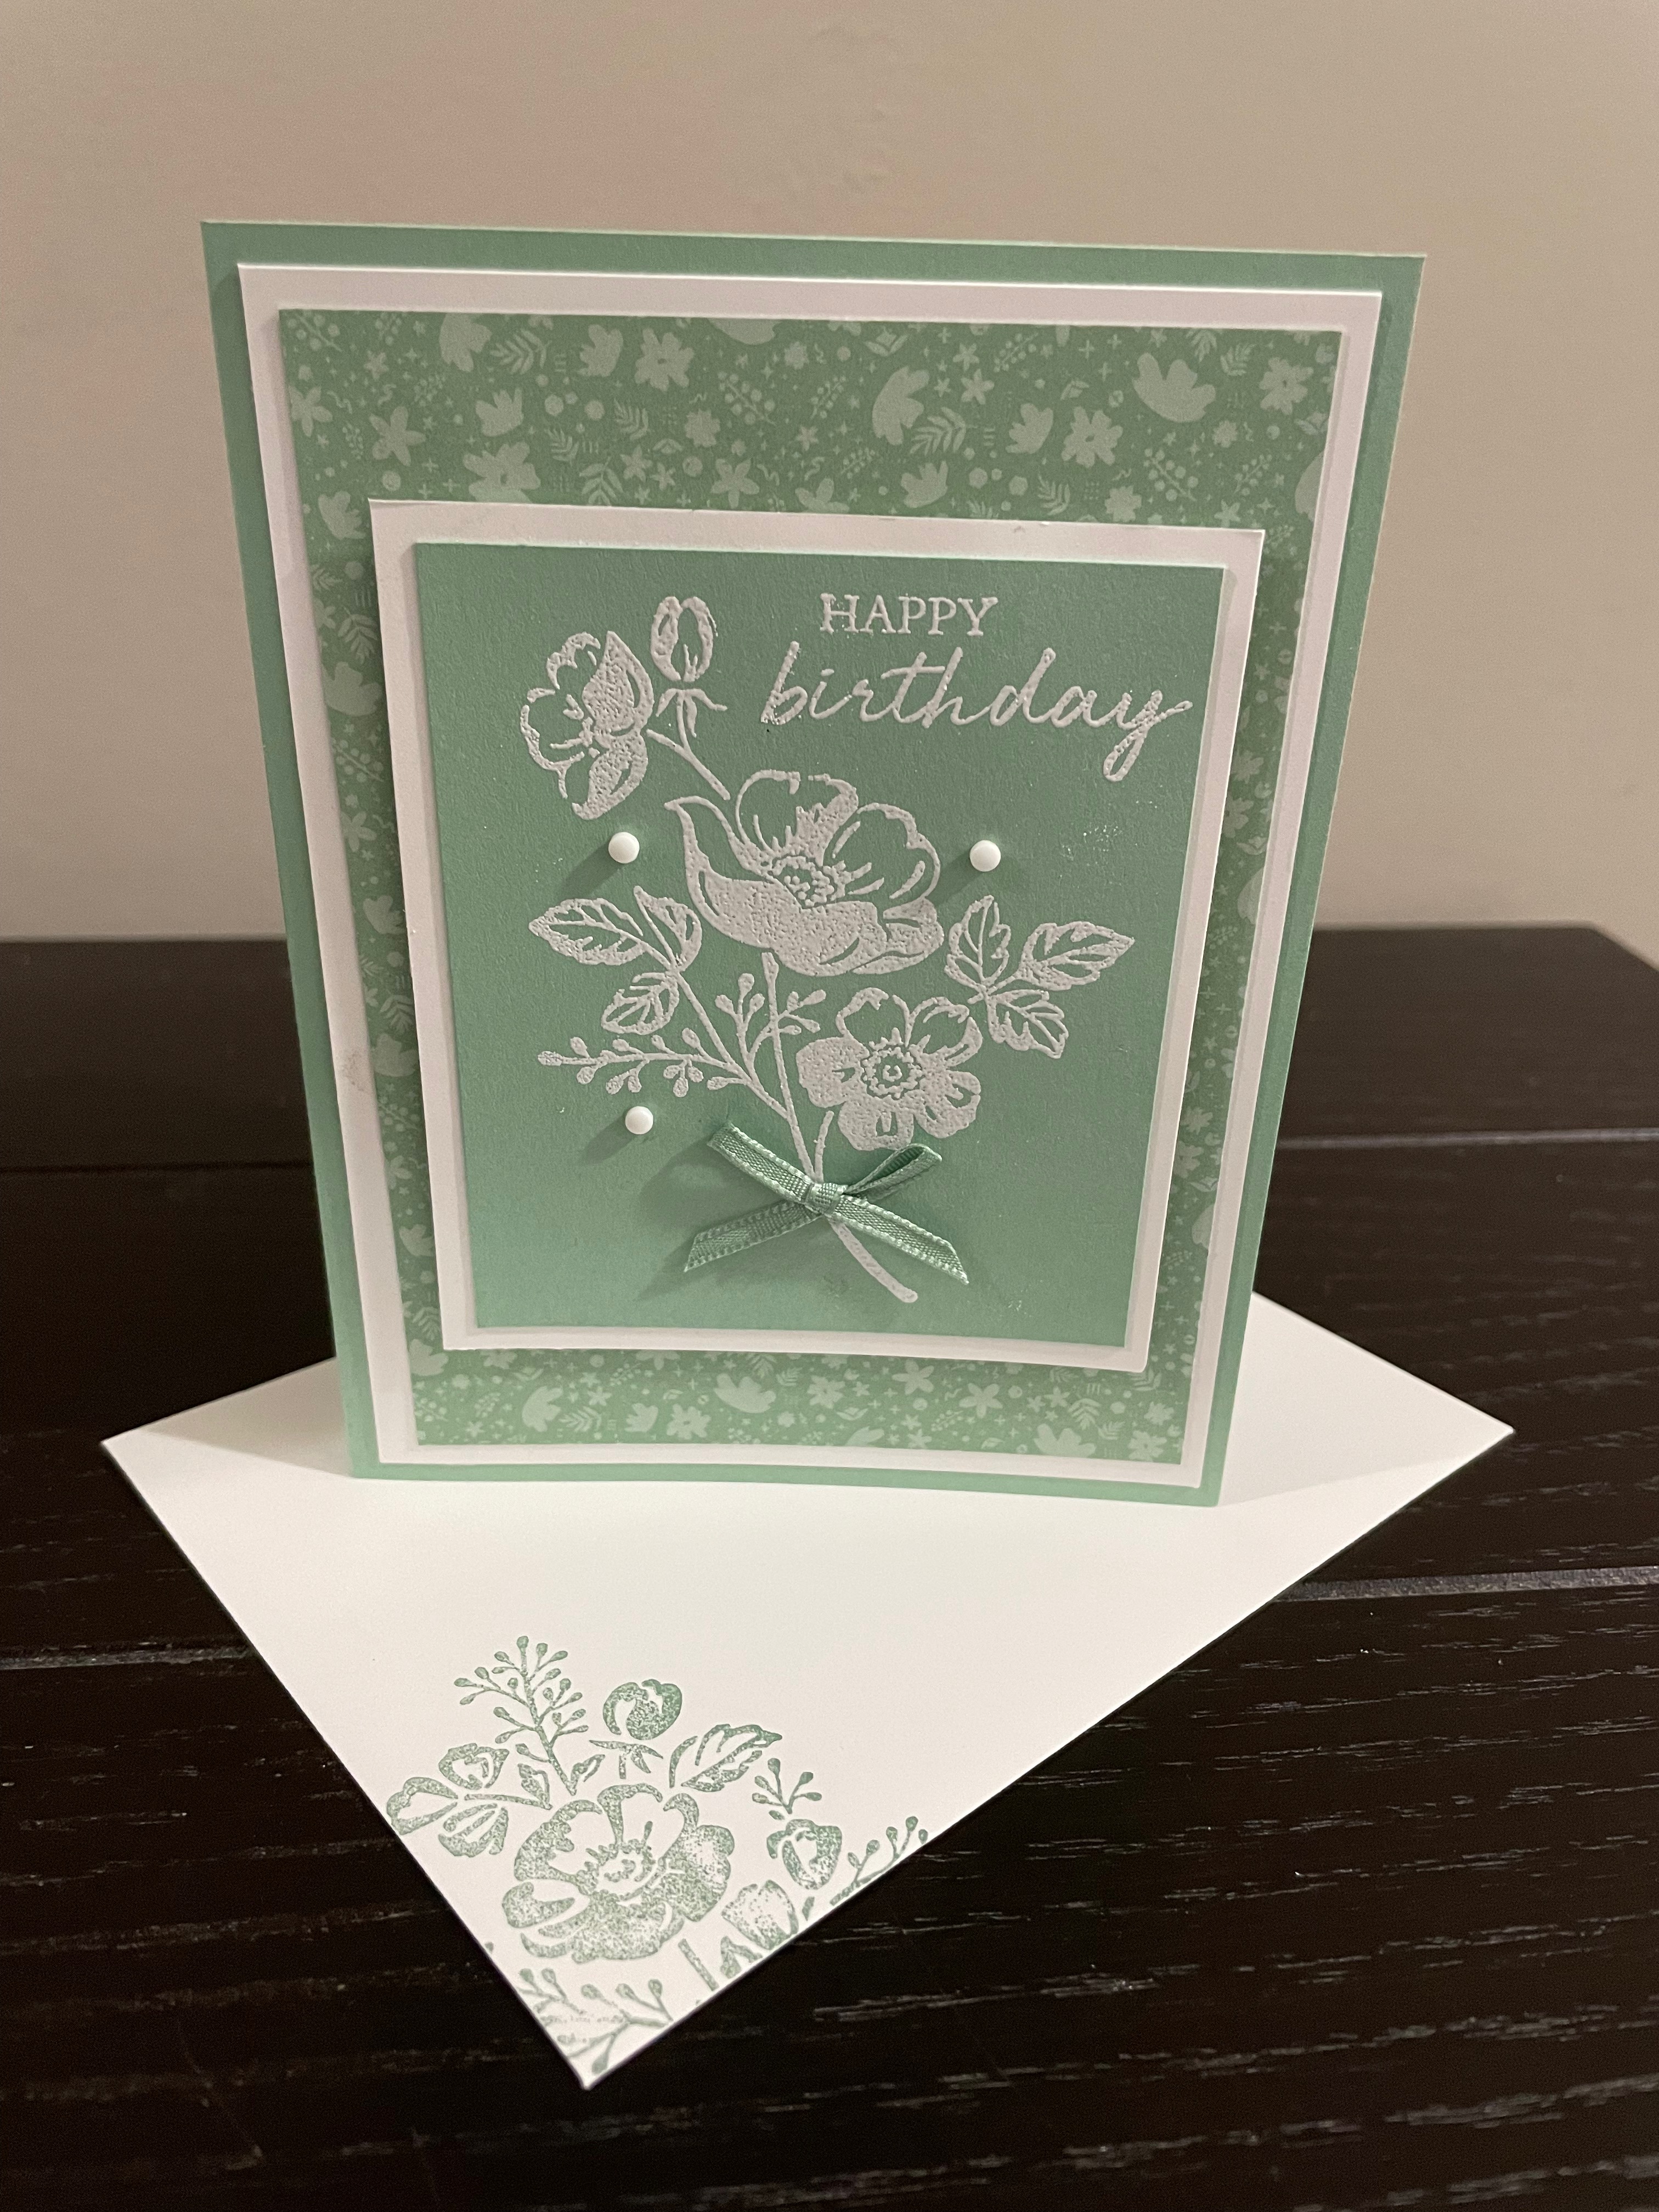
I love a card that has an embossed pattern or design on it so today I want to show you a card I made, using an embossing technique. This card is pretty straight forward to make but the embossing of the floral design and sentiment just adds a little extra to the card front.
To make this card
Take your card base and score at 4 1/4″ on the long side, then fold in half, burnishing it with your bone folder to give it a good crease. Adhere the designer series paper to one of the Basic white card stock pieces. Adhere to the card front and set aside for now.
On the smaller piece of Soft Succulent card stock, stamp your image in the centre with Versamark ink. Cover the image with the white embossing powder and then tap the back of the card stock a few times to shake off the excess powder. DON’T rush or try to do too much at a time as that causes mistakes or powder smudges.
Tip: Use a small brush to brush away any remaining little flecks that cling before heating.
Using the heat tool, heat up the image until the powder melts. This only takes a few seconds and you will see how it becomes shiny as the powder melts. Be careful not to burn your fingers as it can get very hot. Once the image is done, then stamp your greeting and repeat the heat embossing step.
Once that is completed, adhere the card stock to the small basic white piece, making sure to centre for an even border of white. Now you have the option of adhering directly to the card front or adding dimensional’s to the back for it to pop up a bit. I chose to add dimentional’s as I like how it pops up.
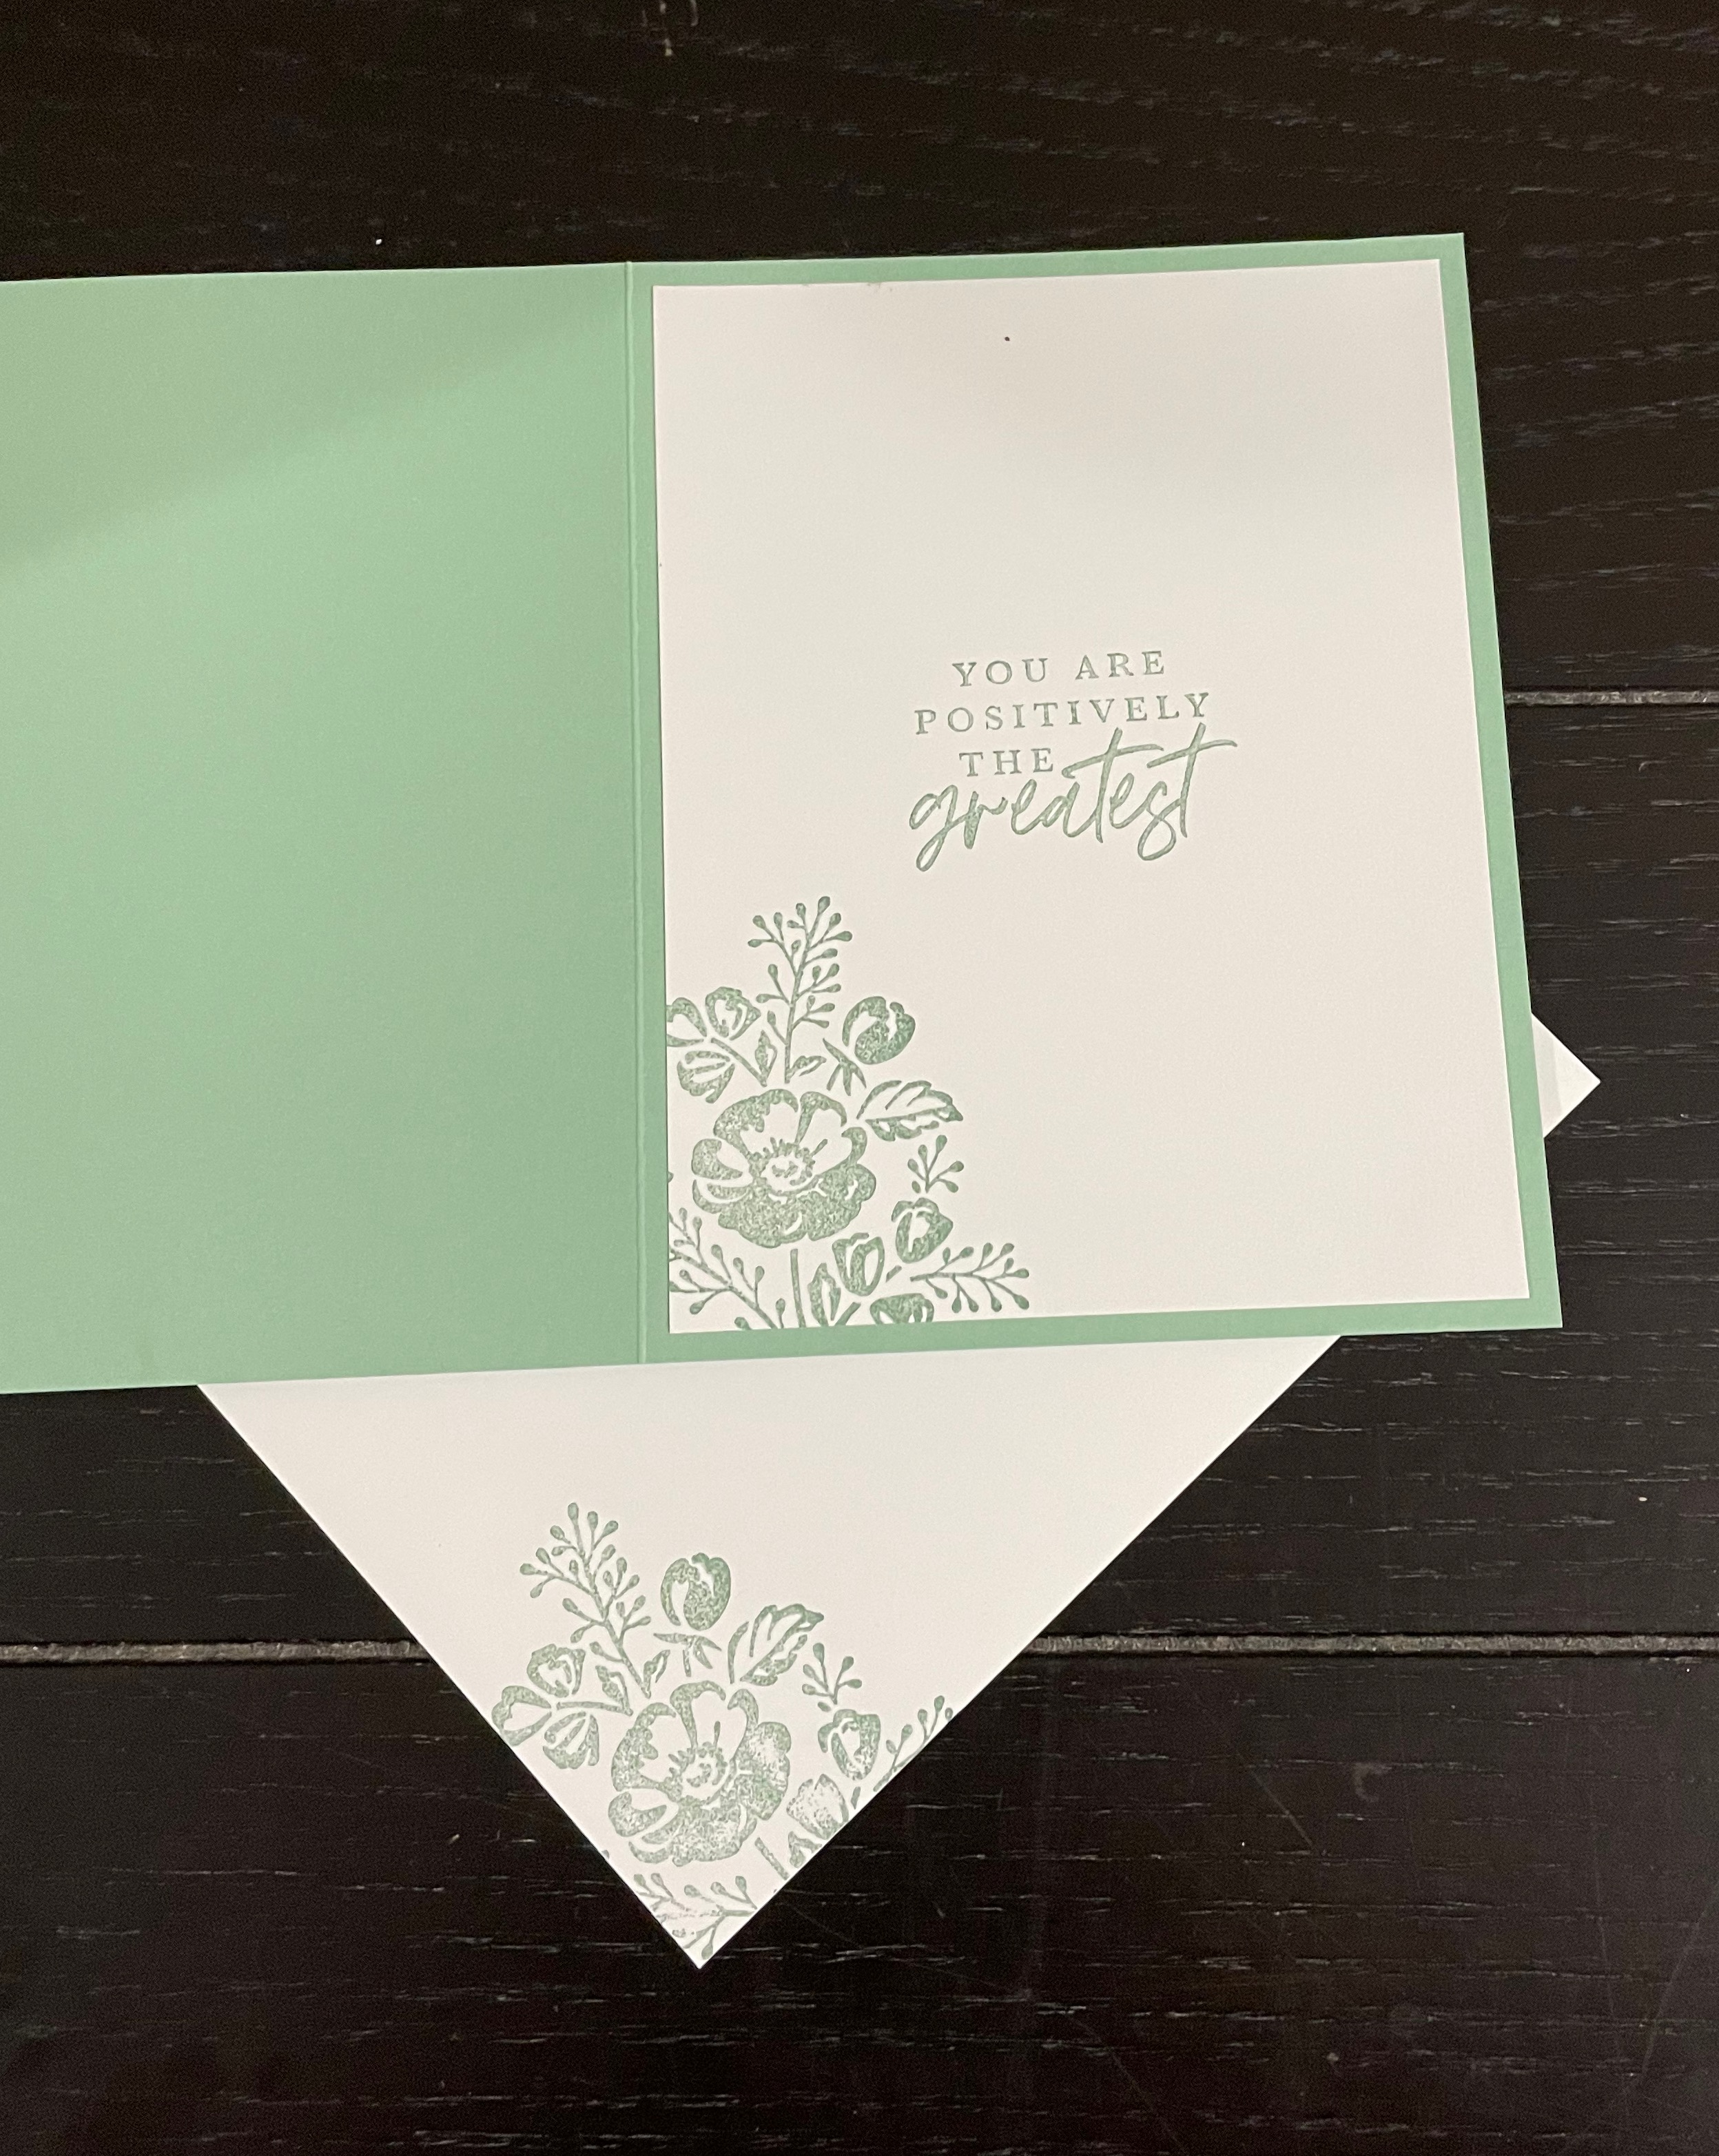
For the inside of my card, I stamped my greeting from the Cottage Rose stamp set. I also stamped the smaller floral image from the Shaded Summer stamp in the bottom corner then adhered it to the inside of the card.
Of course, I also used the same stamp on the envelope. I love how it just adds a little bit more interest.
To complete the card, I added white mat dots to the front of the card and a little bit of ribbon tied in a bow which was adhered with a small glue dot.
Sadly the picture doesn’t show how pretty the embossed image looks. Both the sentiment and the floral image have a lovely sheen to it when it catches the light.
If you haven’t tried embossing images and greetings I highly recommend it. It will definately take your cards/projects to the next level.
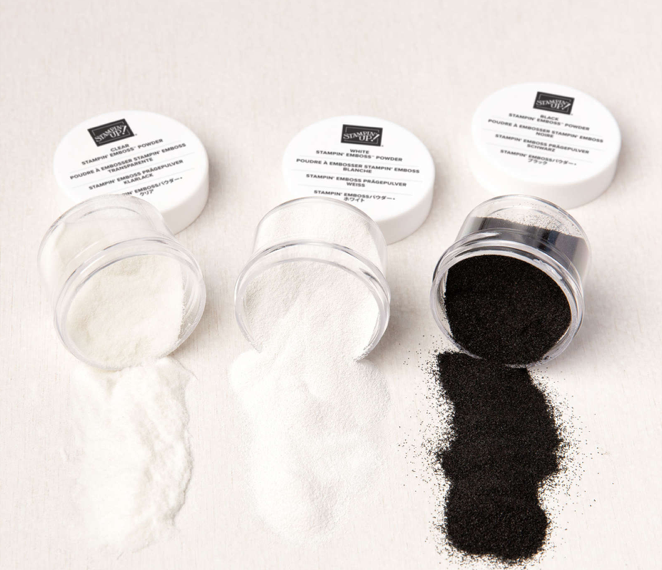
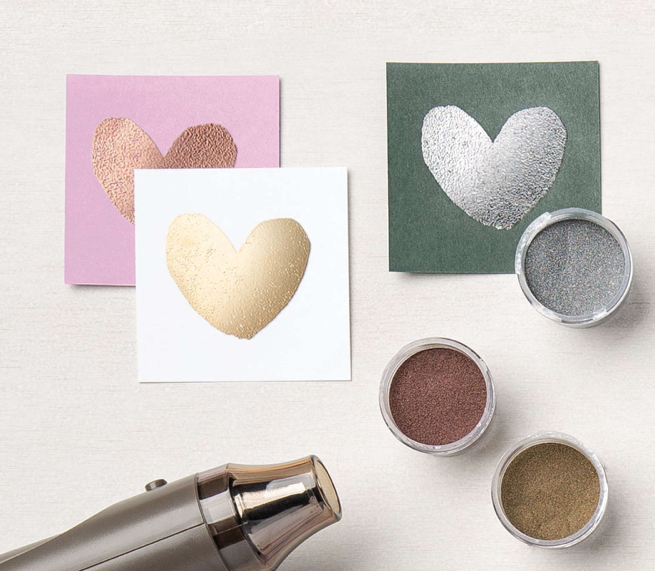
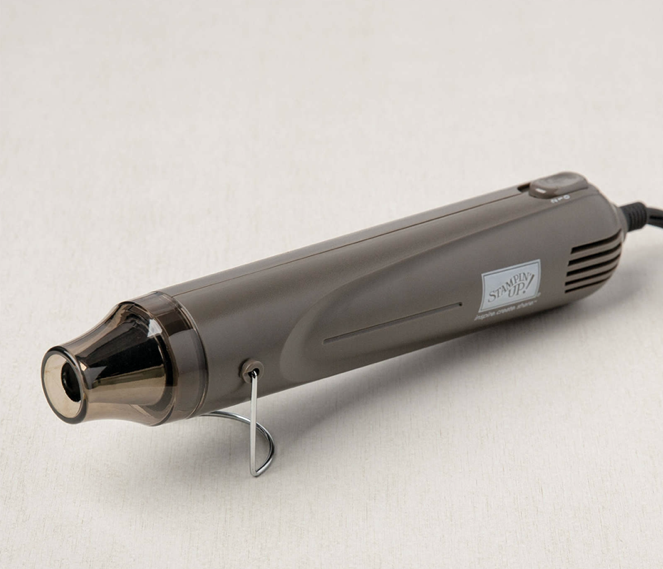
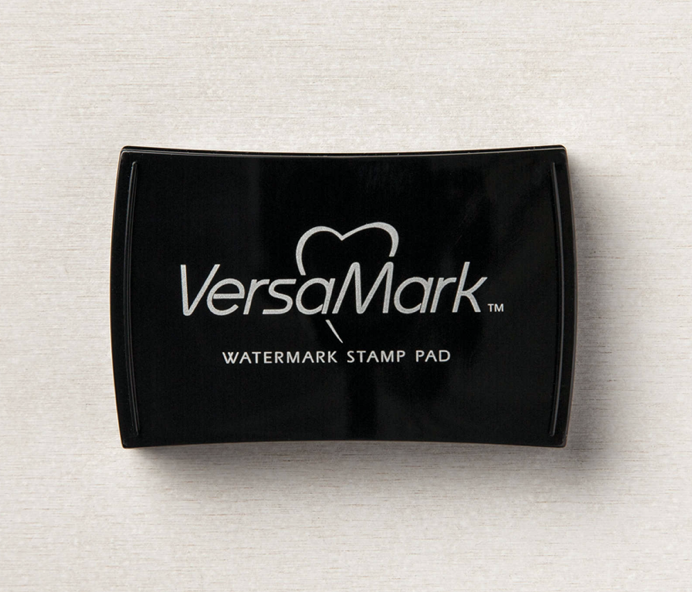
In order to make this card, you will need the following tools; Embossing Powder, Versamark Ink and a heat tool. Stampin’ Up! carries two different packages of Embossing Powders and a little goes a long way. The basic package (item #155554) includes White, Black and Clear powders and the Metallic package(item # 155555) includes Copper, Gold & Silver. You will also need the heat tool to melt the powder and the Versamark Ink Pad. To see more details, just click on the picture below to take you to my online store. When shopping, please use my current Host Code 39XW4GBF and you will receive a free gift and thank you card from me in appreciation.
Supplies used
Soft Succulent card stock
- 5 1/2″ x 8 1/2″
- 3″ x 3 1/2″
Basic White card stock
- 5 1/4″ x 4″ (cut 2)
- 3 1/4″ x 3 3/4″
2021-2023 In-Color designer series paper
- 5″ x 3 3/4″
White Embossing Powder with heat tool
Shaded Summer stamp set
Classic mat dots
Soft succulent ribbon
Versamark Ink pad
Soft Succulent Ink Pad
“Seas” the day and set sail with across the ocean the Sending Good Thoughts Paper Pumpkin Kit! This lovely kit includes beautifully designed nautical imagery, a fun message in a bottle motif, and sentiments that are “shore” to please.
Each kit contains enough supplies to create 9 cards—3 each of 3 daring designs—and 9 coordinating envelopes. This month’s Paper Pumpkin kit will have your loved ones feeling sand-tastic!
We also have a special game for you to play—take part in the Sea if You Know Paper Pumpkin quiz to learn more about Paper Pumpkin and this month’s kit! Plus, subscribers to the Sending Good Thoughts Paper Pumpkin Kit will be entered to win a 1-month prepaid Paper Pumpkin code! ALL active subscribers are eligible to win the prize.
Play the Sea if You Know Paper Pumpkin quiz and share it with your friends! Good luck!
You have two options to become a subscriber.
Monthly – Subscribers will be billed every month on the 10th and will receive their kit automatically usually within 10 days. Note: includes free shipping. To subscribe monthly, CLICK HERE
Pre-Paid – Subscribers can purchase a pre-paid subscription kit (1, 3, 6 or 12 months) and you will receive a code which you can redeem on www.paperpumpkin.com. This gives you the flexibility of choosing which monthly kit you want. Note: shipping is extra. To become a Pre-Paid subscriber, CLICK HERE
BOTH TYPES OF SUBSCRIBERS are eligible to purchase additional refill kits and specific “Add Ons” where available
Leave a Reply