Hi everyone, I’ve been a bit lazy with my card making lately, relying on techniques I use all the time. So, I decided to shake up my crafting mojo by experimenting with both new and old techniques, for upcoming card classes. Some techniques I have been experimenting with, I haven’t used for a while and some techniques are brand new.
Today I would like to show you how to create a Tile Card. They are so much fun to make, I couldn’t stop, so I made several in different colours using various stamp sets.
To make these cards.
Make up your card base of 5 1/2″ x 8 1/2″ then score at 4 1/4″. Fold and burnish to give it a good crease

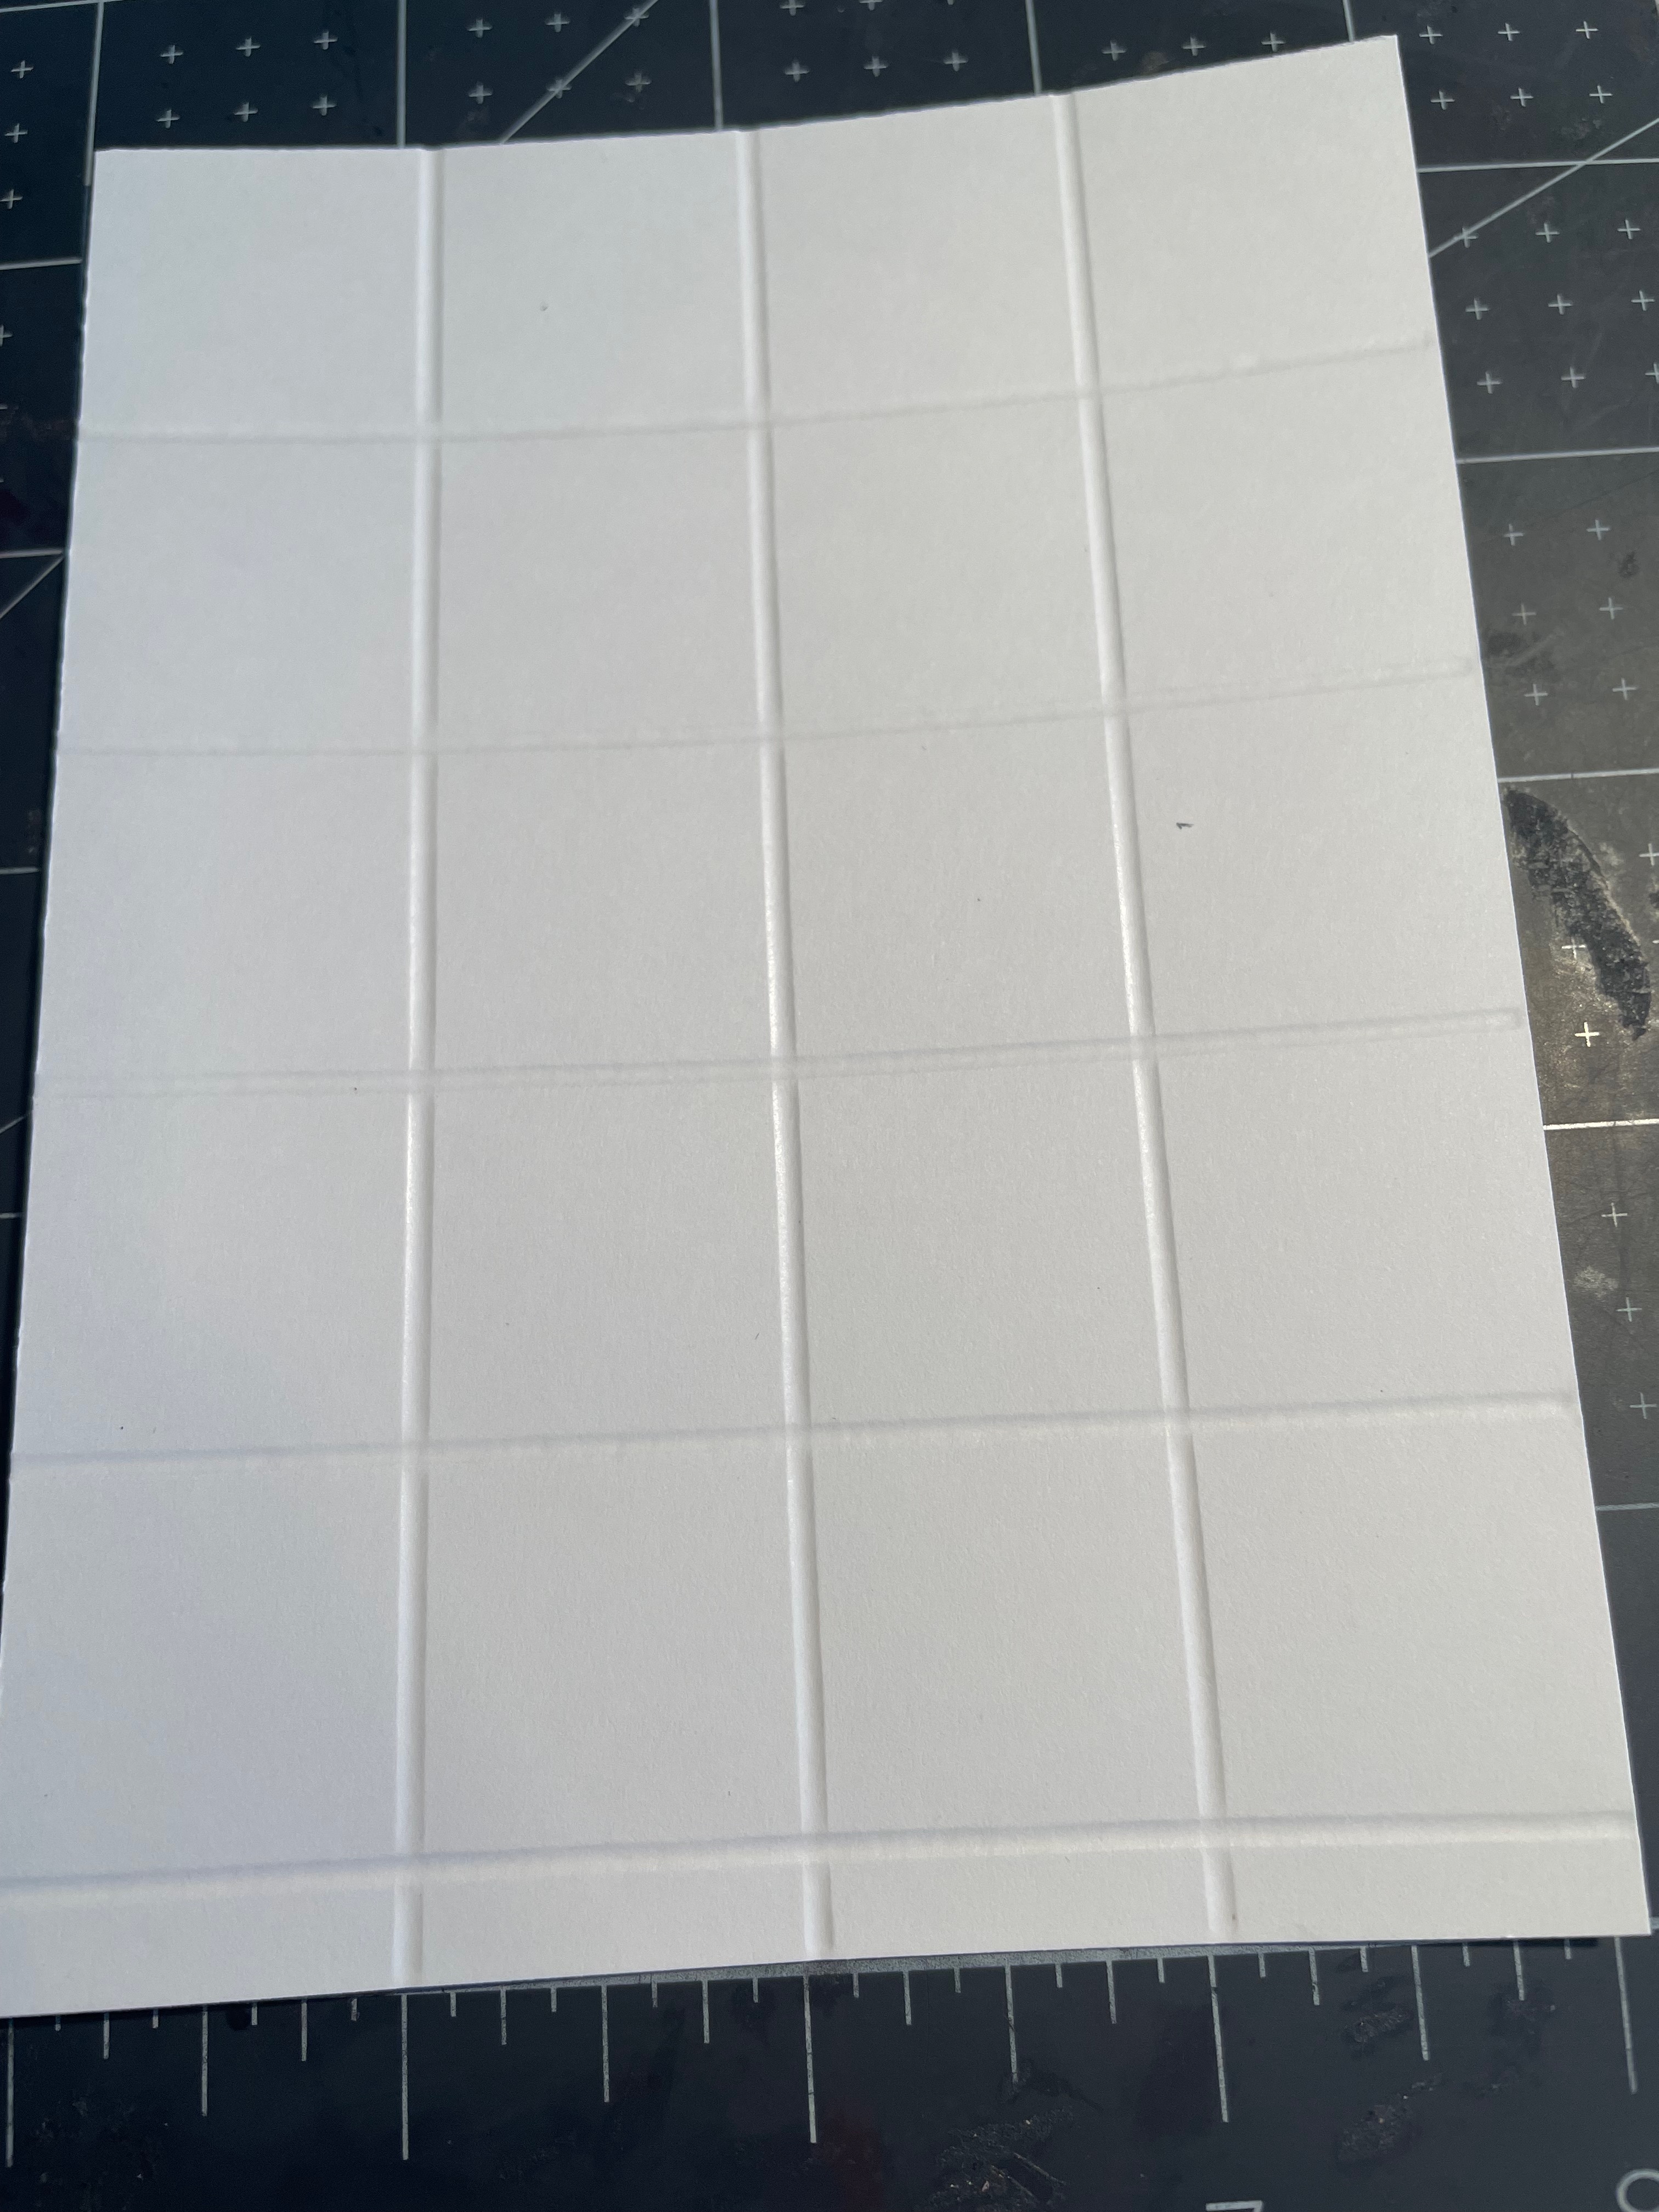
With my card front, 4″ x 5 1/4″, I scored the lines using my scoring tool and the large end of my stylus tool. This way, you are getting nice deep score lines. I also went over the score lines a couple of times for make sure it is nice and deep.
TIP: The paper trimmer does not give you the deep score lines you need, so use a bone folder to score.
On the 4″ side, score at 1″, 2″ and 3″
On the 5 1/4″ side, score at 7/8″, 1 7/8″, 2 7/8″, 3 7/8″ and 4 7/8″.
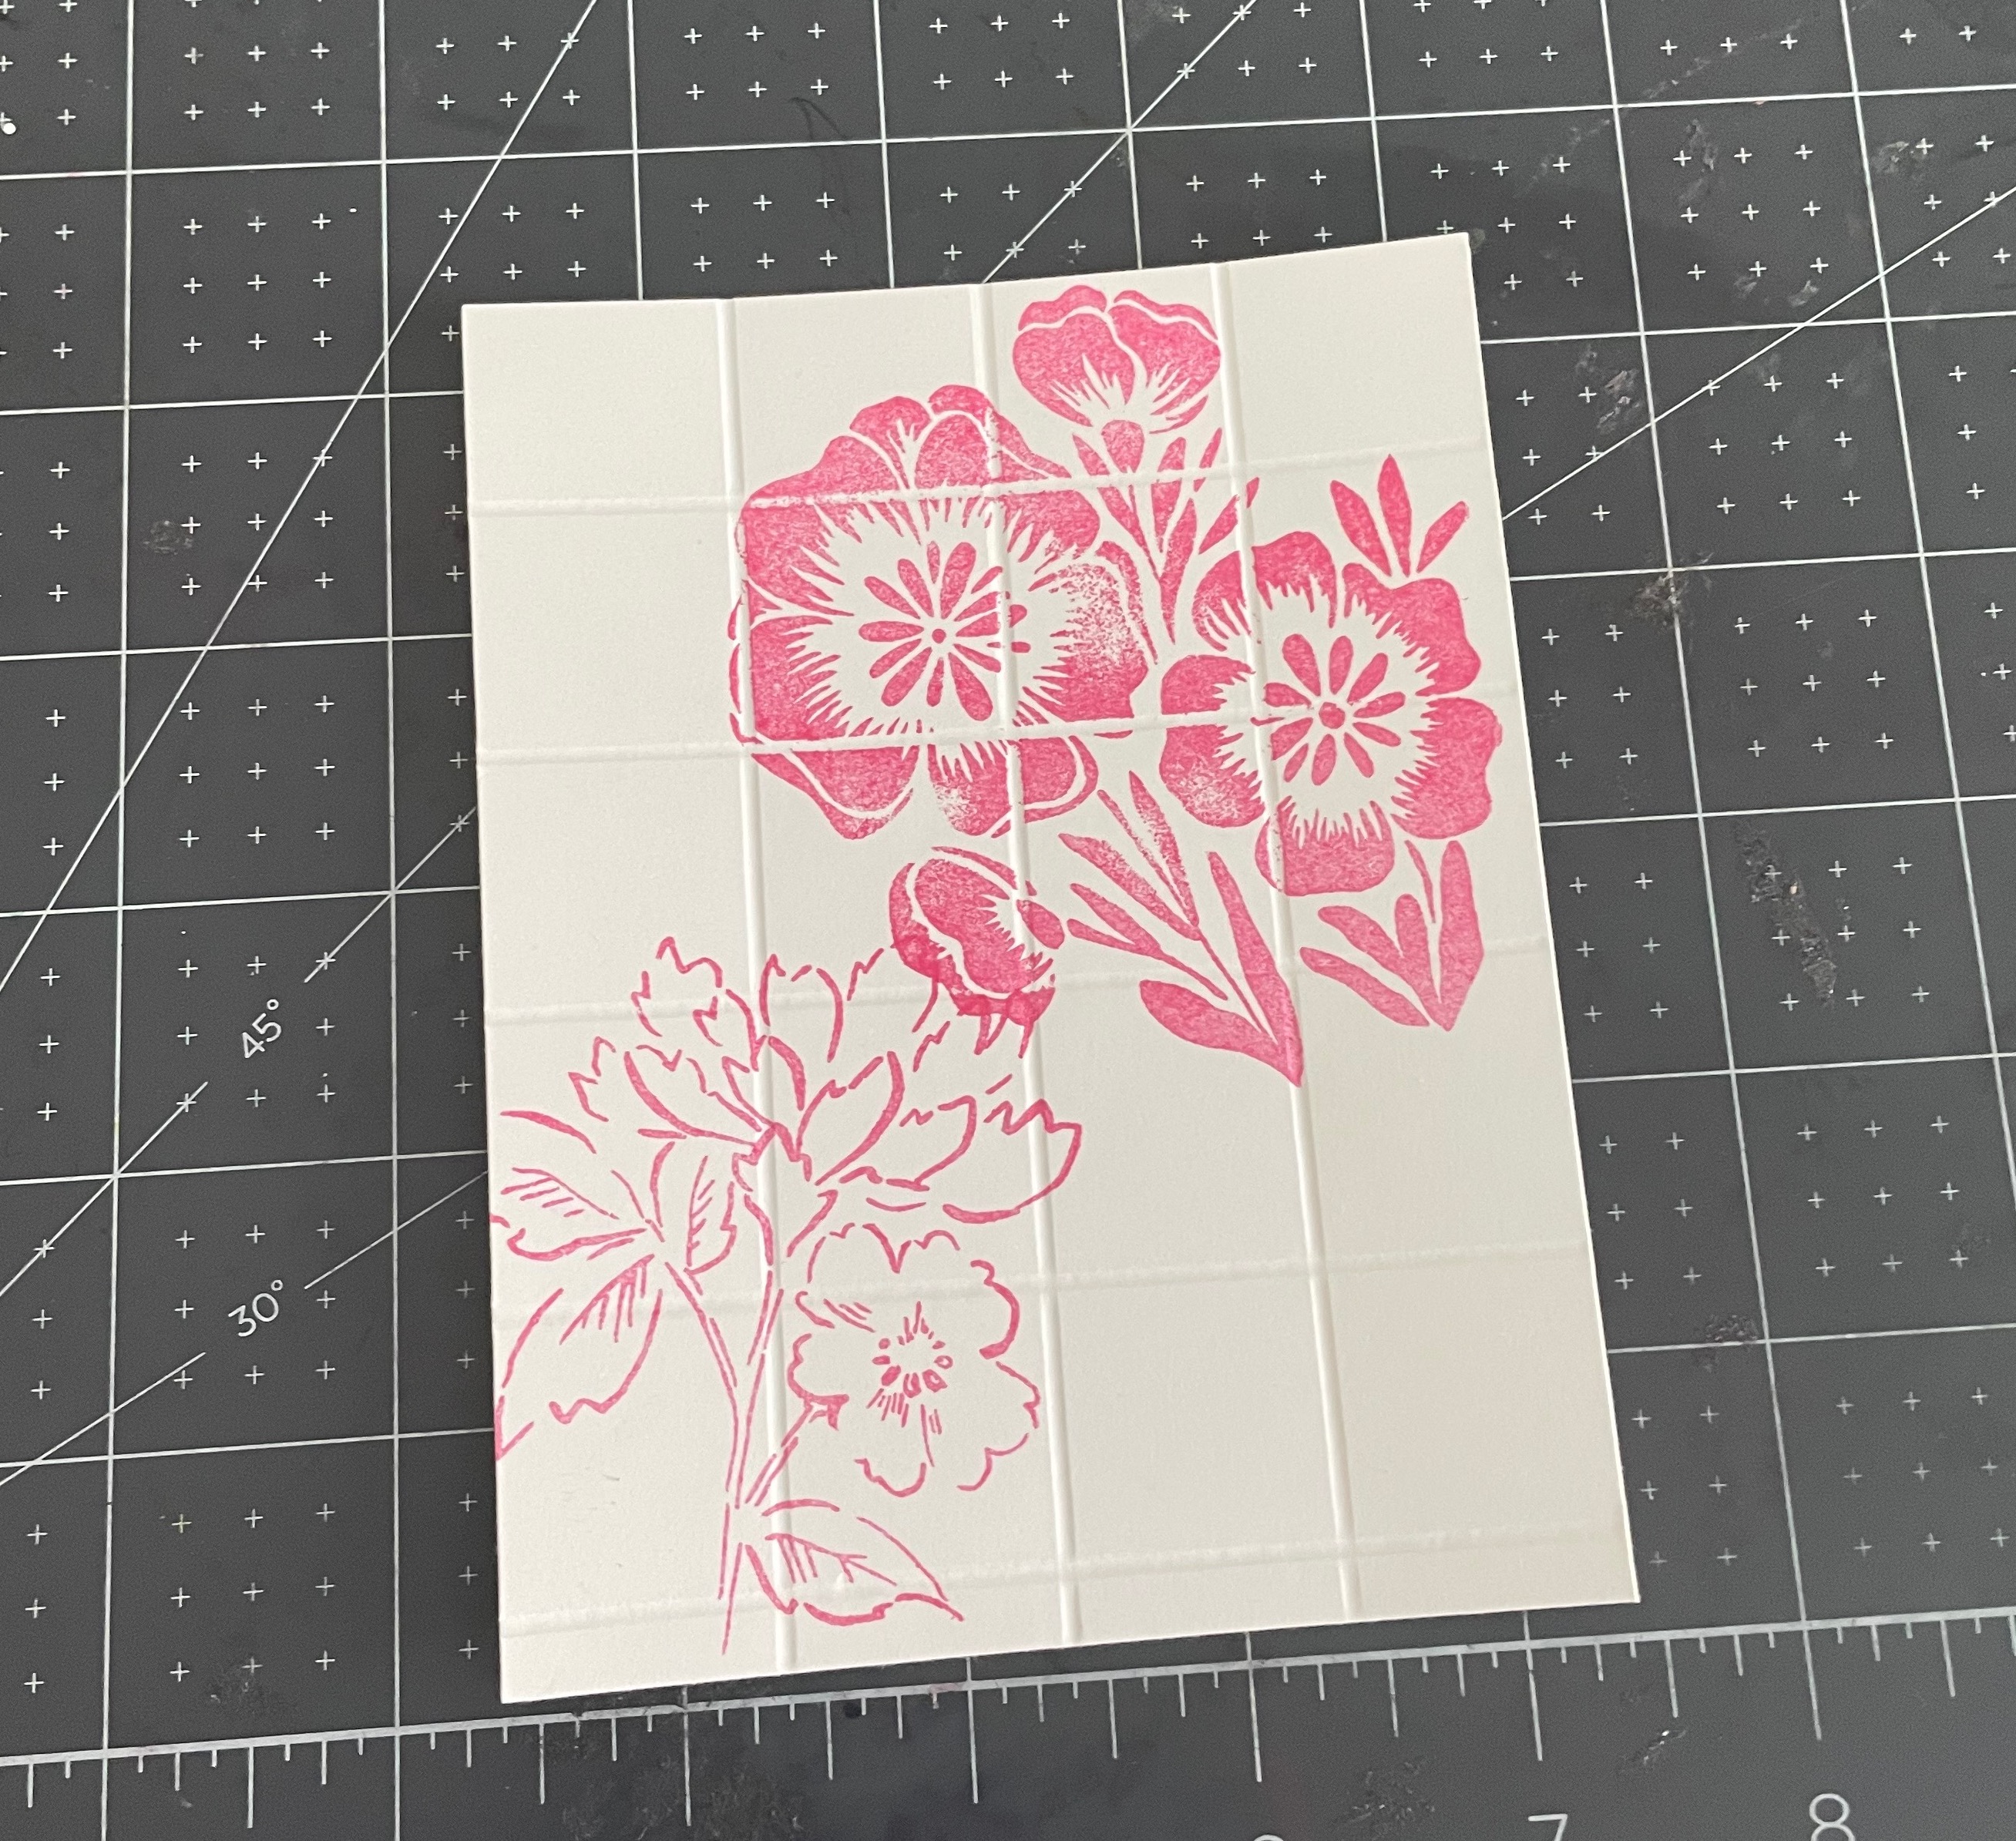
When stamping, choose a stamp that has a full coloured image and not an outline stamp. As you can see , the outline stamp doesn’t really show up that “tiled” look while the coloured image stamp clearly shows the lines in between
I like the larger stamps for this technique, however as an option, you could stamp very small images in each square for a different look. Hmmm…I may have to try that!


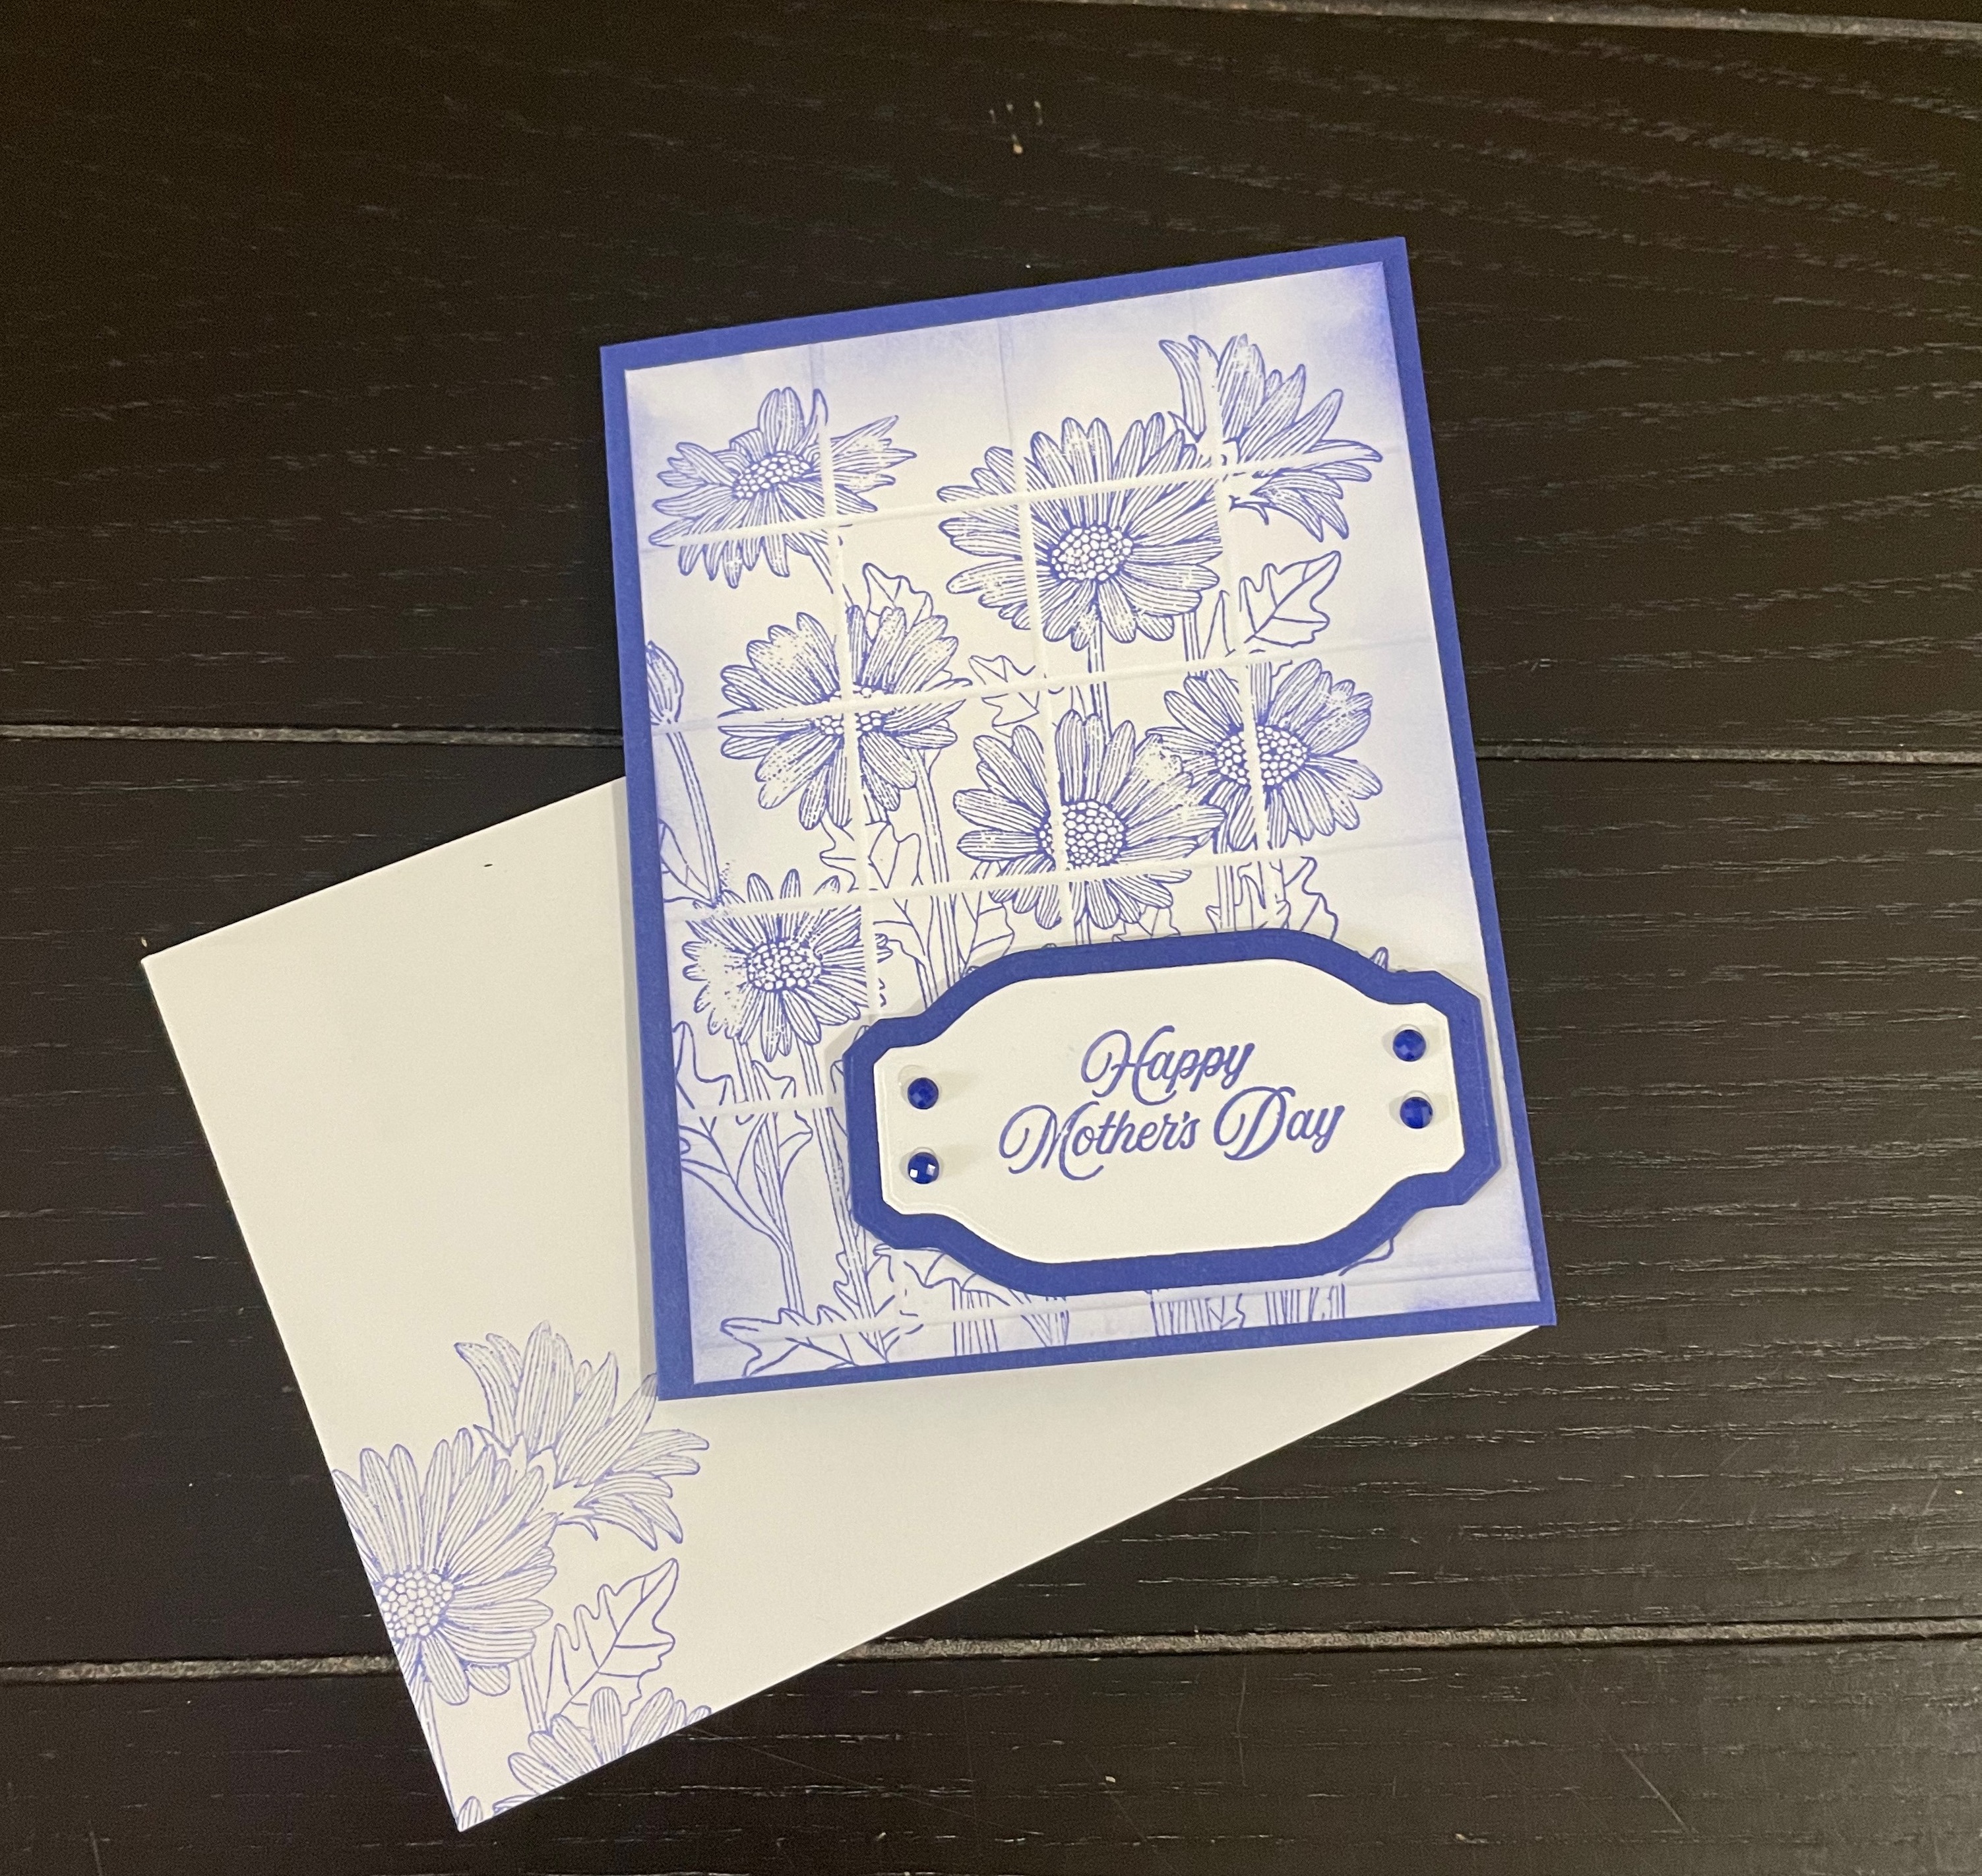
For this card, I used the “Daisy Garden” Stamp set and after stamping the image, I sponged around the edges, taking care not to cover up the score lines.
After adhering it to the front of my card base, I added my greeting.
For this card, I cut out my greeting using the “Something Fancy” Dies. I love how the two sizes of the dies line up beautifully.
The greeting I used, is from the “Celebrating You” stamp set which has 16 stamps for all occasions, so versatile. Of course, I also added a bit of bling and stamped my envelope to finish it off.
TIP: Do not press down too hard or you will fill in the score lines, loosing that tile effect.
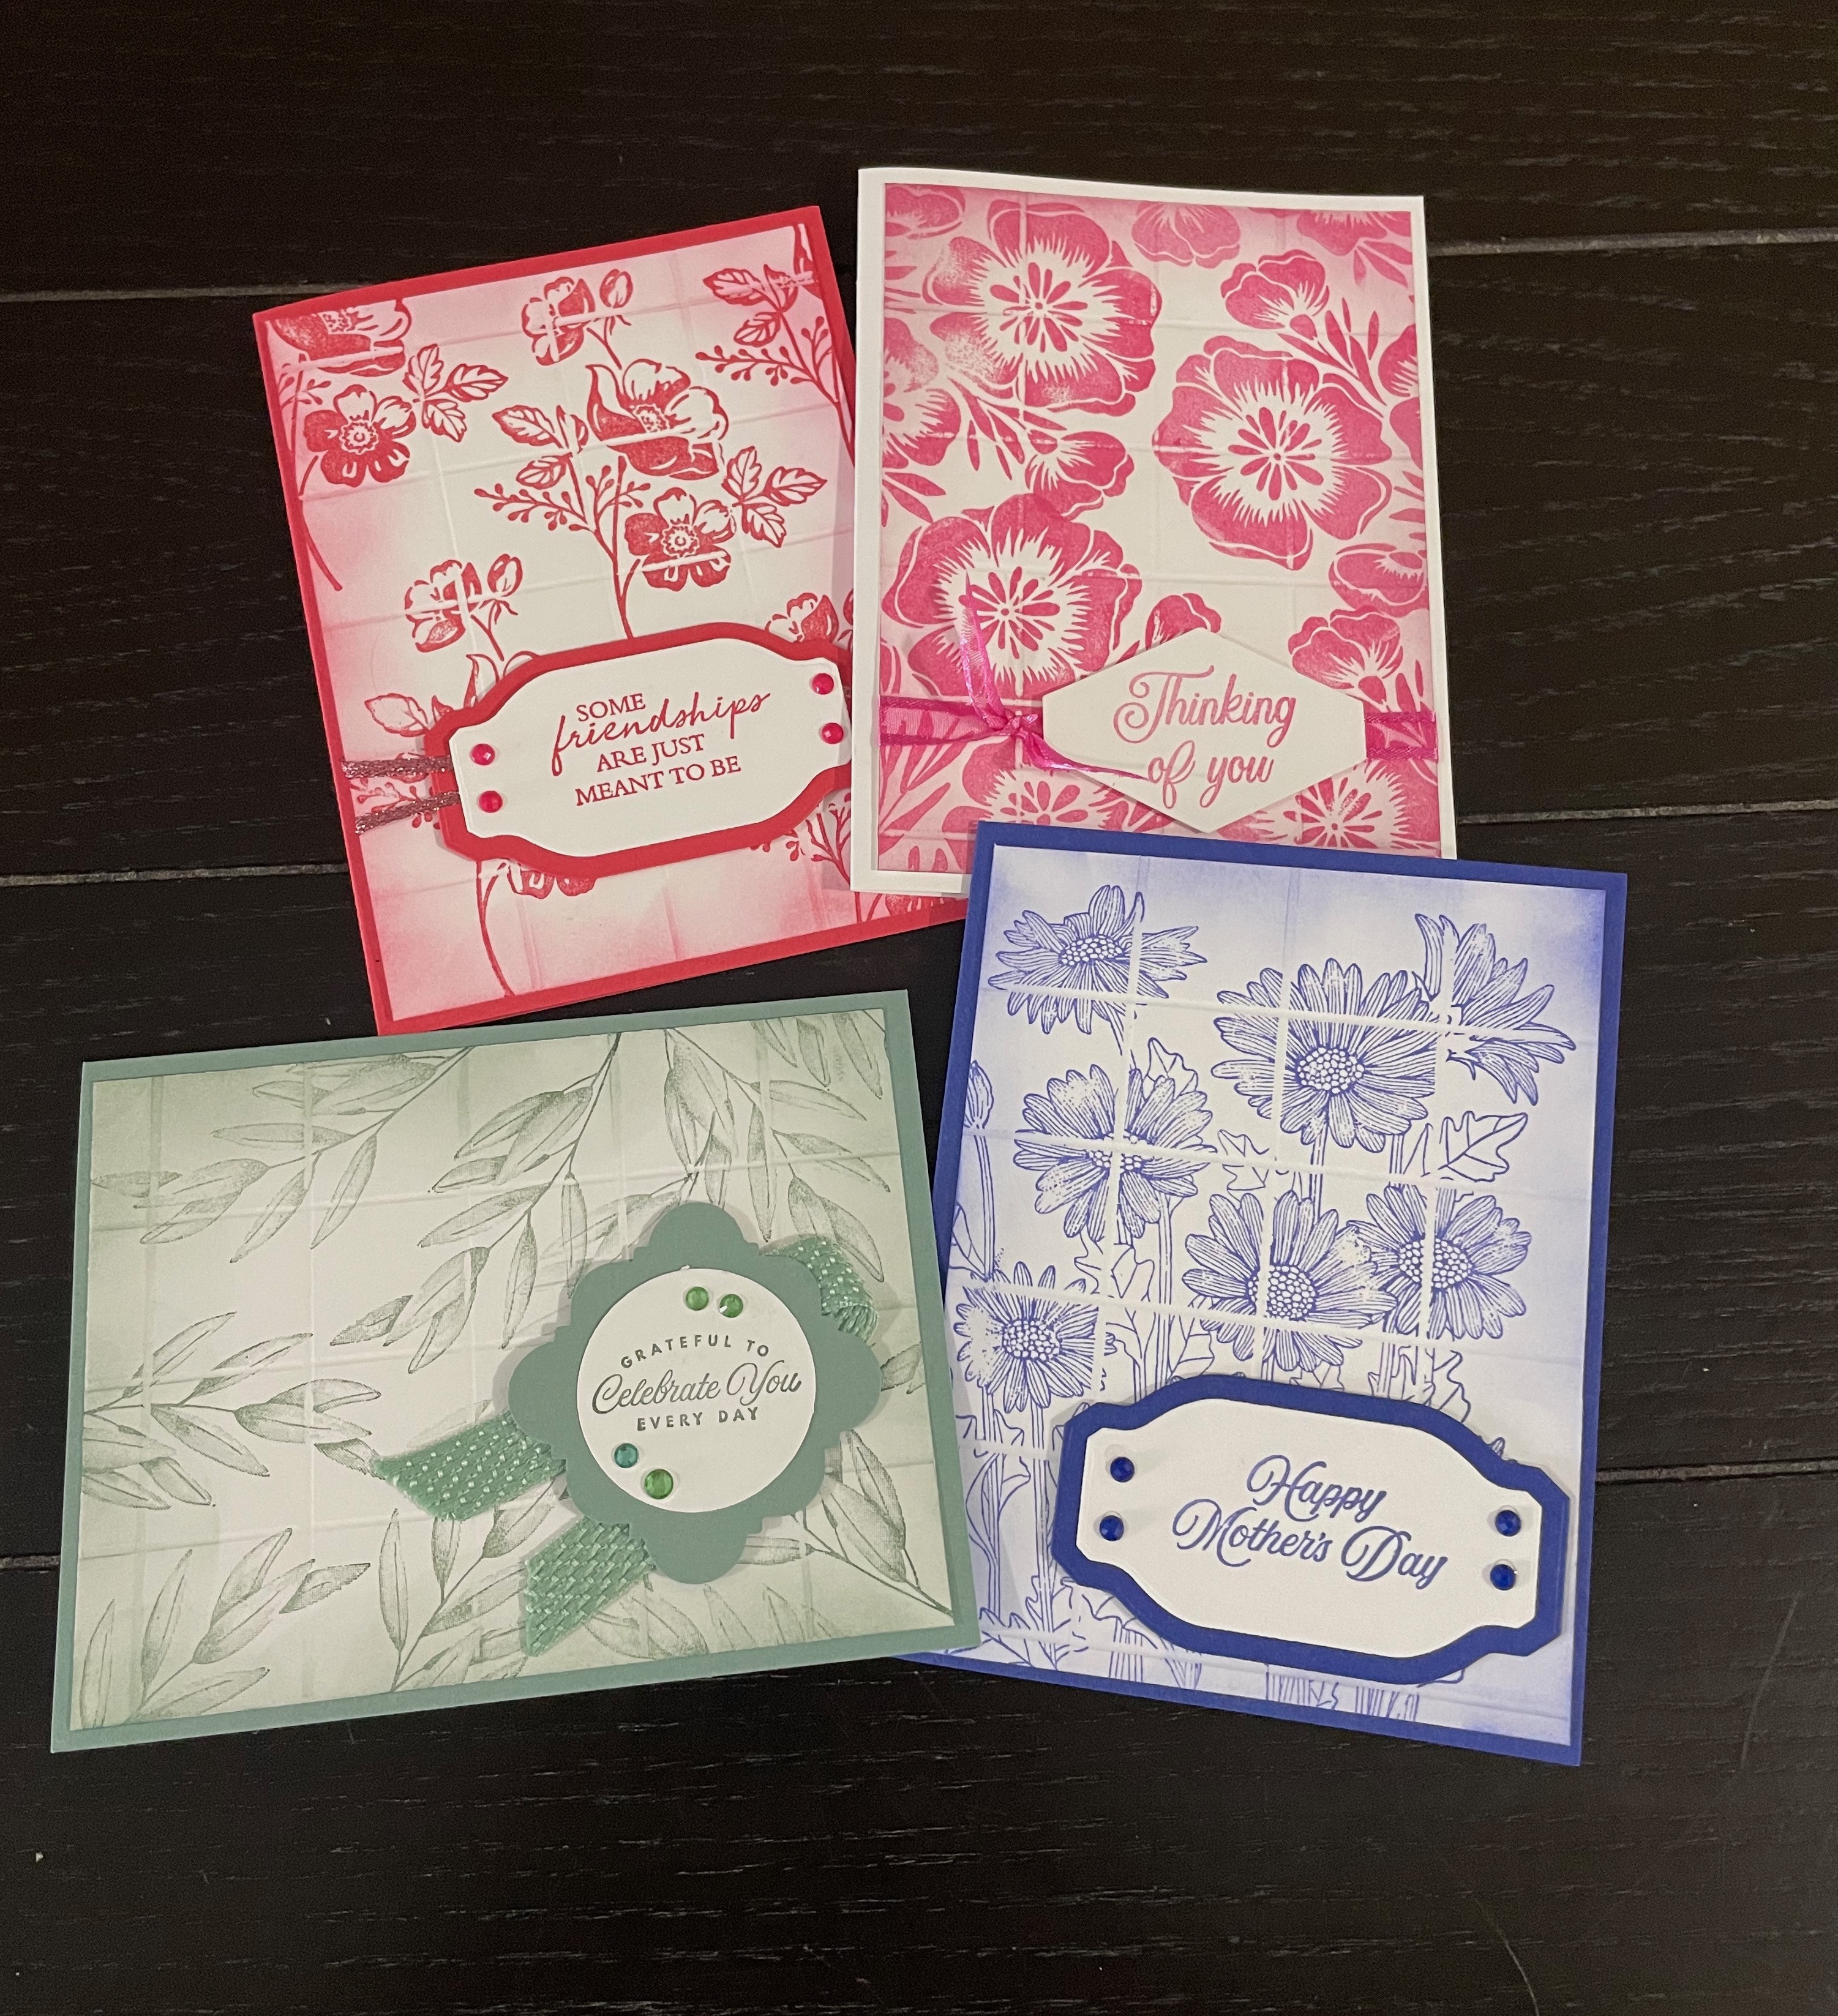
As mentioned, after making one card, I had to experiment further and make a number of cards, in various colours and stamp sets.
Stamp sets used to make these cards were Shaded Summer, Lovely & Lasting, and Forever Fern as well as the Daisy Garden.
I am loving them all and each one is so unique. Let me know which is your favourite?

To purchase any of the products I used today, please visit my online store by CLICKING HERE! When shopping, please use my current Host Code – VQQP2GJJ for all purchases under $200. If you order is over $200 do not use the host code.
All orders placed with me, I will send you a gift and thank you card from me in appreciation of your business!
Product List
Good things take time, but you can start creating them now with the All the Little Things Paper Pumpkin kit!
This month’s kit includes everything you need to make up nine cards, three each of three designs, with elegant designs and bright colours. The iridescent foil is the shining detail to bring your crafts together. You can make a card for anyone and for any occasion!
GET A FREE BOX ORGANIZER WHEN YOU SUBSCRIBE TO APRIL’S KIT!
The All the Little Things Paper Pumpkin kit is special for many reasons, but when you subscribe to this month’s kit, you’ll get a FREE box organizer! The organizer can be customized to different sizes of compartments, depending on what you want to store. It’s a great way to keep track of products from past kits. CLICK HERE to subscribe and get the April kit and the free box organizer!


We all fall into ruts, don’t we? It’s nice to pull out some old techniques and make them new again. Your cards are lovely.
I agree, we get comfortable with routine. It is fun to break the mold and try new things. I am so happy you like my cards and appreciate the feedback
Thank you, Susan.