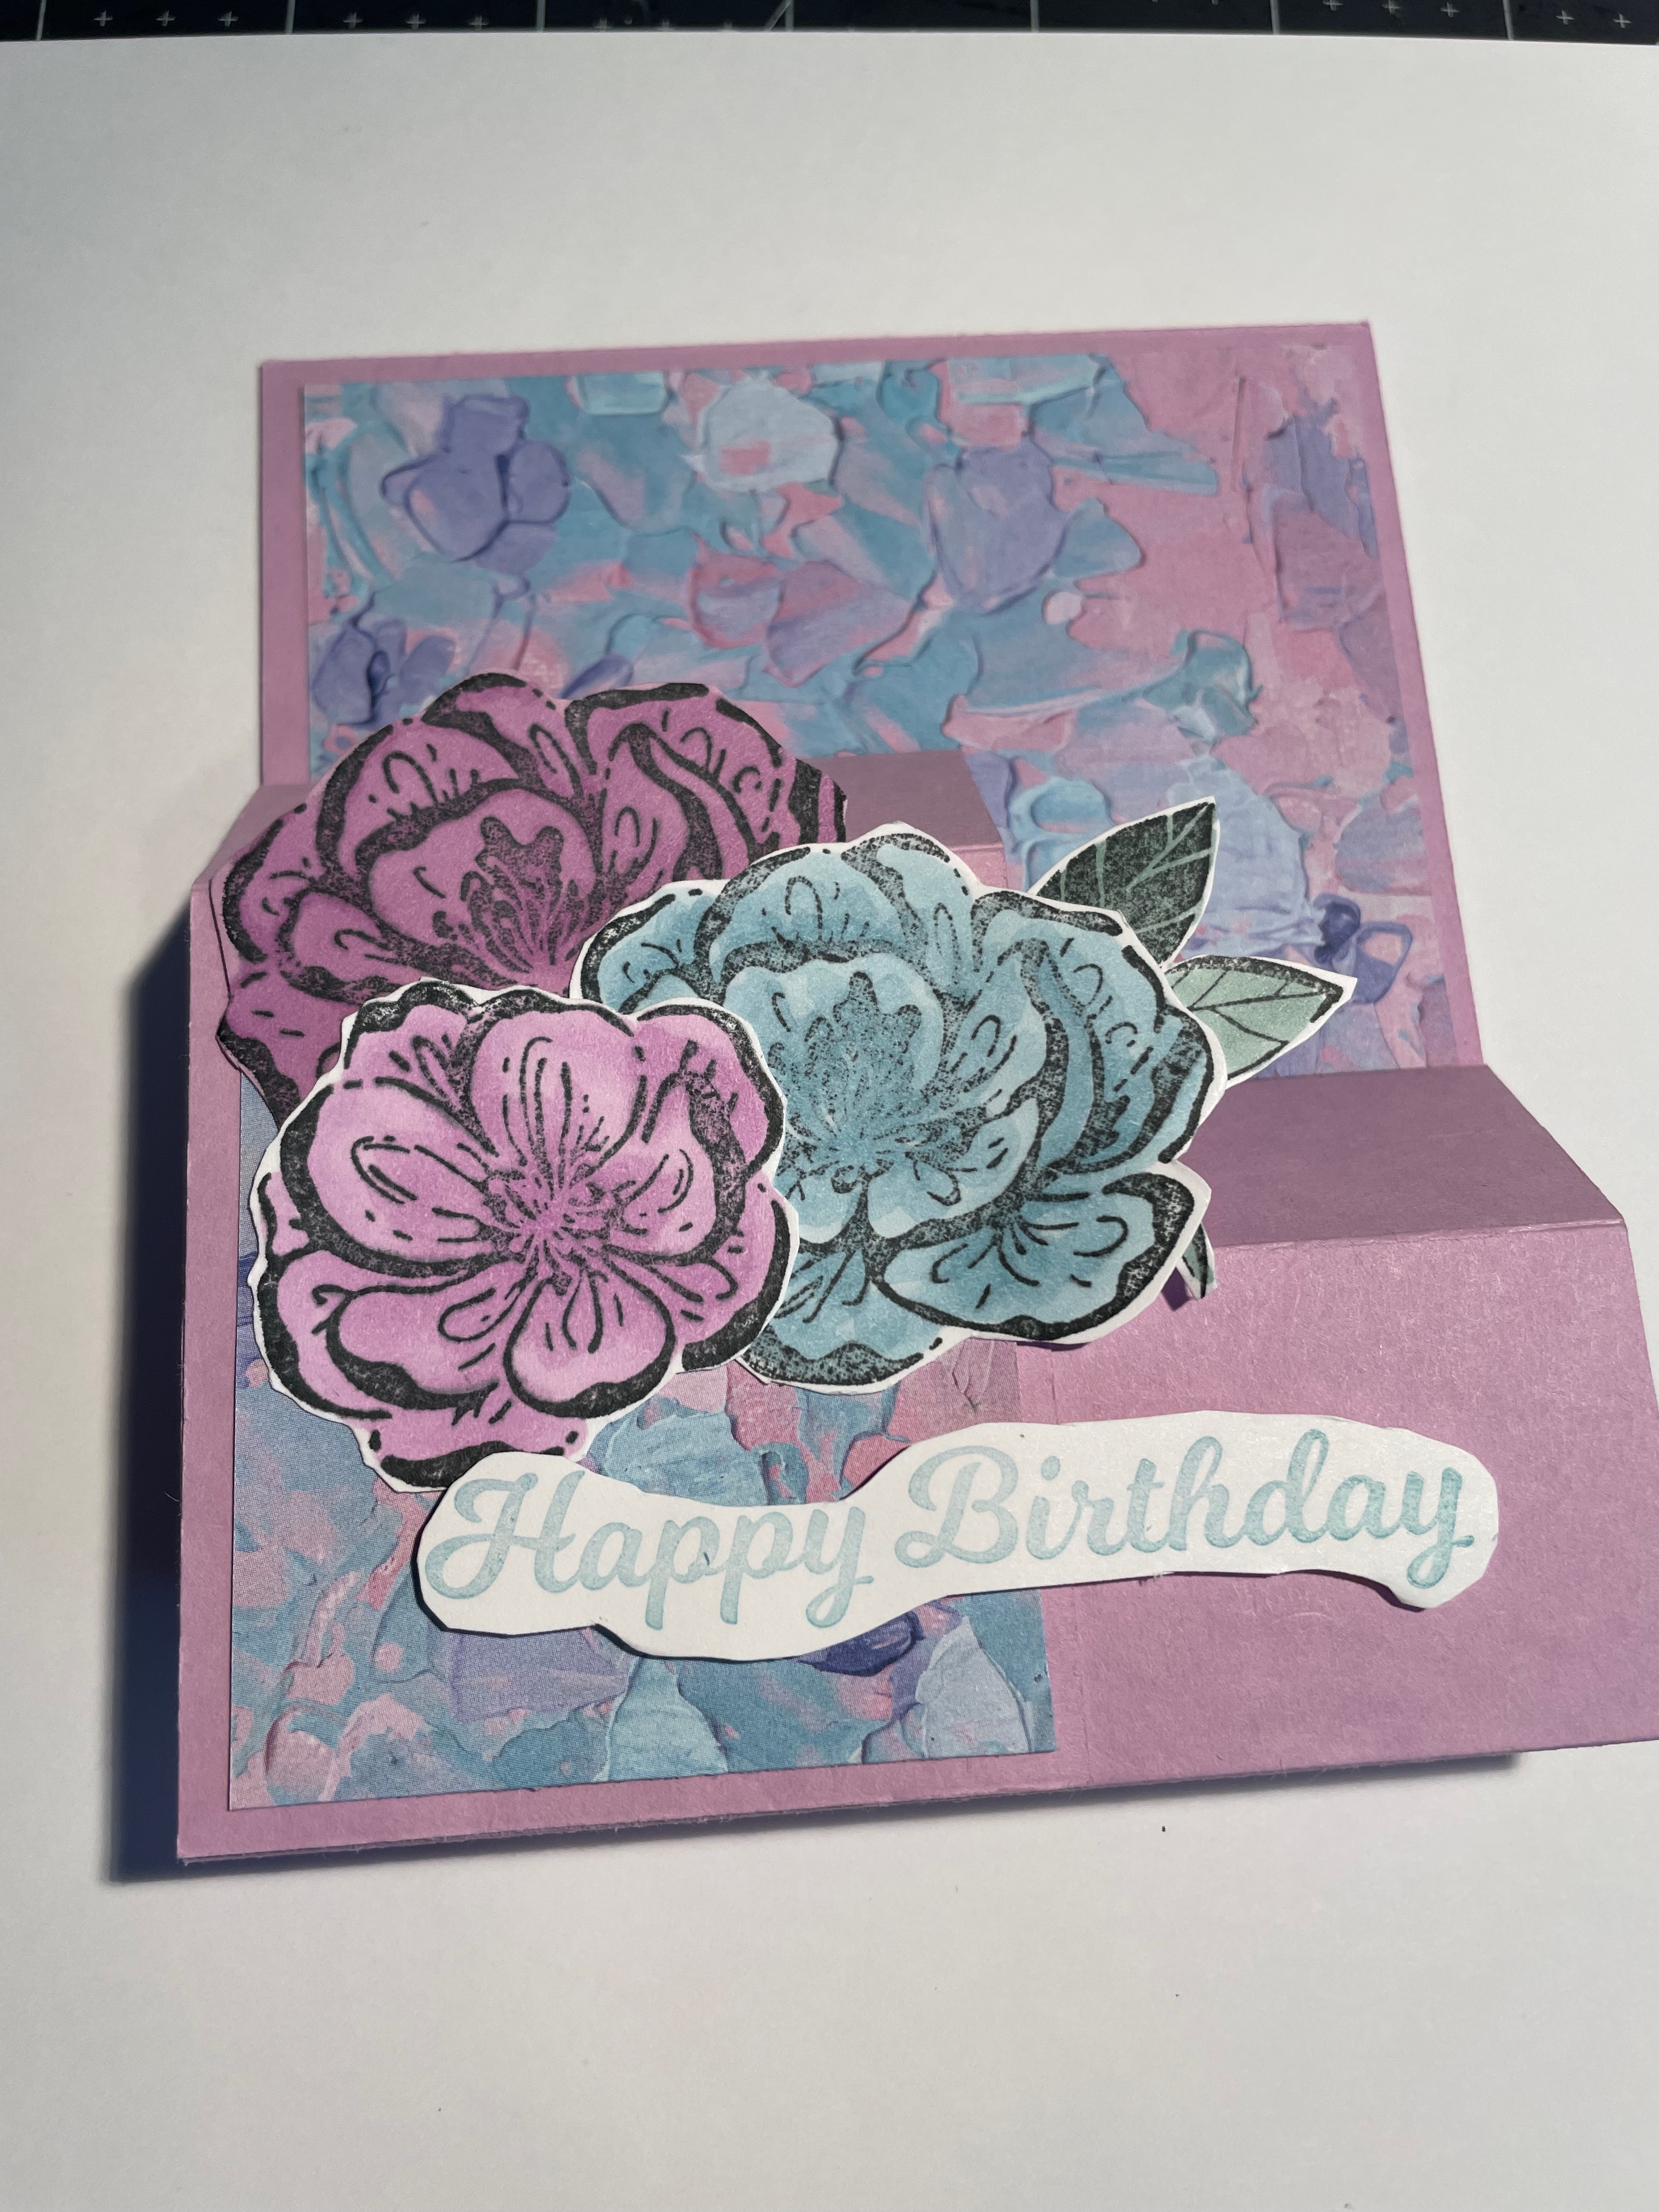
Hi Everyone, today I would like to show you how to make a Two Step Fun Fold Card. Although it looks complex, it really is quite easy to make up and I just love how the card stands up on the table top or mantle for display. So for my first card, I used the Irresistible Blooms stamp set and the Fancy Flora designer series paper.
After making the first, I had to make a second card and this time, I used the Daffodil Daydream stamp set and some of the lovely Dainty Delight designer series paper from the recent Sale-a-bration promotion. Scoll down to see the second card.
So let’s get started.
You will need the following supplies;
Fresh Freesha Card stock
- Step 1 – 4 1/4″ x 8 1/2″
- Step 2 – 2 1/2″ x 4 1/4″
Basic White Card stock
- 4″ x 4 1/4″ (card back)
- Scrap for stamping a greeting
- Scrap for stamping decorations
Fancy Flora Designer Series Paper
- 2 7/8″ x 4″ (card front)
- 2 1/2″ x 2 1/4″ (Step 2)
- 3/4″ x 4″ (optional for card back)
TIP: Pay attention when using directional paper
To make up this card
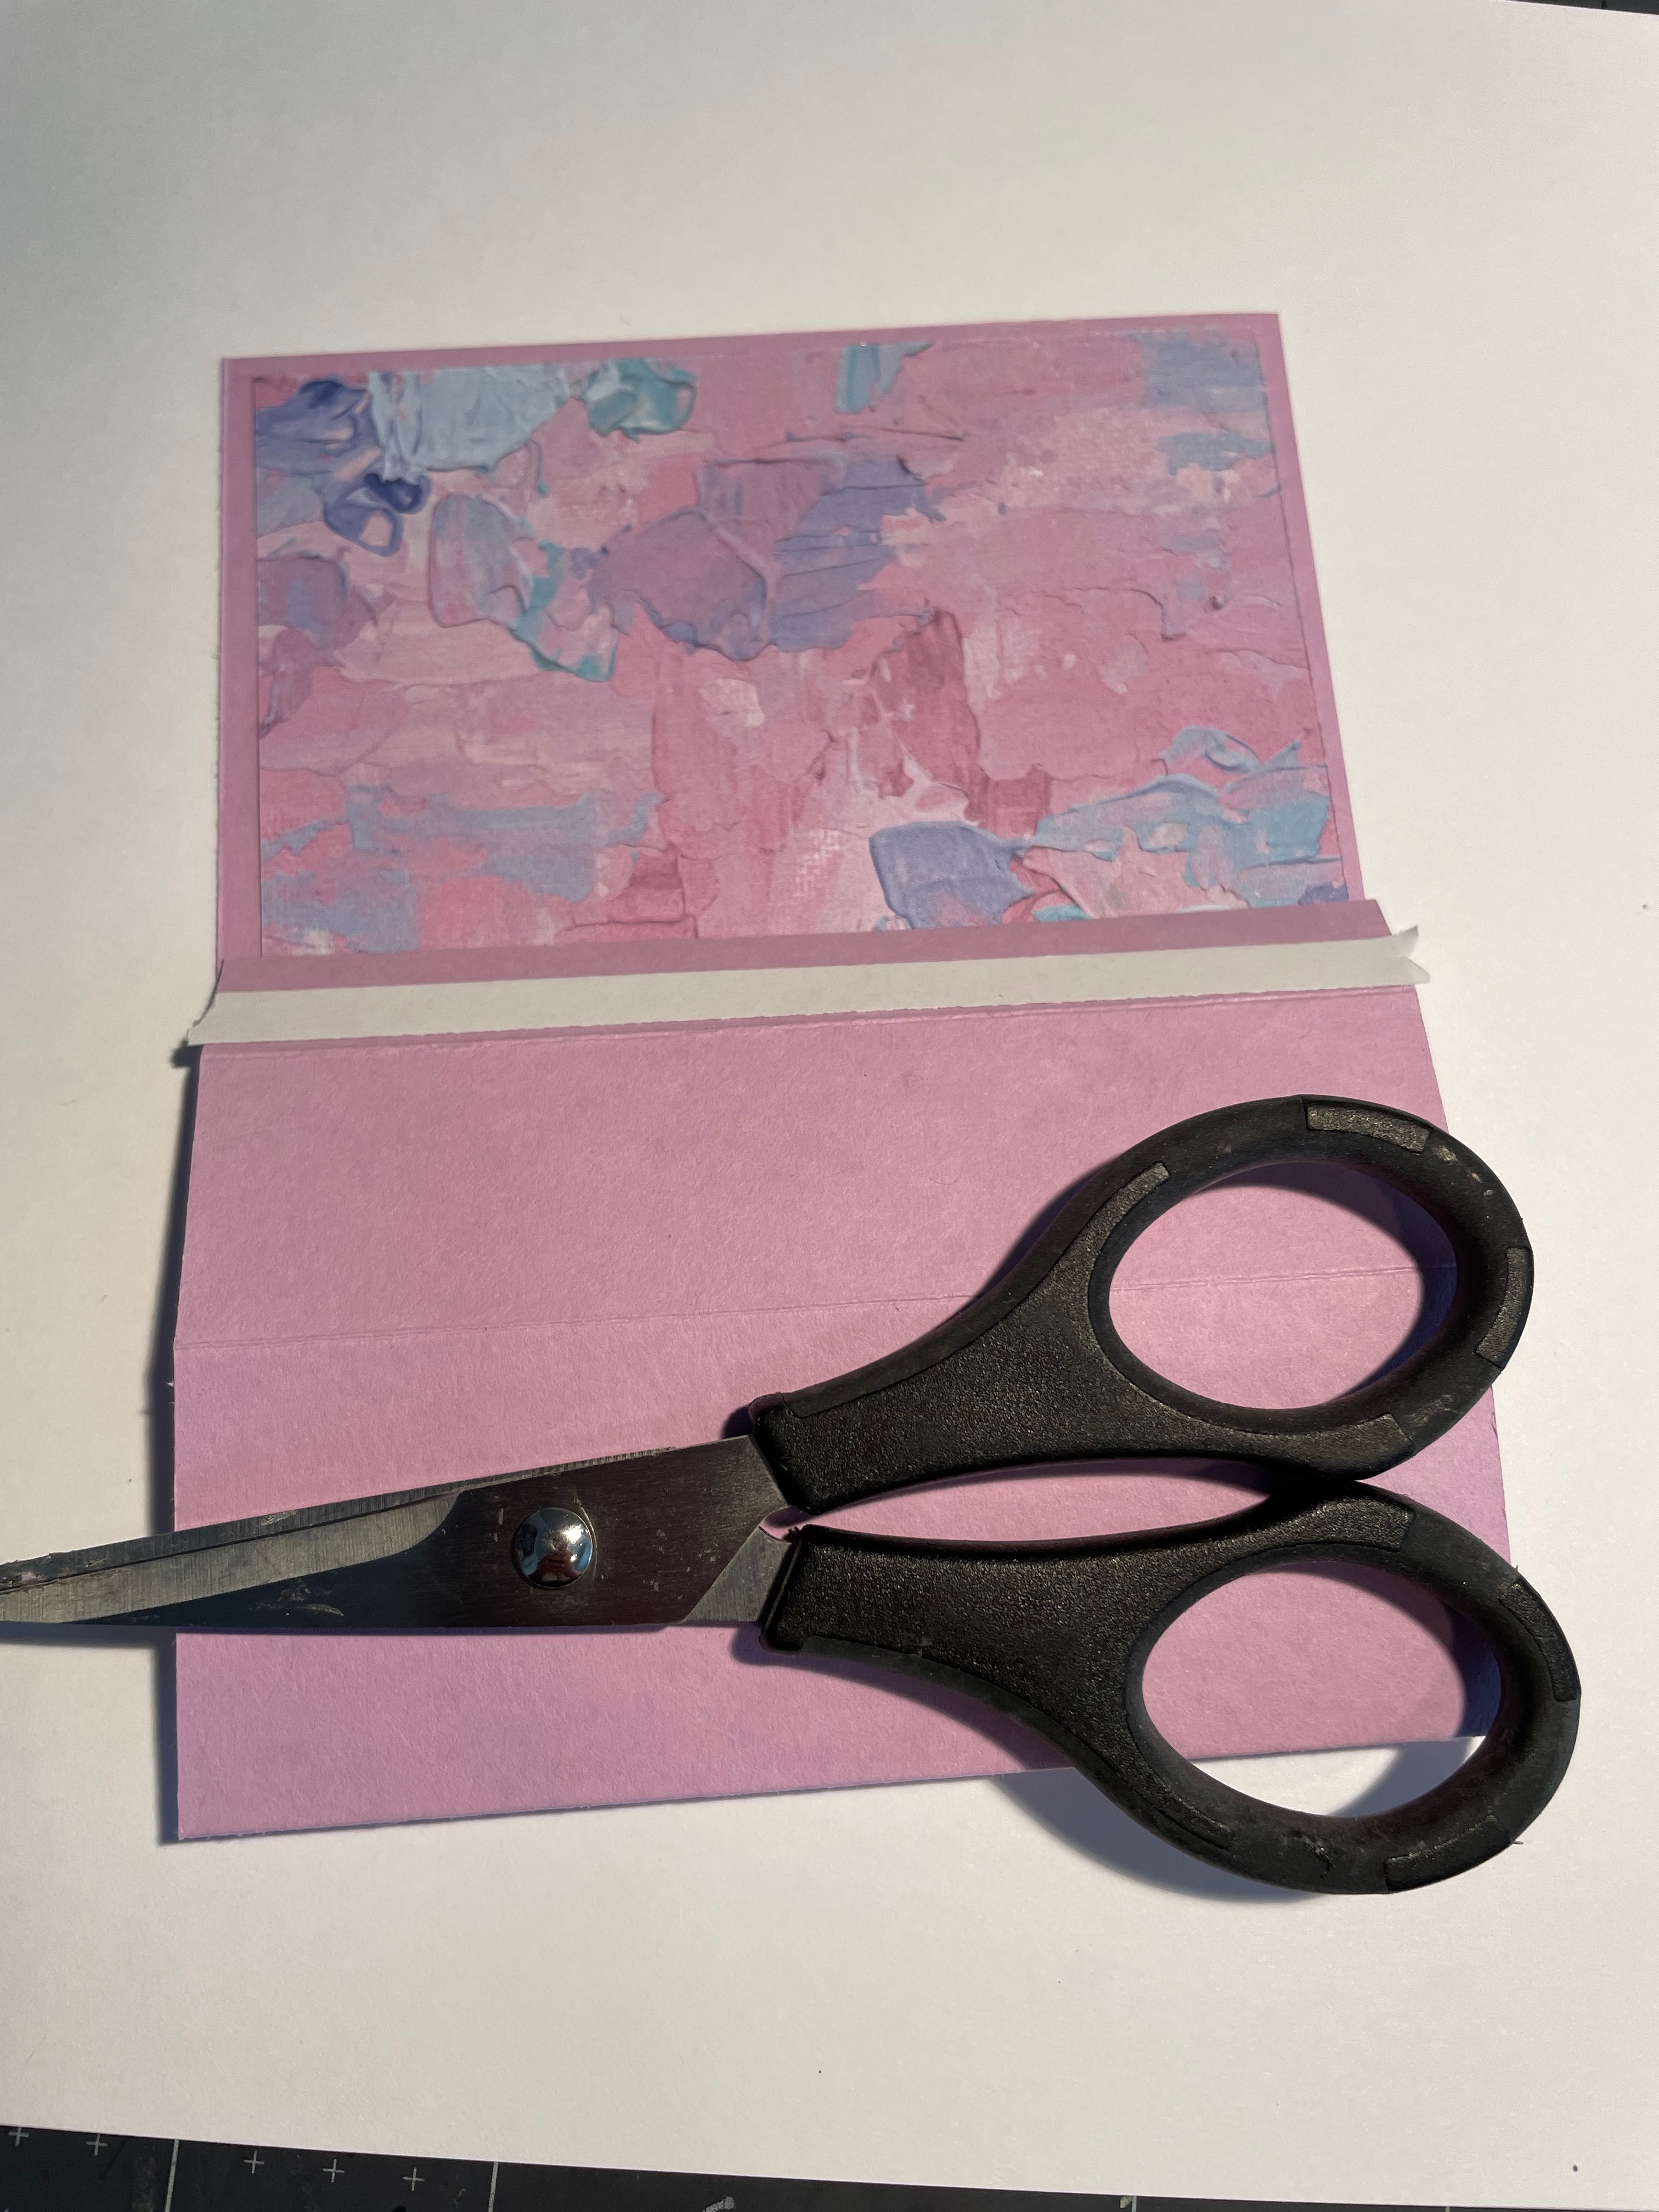
Score your card stock on the long side at 1/2″, 1 1/2″, 3″ and 4″
Score the smaller piece at 1/2″ and 1 1/2″
Fold and burnish all the score lines, gently rolling up the score lines so they curl inwards to form a box at the bottom

Fold and burnish all the score lines, gently rolling up the score lines so they curl inwards to form a box
With the curled up bottom facing you, adhere the 4″ x 2 7/8″ piece of DSP to the top of the card stock.
Fold up the card stock base upwards towards the DSP at the the third score line from the bottom. Run a strip of Tear and Tape across the bottom flap and remove the paper backing, tucking the flap underneath.
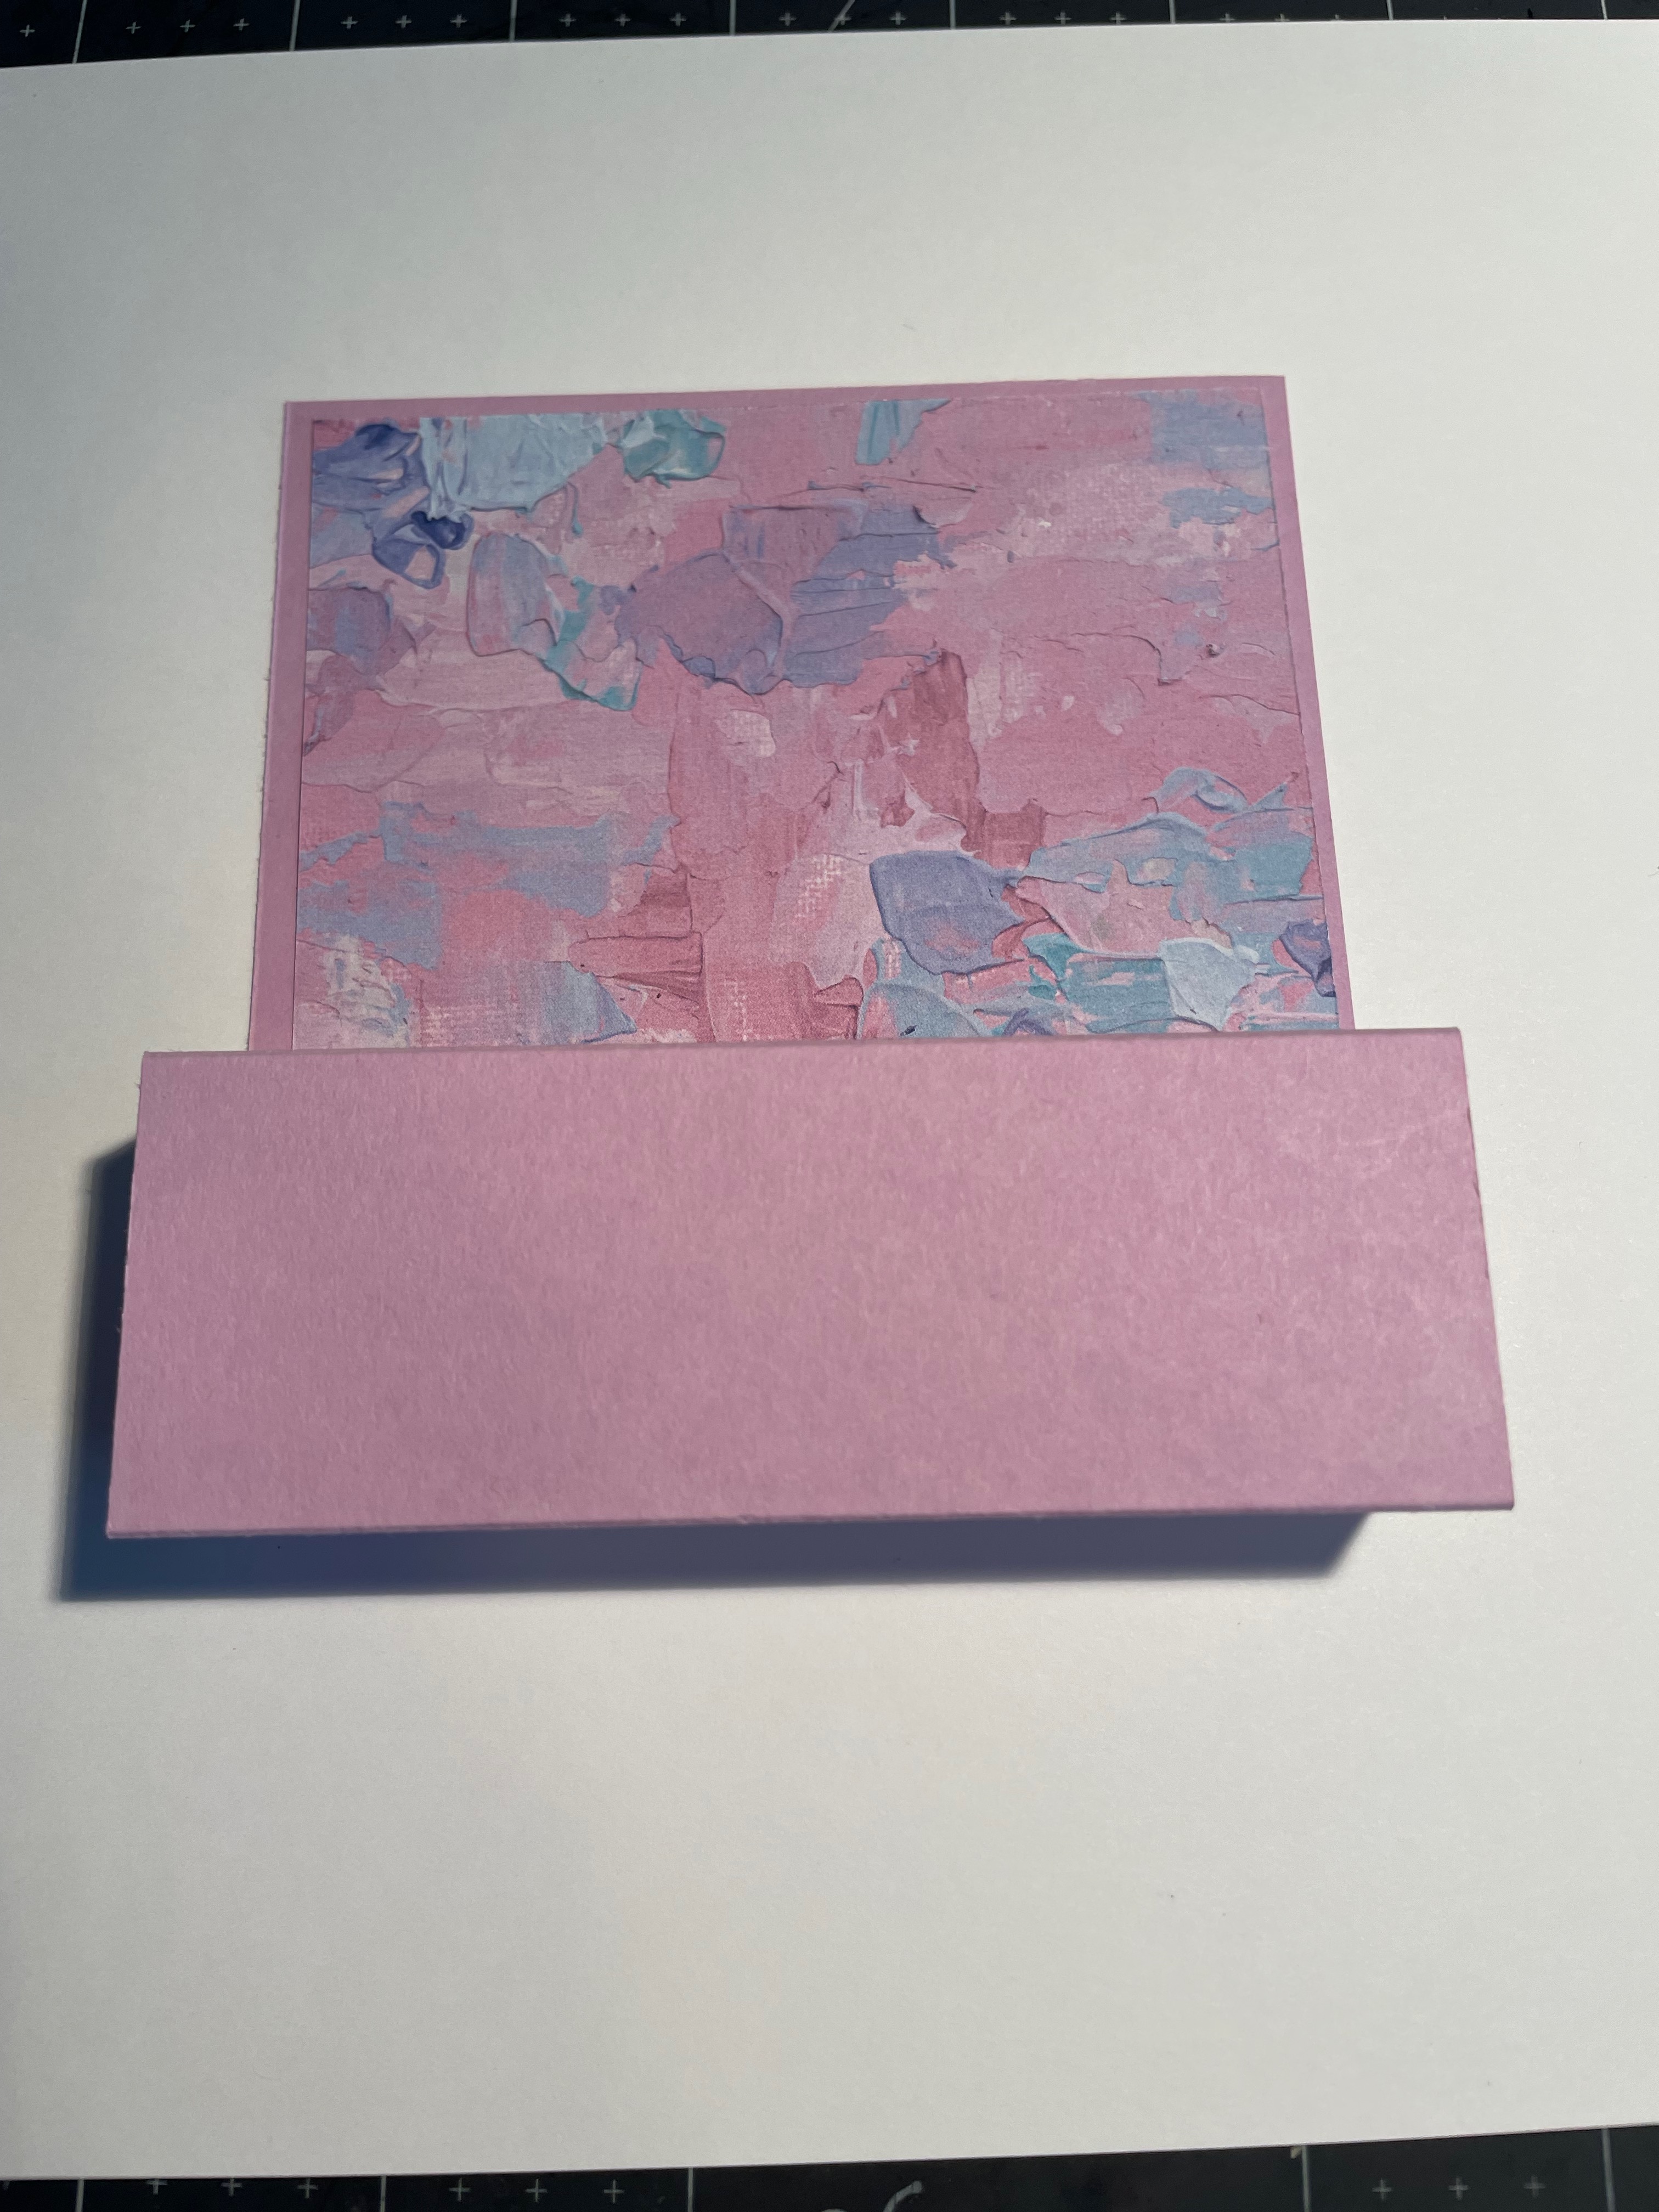
This creates Step 1 of your card. When you open up, it should look like this.
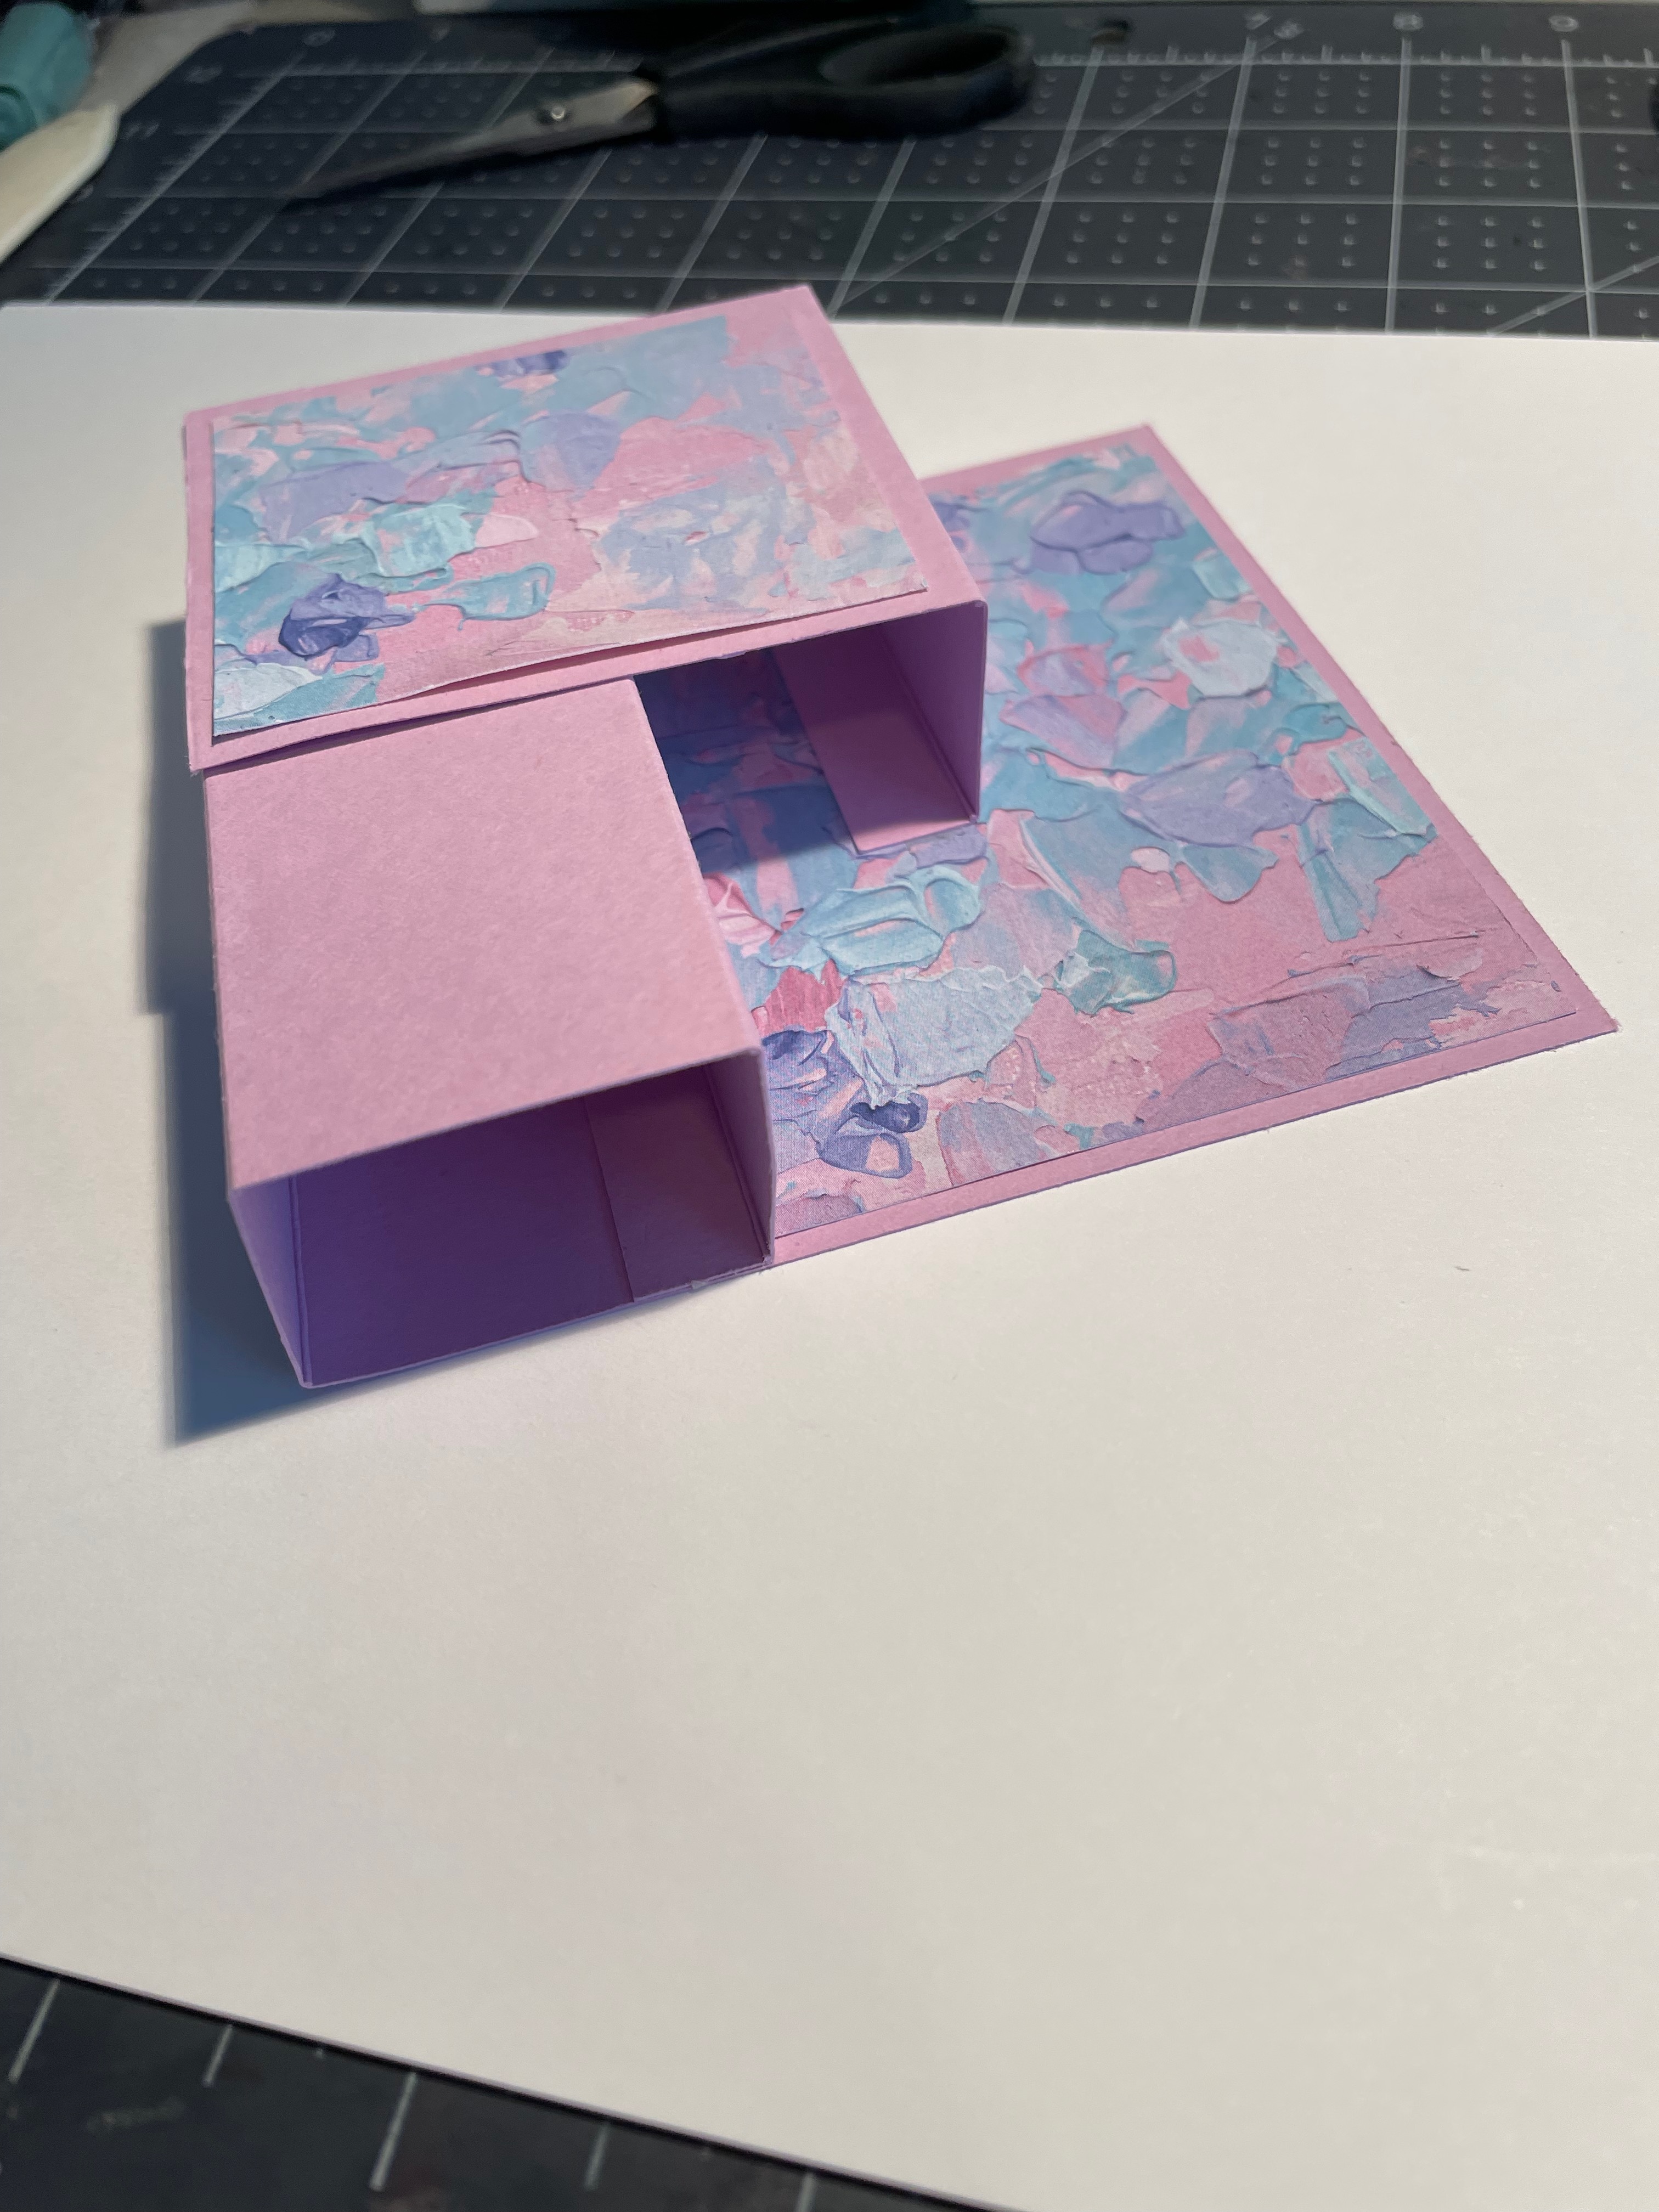
To create step 2, with the curl facing down and the small flap at the top, adhere the 2 1/2″ x 2 1/4″ to the bottom of the card stock, as shown.
Add Tear and Tape to the top flap on the same side.
Fold the card base down, so the step 1 box is lying flat. Line up the step 2 piece of card stock so it is even with the card base. As with Step 1, remove the paper from the Tear and Tape and tuck the flap inwards to create your second step.
Add a bit of liquid adhesive to the bottom of the step 2 card stock, to adhere to step one
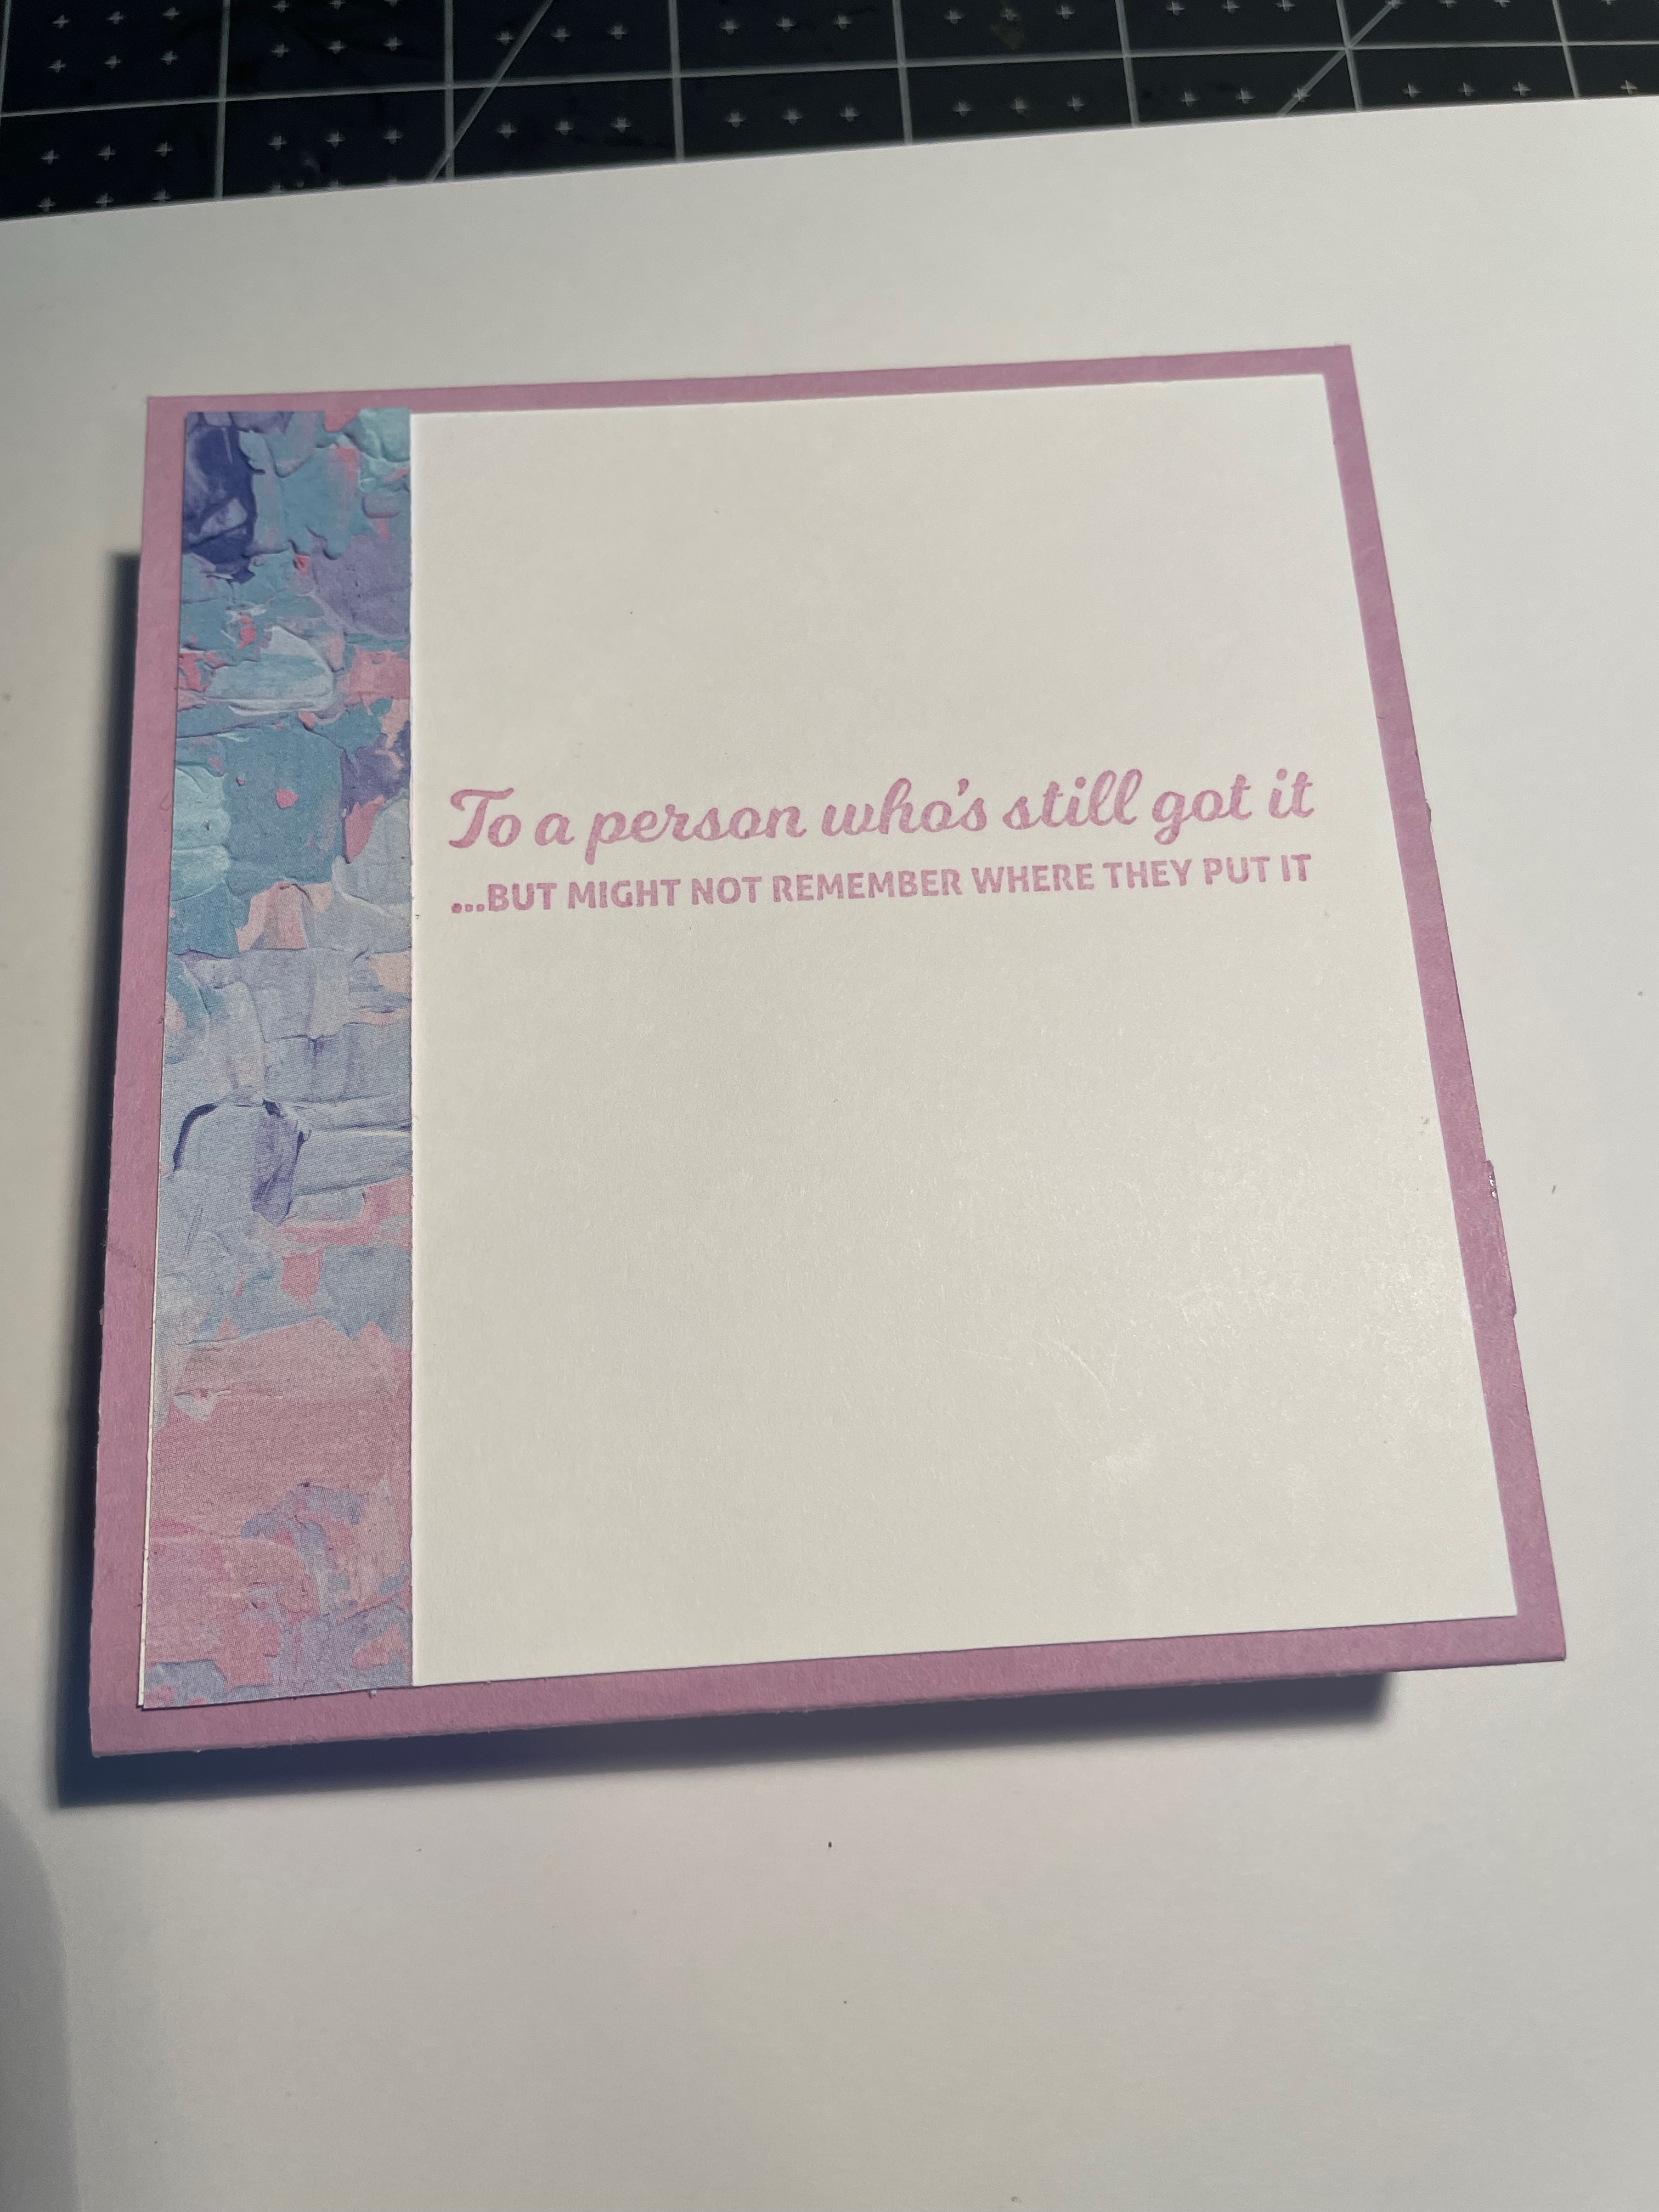
For the back of the card, I adhered, a strip of 3/4″ x 4″ DSP (optional) to the Basic white piece then used a retired stamp set for my sentiment.
The greeting “To a person who’s still got it, …but might not remember where they put it. Happy Birthday“.
First I stamped the complete stamp on some Basic White card stock to get the Happy Birthday part for the card front, then cut it out. I then blocked off the Happy Birthday and stamped the first part of the sentiment on my card base. I then adhered it to the back of the card. I have to say, I love this greeting, it just makes me smile
I then stamped and coloured some flowers from the Irresistible Bloom stamp set.
Folding the card flat, I adhered the flowers and the greeting to the front, making sure I am only adding adhesive to the step and not gluing my card closed.
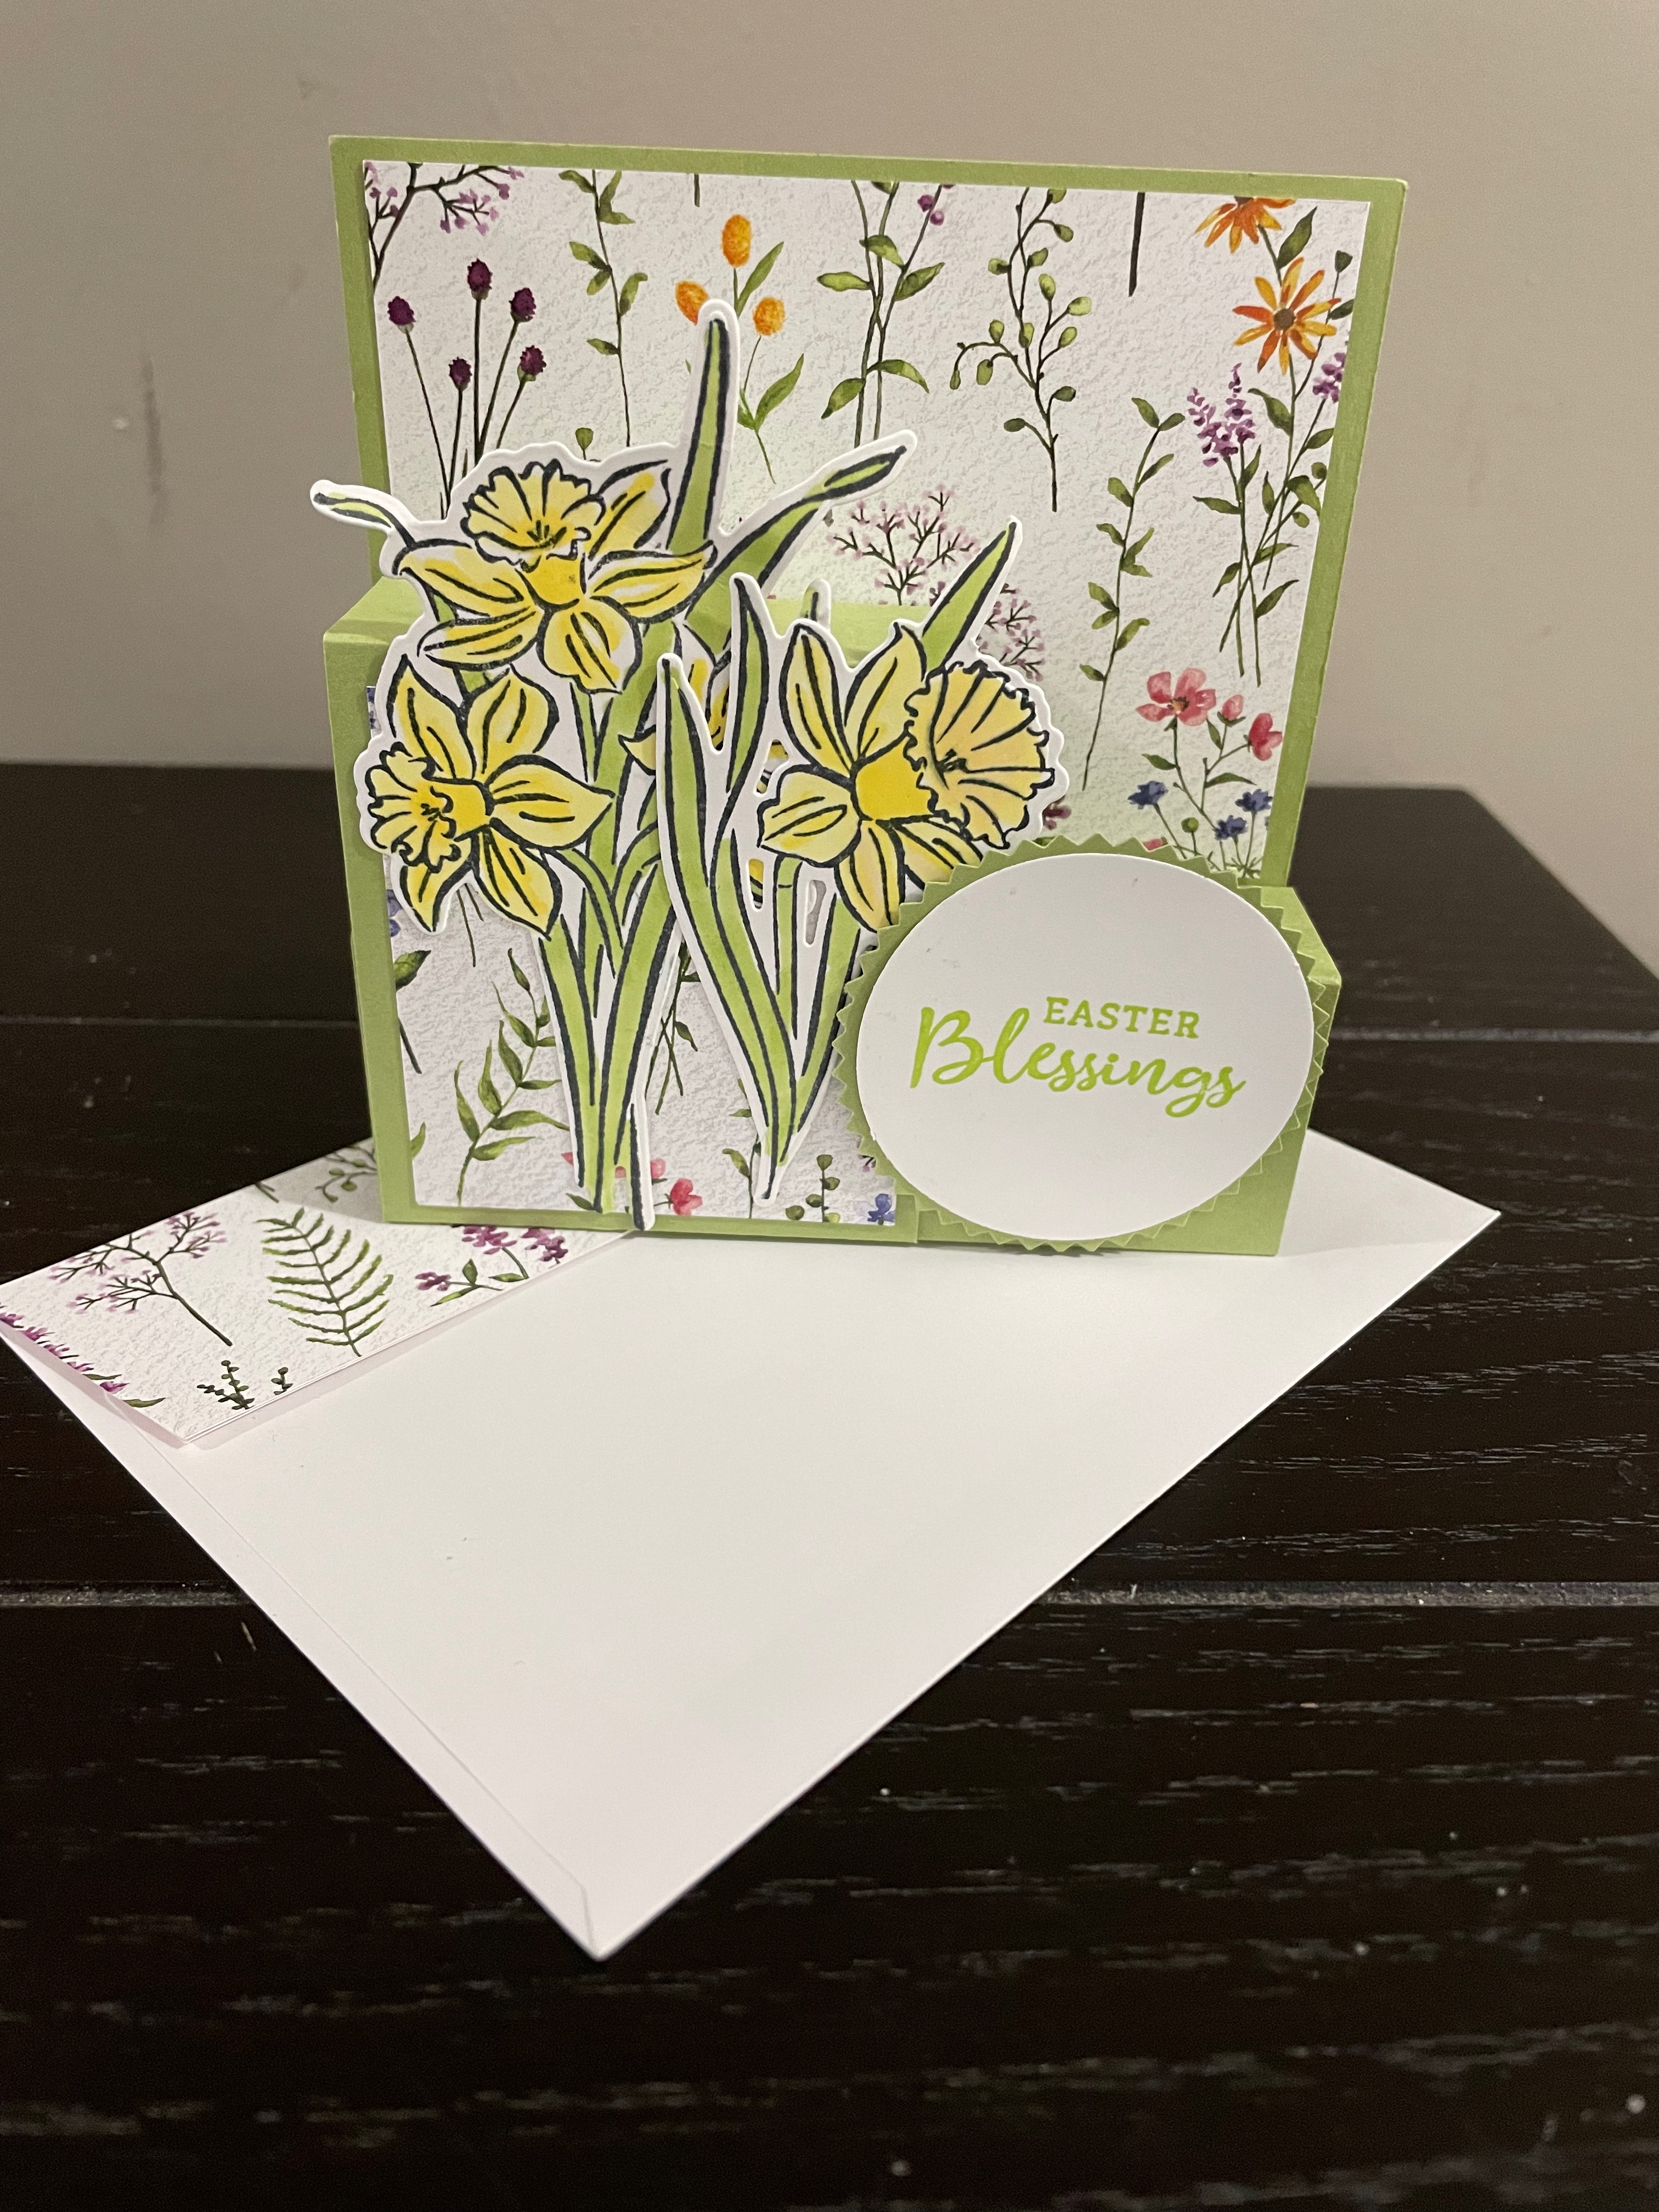
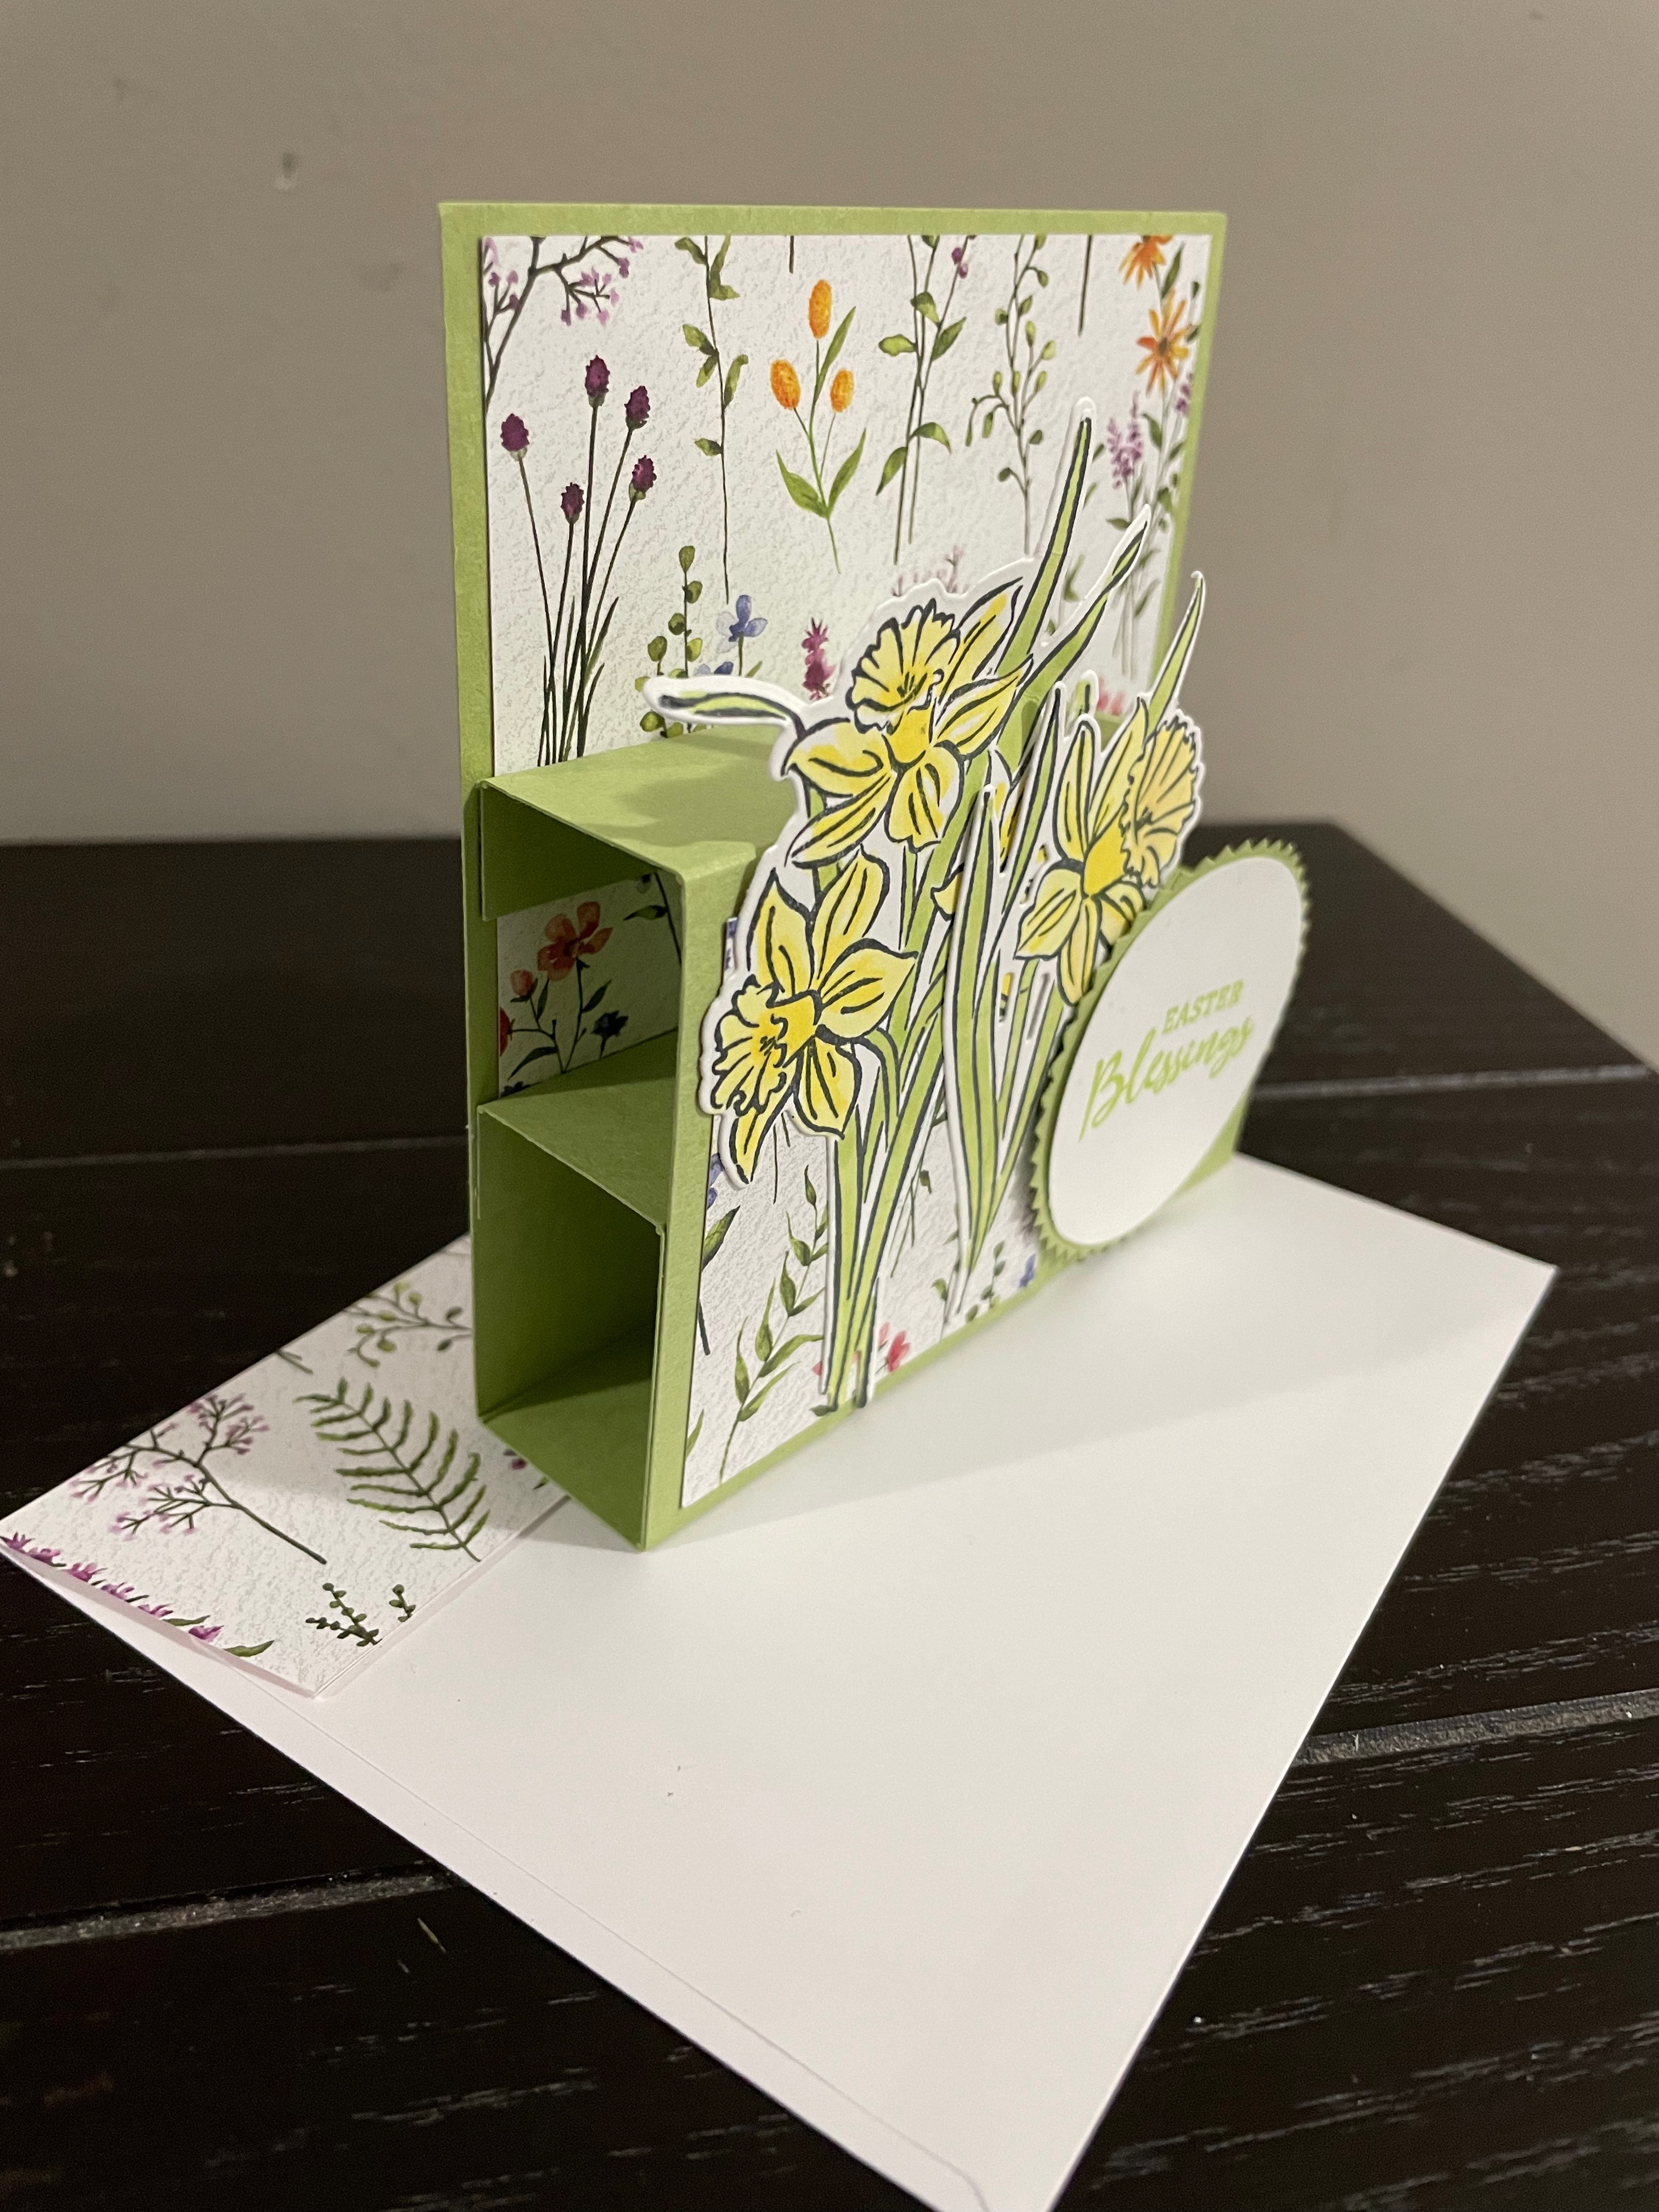
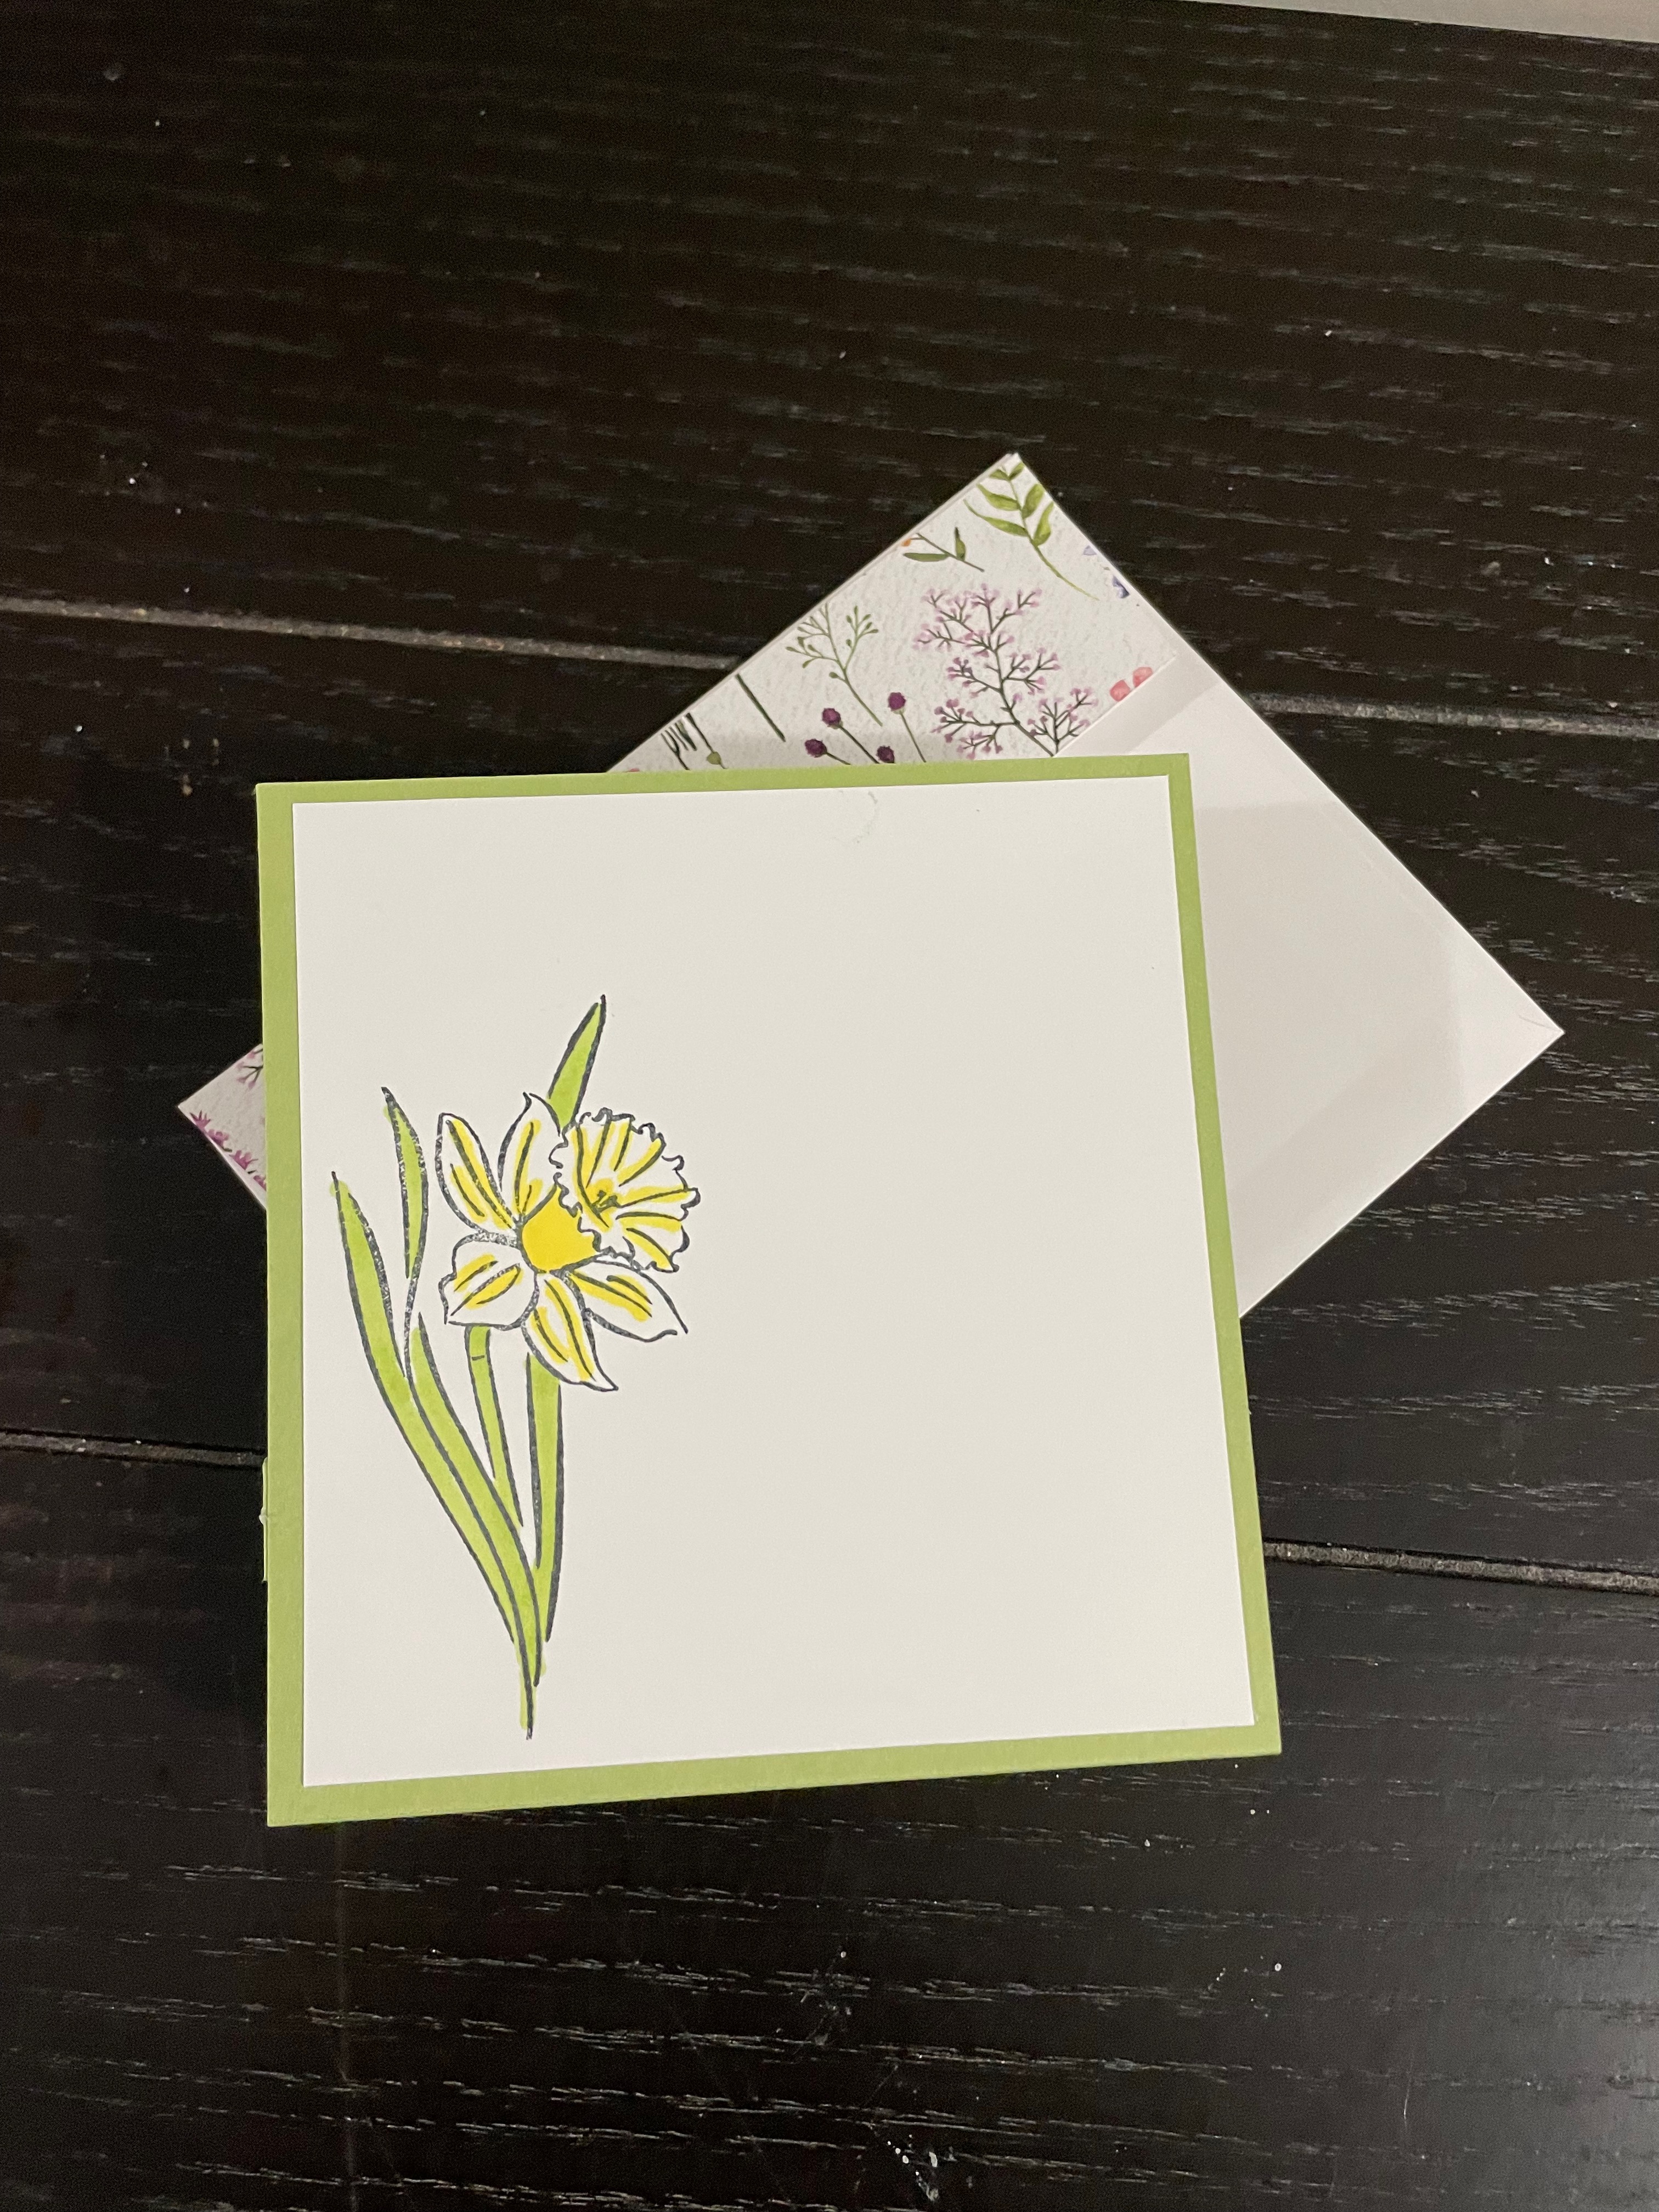
This card was so quick and easy, I decide to make another. As you can see, this card is an Easter card and just love how the designer series paper works so well with the Daffodil Daydream stamp set. My sentiment is from the same stamp set. For the back I elected not to add a greeting at this time, but there is plenty of room to add or write a a sentiment later. I also added some designer series paper to the envelope flap as well.
I think this card screams spring. I only wish I could send this card to Mother Nature to give her a nudge!
To purchase any of these products, visit my online store by CLICKING HERE.
Please use my March HOST CODE – VQQP2GJJ when placing orders under $200.
This helps me earn rewards, which I use to offset the cost of card classes as well as purchasing gifts.
Everyone who places an order with me, using my host code, will receive a thank you card and gift in appreciation of your business.
If your order is over $200 do not use my Host Code as you will earn your own Stampin Rewards with your order. You will still receive a thank you card and gift from me.
Product List


 Designer Series Paper")
")


Leave a Reply