Today I came across this cute Slider Gift Box design by Brenda Quintana and had to give it a try. This little box measures 4 1/2″ x 2″ and just under an inch in depth. The best part is they don’t require a lot of supplies and a wonderful way to use up excess designer series paper. I also think they would make a fun package to add a child’s birthday loot bag.
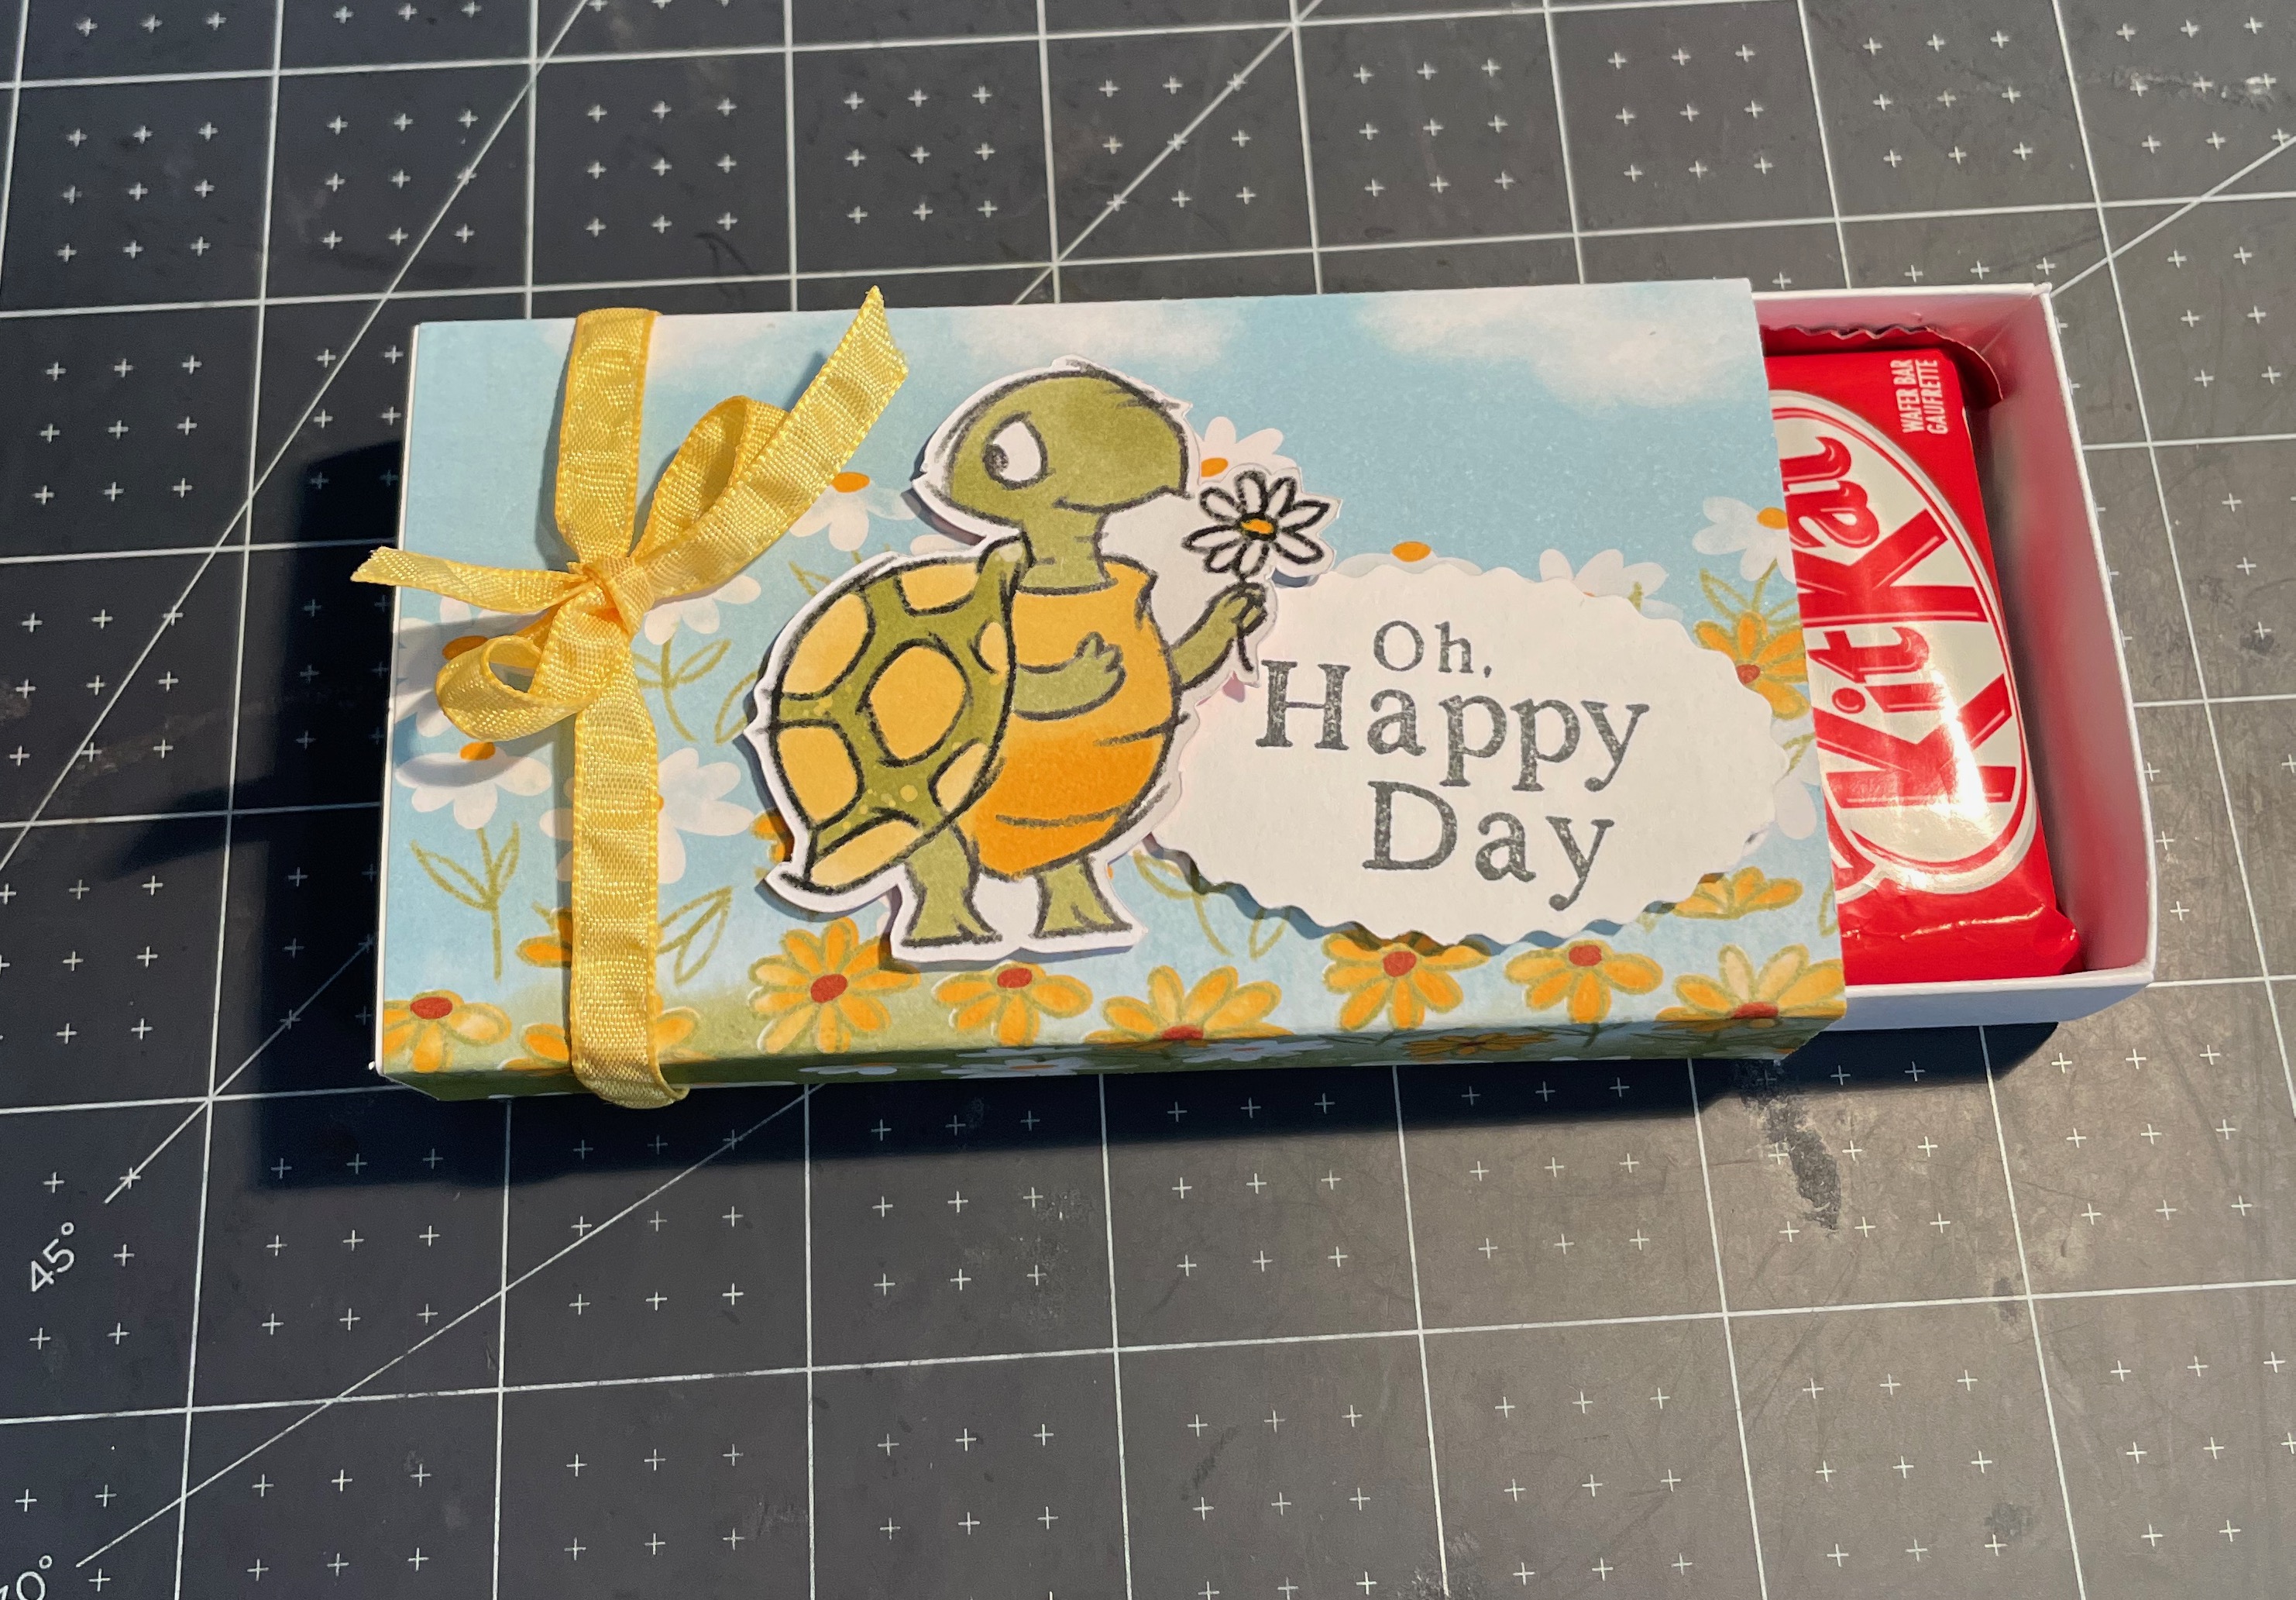
The box fits perfectly into the covered sleeve and holds four fun size candy bars. Of course, you could also fill the box with small treats instead.
Anyways, let me show you how to make them. I warn you though, they are addictive to make!
YOU WILL NEED THE FOLLOWING SUPPLIES
Basic White Card Stock
- 7 1/4″ x 5 1/2″ (box)
- 7 3/8″ x 5 3/8″ (sleeve)
Designer Series Paper
- 2 3/4″ x 4 1/2″ ( Optional inside liner)
- 4 1/2″ x 4″ (0utside sleeve)
TO MAKE THE BOX
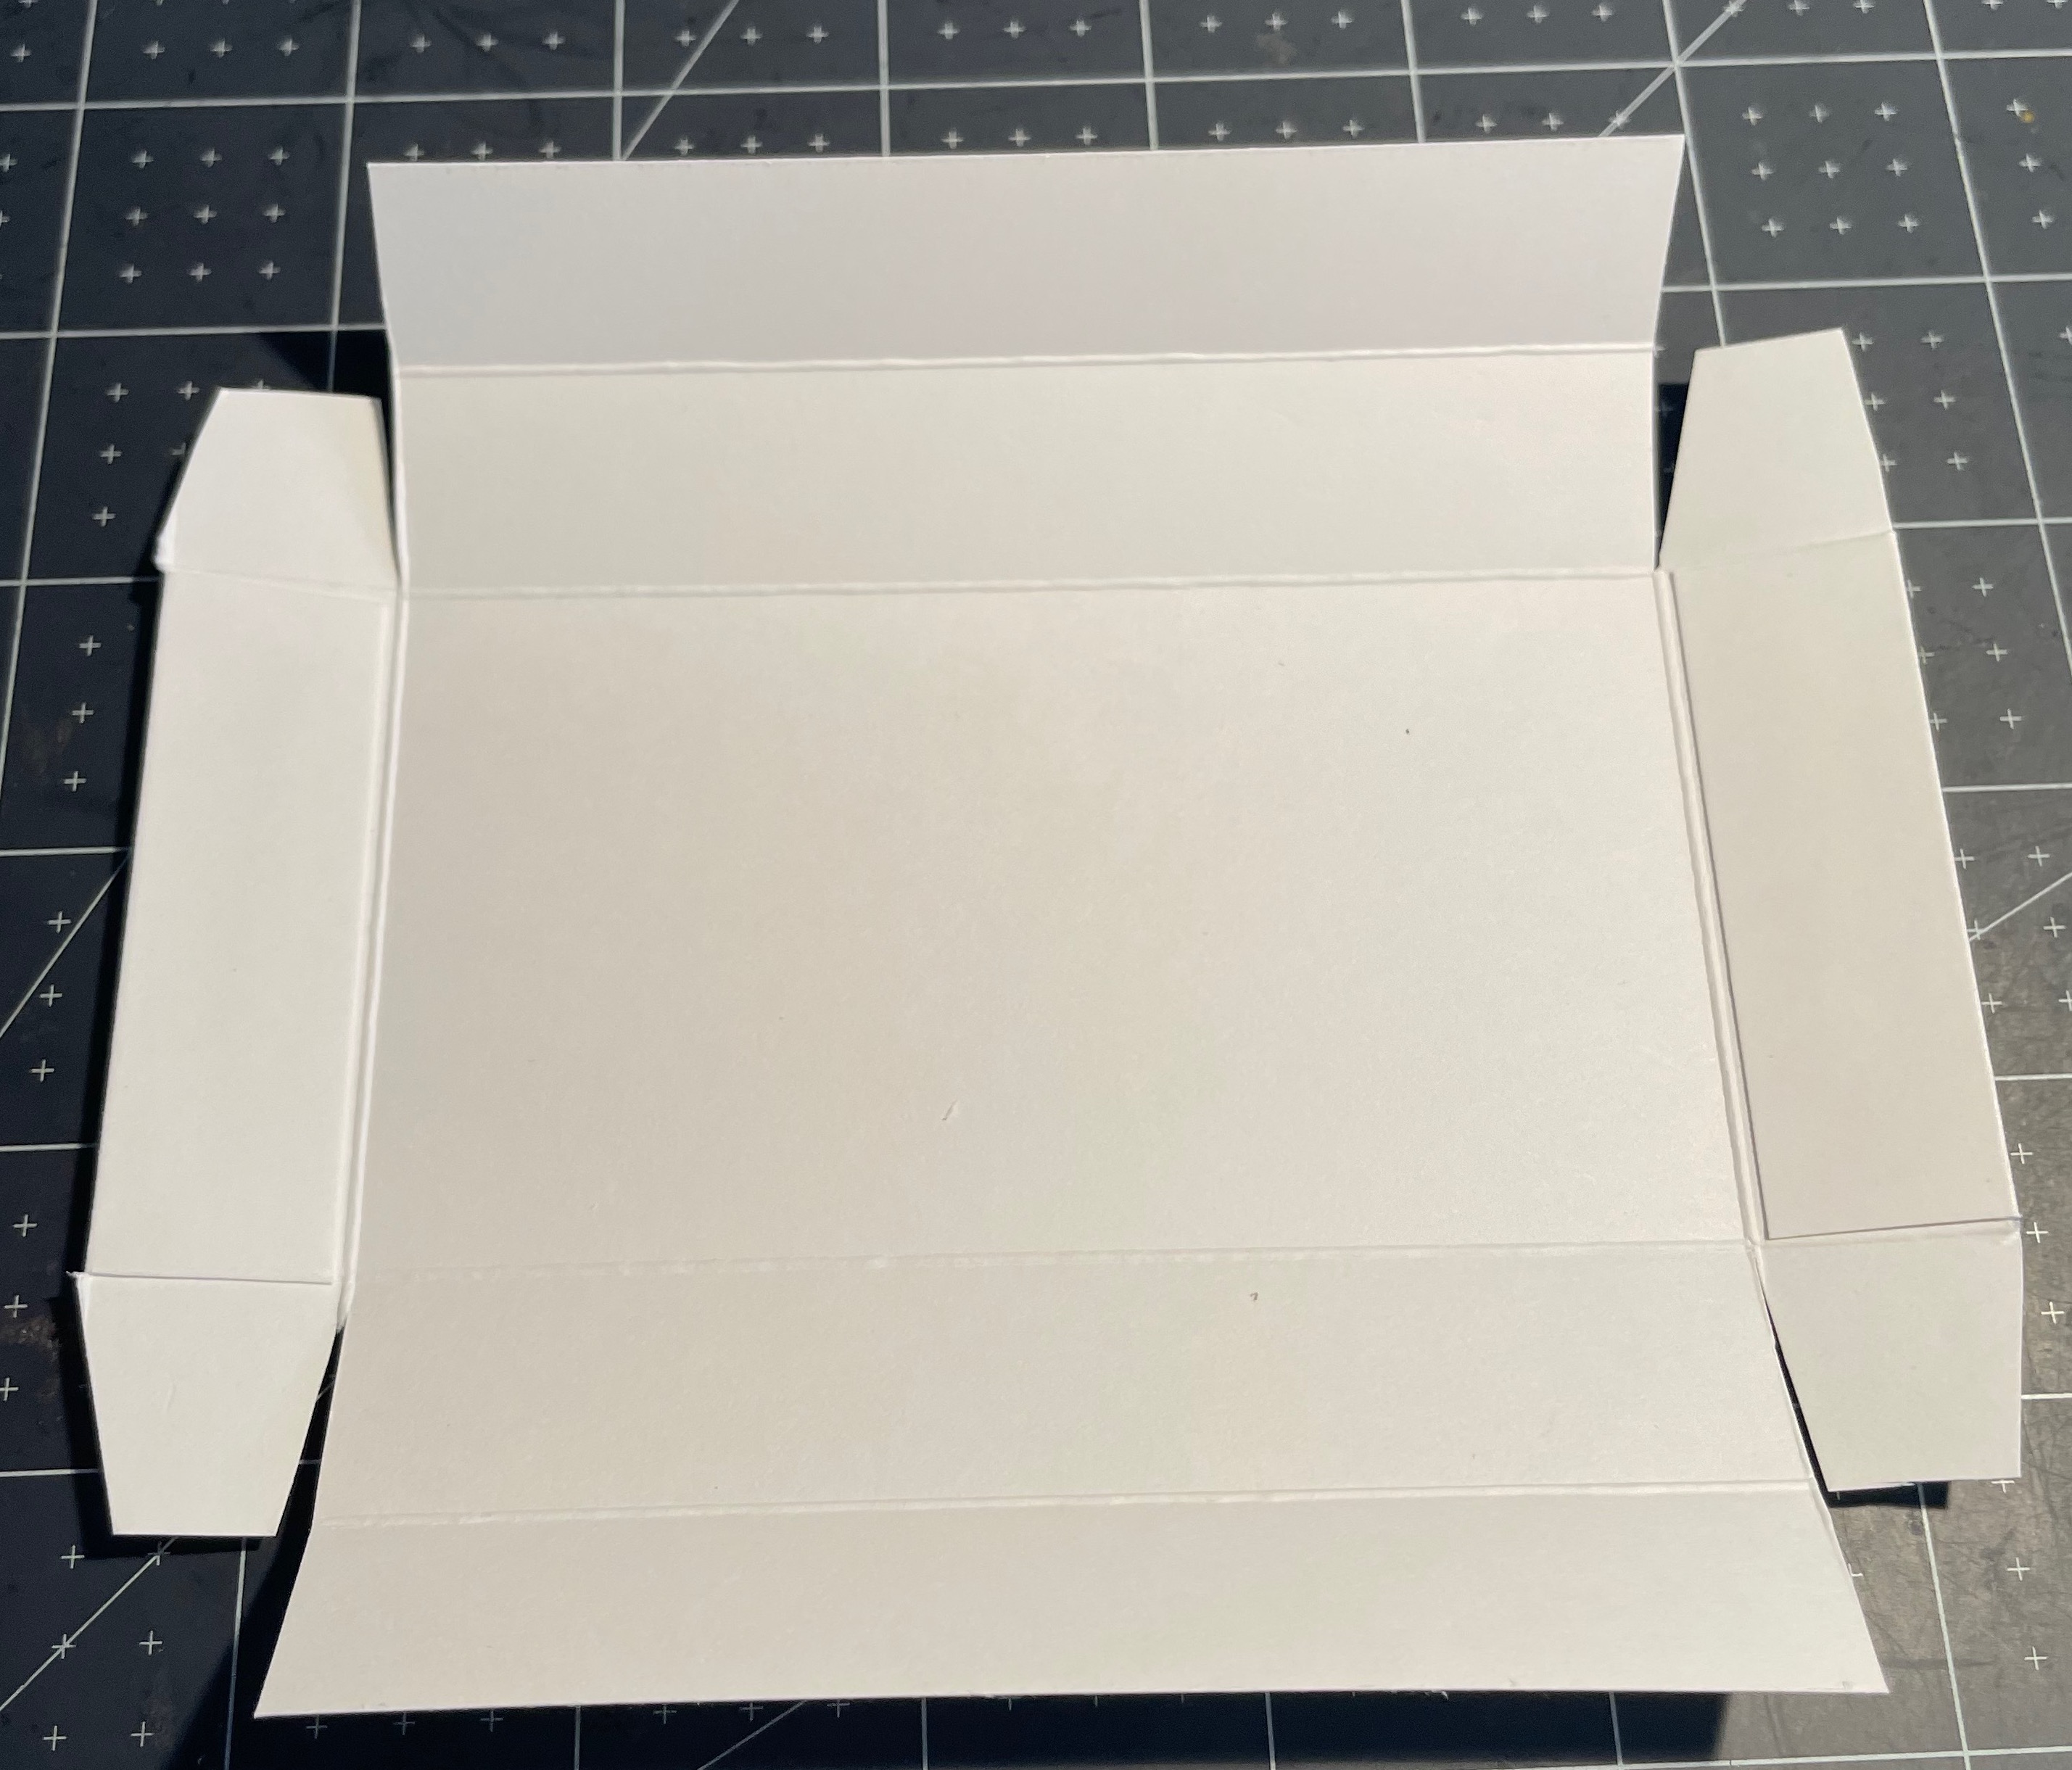
- Score the box piece at 3/4″ and 1 1/2″ on all four sides
- Fold and burnish all score lines
- With the paper facing you on on the long side, cut up the two vertical score lines up to the second horizontal score line. This will give you two flaps at each end.
- Turn your paper 180 degrees and repeat so all four corners have two flaps.
- In each corner, cut away the two outside squares completely on the first flap.
- On the second flap, only cut away the bottom square
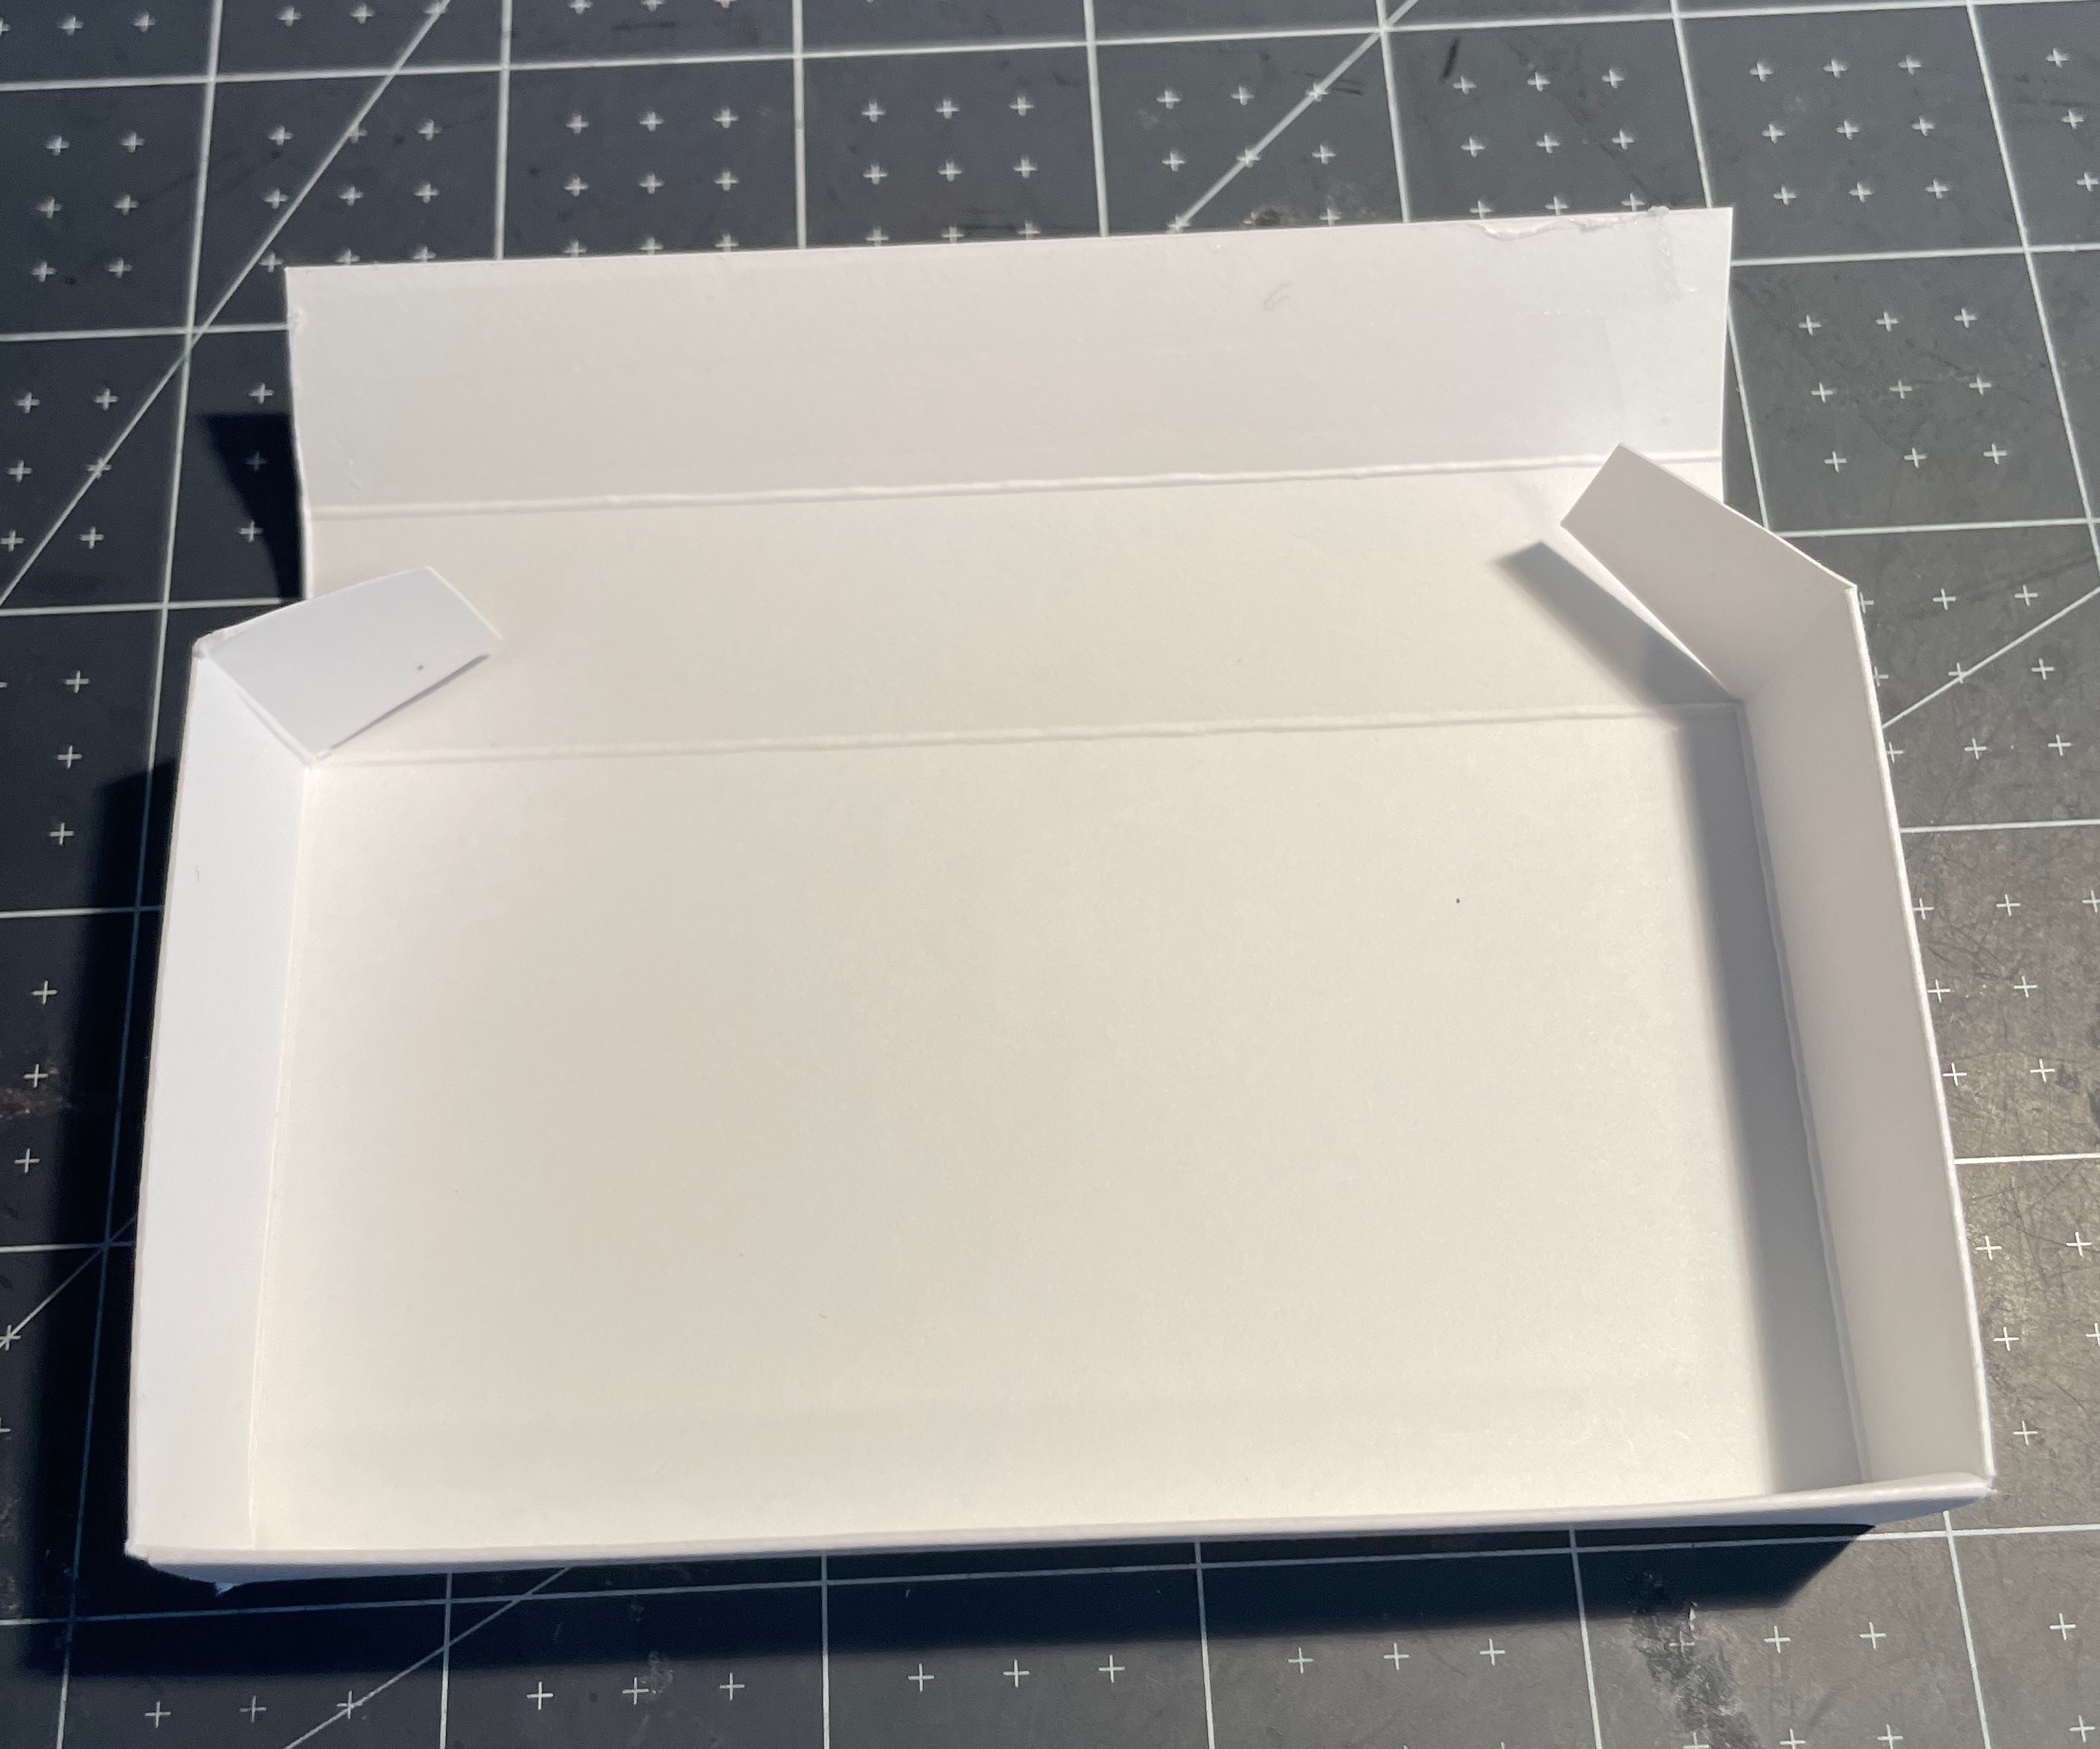
- On the short side, add adhesive to the outside rectangles and fold inwards
- On the long side, add adhesive to the outside rectangles and fold inwards, making sure the two small flaps are tucked inside so they don’t show.
- Option: If you want you can add the DSP liner to the inside of the box.
- Pop in your small candy bars or treats and set aside.
TO MAKE THE SLEEVE

- Adhere the DSP to one end of the long side of the card stock
- Flip over and score the card stock on the long side at 3/4″, 3 1/4″ 4″ and 6 1/2″
- Fold and burnish the score lines
- Fold the 3/4″ flap inwards and add adhesive to the flap without DSP, then fold the other end inwards to close up.
- This creates your sleeve.
TIP: Be aware of the directional paper. It should be facing upward towards the opposite end of the card stock.
FINISHING OFF YOUR GIFT BOX
- Slide the sleeve over the box
- Tie a ribbon around the box on the left side
- Decorate the top of the box with flowers and a cute tag.
I think this box would make a perfect hostess gift when going to a friends house for dinner, or maybe a thank you gift for someone special. Of course the best gifts of all, are gifts given, just because. They always generate a smile!
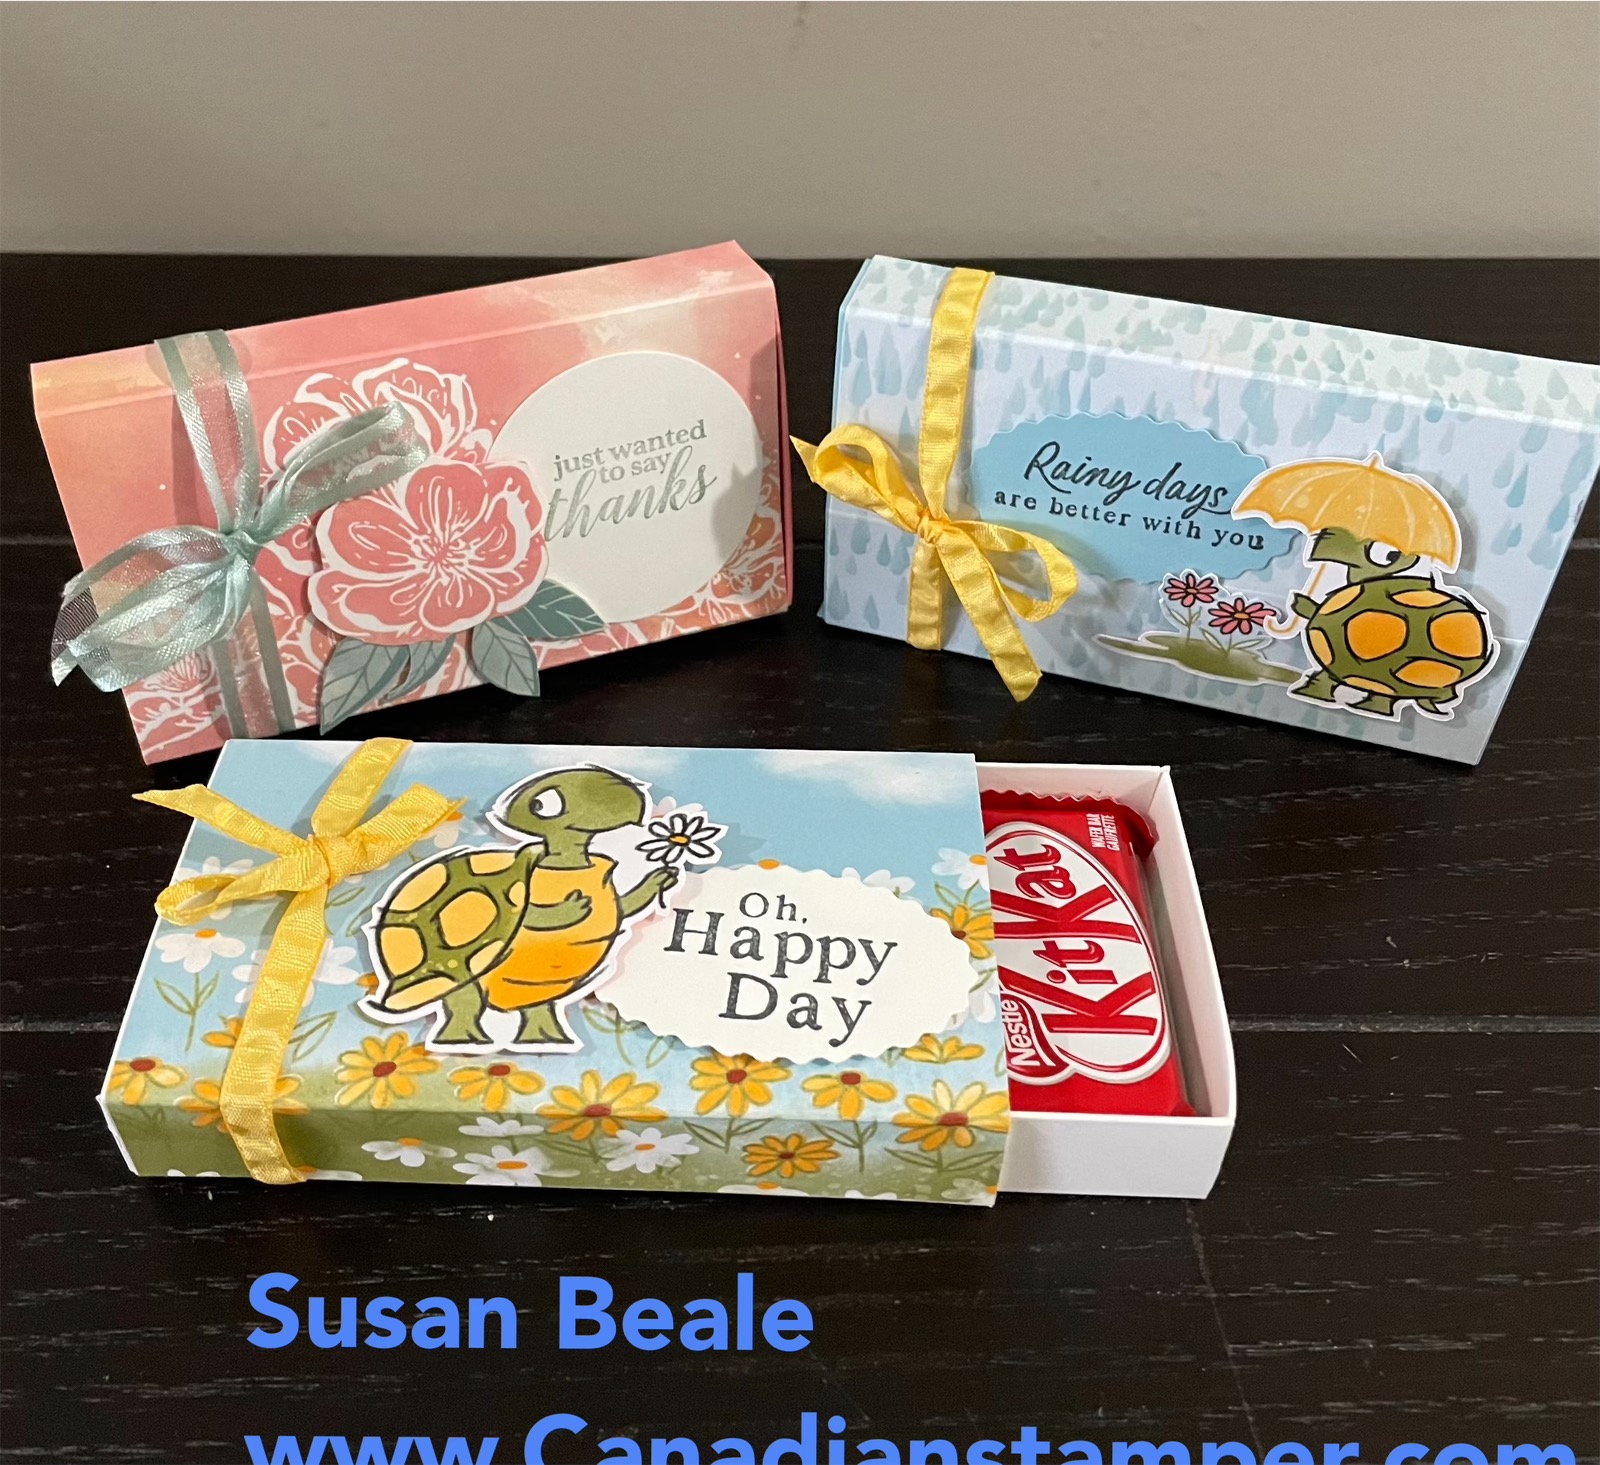
Here are a few others I made. They are so quick to put together.
Should you wish to watch Brenda’s Video on how she made up these slider boxes and the coordinating folding Screen card, click here. Although I didn’t make the screen cards, I have made them in the past and they are lovely. Brenda also shows a cute way of packaging the two for mailing.
Coming Soon

Exciting news: Stampin’ Up! has revamped their colour selections and will be introducing new colours the new annual catalogue if released on May 2. Look closely at the picture above for hints. What Colours would you like to see?
I cannot wait to see the new and some returning favourites among our Brights, Neutrals, Regals, and Subtles collections. The new 2023–2025 In Colors (5 colours) will also be released.
The complete colour offering will be available to purchase in the 2023–2024 Annual Catalogue (and the online store of course). You will find inks, cardstocks, Stampin’ Blends, Stampin’ Write Markers, embellishments, ribbons, and so much more in all our coordinating colors.
Sadly, with the old catalogue retiring, so are some of the products and colours;
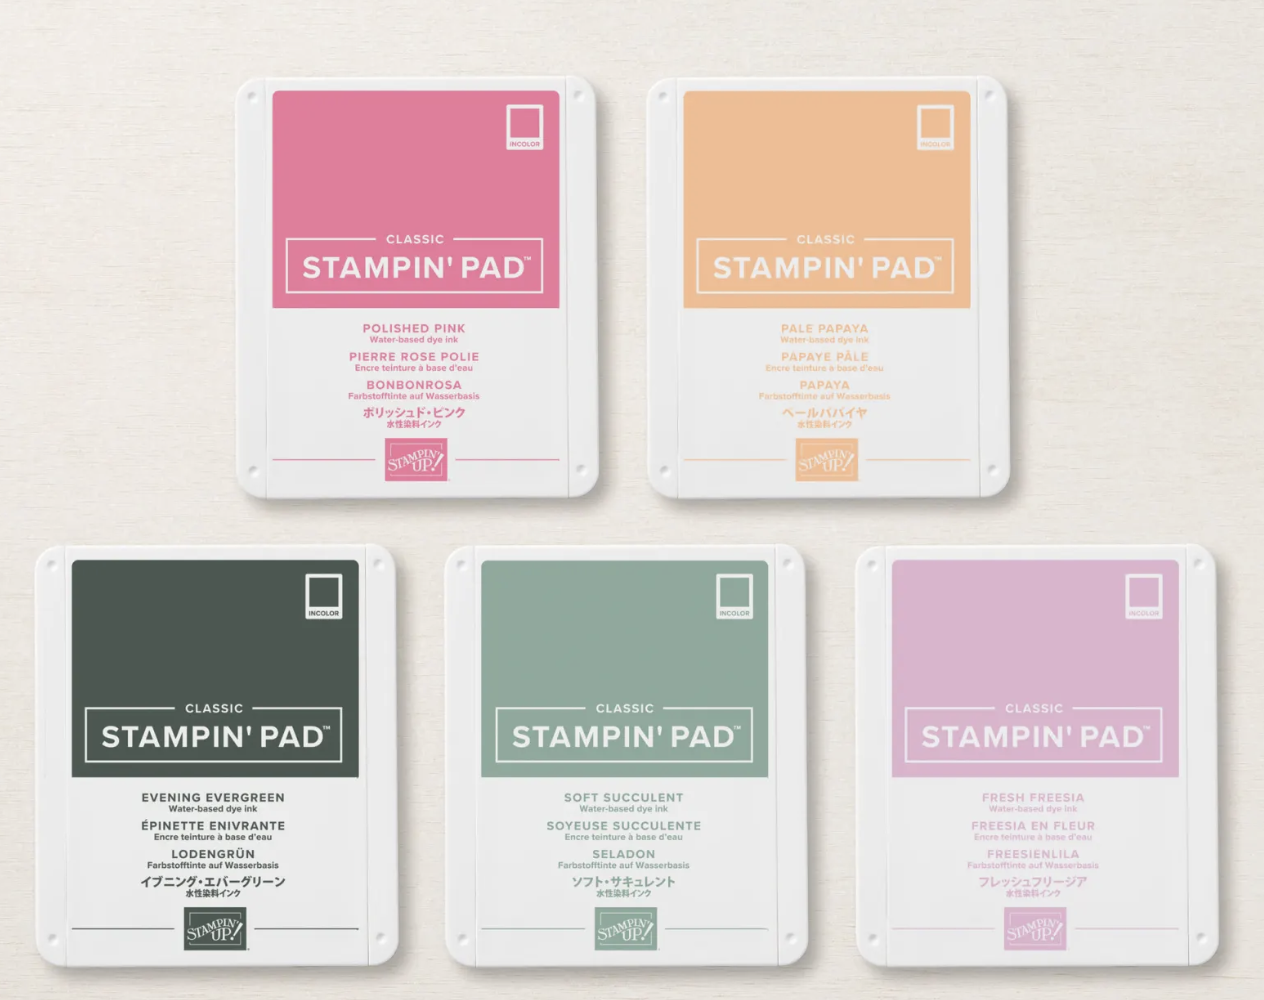
The 2021-2023 In-Colors will be retiring when the new catalogue is released.
These colours include: Evening Evergreen, Fresh Freesia, Pale Papaya, Polished Pink, Soft Succulent
ALL PRODUCTS associated with these colours, such as ink pads, ink refills, card stocks, Stampin’ Blends, Stampin’ Write Markers, embellishments and ribbons will be retired.
So, if you have these colours, stock up now. If you are loving a particular ink pad colour, don’t forget to purchase the ink refill for just $5.50 and you can keep using that colour for a long time. Already some products are reaching low inventory and when they sell out, they will not be replaced.
SHOP NOW and purchase those products before they disappear. When shopping, please use my Host Code – VQQP2GJJ and receive a free gift and thank you card from me in appreciation.
Leave a Reply