Anyone who knows me, knows how much I enjoy making and sending cards. It just brings me joy and personal satisfaction. Well I also enjoy making fancy fold cards which aren’t your typical card. These are fun to make and when you open the card, it just pop’s up.
So today I would like to show you how to make a double door pop up card when stands up on a table top for easy display. This card has a few components needed in order to put it all together;
- your card base,
- your pop up mechanism
- the doors
- the inside of the card, with your greeting.
Before we start, you will need the following supplies;
CARD STOCK
- Blackberry Bliss
- 5 1/2″ x 5 3/4″ – Card base
- 5″ x 1 1/2″ (cut 2) – Mechanism
- Basic White
- 3 3/4″ x 8″ (inside)
DESIGNER SERIES PAPER
NOTE: I used this paper from the recent Sale-a-bration promotion from Stampin’ Up! If you don’t have this paper, use what you have
Dainty Flowers
- First Pattern
- 2″ x 3 1/2″ (cut 4) – Doors
- Second Pattern
- 5 1/4″ x 1 1/4″ – Top
- 1/2″ x 4 1/4″ (cut 2) – sides
LIQUID MULTIPURPOSE GLUE
STAMPS USED – Queen Bee (floral), Celebrating you and Quiet Meadow (greetings)
So let’s get started.
CARD BASE
- Score your paper on the 5 3/4″ side at 4 1/4″
- Fold and burnish the score line and set aside
POP UP MECHANISM
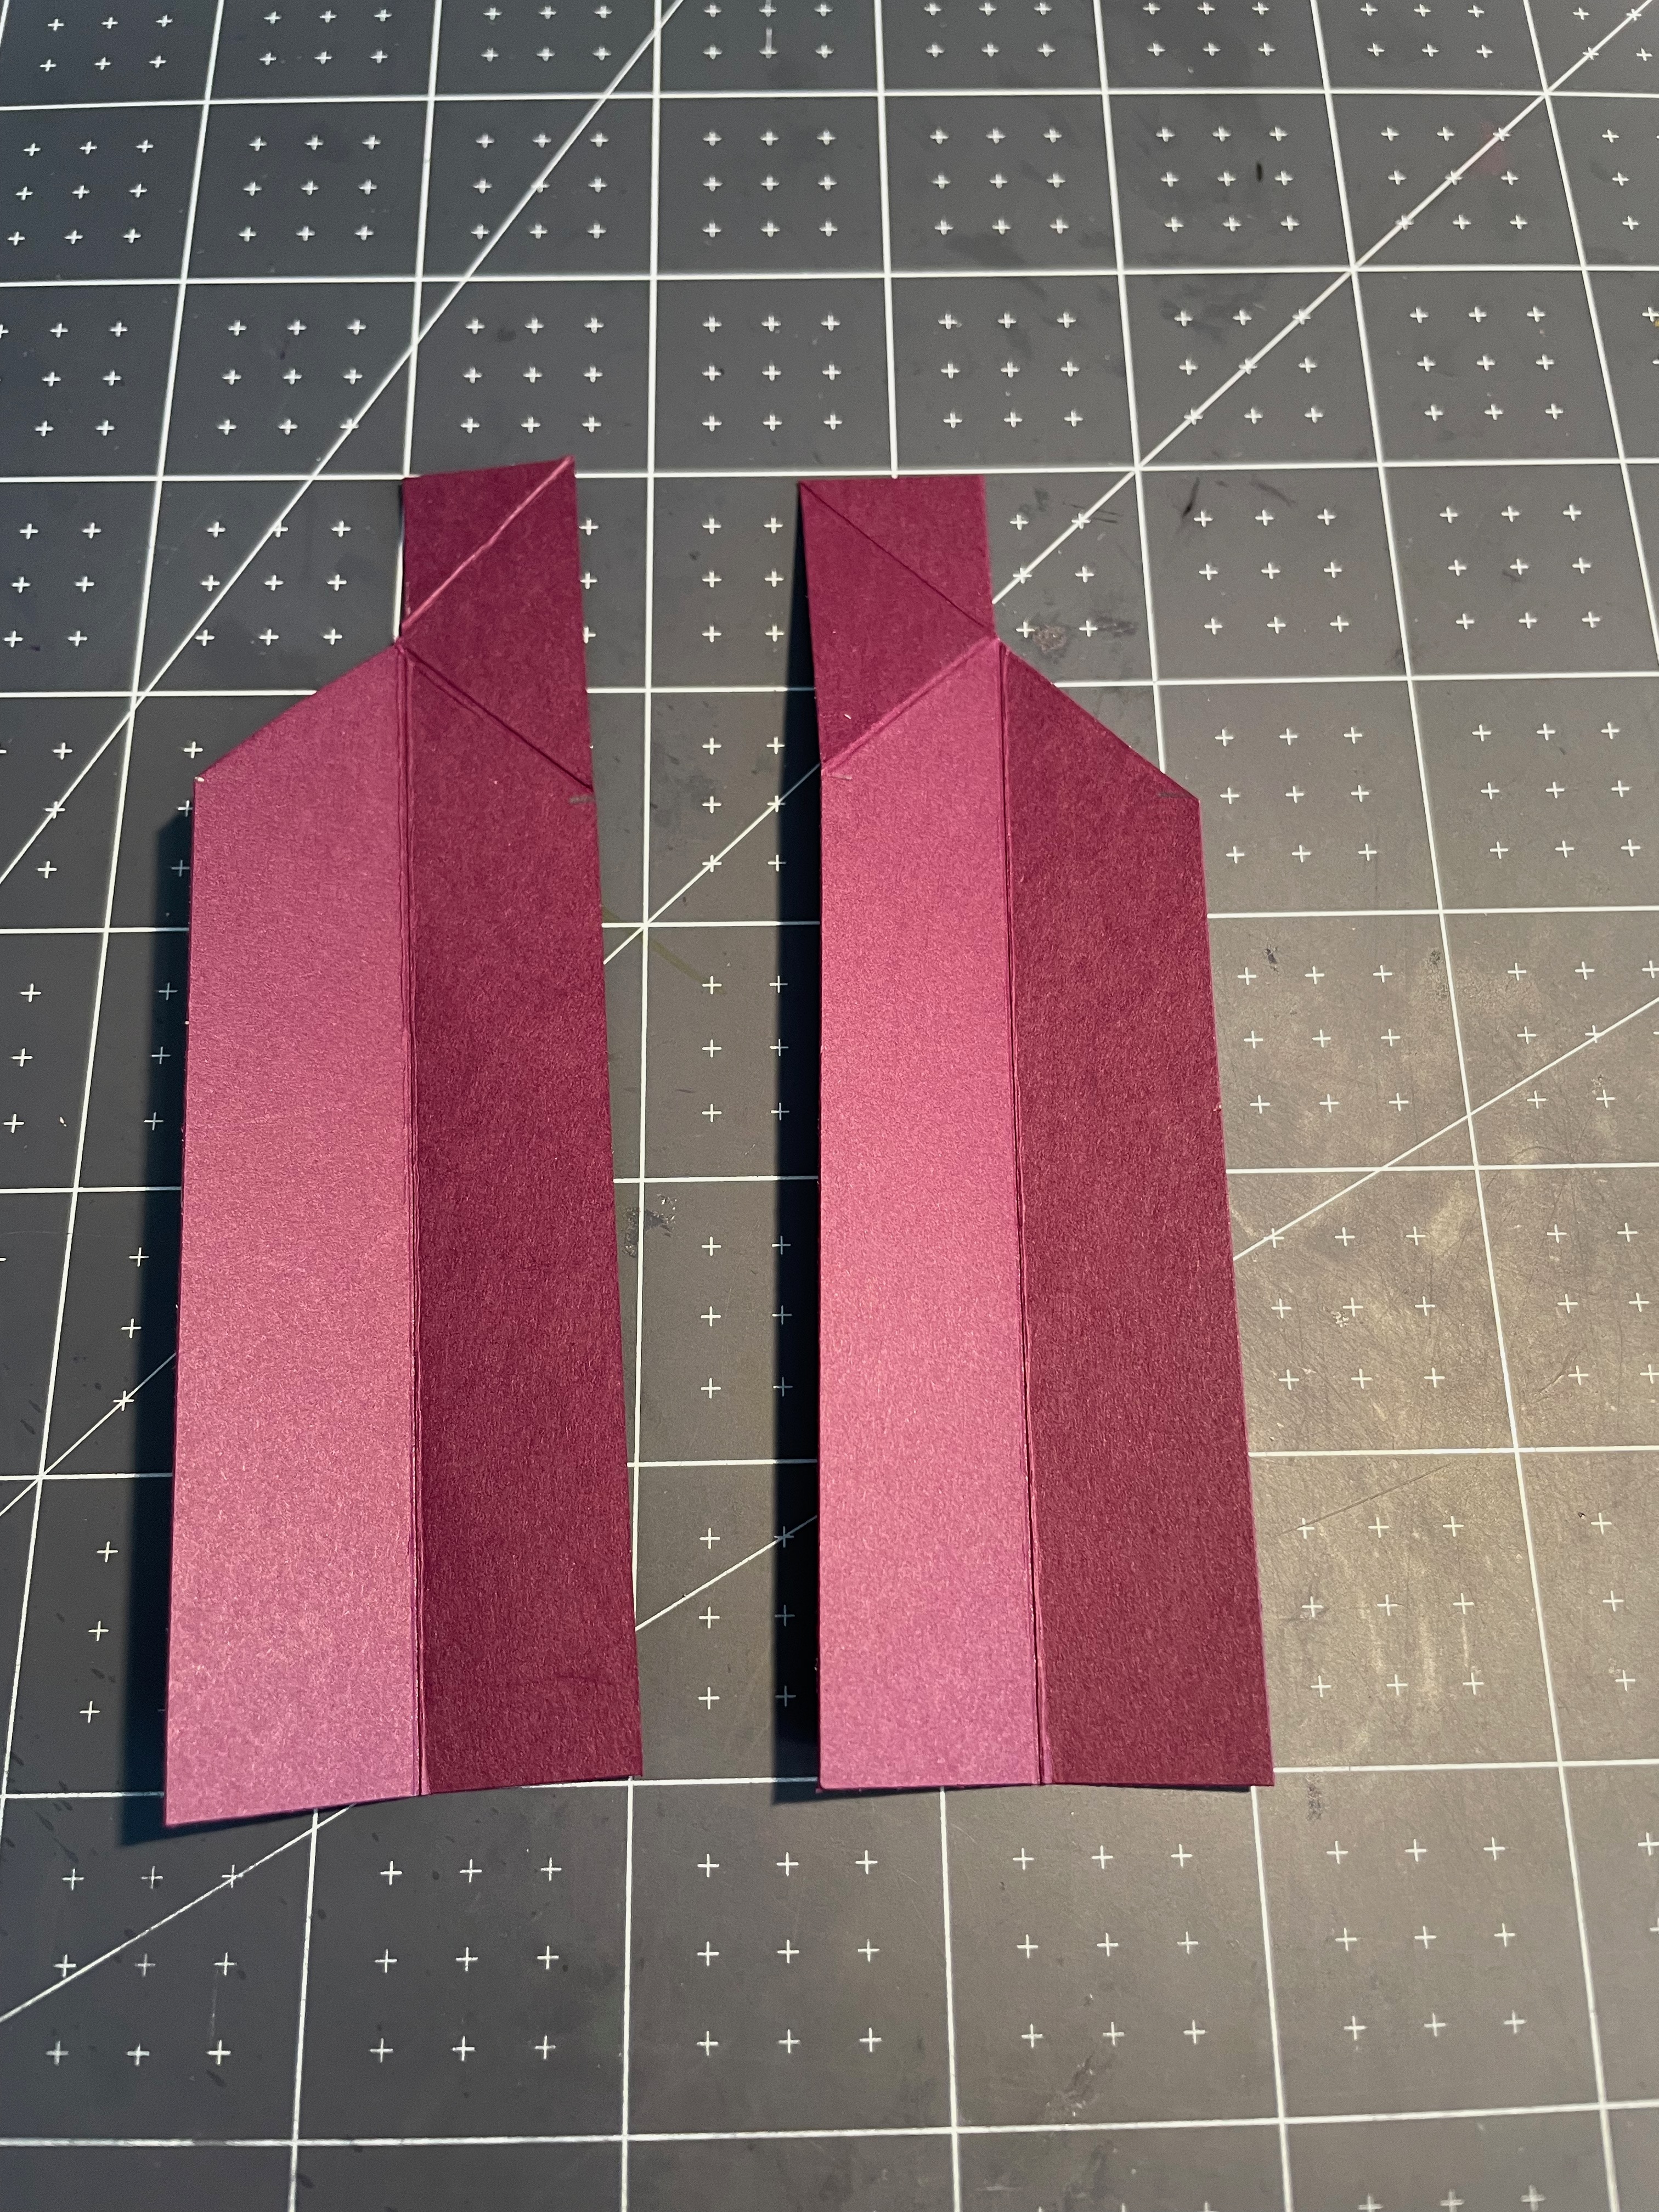
Score each piece down the middle at 3/4” on the 1 1/2″ side. Now take a pencil and make a small mark from the top of the short side at 1 1/2″ on both sides of the paper
Line up the top corner of the paper on one side with the mark you made on the other side of the paper and score between them. You can do this with a ruler or your paper trimmer.
Repeat on the other side so you creating an X between the top corner and the 1 1/2″ mark
Cut down the center score line to the center of the X, then cut away one of the diagonal score lines.
Cut away the opposite side on the second piece and erase any pencil marks
Fold and burnish all the score lines on both sides of the paper so they can easily fold in both directions.
Now Let’s put it all together
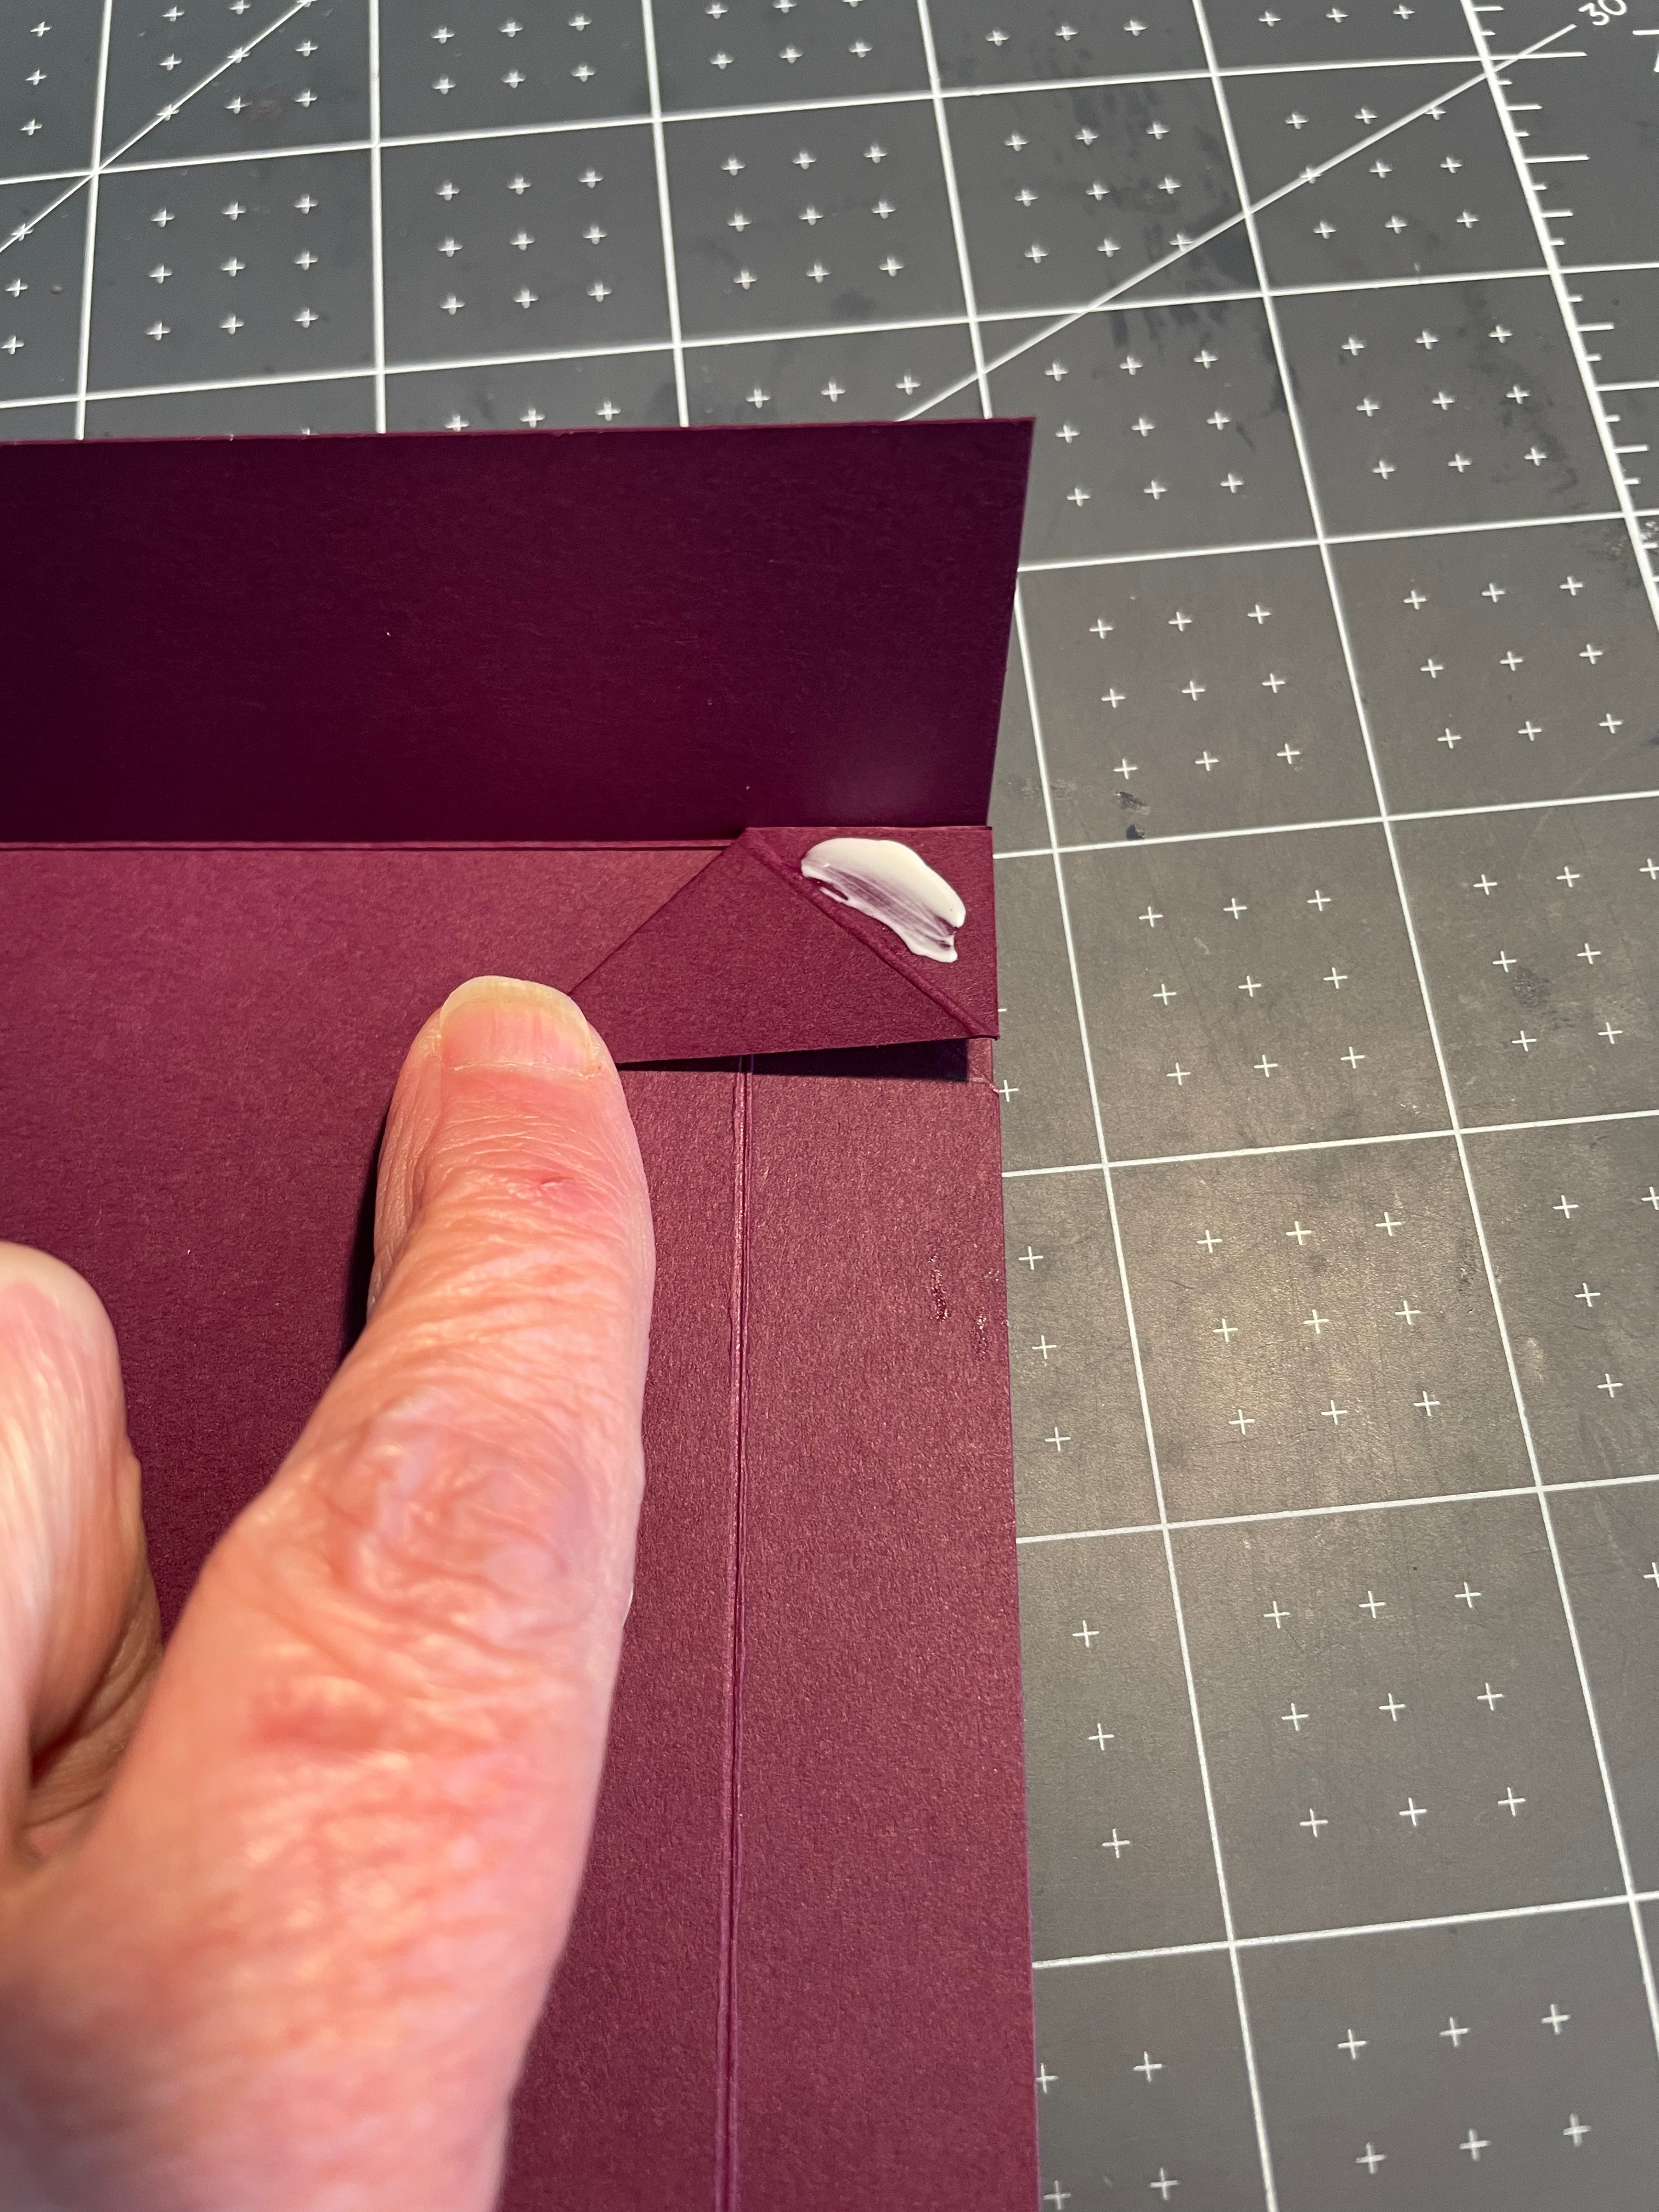
- Add glue to the underside of the cut away portion of the strip and line it up with the card base edge on both the bottom and side. You want to make sure to position the center of the X right on the score line
- Fold down the top of the paper to see the point easier when lining up(see below)
- Add Adhesive to the small triangle then line up with the edge of the paper
- Fold down the top of the card part to seal making sure it is flush with the edge of the top
- Burnish again to reinforce
- Repeat on the right side, with the other strip to create both mechanisms as shown below

DOORS
Add some liquid glue to underside of the mechanism, starting just below the diagonal score line. Line up the door piece with the underside of the mechanism making sure it lines up with the bottom of the card base. Press down to secure and repeat with the other door. Close up the card top and burnish with the bone folder again so everything lies flat.
DECORATE THE FRONT
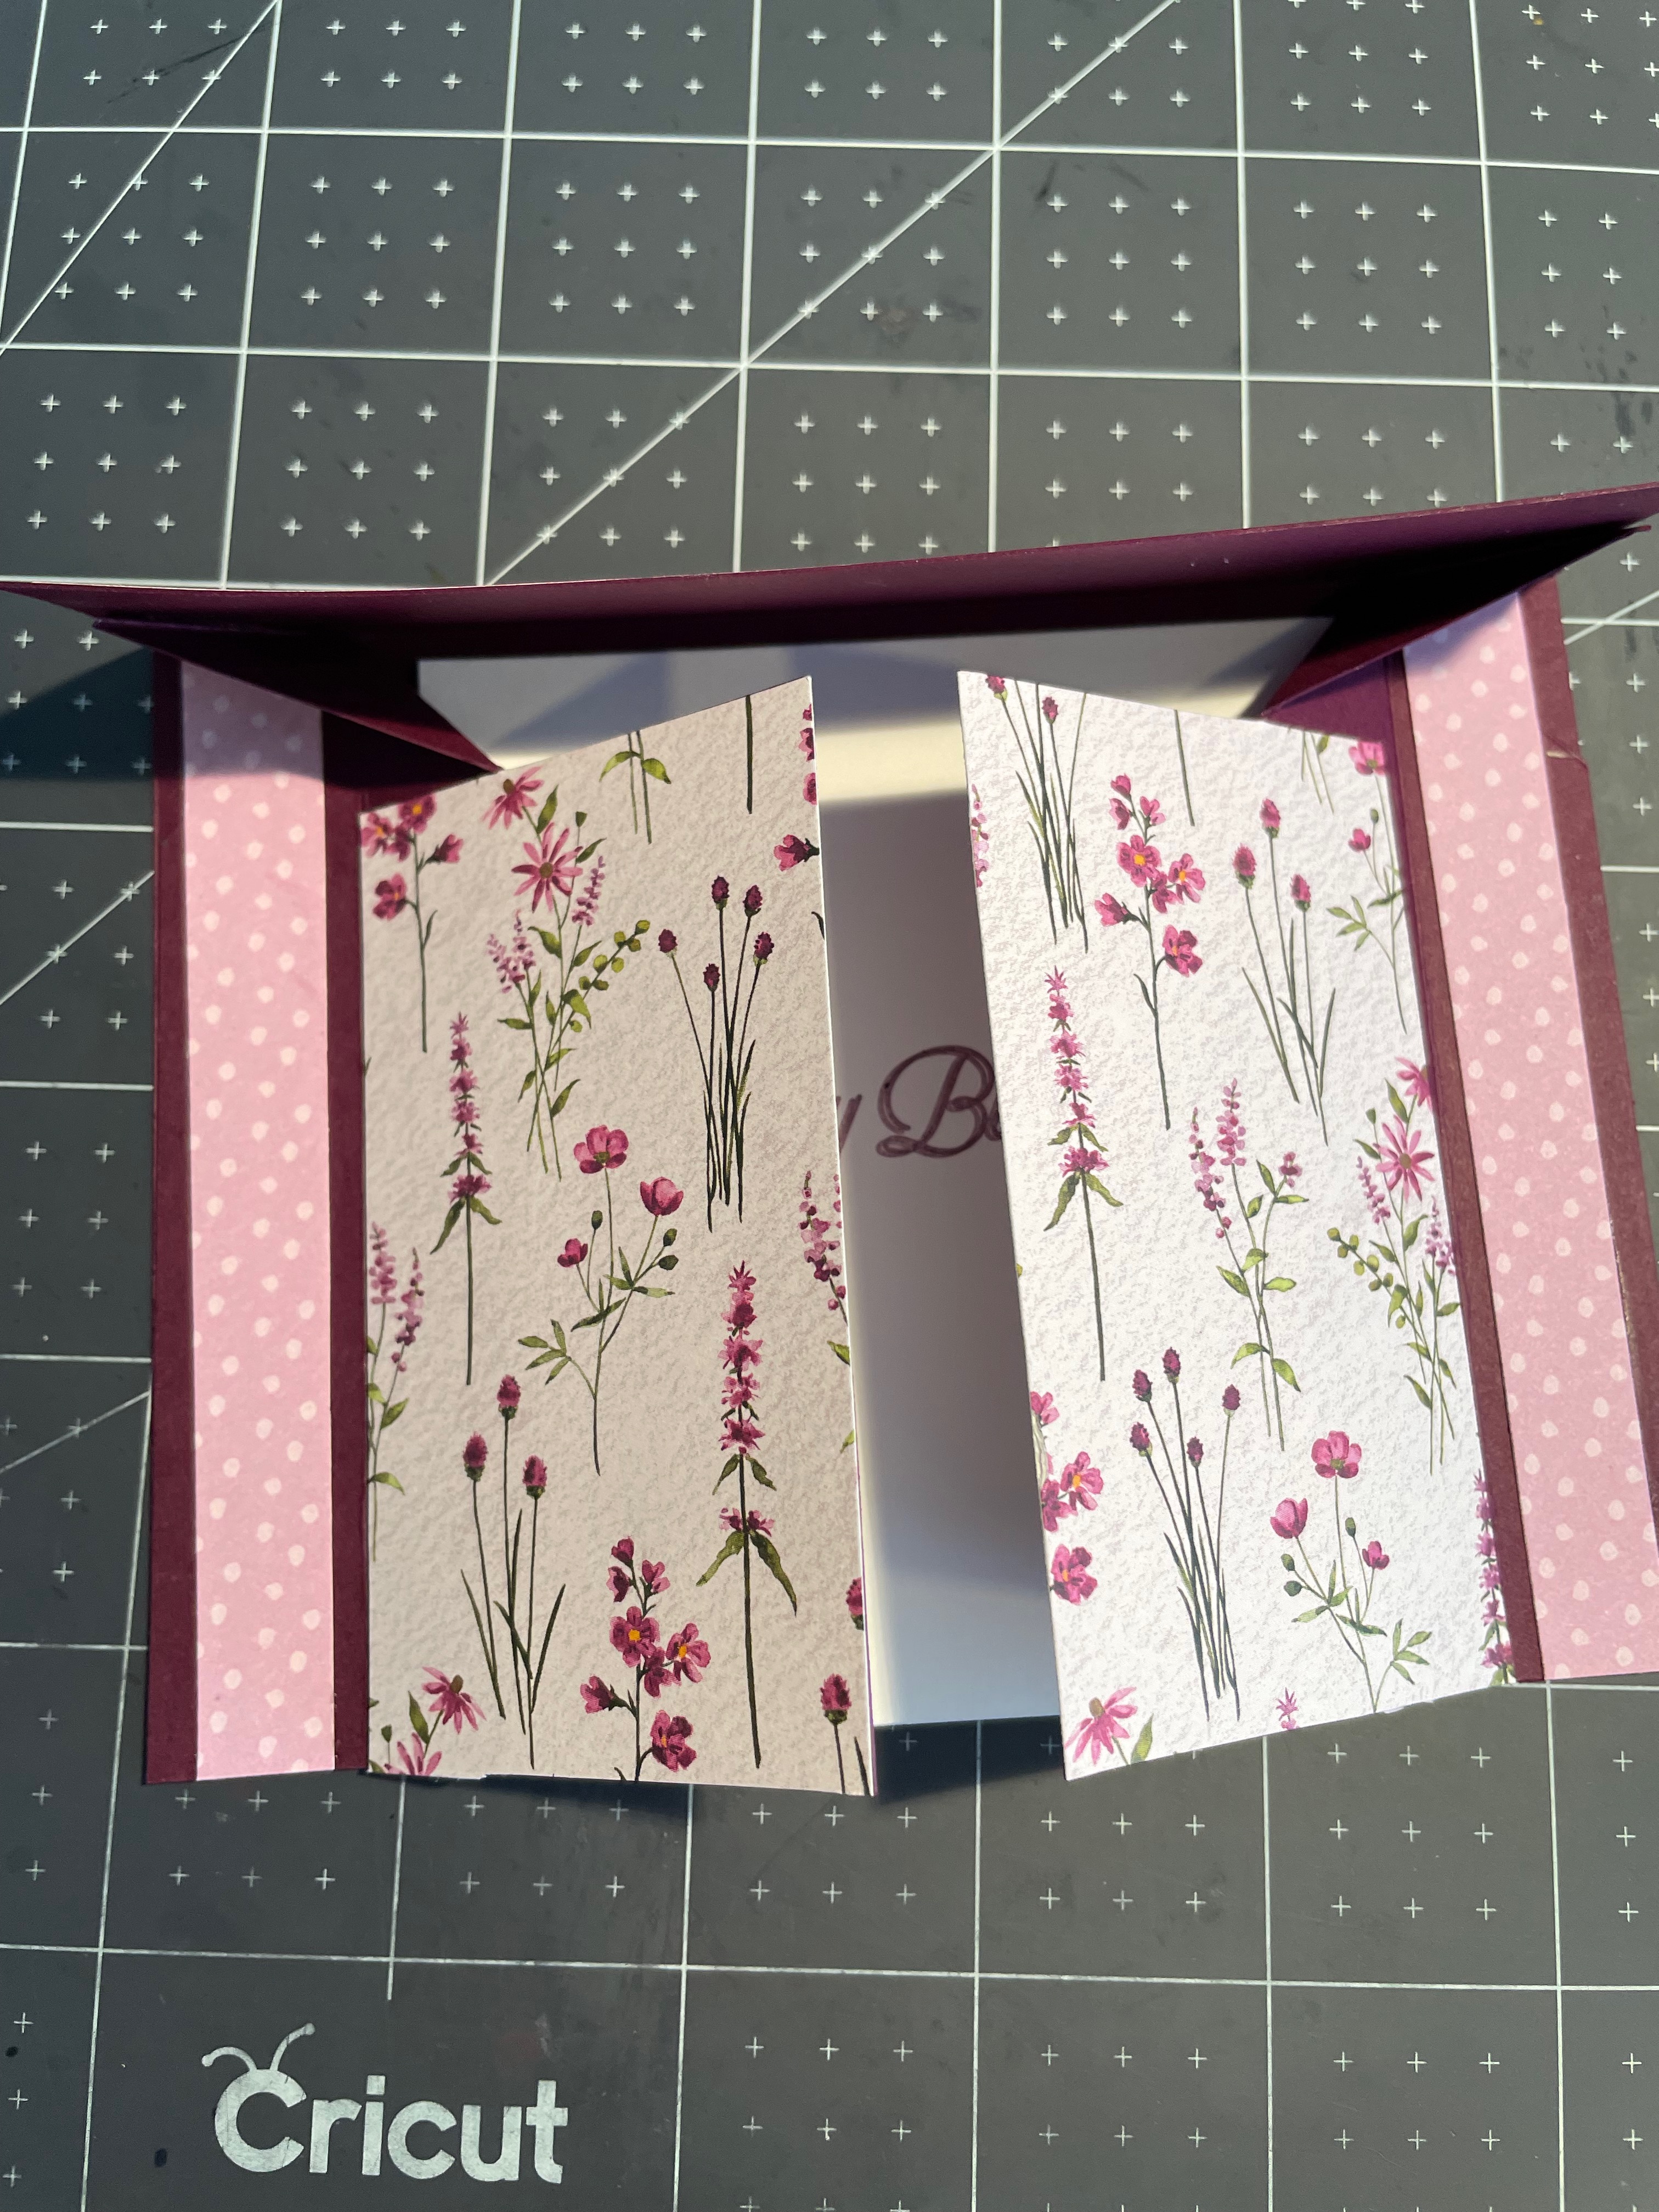
First Pattern – Adhere the top and side pieces to the card base
Second pattern – Adhere the DSP pieces to both the front and back of the doors, lining them up so they are flush with the bottom and side of the door. Each piece should be right up against the score line
Close up your card and trim the bottom if needed. I think I trimmed the bottom of my card just a smidgen to make sure all the papers were lined up.
CREATE THE INSIDE PIECE
Score the Basic White card stock at 4″ and fold and burnish.
With the score line at the top, stamp the outside of the card stock with your greeting.
TIP: If you stamp and colour an image on the outside of the card, take care that it doesn’t through to the inside
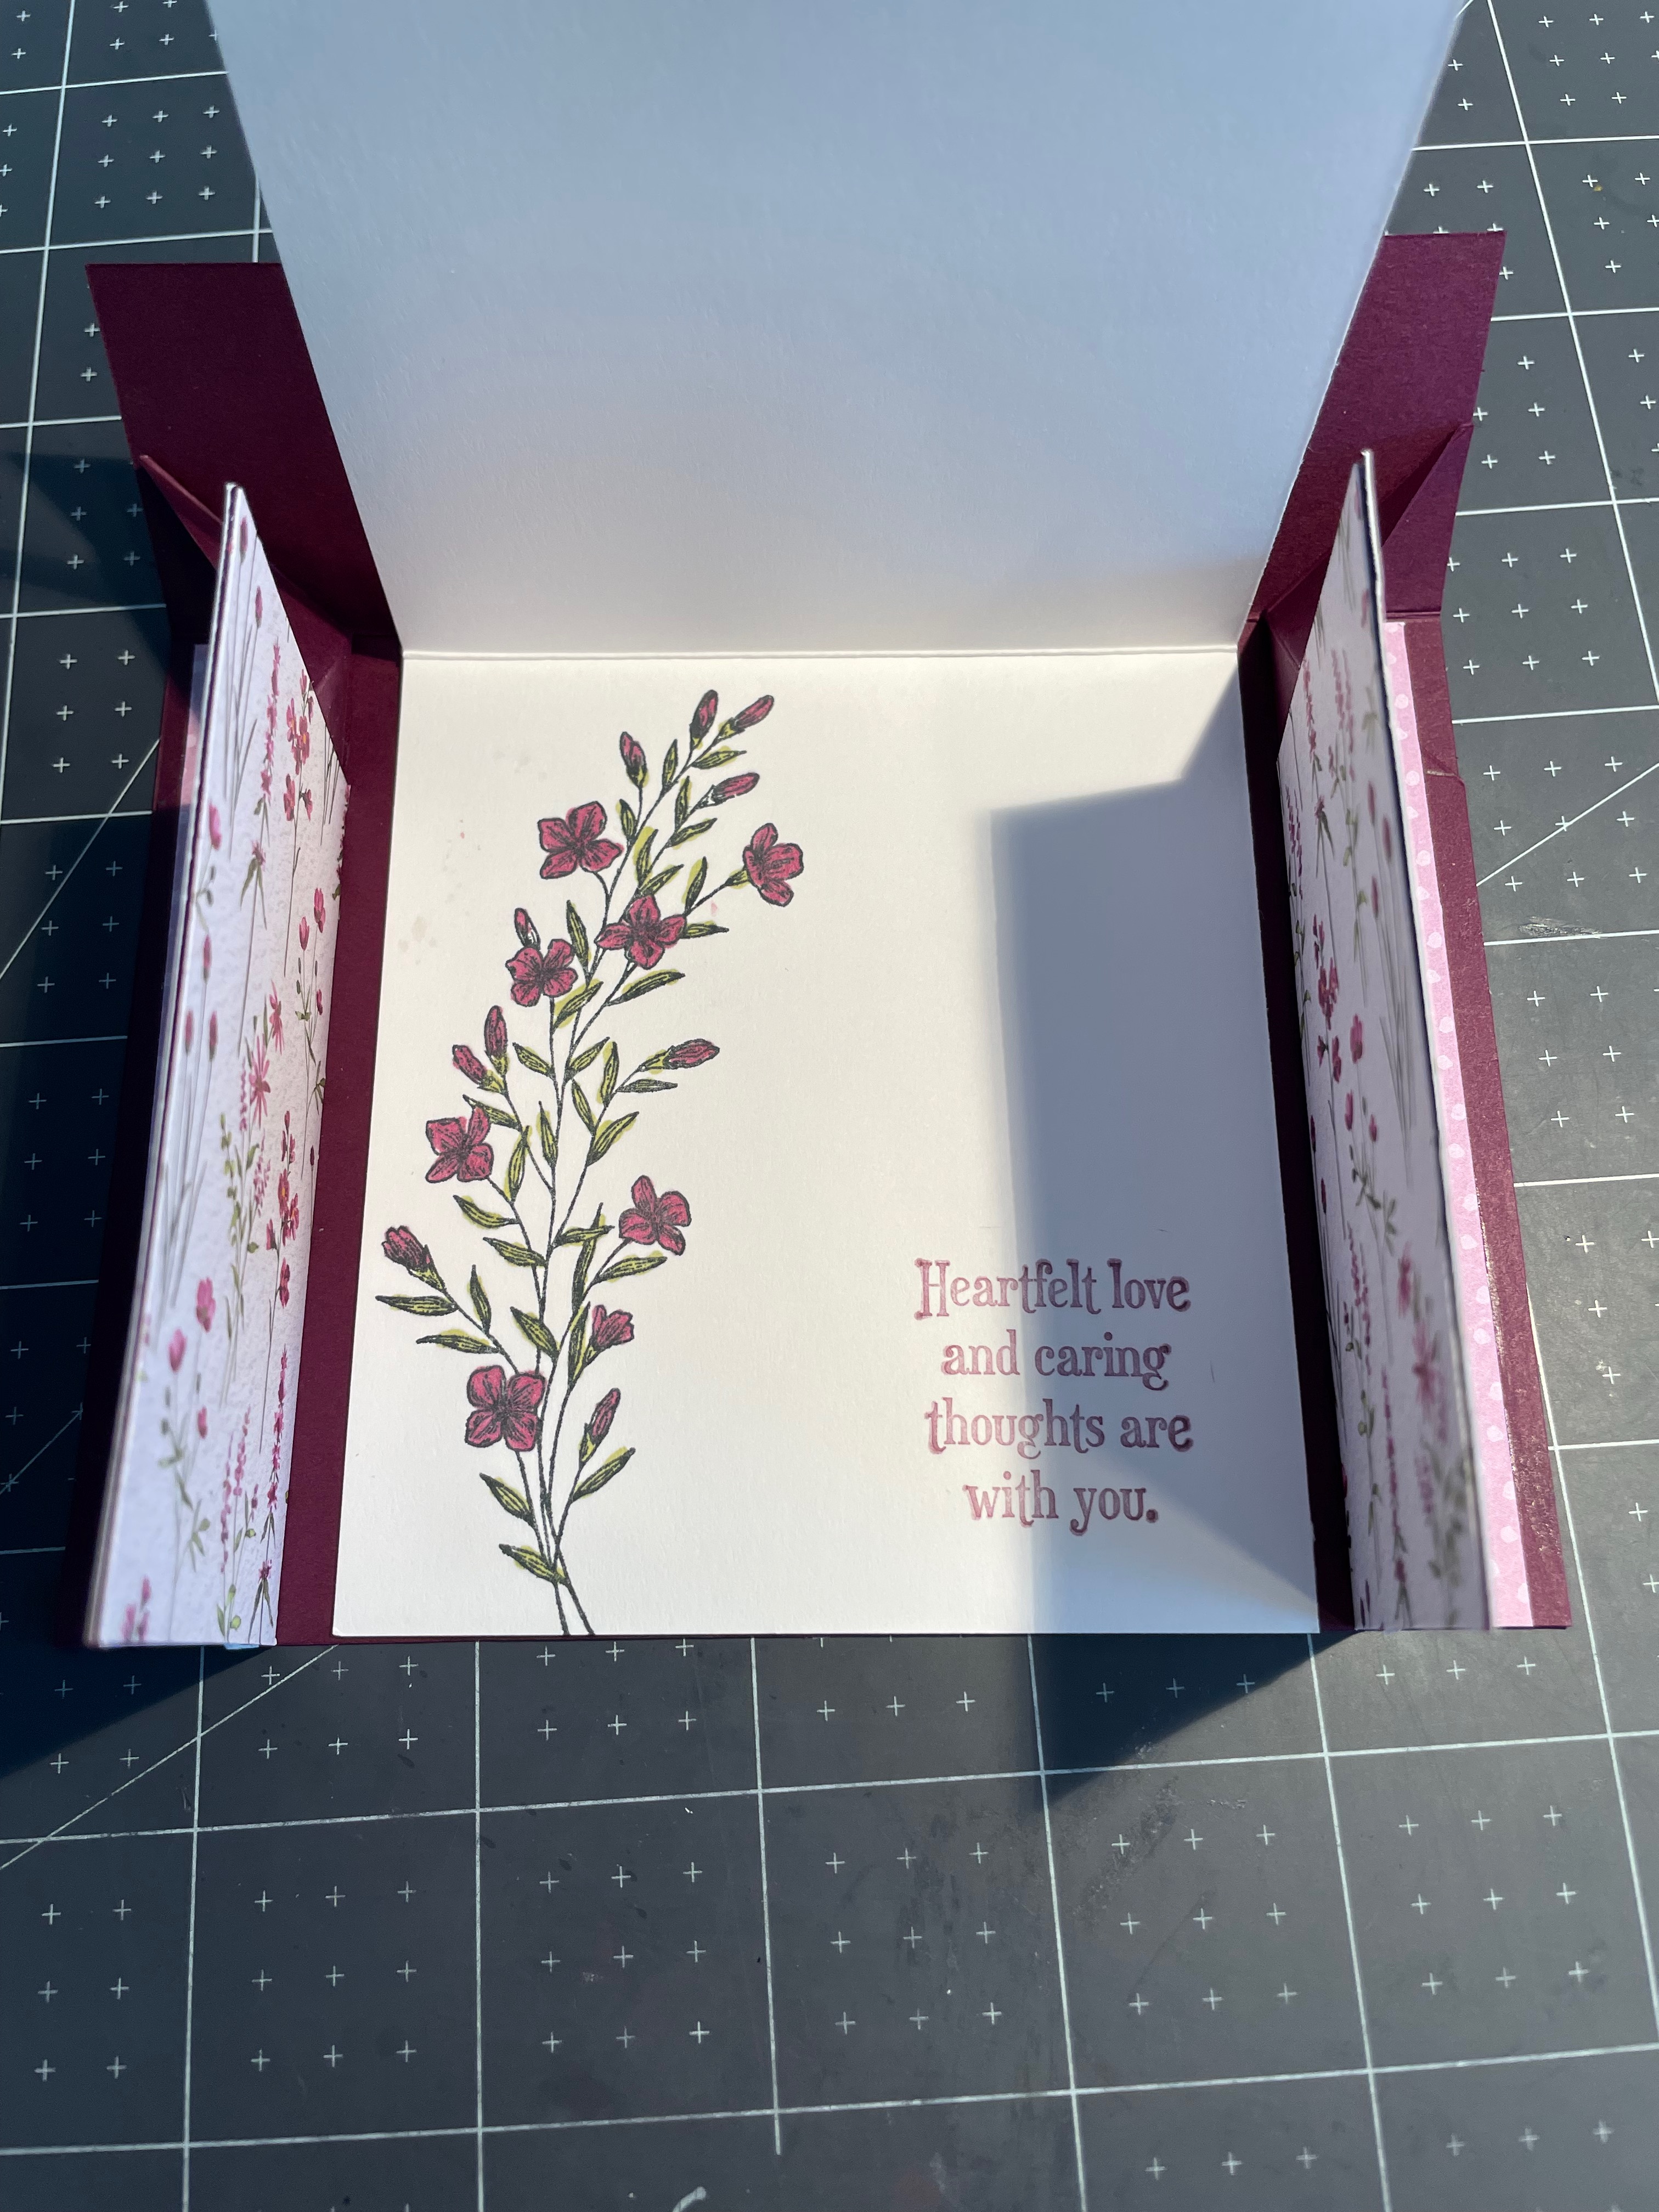
Open the card and stamp the inside with a greeting and stamped image. I coloured my image with Blackberry Bliss and Old Olive blender pens and my greetings were stamped with the Blackberry Bliss ink pad.
Adhere to the inside of the card.

I love how the card, when folded flat, will fit nicely into an envelope for mailing. When the card is opened it sits nicely on a table top for display.
OPTION: You can add additional decorations on the front of the doors if desired.
Should you wish to purchase any of the products I used for this project, please visit my online store by CLICKING HERE. Before your close your order don’t forget to add my Host Code – VQPP2GJJ to your order. Everyone who places and order with me using the host code, will receive a thank you card & gift in appreciation.
If your order is over $200, do not use the host code as you will earn Stampin’ Up! rewards with your order. You will still receive a thank you card and gift from me.
Product List


 Designer Series Paper")
")
")


Leave a Reply