[vc_row][vc_column][vc_column_text woodmart_inline=”no” text_larger=”no”]OMG, I am loving this bundle. The Enduring Beauty bundle can be found on page 38 of the new Jan-April mini Catalogue. This bundle includes the lovely Stamp Set, the dies and 5 detailed masks as shown below. You can easily mix and match these products or use them all. Each mask has detailed floral designs that add depth and colour to your paper crafting projects and they are so much fun to play with, I cannot wait to show you.

So let me show you how it’s done.
First of all, ink your image with Tuxedo Memento Ink and stamp on a piece of card stock. At this point you can colour the image with any of your colouring tools and continue to make up a card as you might usually do.
However, for demonstration purposes, I want to show you how to use the masks that come with the bundle.
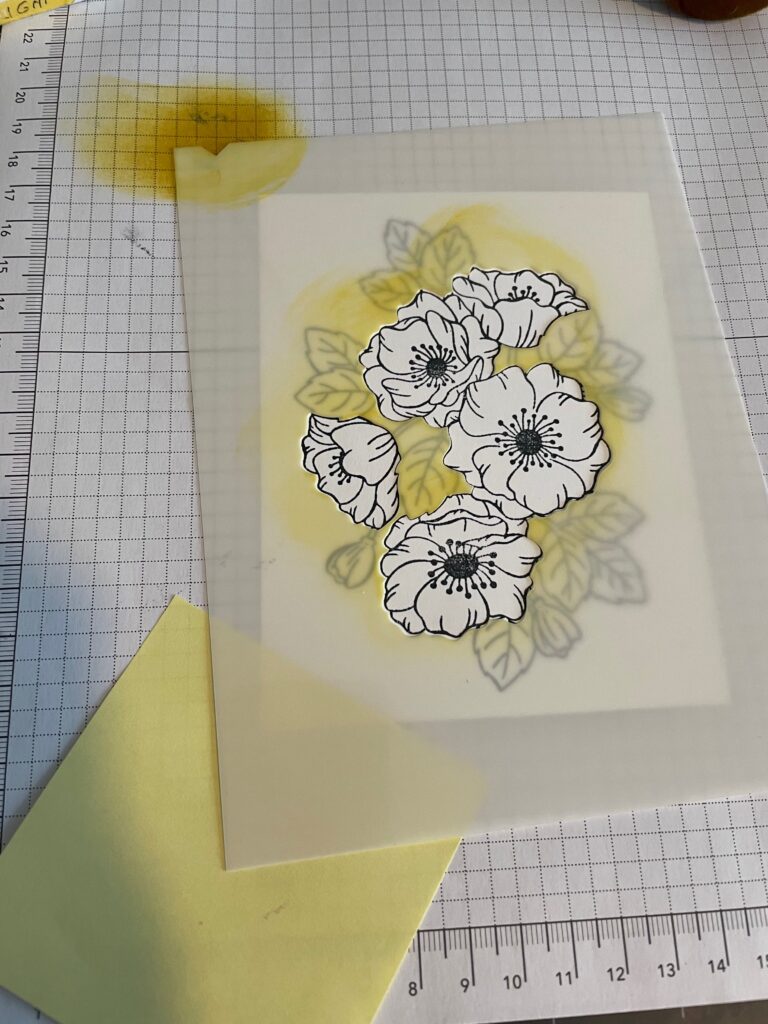
On the image on the left, you can see my stamped image that I stamped on Basic White card stock.
Now take these masks and line up the image over the stamped image. These masks are numbered with a raised mark from 1-5 so you can easily use them in order. (but you don’t have to)
Do you see the notched portion in the top left corner? Take a blender brush and run a little colour over the notched portion. The notch will help to line up all the remaining masks
Once you have it in place, use your blending Brush or sponge dauber and go over the floral images. I used Daffodil Delight as my floral images.
TIP: I placed a glue dot underneath my card stock it to hold it in place. I also added a post it note for a little added stability. You can do the same with the masks or just hold them in place.
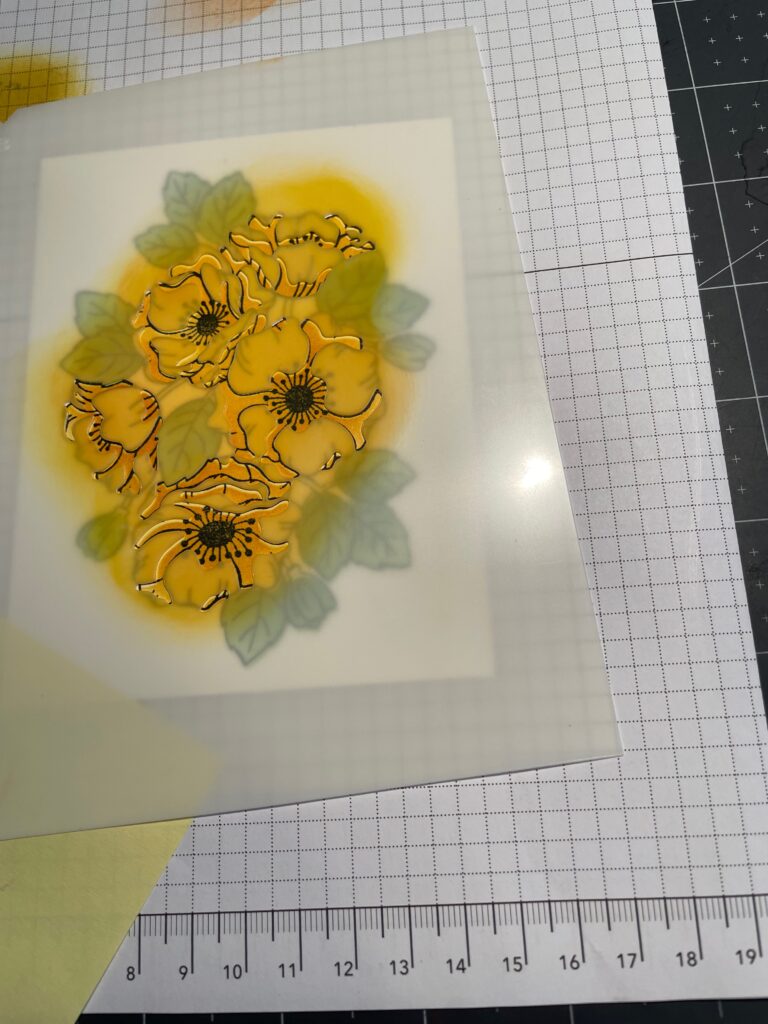
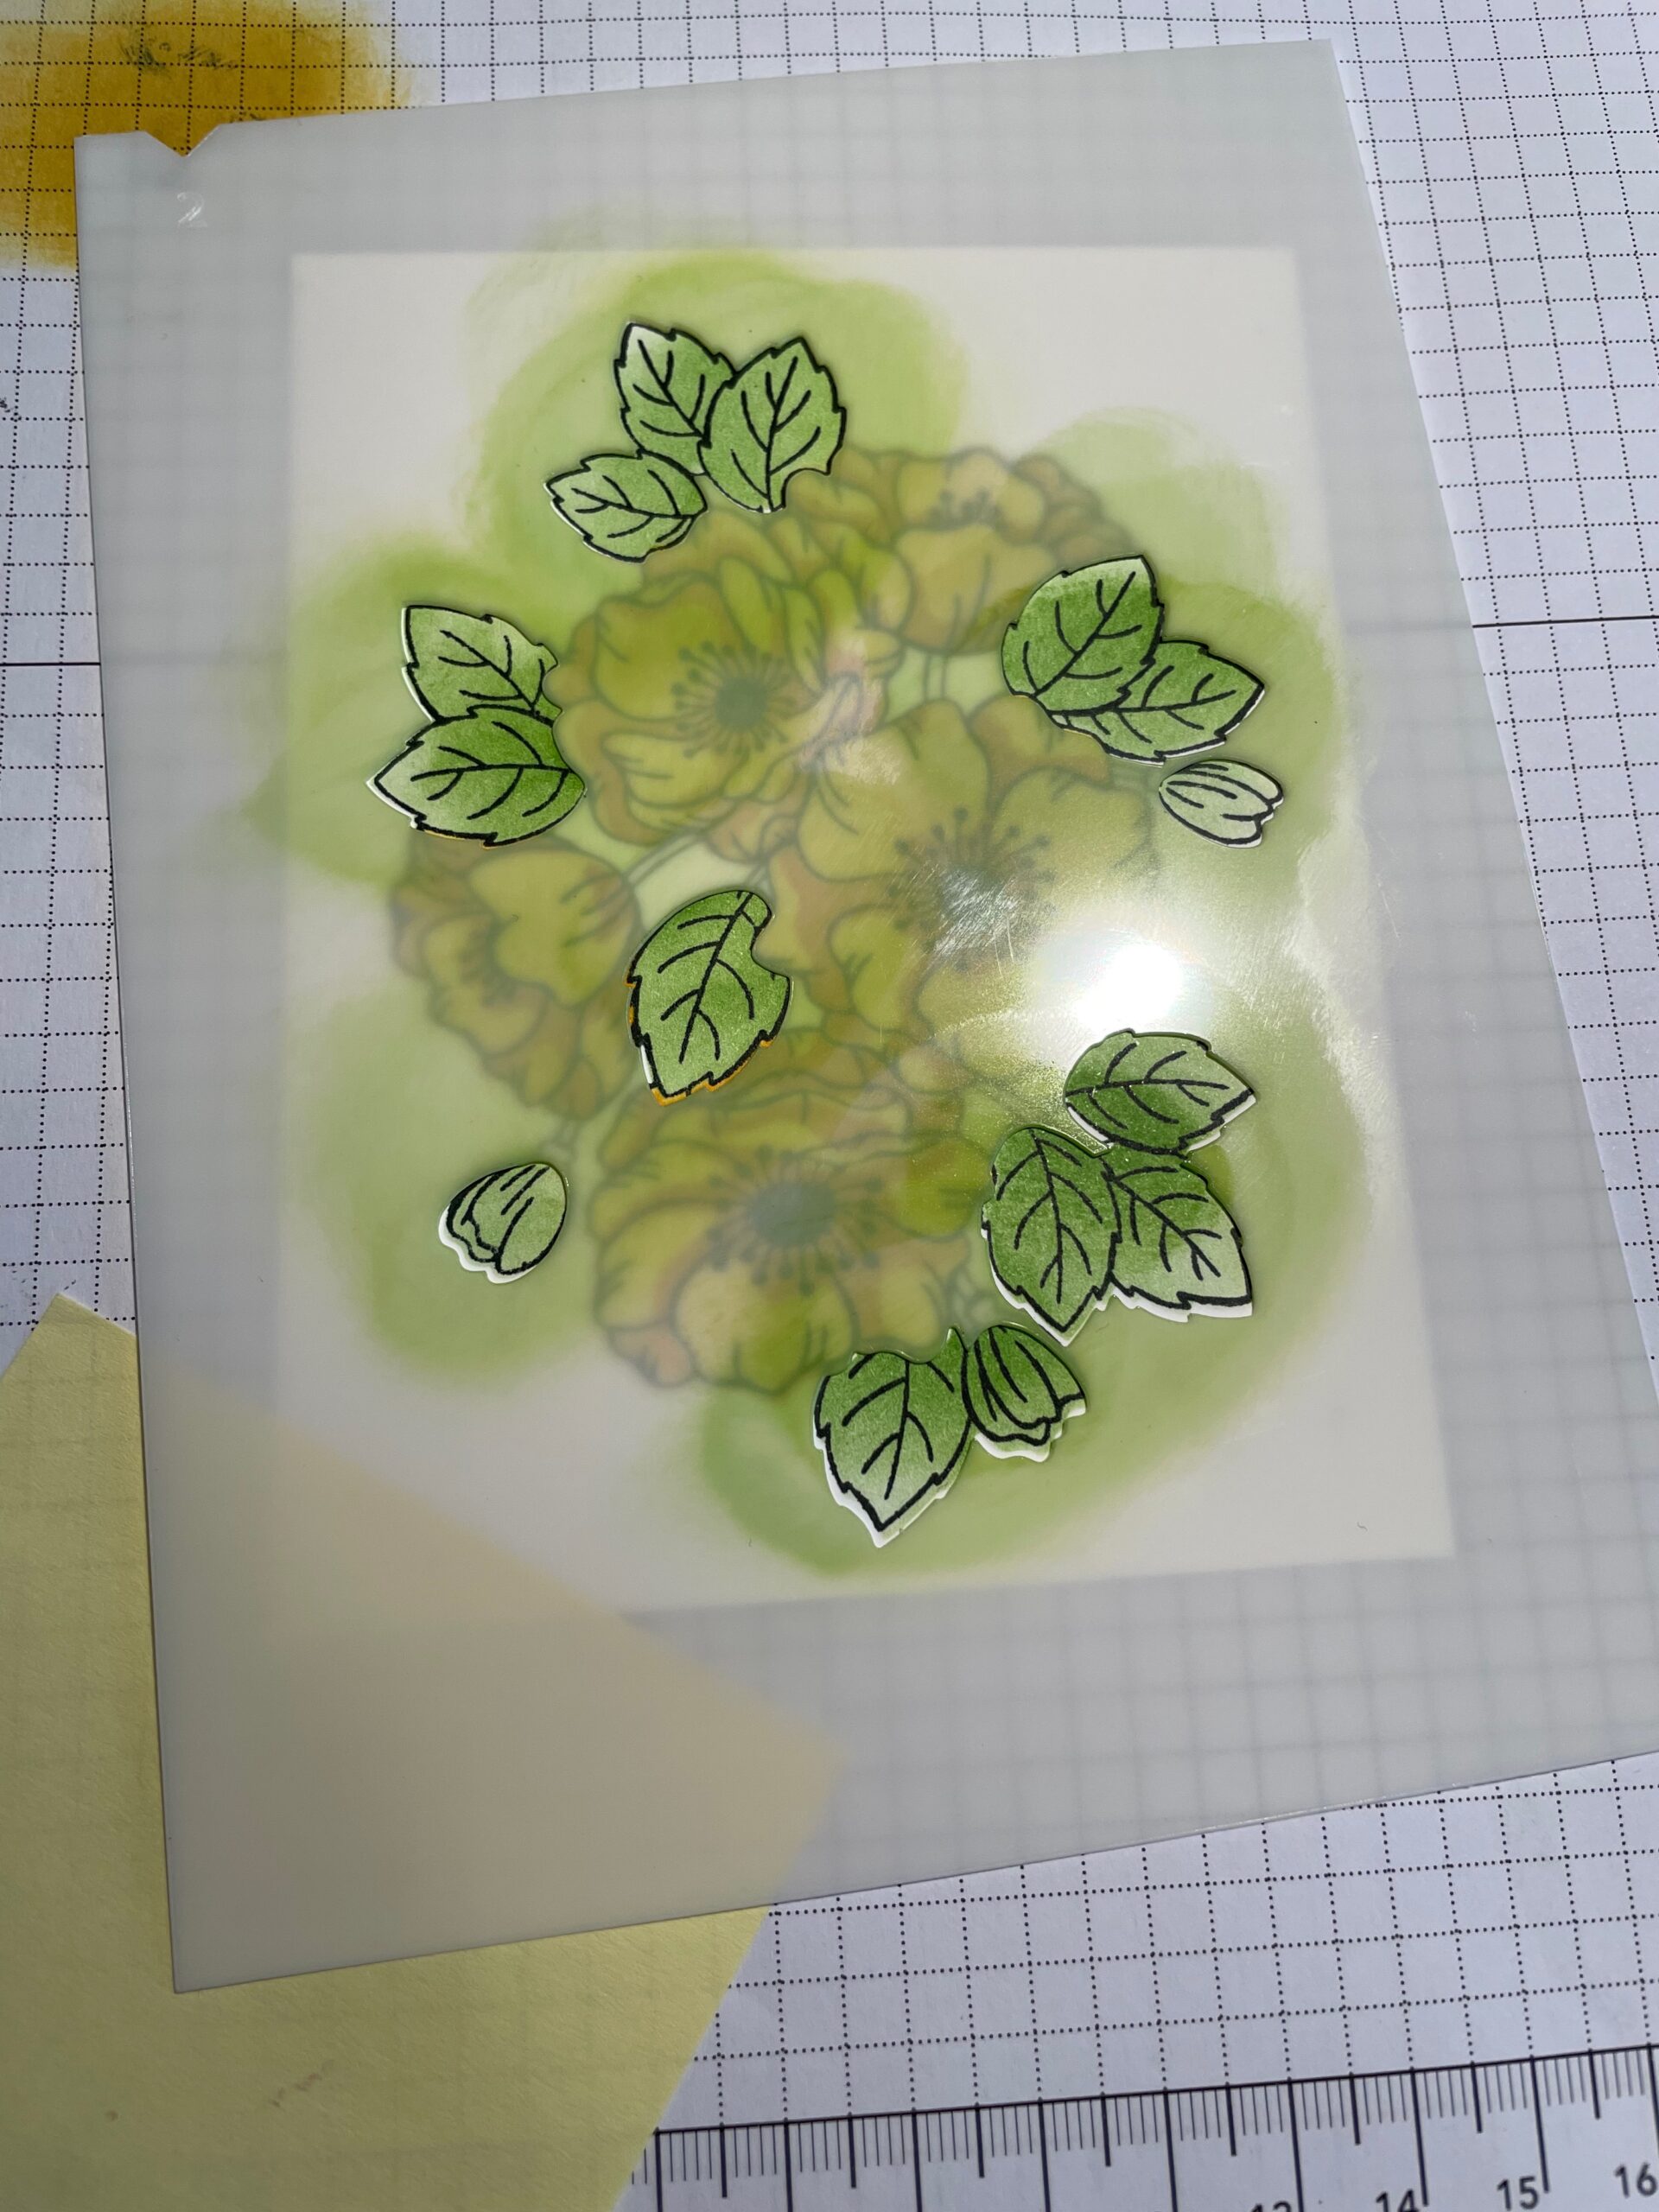
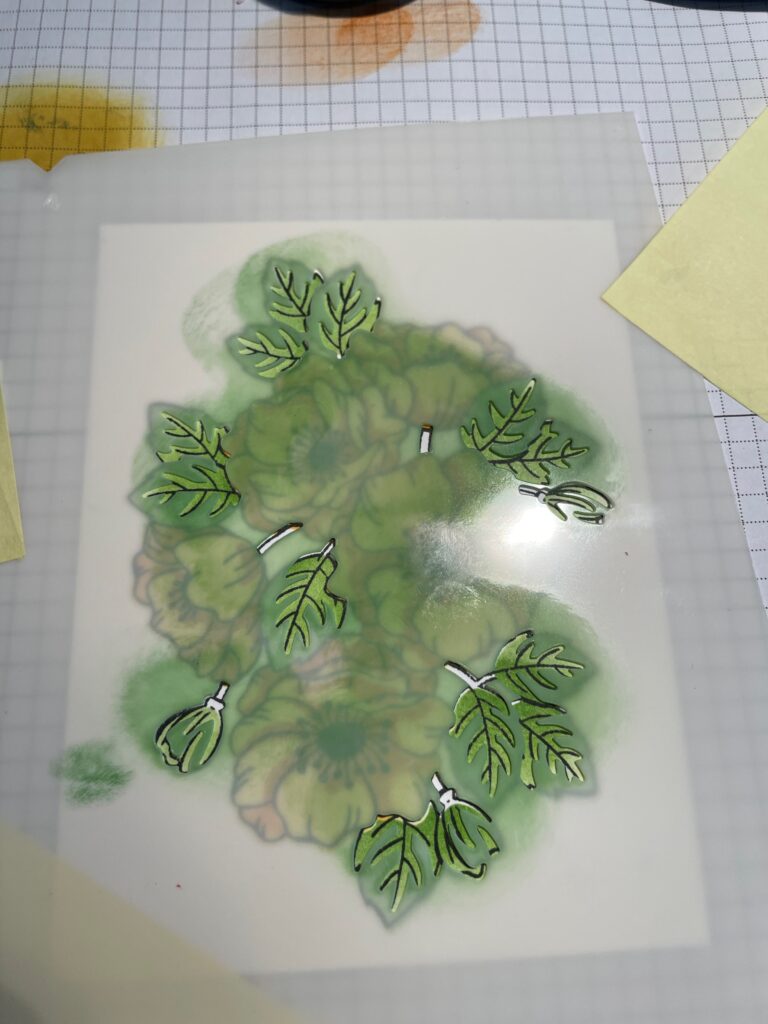
Now for these masks, I added detail to the flowers with the first mask, using Crushed Curry. The middle image was for my leaves and the right image was to add additional details to the leaves.
For the last mask, I added even more detail to the floral centres. I again used the darker Crushed Curry but could have chosen a different colour. Seriously, how adorable is the completed image. These masks can be used alone or layered to add those extra details.
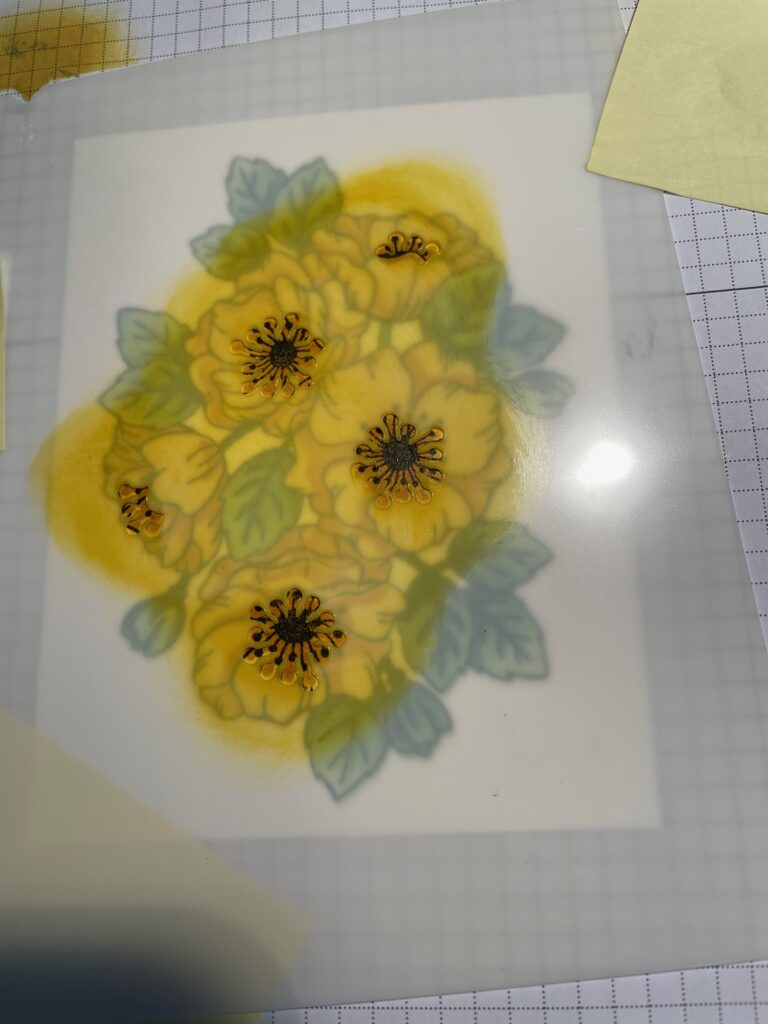
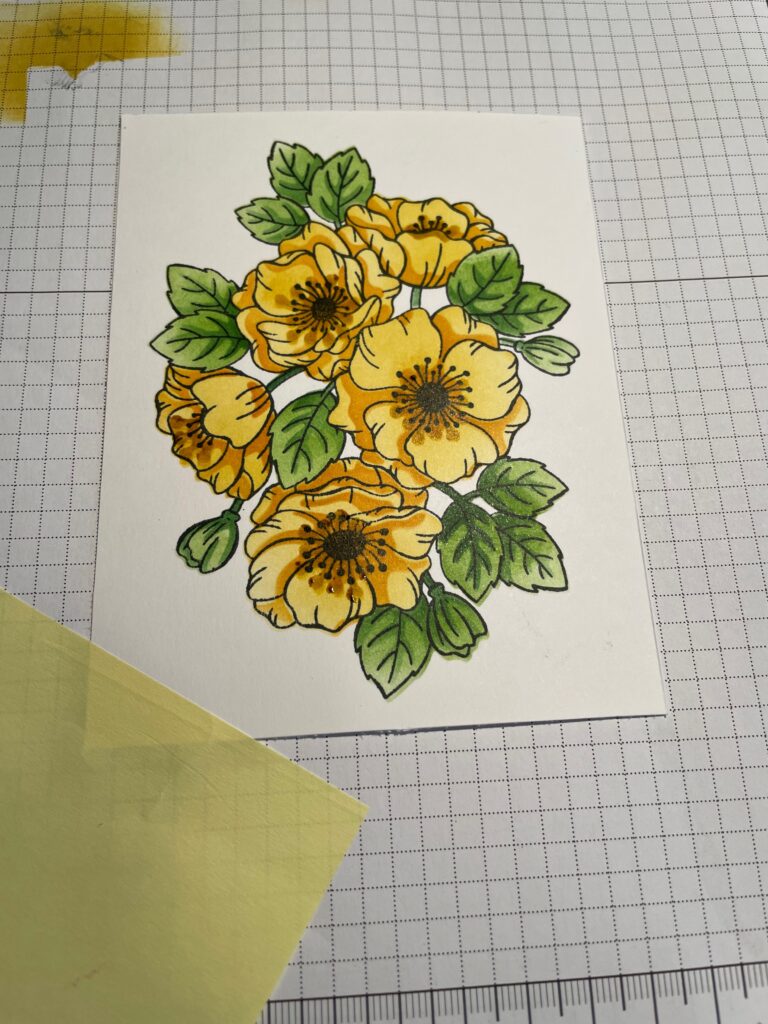
Now for the best part, take your masks and run them under the faucet. The ink runs right off without scrubbing so you can just dry them and use them again and again.
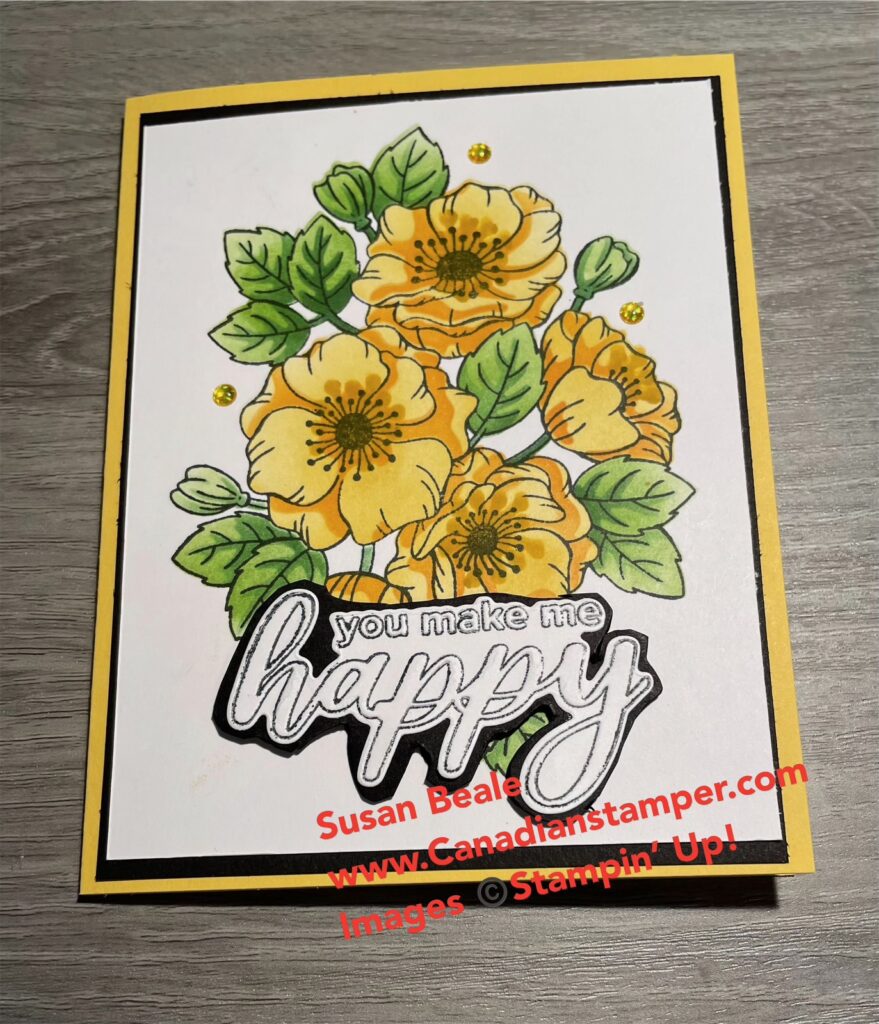
Here is my completed card. I matted it in black than added it to my card base of Daffodil delight. I added some gems for added bling then added my greeting using the Thoughtful Moments Hybrid Embossing Folder and the new Brayer from Stampin’ Up! I will post the how to’s on that on a separate post so stay tuned.
However, I wanted to try making a couple of other cards, so what I did is stamp my image on a piece of card stock, then used the masks again, this time is a light blue. Once I completed the pictured image, I used the die from the bundle and cut out the floral image. I then cut the image in half and made the two cards below. You can see how the whole floral image looks and how I cut it in half. This could also be accomplished by partially stamping the image and colouring with blender pens, or whatever colouring tool you like to use.
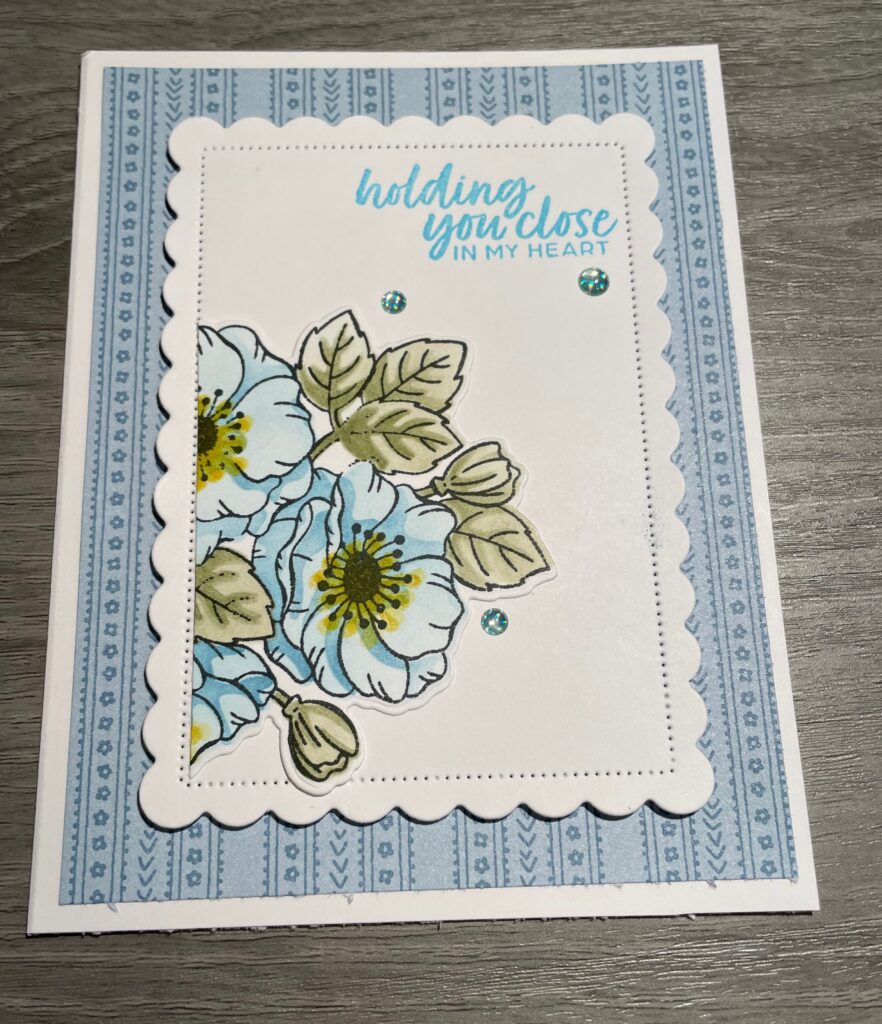
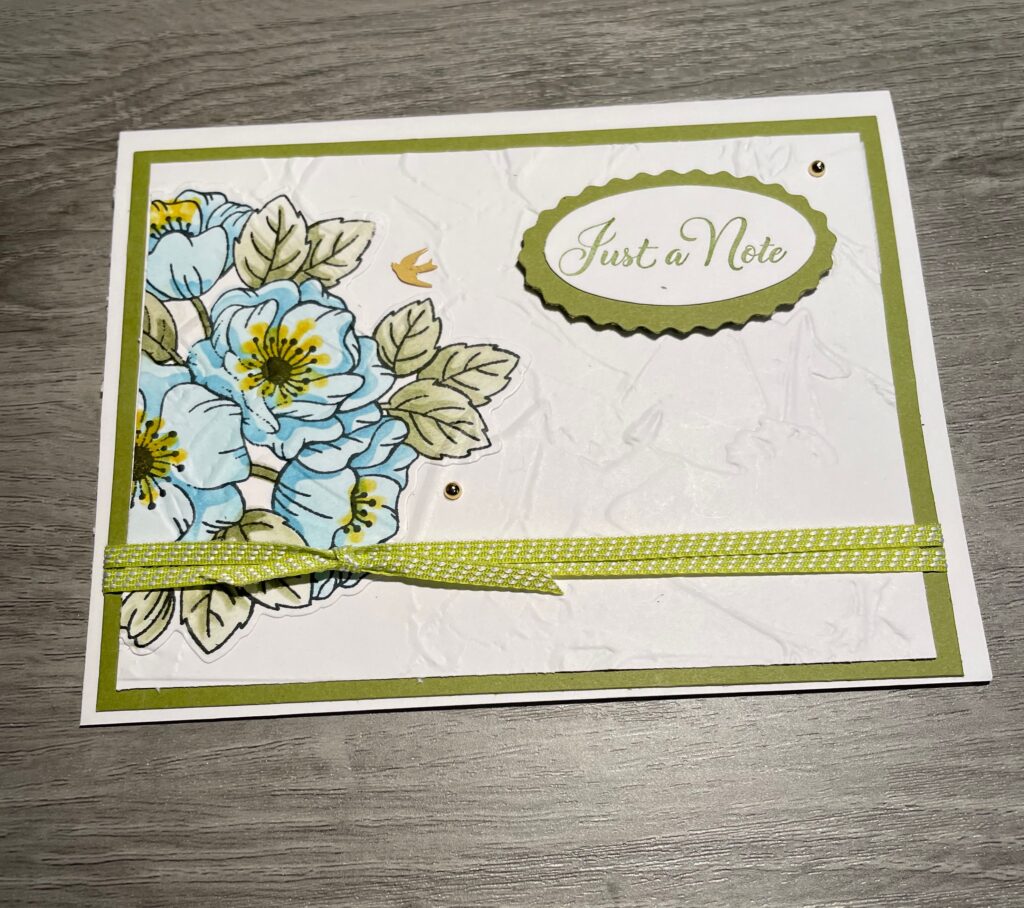
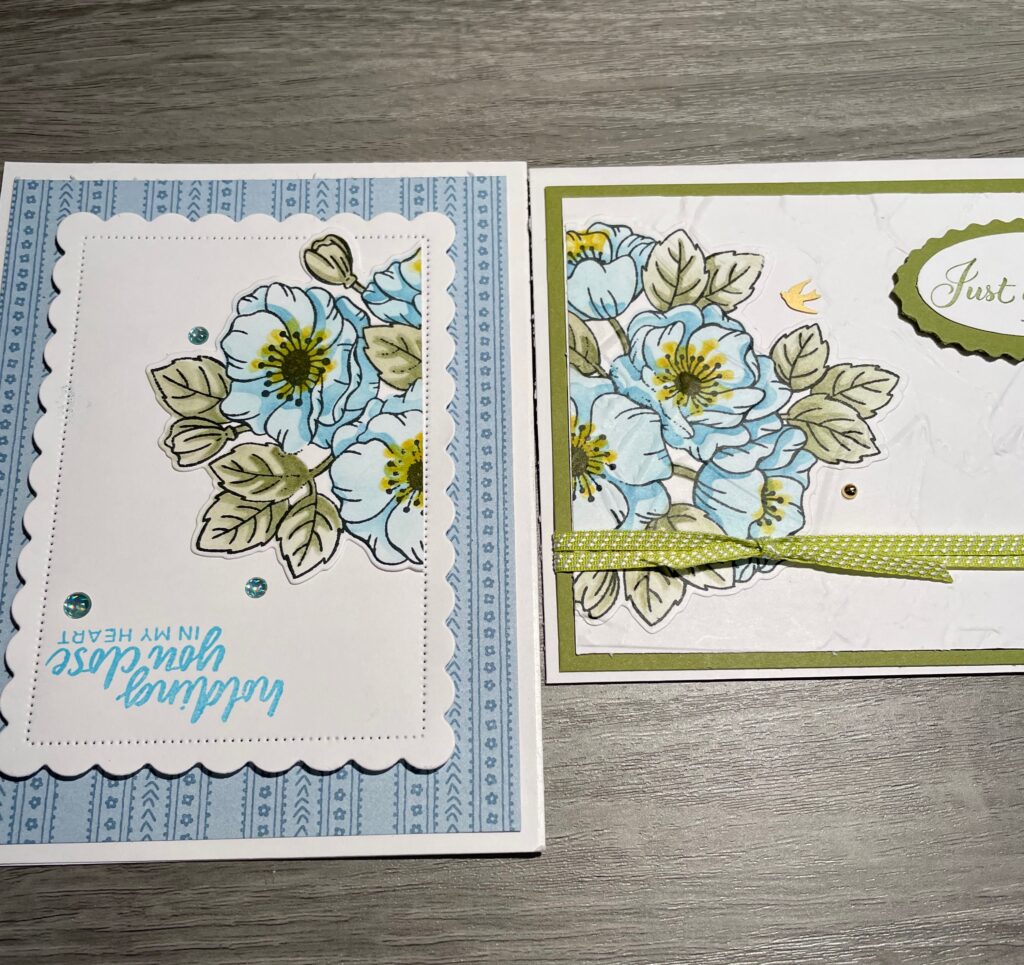
My goal today was to show you how versatile this set can be and I hope you will give it a try. Although I haven’t tried it yet, I plan to stamp this image with Versamark ink and heat emboss it. I cannot wait to give that a try.
CLICK HERE to visit my online store to see all these amazing products and more
Product List
JOIN NOW
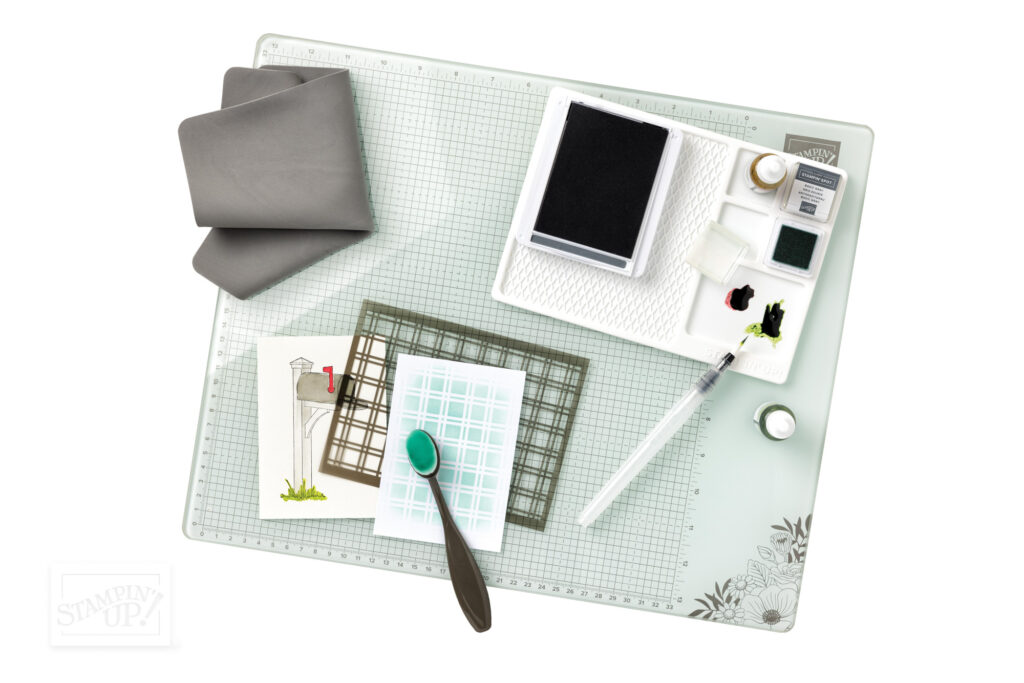
If you’ve been thinking about becoming a Stampin’ Up! demonstrator, then there’s no better time than right now during Sale-A-Bration! Join by 29 February 2024 and choose between two fabulous offers:
Option 1: Get $165 worth of product PLUS our new Stampin’ Glass Mat Studio (a $82 value) for just $135!
Option 2: Get $165 worth of product PLUS an additional $41 worth of product of your choice when you join for $135. That’s a $206 value!
Don’t wait! Talk to your demonstrator today or click the JOIN STAMPIN’ UP! button to begin your creative journey!
Visit my ONLINE STORE at any time, to see all the amazing products or to purchase supplies. Before you close your order, don’t forget to add my current Host Code – D4V3NWVD if your order is less then $200.00. Everyone who places an order with me using the host code, will receive a thank you card & gift in appreciation.
If your order is over $200, DO NOT use the host code since you will earn your own Stampin’ Up! rewards with your order. You will still receive a thank you card and gift from me in appreciation.
You can place your order directly online at any time. However, if you are not comfortable placing orders online, I will be happy to place an order for you. Please contact me at susanbeale@canadianstamper.ca to discuss.
[/vc_column_text][/vc_column][/vc_row][vc_row][vc_column][html_block id=”11646″][/vc_column][/vc_row]


Leave a Reply