Today I would like to share with you how you can use a single stamp set to create three very different cards. I made up these cards using the Dragonfly Garden Bundle which includes both the lovely nature inspired stamp set and the coordinating dragonfly Punch. They just scream Spring/Summer to me. I also used the Dandy Garden Designer Series Paper which sadly is retiring June 30th but works beautifully with this stamp set.


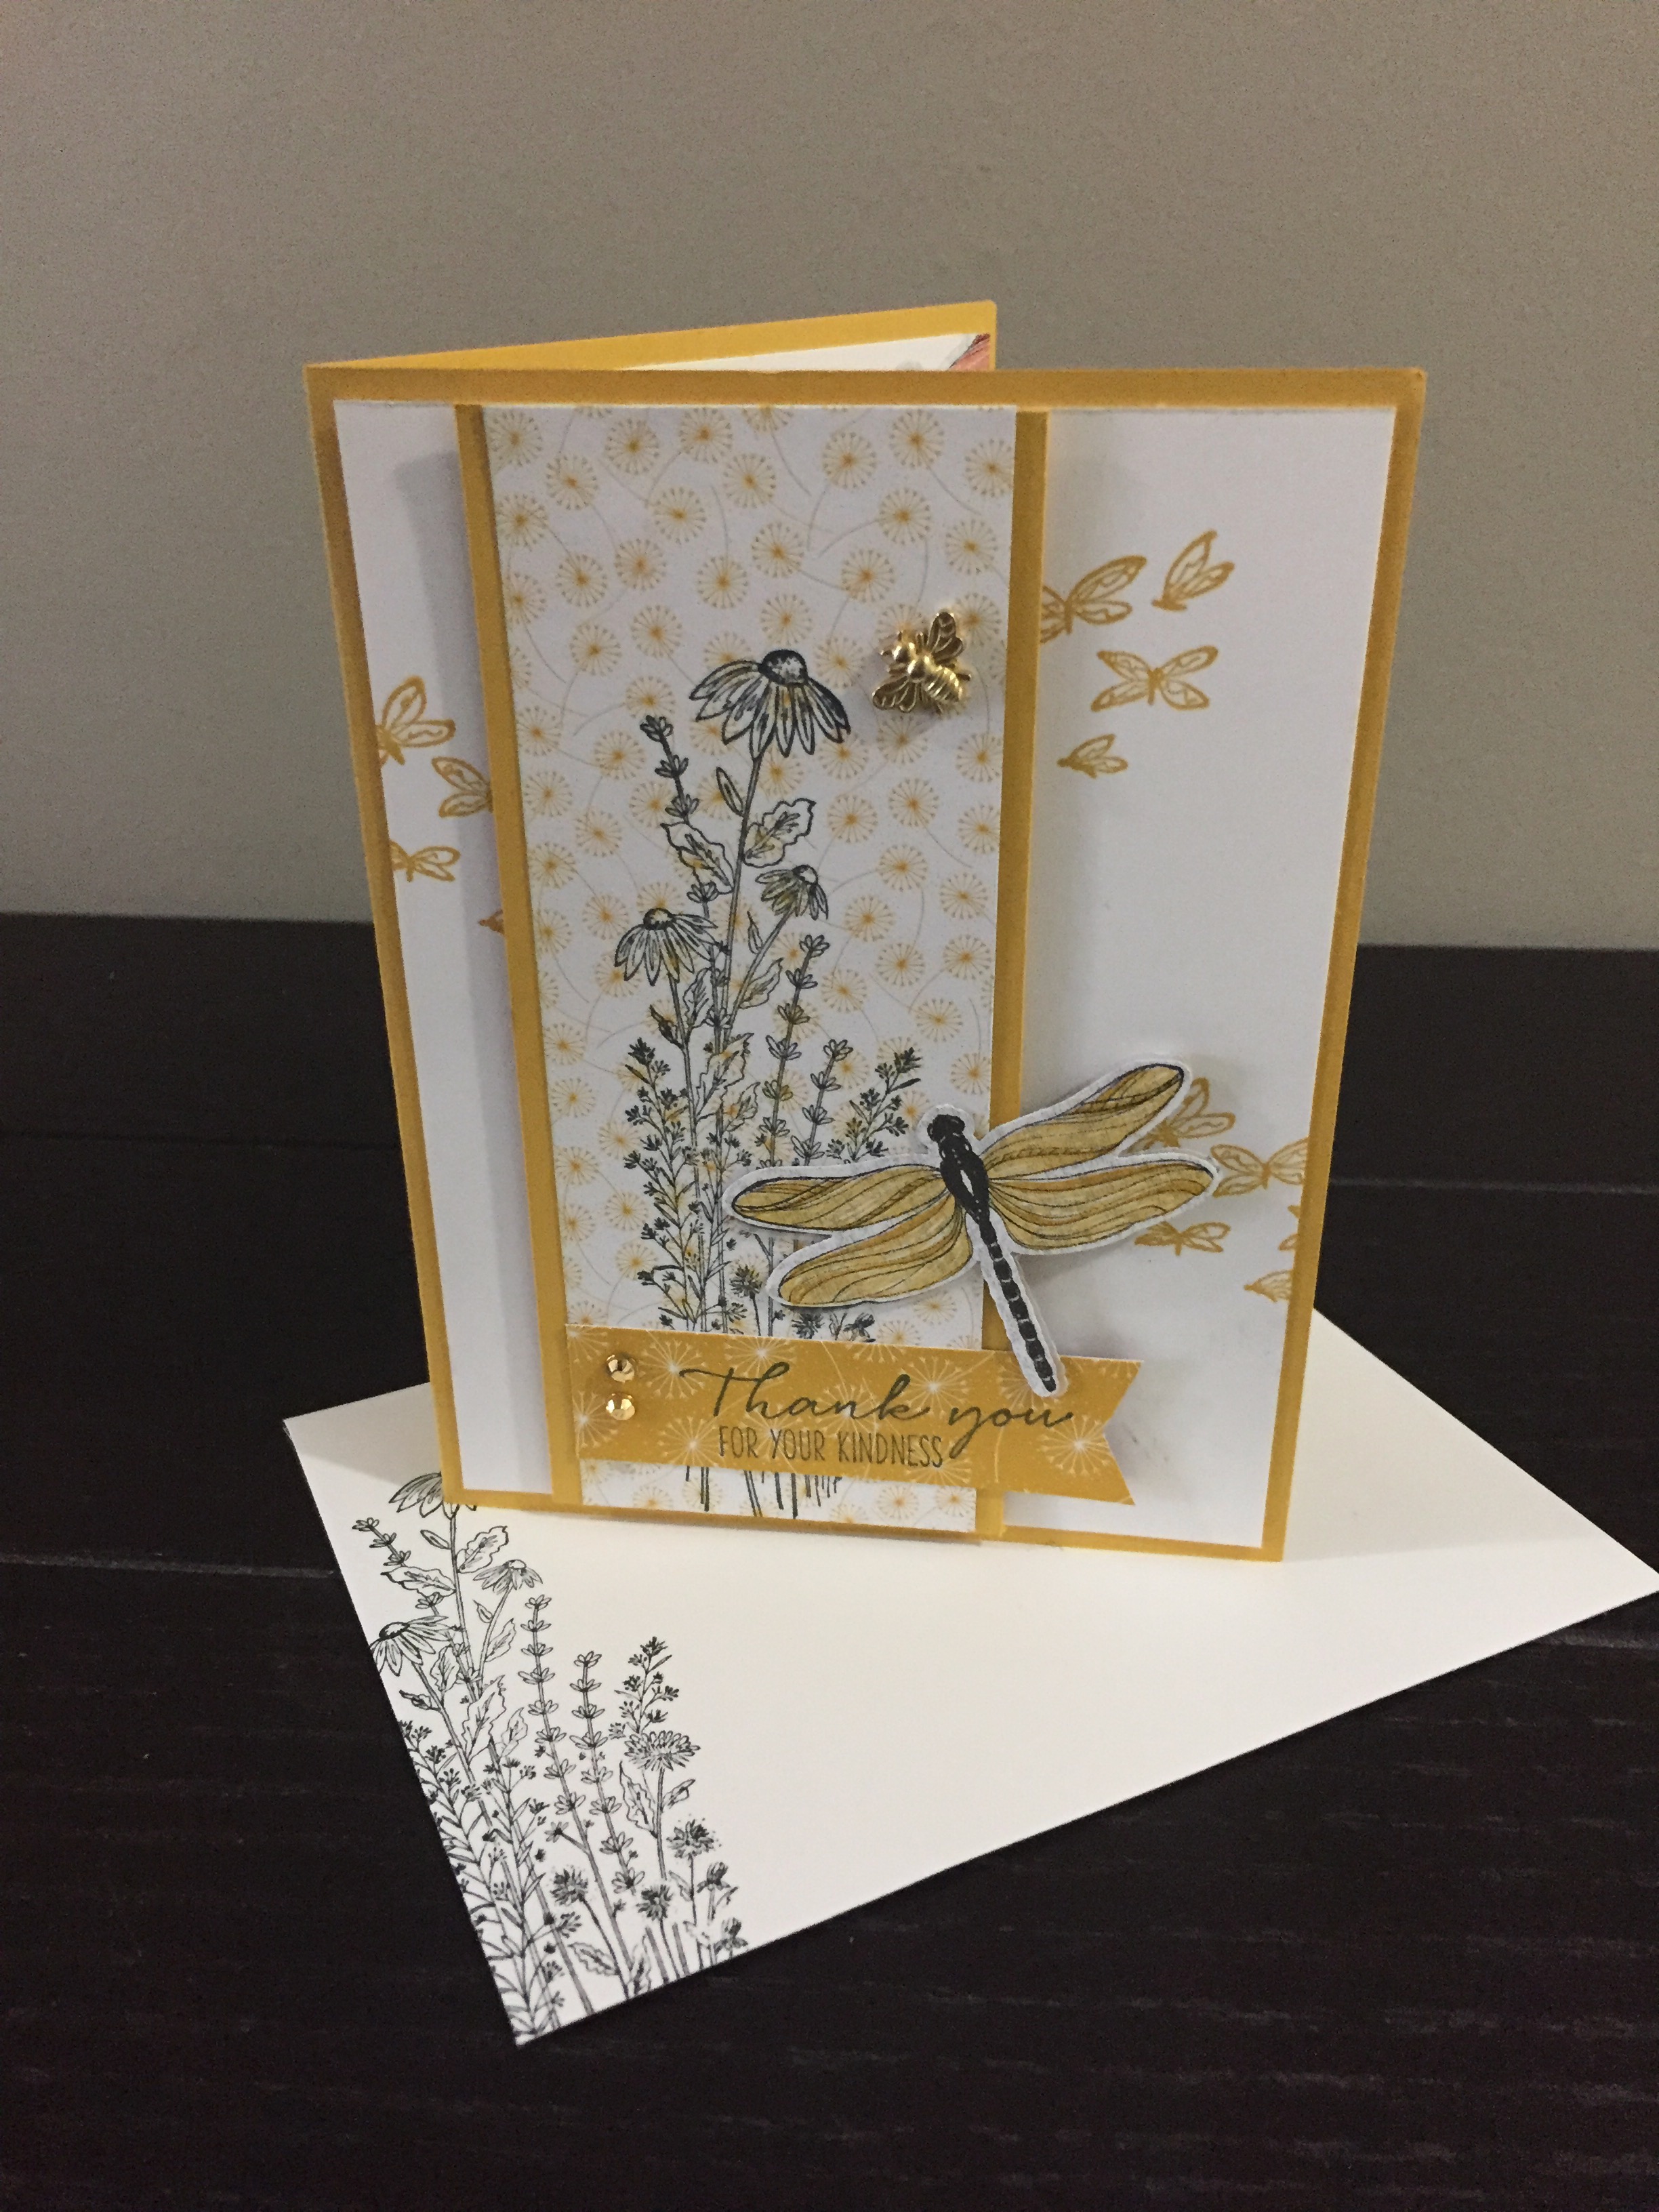
The first card I made was this card. The card base is bumble bee card stock cut and folded as my card base.
I cut a piece of basic white piece of card stock at 5 1/4″ x 4″ for my card front. I also cut my panel of Bumble bee at 2 1/4″ x 5 1/2″ and the DSP patterned paper is 2″ x 5 1/2″. I adhere them together than just lined it up over the card front. I wanted to stamp the cute butterflies in the same colour behind it so they just peek out. I then stamped the floral image on the patterned panel before adhering the panel overtop with dimmensional’s to make it pop up a bit. The envelope was also stamped with the same floral image.

I used the punch and punched out a bunch of dragonflies from the Dandy Garden DSP and I love how it perfectly lines up with the larger images. The medium size dragon flies also line up in the punch for the smaller punch, however I didn’t use them on this card.
The sentiment was then stamped and attached to the panel. The Dragonfly was added and to top it all off, I glued the cute bumble bee to the panel and added a couple of gems to the sentiment piece for a little added bling.
How easy was that?


For my second card design, I relied on the Dandy Garden DSP again and the white Memories and More card package. The Memories & More card pack includes 20 Memories & More card bases and envelopes: 10 small and 10 large. For these cards, I used the larger card bases and they make for quick and easy thank you cards.
I cut the mat in Basic Black at 3 1/4″ x 4 3/4″ and the DSP at 3″ x 4 1/2″ then attached them together and adhered to the card front. A strip of Basic white card stock was then stamped with the sentiment and adhered to the front of the card with dimensional’s. The previously punched out dragonflies where then attached to the front and the envelopes were stamped with the tiny butterflies. A lovely card that took only a few minutes to make up.

For my last card, I spent a little more time on it, mostly just colouring. The mat was cut from Highland Heather at 5 1/4″ x 4″ and the card front is 5″ x 3 3/4″. I stamped the floral image along the bottom to simulate a garden of sorts and butterflies at the top. I then coloured the flowers in Highland Heather, Old olive for the leaves and Bumblee bee for the floral centres and the butterflies. After wrapping the card front with the ribbon (retired now), I adhered it to my card base. I deviated a bit this time and changed up the stamped sentiment. This one is from the “Happiest of Birthdays” stamp set which is a new stamp set in the annual catalogue.
Once the card was completed I changed my mind and added gems to the four largest floral centers and added a couple more on the top of the card front. I also stamped the floral image on the envelope front. I love how it just makes an plain envelope look a little more interesting don’t you?
I hope this helps you to be creative by just taking one stamp set, a little Designer Series Paper and making the most of what you have, to create very different cards.
If you wish to see any of the products I used, you may visit my online store by clicking here. Should you decide to make a purchase, please use my June Host code QAJVWCSS to be automatically entered into my monthly draw. If you order if over $200.00 don’t use the code but you will still be entered.

While you are online, don’t forget to check out all the Last Chance products from the January-June Mini Catalogue. These items will be retiring on June 30th and are only available while supplies last. Savings can range from 10-50% off for some items so it’s worth a look.
I hope you have enjoyed this post, please like and follow my blog so you don’t miss out on future posts.
As always, I welcome your feedback and so please leave me a comment, and tell me what you think. I invite you to try your hand at making one of these cards using the techniques mentioned and I would love to see a picture of your creation.
Would you like to be added to my email newsletter? please provide your contact information here
Leave a Reply