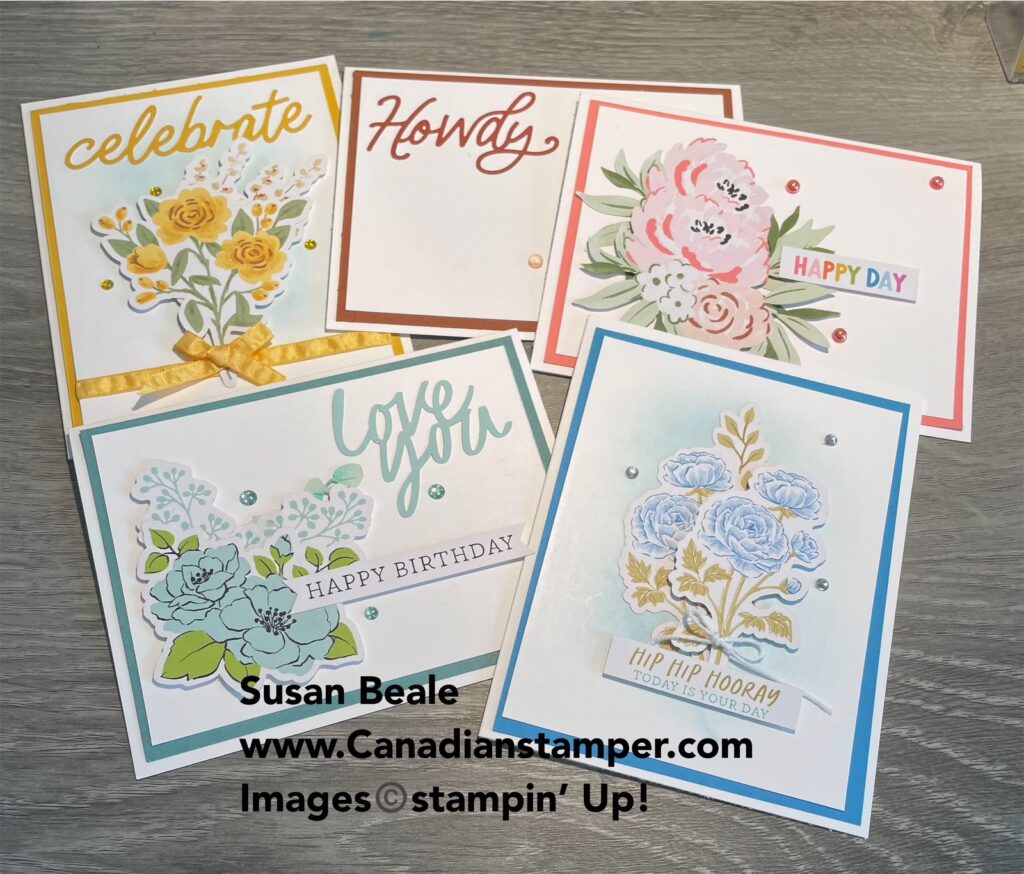
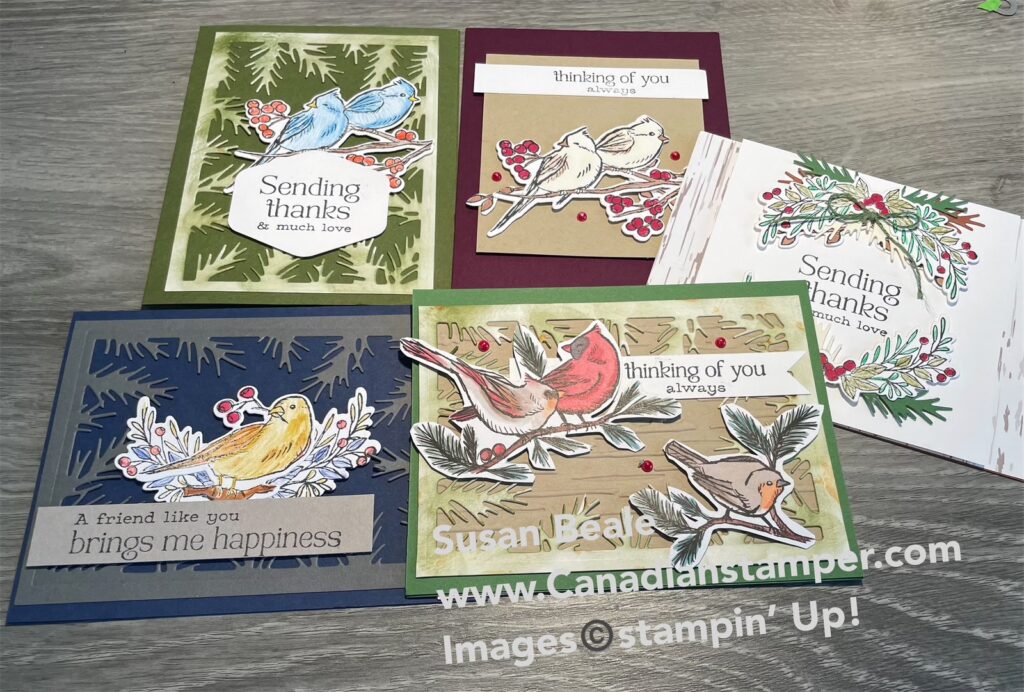
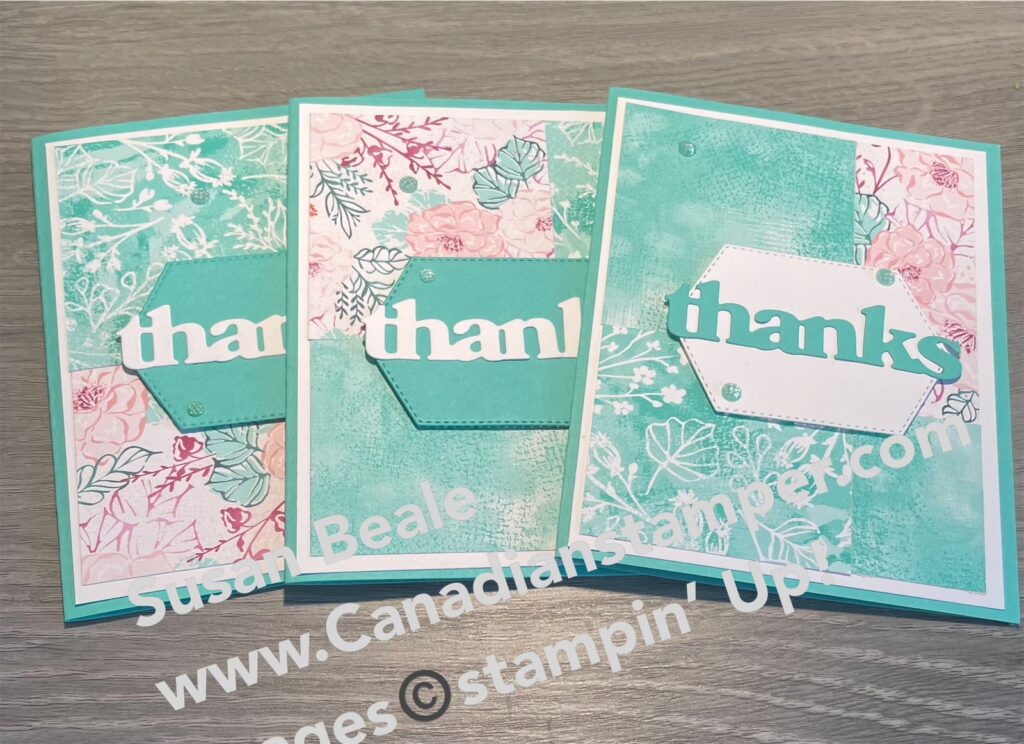
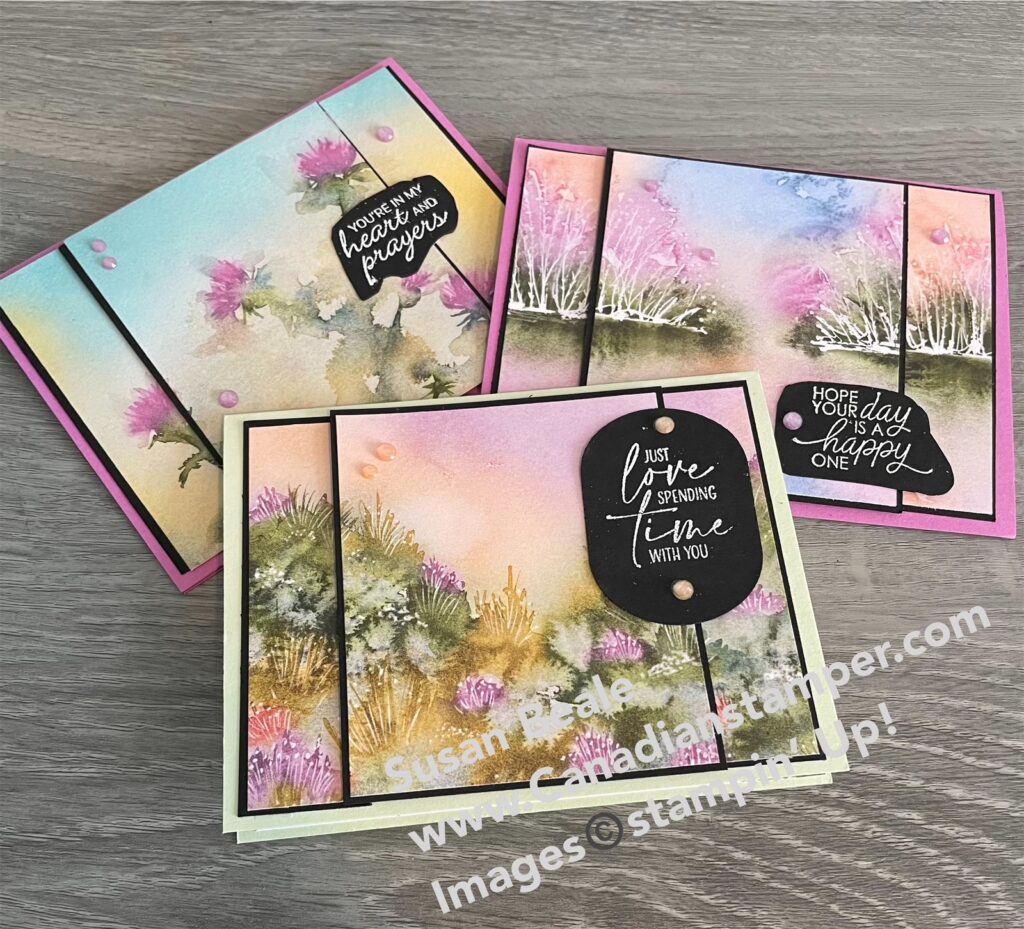
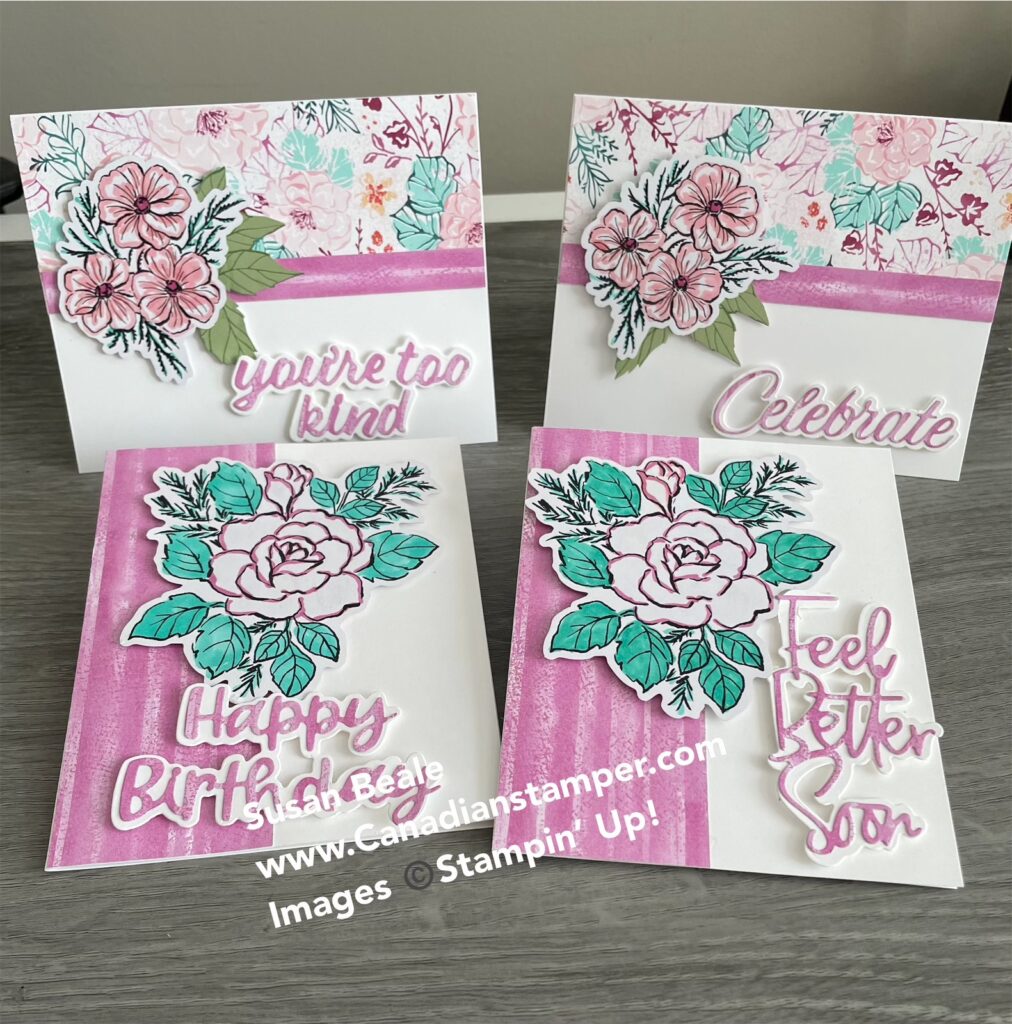
Today I want to share a couple of cards I made. They are all using the same technique but each one has a unique look. For these cards, I used a variety of stamps and I love how they all work so well together.

To start with, I die cut out an oval from the layering Ovals dies (retired now) to create my stencil. I use a larger piece of cardstock so it overlaps easily. As you can see, I actually cut it at an angle. I do this on purpose because I want to make sure I line up the oval correctly and not just assume it is straight.
Tip: Do this with your stamps too, line them up so they are straight (I use my grid paper) then mount them on my block at an angle. It makes you pay more attention to what you are doing when you stamp.
I secured it with washi tape because I have a lot of it but a post it note will also work. I then used my blending brush (love the soft bristles) to start colouring.
TIP: It’s important to start outside the area you want to colour and then gently go over the area in a circular motion to avoid solid splashes or lines of colour. Keep going over it until you have the look you want.
Blending doesn’t have to be exact, have fun with it. You can use as many colours as you like, however for these cards, I only used the one colour.
As you can see on the picture on the right I have used my template a few times, so it’s kind of messy looking. You can see why I use a larger piece of card stock then the card itself. I also wanted to show you how I created a cloud like sky using some torn paper, and blending over the oval template, moving down a little each time. This technique also makes great mountains too, just by changing how you tear the paper and ink colours. Once you have completed your colouring, remove the template and then you are ready to stamp images over it.


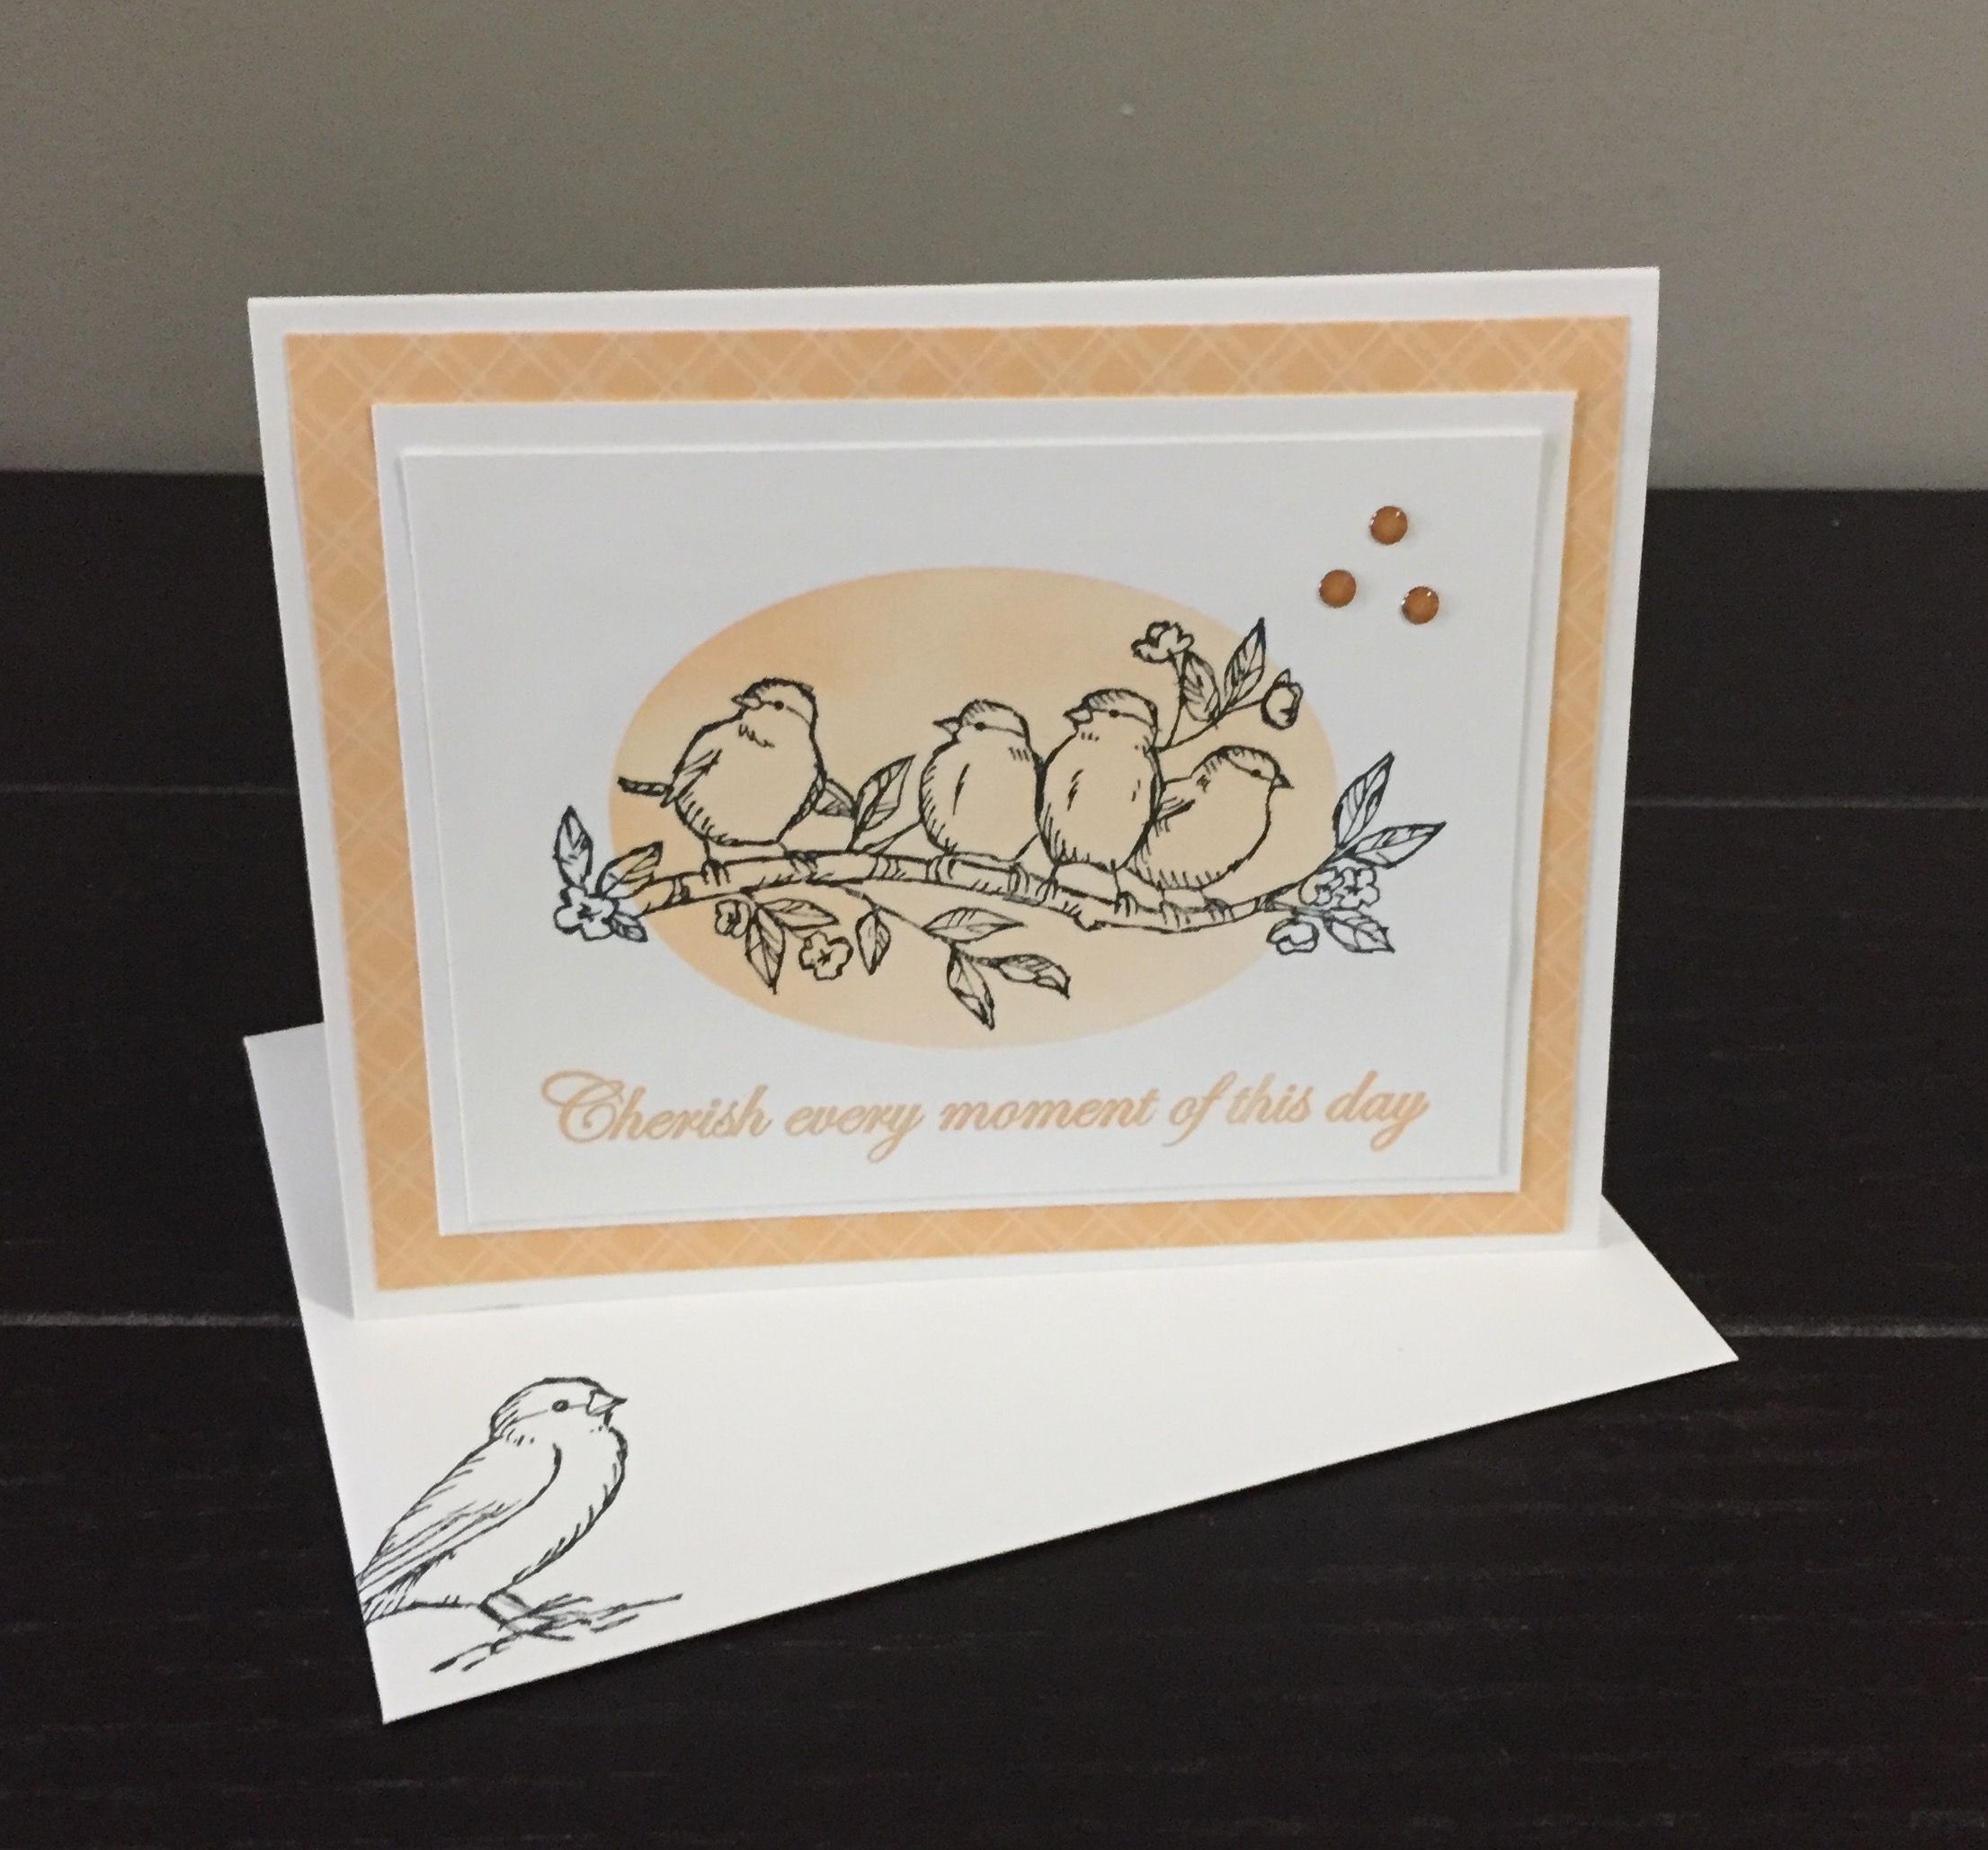
For this card, I turned it sideways and cut it down a bit to allow the background DSP to frame it.. I then stamped the birds from the Free as a Bird Stamp set in Black and the Sentiment is from the Forever Blossoms Stamp set. Both the coloured oval and the background DSP are from the 2021-2023 In-Colors.
I love how the ink and the Designer Series Paper match perfectly. The bling is also in the new In-Colors. It makes a simple but pretty card.

For this card, I used the same technique using Fresh Freesia. The floral image is from the Forever Blossoms stamp set and was stamped in black. I decided to colour the flowers in the same colour with my blender pens, while the leaves were done in Soft Succulent. It just makes the image stand out a little more against the darker blend.
The matting is Fresh Freesia card stock and makes a nice frame. The Sentiment in the bottom corner is from the Color & Contour stamp set.
To add a little bling I added some Matte Black dots and of course, I stamped the envelope as well.

As you can see, these two cards was done by tearing a little paper as mentioned above to create a cloudy sky. For both of these cards, I used different stamps from the Sailing home Stamp set and it is mounted white on white for a very simple and clean look. I didn’t add any bling to these cards as I really like the simpler image of these cards.

As you can see, each card has a completely different look and yet the technique is the same to make up these cards. This technique could also be used with any shape; rectangles, squares, ovals or circles. If you don’t own the basic shape dies, I strongly urge you to add them to your stash. Check out all the choices on my online store. I use mine over and over again and they never go out of style.

Did you make up a wish list while browsing through the new 2021-2022 Annual Catalogue? Now is a great time for you to stock up and save on your favourite Stampin’ Up! products! What’s the big occasion? Well, this Thursday, June 24th, ONLY, we are offering FREE shipping on orders of $65 CAD or more (before tax)
This is great time to stock up on your basic crafting supplies like adhesives, dimensional’s, card stock and Designer Series Paper. Of course, this is also a great time to get those items on your wish list too. There is only a 24-hour window to take advantage of this fantastic offer and who doesn’t love to save shipping costs? I know I do. So don’t wait and miss out, get your list going and save!
To visit my online store, click here. All orders using my June Host Code QAJVWCSS will also be automatically entered into my monthly draw. If you order is over $200.00 don’t use the code but you will still be entered automatically.
I hope you have enjoyed this post, please like and follow my blog so you don’t miss out on future posts.
As always, I welcome your feedback so please leave me a comment and let me know what you think.
I invite you to try your hand at trying this technique and I would love to see a picture of your creation.
Would you like to be added to my email newsletter?
Please provide your contact information here
If the meantime, Happy crafting!
Sue




These are so unique. Such lovely work too.
Thank you for your kind words. I like doing unique cards