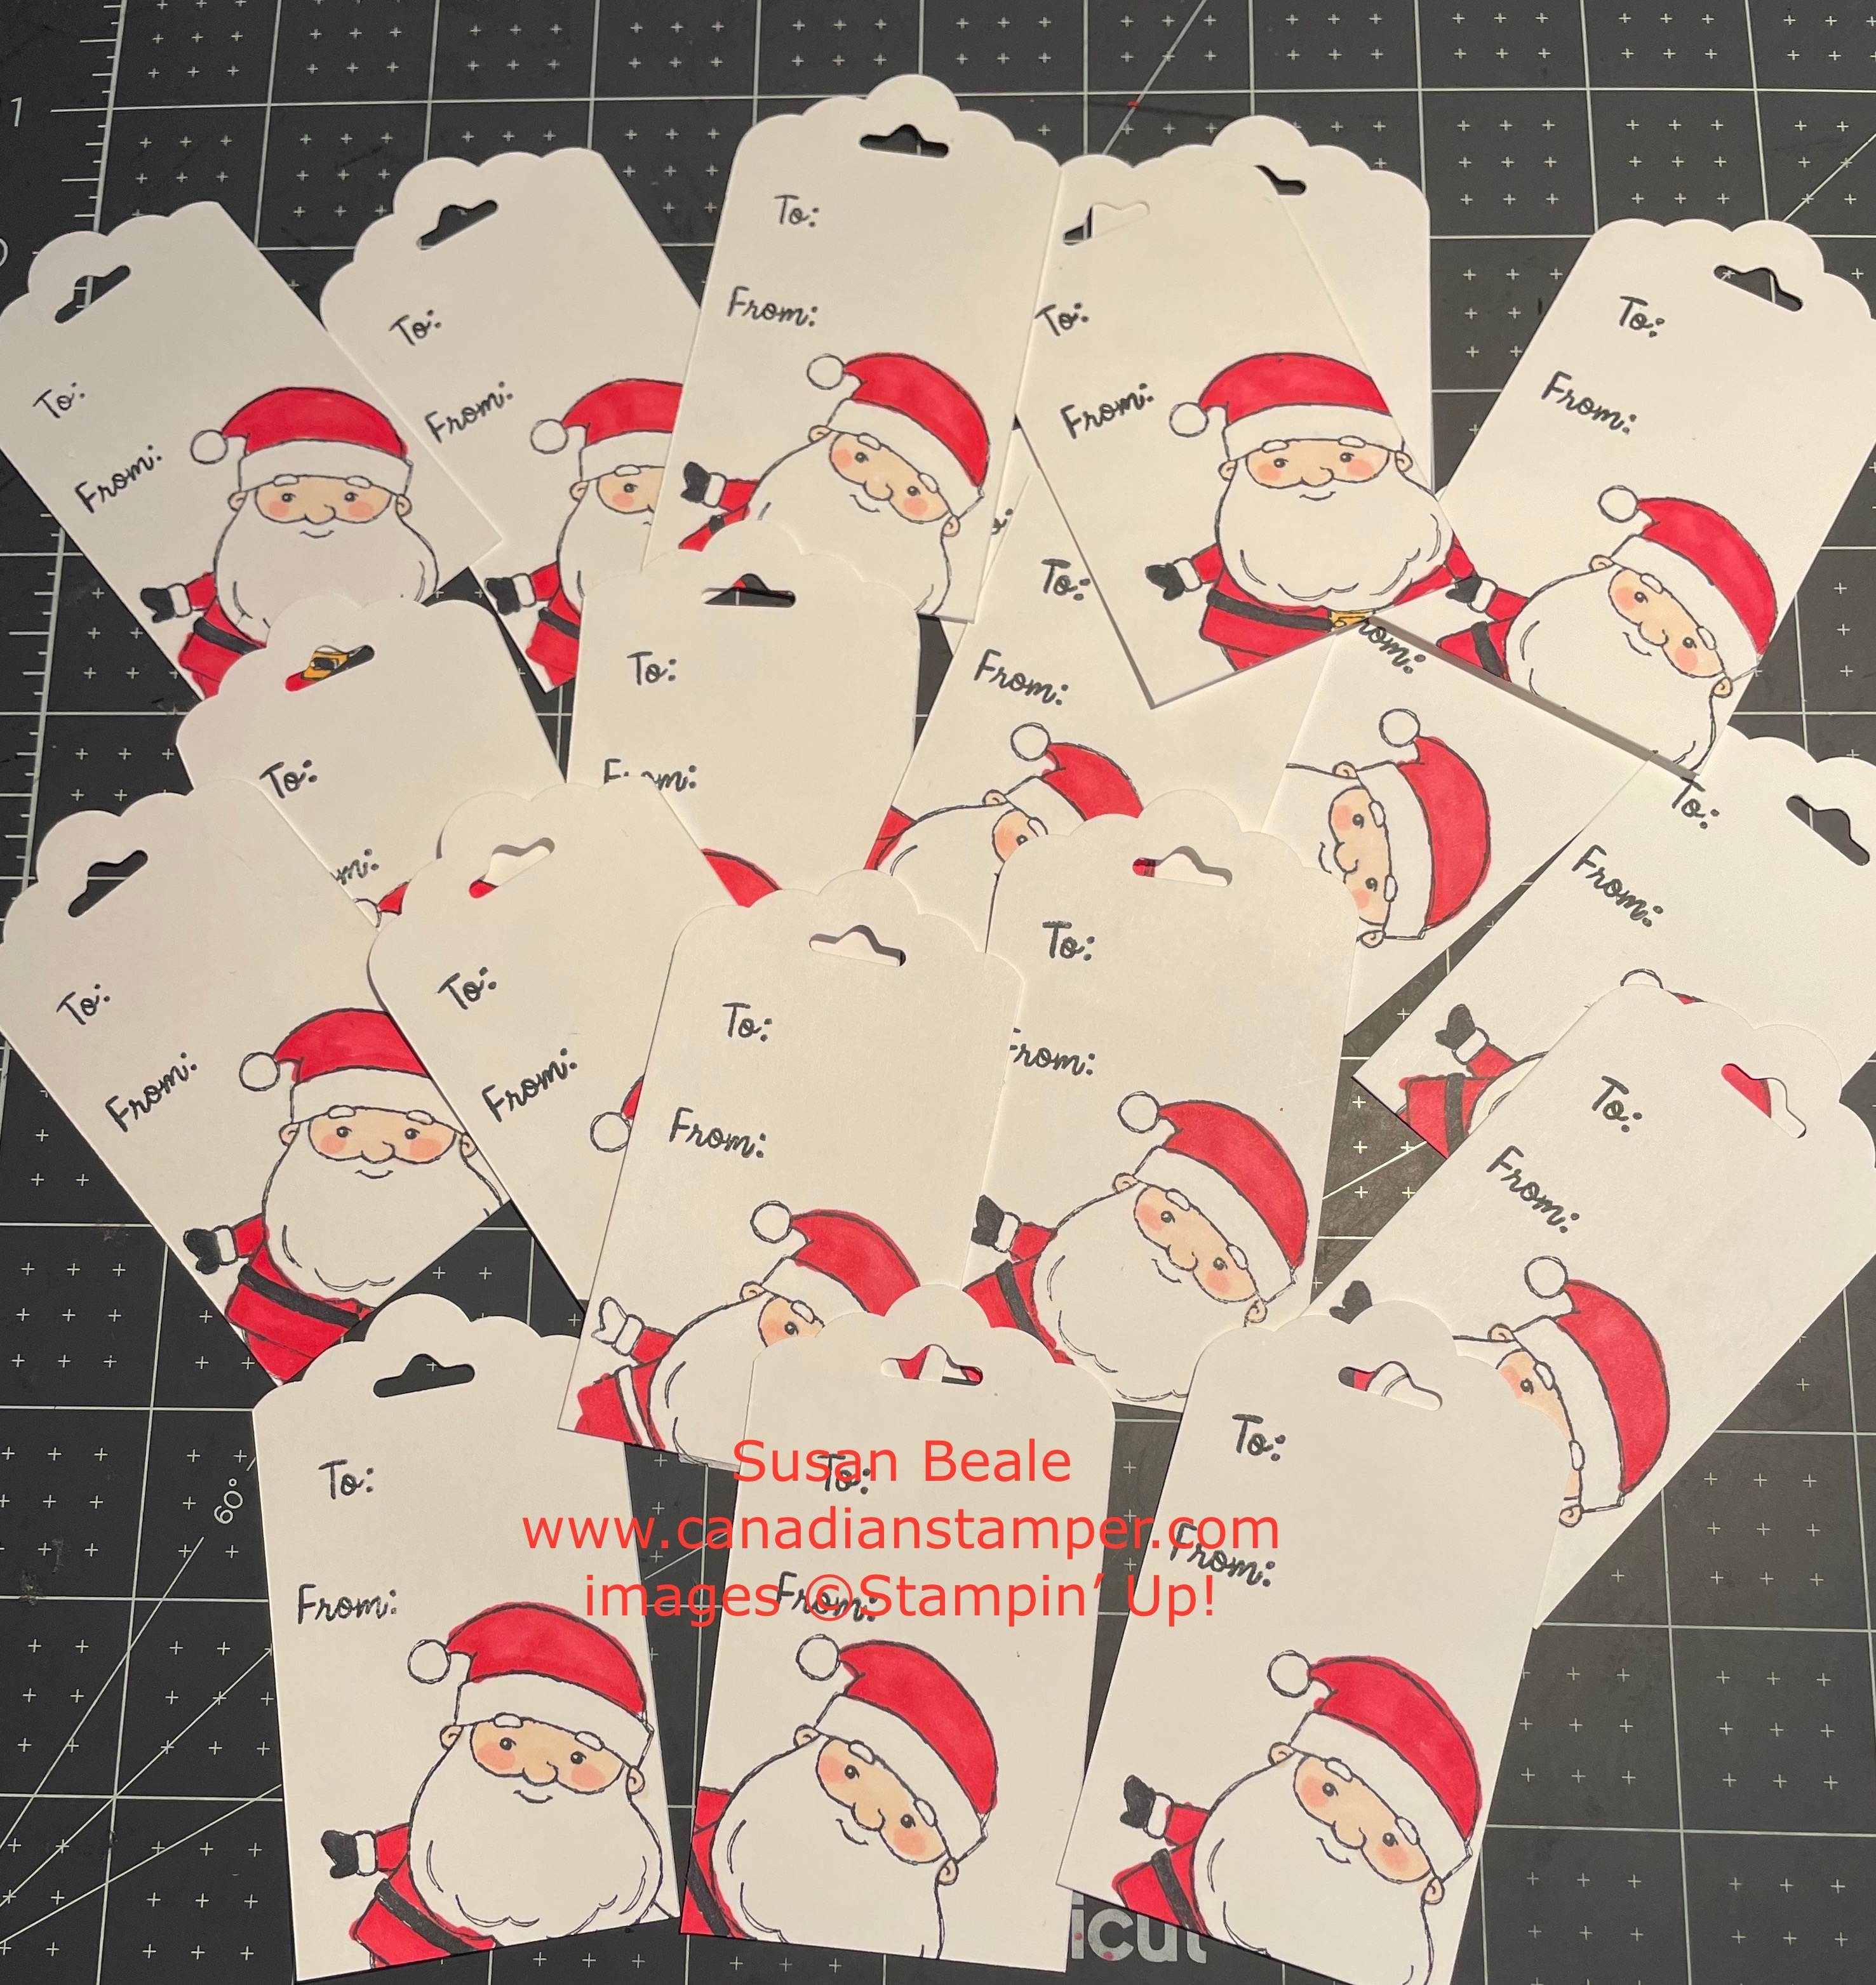
I love making my own gift tags to go with hand crafted cards. It just makes gift giving more personal and I like to make the matching tag when I design and create my cards. I also find it a great way to use up leftover scraps of the beautiful designer series paper that I have on hand. If I don’t use the tag when I give my card, I just tuck it away for future gift giving.
I have been extremely busy lately so today I found myself with a little free time and wanted to get started on wrapping up some Christmas gifts. I went to get my box where I store my tags and was shocked to find it empty. I KNOW I have tags somewhere, but where? I have obviously stored them somewhere else but today is not the time to go searching for them. I’ll worry about that later. So before I can begin wrapping, I first had to make some tags. I don’t have a lot of time right now to make the more decorative tags I like to make so I needed a quick solution.
To get started, I cut out 2″ strips of Basic white card stock and then cut each strip into 3 1/2″ lengths. I used my (retired) Scallop Tag Punch to create the tag top, which allows me to tie a ribbon through it before attaching to my gifts. If you don’t have this punch, the (current) DELIGHTFUL TAG Punch is similar. It also allows you to punch out three different width sizes which makes it perfect for tags, bookmarks or belly bands. You can see this punch at my online store 24/7 by CLICKING HERE.
I cut out about 2 dozen tags in total so I have lots on hand for now. For the front of the tags, I chose one of the Santa images from the BE JOLLY Stamp set and the “To and from” stamp from the LET IT SNOW Stamp set as I preferred the added spacing of that stamp. To make them up, I first stamped the “To and From” to the top of the tag and then I stamped my Santa image below using my Tuxedo Black Memento ink pad. I angled the Santa image a bit, just because. I coloured all the images with my Stampin’ Up blender pens. I love these alcohol pens because they blend beautifully and dry instantly. After colouring them all, I realized I didn’t colour Santa’s ears so had to go back and colour them all. This has happened before, I keep forgetting to colour the ears LOL! This is what happens when you are rushing right? I even added a little pink to his cheeks to give him a ruddy look. These were made up very quickly and when I loaded this picture, I see I missed one of the gloved mittens. Back to colouring LOL!
Ah Voila! 2 dozen tags made quickly and easily. Time to start my wrapping!


The Last Chance sale is a great time to stock up on your Favourite products from the July – Dec 2021 mini Catalogue.
This catalogue is retiring on January 3, 2022 and many of the products will be gone for good.
Check out my online store which is available 24/7 to see all the wonderful products. Just CLICK HERE and remember to use My December Host code – 92UXF2ZN when shopping. I like to reward my customers so anyone who uses my host code will receive a free gift and thank you card from me. If your order is over $200, you don’t need to use the host code but you will still receive a gift/thank you card from me.
While you are there, don’t forget to check out the Clearance Rack as well. New items are added regularly with wonderful savings on products you will love.
Well that’s about I wanted to share with you today, I have a busy week ahead of me so time to get moving and get a few more things done while I can.
If you would like to see future posts, I invite you to like and follow my blog so you won’t miss out.
If you would like to be added to my email newsletter, please provide your contact information here. I provide monthly emails with all the latest updates so you won’t miss out.
Until next time,
Happy Crafting!
Susan


