With Christmas just 10 days away, are you stuck for those last minute gifts? Sometimes a gift card is the solution. I was recently asked to make 9 gift cards for a business, so they could be handed out to employees. This is the card I made. I love how it unfolds and each piece has a design on it and they are quick and easy to make when you are in a hurry.
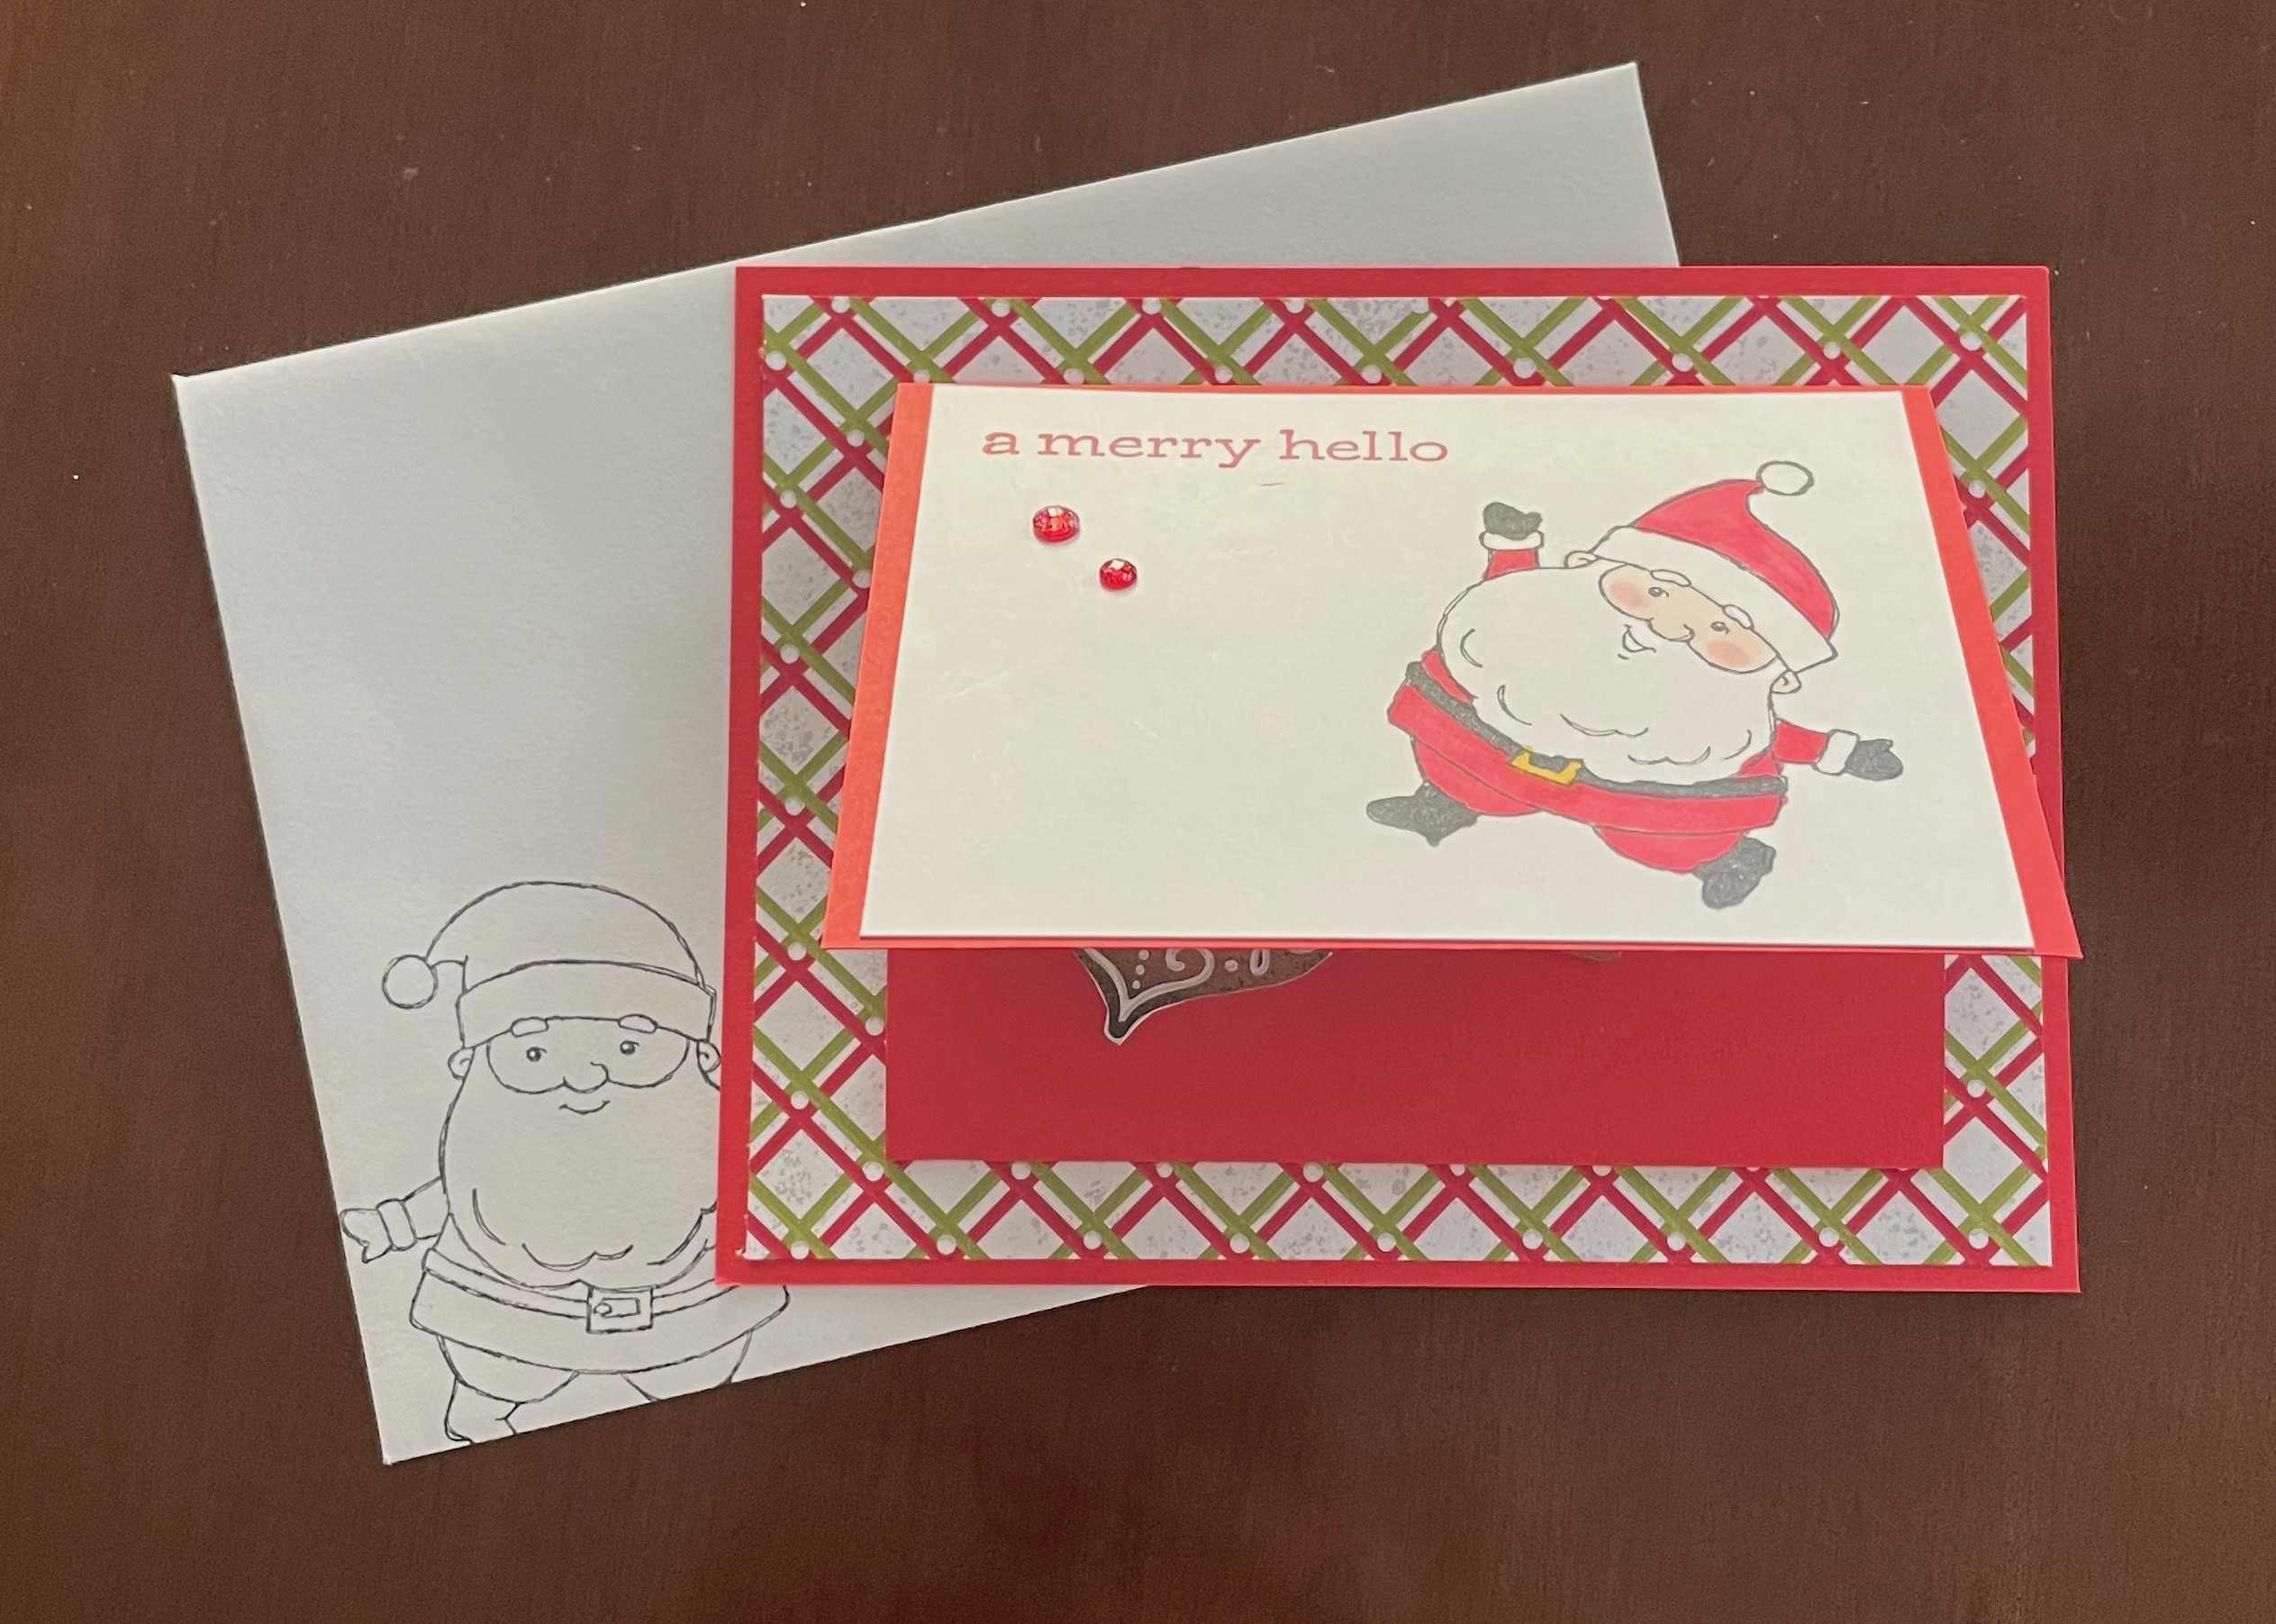
The front of the card has the adorable Santa Claus wishing you A Merry Hello. Both the image and the sentiment are from the BE JOLLY stamp set. As you can see I also stamped the second Santa image on the envelope, for a little added cheer. On the inside I cut out a couple of images from the Gingerbread and Peppermint Designer Series Paper which is so adorable, I love it.
Now the Designer Series Paper has already sold out but you can still find the BE JOLLY stamp set, found in the July-Dec 2021 mini calendar online. This calendar expires at year end and this stamp set will be retired, so if you want to grab it, don’t wait as it is only available while supplies last.
To visit my online store 24/7, CLICK HERE to shop. All purchases made during the month of December using my host code 92UXF2ZN will receive a gift and thank you card from me in appreciation for your business.
Below you can see how the card unfolds.


To make this card
Adhere the Designer Series Paper to your card base and set aside.
To create your Center Panel, score your card stock on the long side at 3 1/4″ and again at 6 1/2″. Fold the score lines inwards and burnish with a bone folder. They should overlap perfectly but If you find that it doesn’t fold completely flat, trim 1/16″ on one end so it folds completely flat. With your panel folded up, turn over and add glue to the back on the middle panel only and adhere to the centre of your card base.
Stamp your images and greetings to both pieces of your Basic white Card stock. If you need to colour your image, do so now. For my Santa I coloured him in with my Blender pens. Did you notice his Rosy Cheeks? Although you can’t really see it in the picture, I added some Wink of Stella to the fur on his hat, pompom and cuffs. It just adds a little sparkle to the card. I also added a little bling to the front piece for some added pizzazz.
OPTIONAL: This is also a good time to stamp your envelope with a similar image.
Adhere your white card stock to the front panel, then adhere your second piece to the inside of your folded panel as shown above.
To create the gift card pocket, take your Designer Series paper and adhere to the gift card piece of card stock. Add adhesive on both the sides and bottom ONLY of the rectangle and adhere to the inside bottom panel.
TIP: Before adhering to the panel, punch out a semi circle if you have a circle punch or you can use a circle die to create the finger dip for easy removal of the gift card. It’s not necessary but it gives it a nicer look that a straight line.
When you fold up the gift card, I didn’t want the card stock to be plain so I cut out a couple of images from the Gingerbread and Peppermint Designer series paper and glued them to that panel. You could also cut a piece of Designer Series Paper for this portion of the panel as well.
And there you have it! I was able to make all my gift cards in a couple of hours so they are all ready for gift cards to be added.
As mentioned in a previous post, I also used this same stamp set to create some adorable gift tags so I now have a supply on hand for wrapping. I just love these Santa images, don’t you?

Supplies used
Poppy Parade Card Stock
How easy was that?
- 5 1/2″ x 4 1/4″ – Card base
- 9 3/4″ x 4 1/4″ – Center panel piece
- 4″ x 2″ – Gift card pocket
Gingerbread & Peppermint Designer Series Paper
- 5 1/4″ x 4″ – Card Base
- 3 3/4″ x 1 3/4″ – Gift Card pocket
Basic White Card Stock
- 4″ x 3″ – Cut two
Blender pens uses
- Real Red
- Light Black
- Light Petal Pink
- Light Flirtly Flamingo
Wink of Stella

As mentioned above, the July-December 2021 Mini Catalogue will be retiring soon so if you have had your eye on something, don’t wait! Get them before they sell out. After Jan 3rd they will be retiring to make way for all the new products coming out in the new January-June 2022 mini Catalogue. To visit my online store 24/7, CLICK HERE to shop. Don’t forget to use my December Host Code 92UXF2ZN to receive your gift and thank you card from me in appreciation for your business.
Speaking of last minute gifts, are you stuck for ideas for your crafting friends or family members?
Well if you live in Canada then I have a solution for you.
Purchase a gift certificate in any amount from me. I will create a beautiful card for your gift certificate, so you can present it at Christmas. After the holidays (and just in time for the Sale-a-bration promotion, WooHoo! ) your friend or family member can contact me to place an order of their choice for the amount you indicated. To purchase your gift certificate, CLICK HERE to contact me.

This is another way to gift a great last minute gift.

Every kit includes an exclusive stamp set, ink spot, and embellishments to create a predesigned project. Sometimes the kit includes cards plus gift bags, banners, treat bags, or boxes. Other times, it’s home décor, giftables, or just treat packaging.
OPTION 1: Subscribe monthly, you will be automatically subscribed and billed you so don’t miss a single month. Should you wish to cancel or “skip” a month, just log in and change your selection. There is no penalty and how easy is that?
OPTION 2: You can also purchase a Pre-paid kit instead. You choose from 1, 3, 6 or 12 months and use the pre-paid code to choose which month you want to apply your code to. When you purchase a subscription, you will receive an email with a code. To receive your kit, go to http://www.paperpumpkin.com and input the code. Your kit will be shipped automatically.
CLICK HERE to subscribe monthly and receive a different all-inclusive kit every month.
CLICK HERE to purchase a Pre-paid kit and you can pick and choose which kits, you want.
Should you have any questions, please don’t hesitate to contact me.
If you would like to see future posts, I invite you to like and follow my blog so you will receive notifications whenever I post!
If you would like to be added to my email newsletter, please provide your contact information here. I provide monthly emails with all the latest updates so you will always be kept up to date.
Until next time,
Happy Crafting!
Susan
Leave a Reply