I wanted to share a cute little gift box that we will be making at my next card class. At each class we make up three cards and a gift box because it’s always nice to have a little something to present as a hostess gift or a thank you gift or well… just because. Who doesn’t love receiving gifts right?
To create the box
Score at 1 ½” on all four sides as shown. Fold and burnish the score lines with a bone folder to give it a good crease

Cut up the two top and bottom vertical score lines up to the horizontal score line. Leaving the center rectangles straight, cut a small wedge on each edge of the corner flaps. This will help line up the corners when you are putting the box together. Adhere glue to the flaps and fold inwards to create your box, ensuring the centre rectangles are on the outside.
For the book cover
Score the card stock at 3 ½” on each end. Fold and burnish the score lines, giving them a good crease. When folded up, it creates your book cover and will wrap around the box, just not yet!

Run a strip of adhesive, (glue or tear and tape) from end to end, down the middle of your card stock. Fold your ribbon in half to get the centre and place it in the center of the adhesive between the two score lines, laying out the rest of the ribbon to each end over the remaining adhesive.
Adhere the Designer Series paper over the ribbon to your card stock. This will hide the ribbon except for the ends.
Fold and burnish the score lines again so the Designer Series Paper is also creased.
To put the book together
Place the box inside of the folded book cover so it lines up just inside the score line. Making sure it is equally spaced between the top and the bottom of the book cover. Once I was happy with the placement, I applied adhesive to the bottom of the box to secure.
Optional: You can also add adhesive to the side of the box, where the book cover meets up with the box, but it isn’t necessary.
To decorate the front of the book
You can now decorate the front of the box, however you like. For my gift box, I punched out a 2” circle of Basic White card stock and then used my starburst punch to punch out the matting in Soft Succulent card stock to match. After stamping my greeting on the white card stock, I stamped some leaves around the edge since my DSP has leaves in it as well. I brushed the leaves with Wink of Stellar for a little added sparkle. Once I was happy with it, I glued it to the matting. I then added dimensional’s to the back and placed it on the front of the box.

This box measures 3″ x 3″ and is 1 1/2″ high. I was able to add four Ferrero Rocher chocolates to my box but you could add whatever treats you like. Once filled, just tie it all up with a bow and you are done.
How easy was that?
Now, who to give it to? hmmm…
Supplies used
Soft Succulent Card Stock
- 6 1/8” x 6 1/8” Box
- 8 ½” x 3 ¾” Book Cover
- Scrap for punching label
Basic White card Stock
- Scrap for punching label
Eden’s Garden Designer Series Paper
- 8 ¼” x 3 ½” Book Cover
Evening Evergreen Ribbon
- Approximately 21” in length
Other supplies needed – Scissors, Adhesive, stamp for your greeting.
Did you enjoy this post?
Please leave a comment. I would really appreciate your feedback
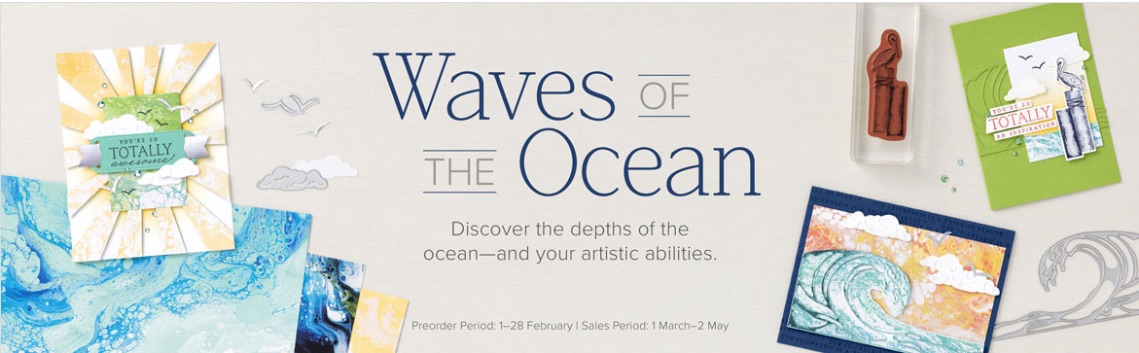
Discover the depths of the ocean—and your artistic abilities—with the Waves of the Ocean Collection! This coastal collection includes an inspiring set of stamps and detailed dies from the upcoming 2022–2023 Annual Catalog. Plus, a pack of paper made from images of hand-poured paint, blue-hued foil sheets for a sea of shine, and radiant rhinestones for a splash of sparkle

This is just a small sample of cards made using this lovely suite of products.
- The Waves of Inspiration Stamp Set and Waves Dies can be ordered separately, if desired.
- The Waves of Inspiration Stamp Set and Waves of the Ocean Collection are available in English, French, and German.
- The following exclusive products are only available while supplies last:
- Waves of the Ocean 12″ x 12″ (30.5 x 30.5 cm) Designer Series Paper
- Blue Foils 12″ x 12″ (30.5 x 30.5 cm) Specialty Paper
- Rhinestone Waves Basic Jewels
- Qualifying orders are eligible for Stampin’ Rewards. (Except for the Waves of the Ocean Collection)
- Waves of the Ocean items can be added to your starter kit.
To visit my online store CLICK HERE. Please use my current host code TWRV6V2X with your purchase so that I can show my appreciation with a thank you card and gift with every order.
OR
Join my team of Canadian Stampers and become a demonstrator. You will enjoy discounts on future purchases of 20% or more just for signing up and you’ll have all the support you need or want. Whether you would like to begin crafting, are already a crafter or you would like to start a home business, I can help you explore your options. Contact me to find out more!
Now that you’ve enjoyed this post…
- Whenever you need crafting supplies, just CLICK HERE – You’ll be redirected to my Stampin’ Up! shopping page!
- Thank you for using my Current Host code TWRX6V2X when your order is under $200.00. All orders placed with me, will receive a gift from me as a thank you. I appreciate your support.
- Be inspired, CLICK HERE! to see even more crafting projects
- Shop the CLEARANCE RACK with discounts up to 60%
- Download The United Through Creativity Digital Download FREE from Stampin’ Up!
- Contact me to receive my Monthly Newsletter, CLICK HERE

Susan Beale
Independent Stampin’ Up! Demonstrator
Ontario Canada
Email: sjbeale@canadianstamper.com
- Website: www.canadianstamper.com
- Facebook: https:facebook.com/canadianstamper
- Instagram: www.instagram.com/canadianstamper
Reader Interactions