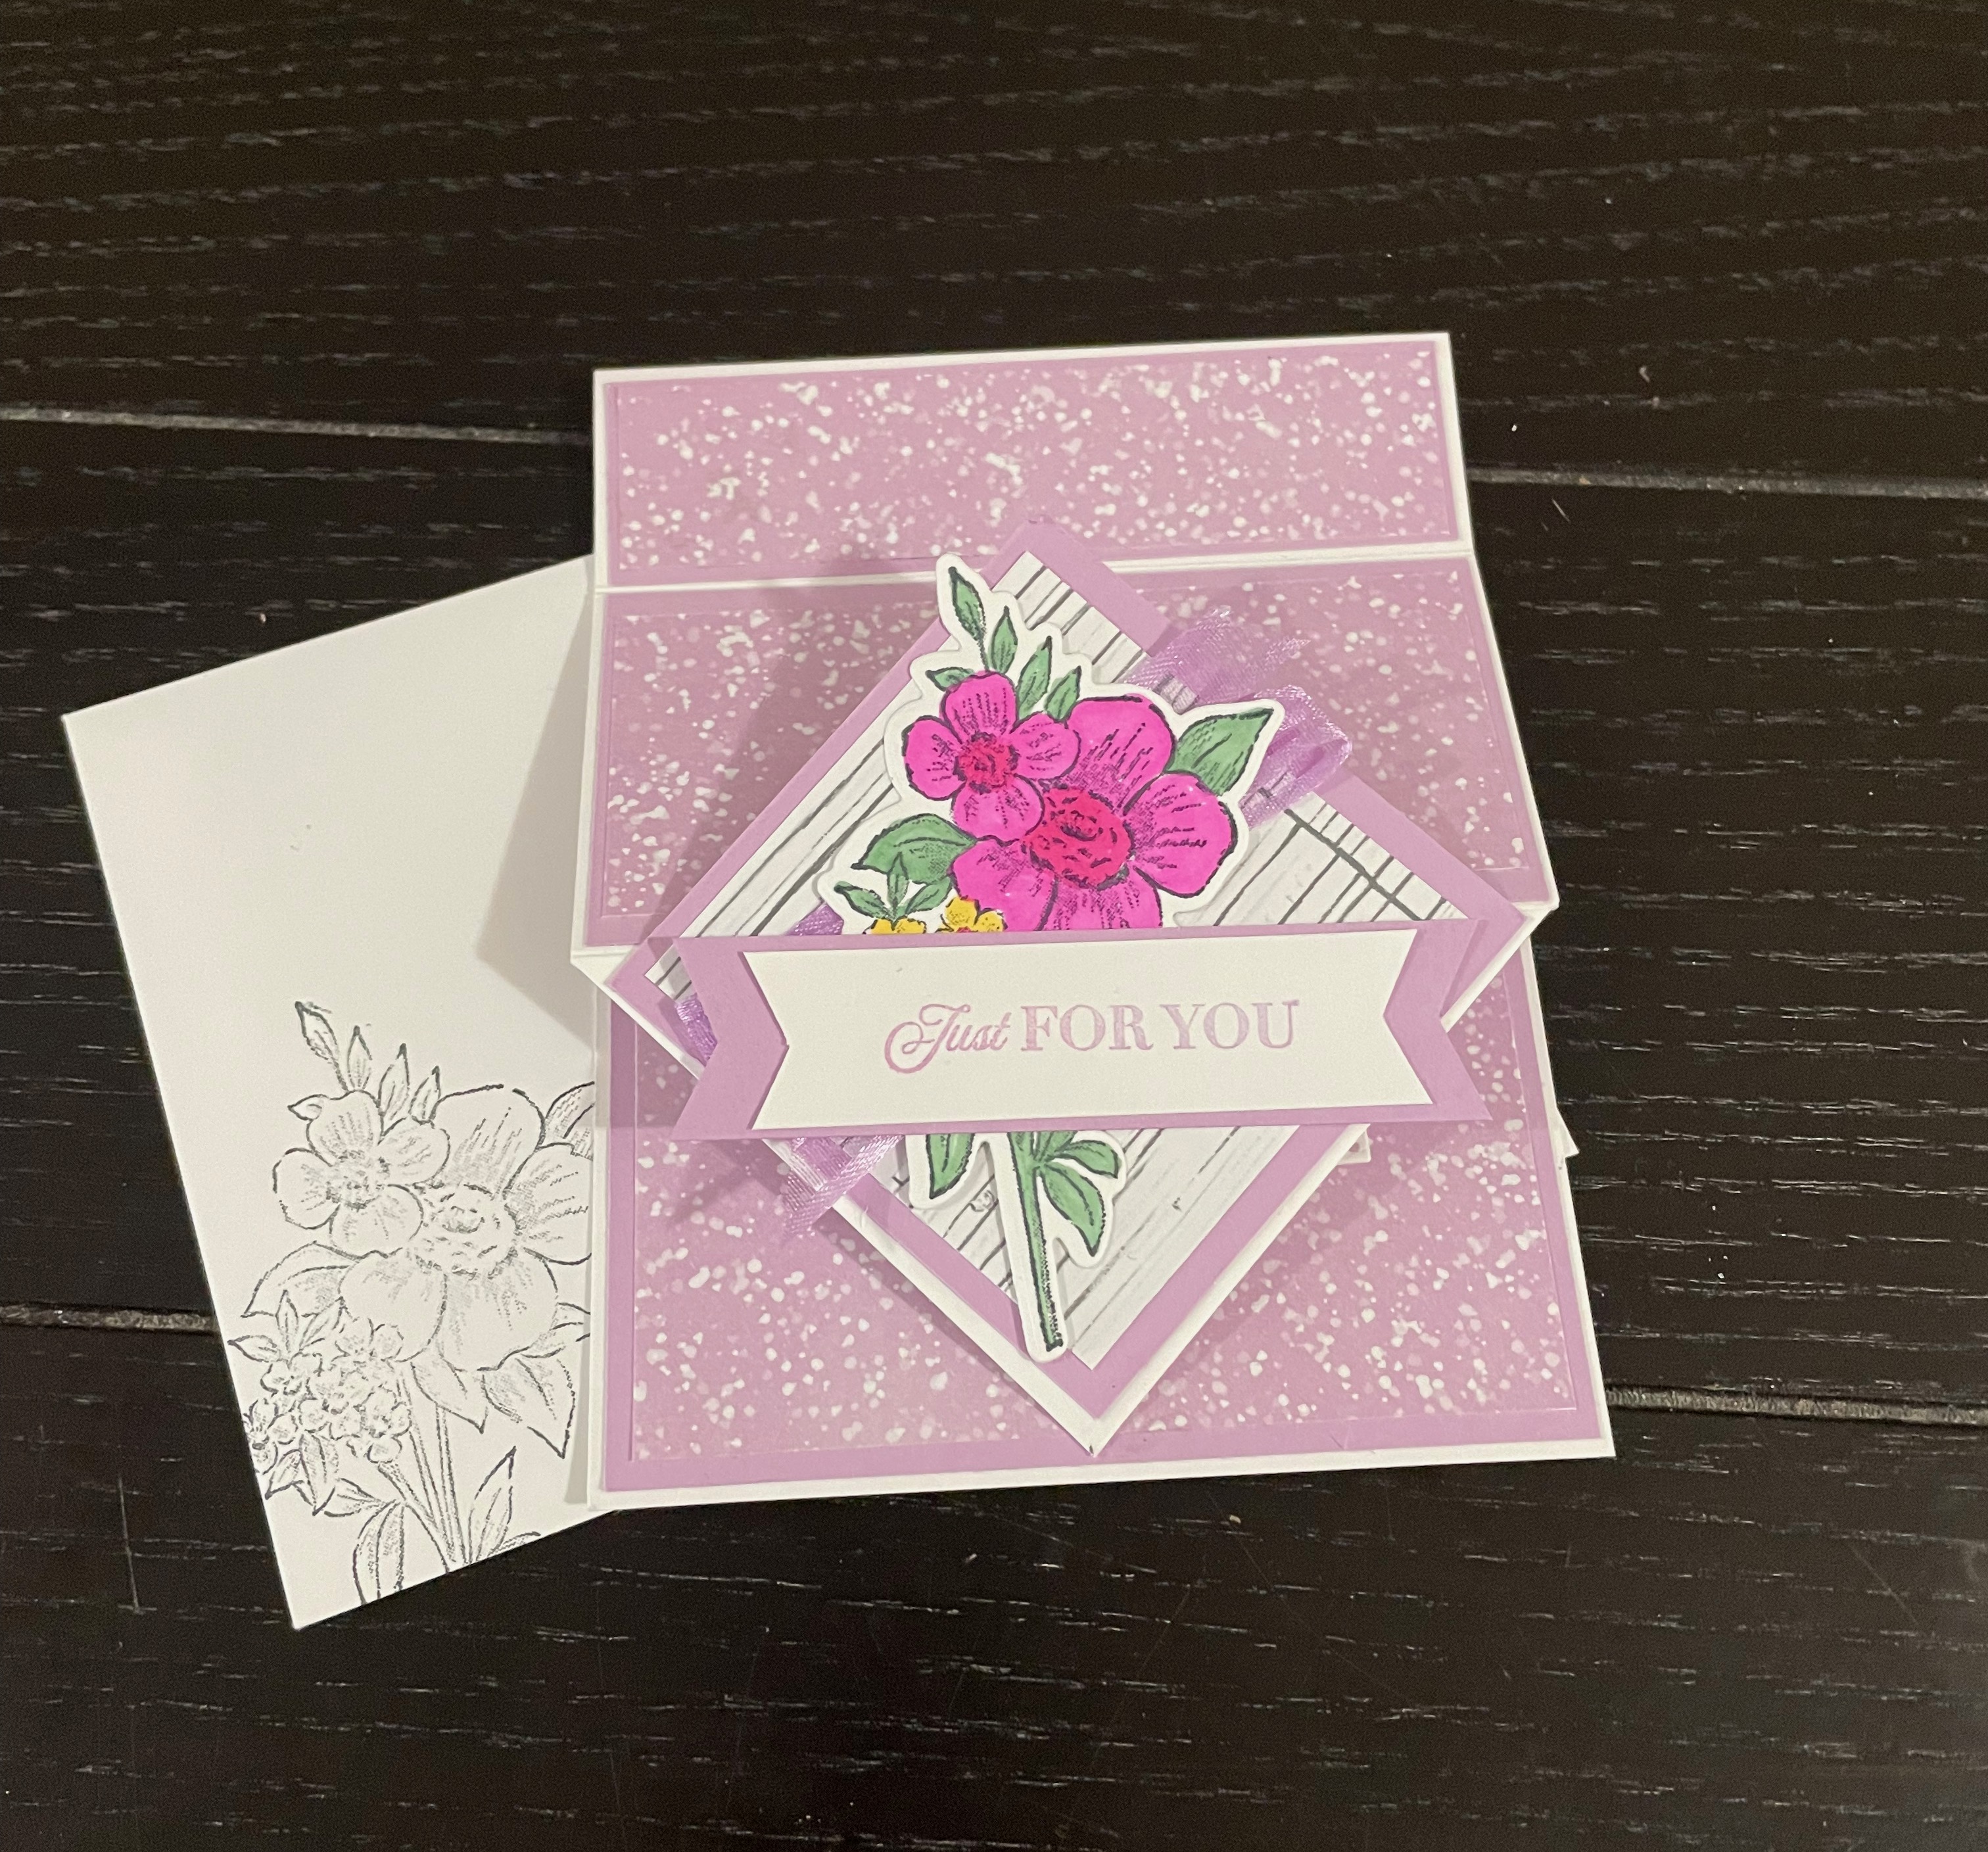
At my card making class this week, we made up three adorable cards and each one was unique. This card was one of them, so today I would like to share with you how to make the Diamond Easel card. Although it lies flat to insert into an envelope for mailing, it also pops up nicely for displaying on a table top or mantle piece. It’s one of my favourite cards and I hadn’t made one in a while so I thought it was time to make one again.
There are a lot of pieces of both card stock and designer series paper that go into this card. Don’t be intimidated, especially if you are a beginner. Trust me, if you can fold and glue, you are halfway there already.
To Make this card
Score your card base on the long side of your card base at 2 1/8″, 4 1/4″ and 5 1/2″. Turn your paper and mark your paper at 2 1/8″ with a pencil. Cut from the mark to the first score line (2 1/8″) as shown below. Erase any remaining pencil mark.
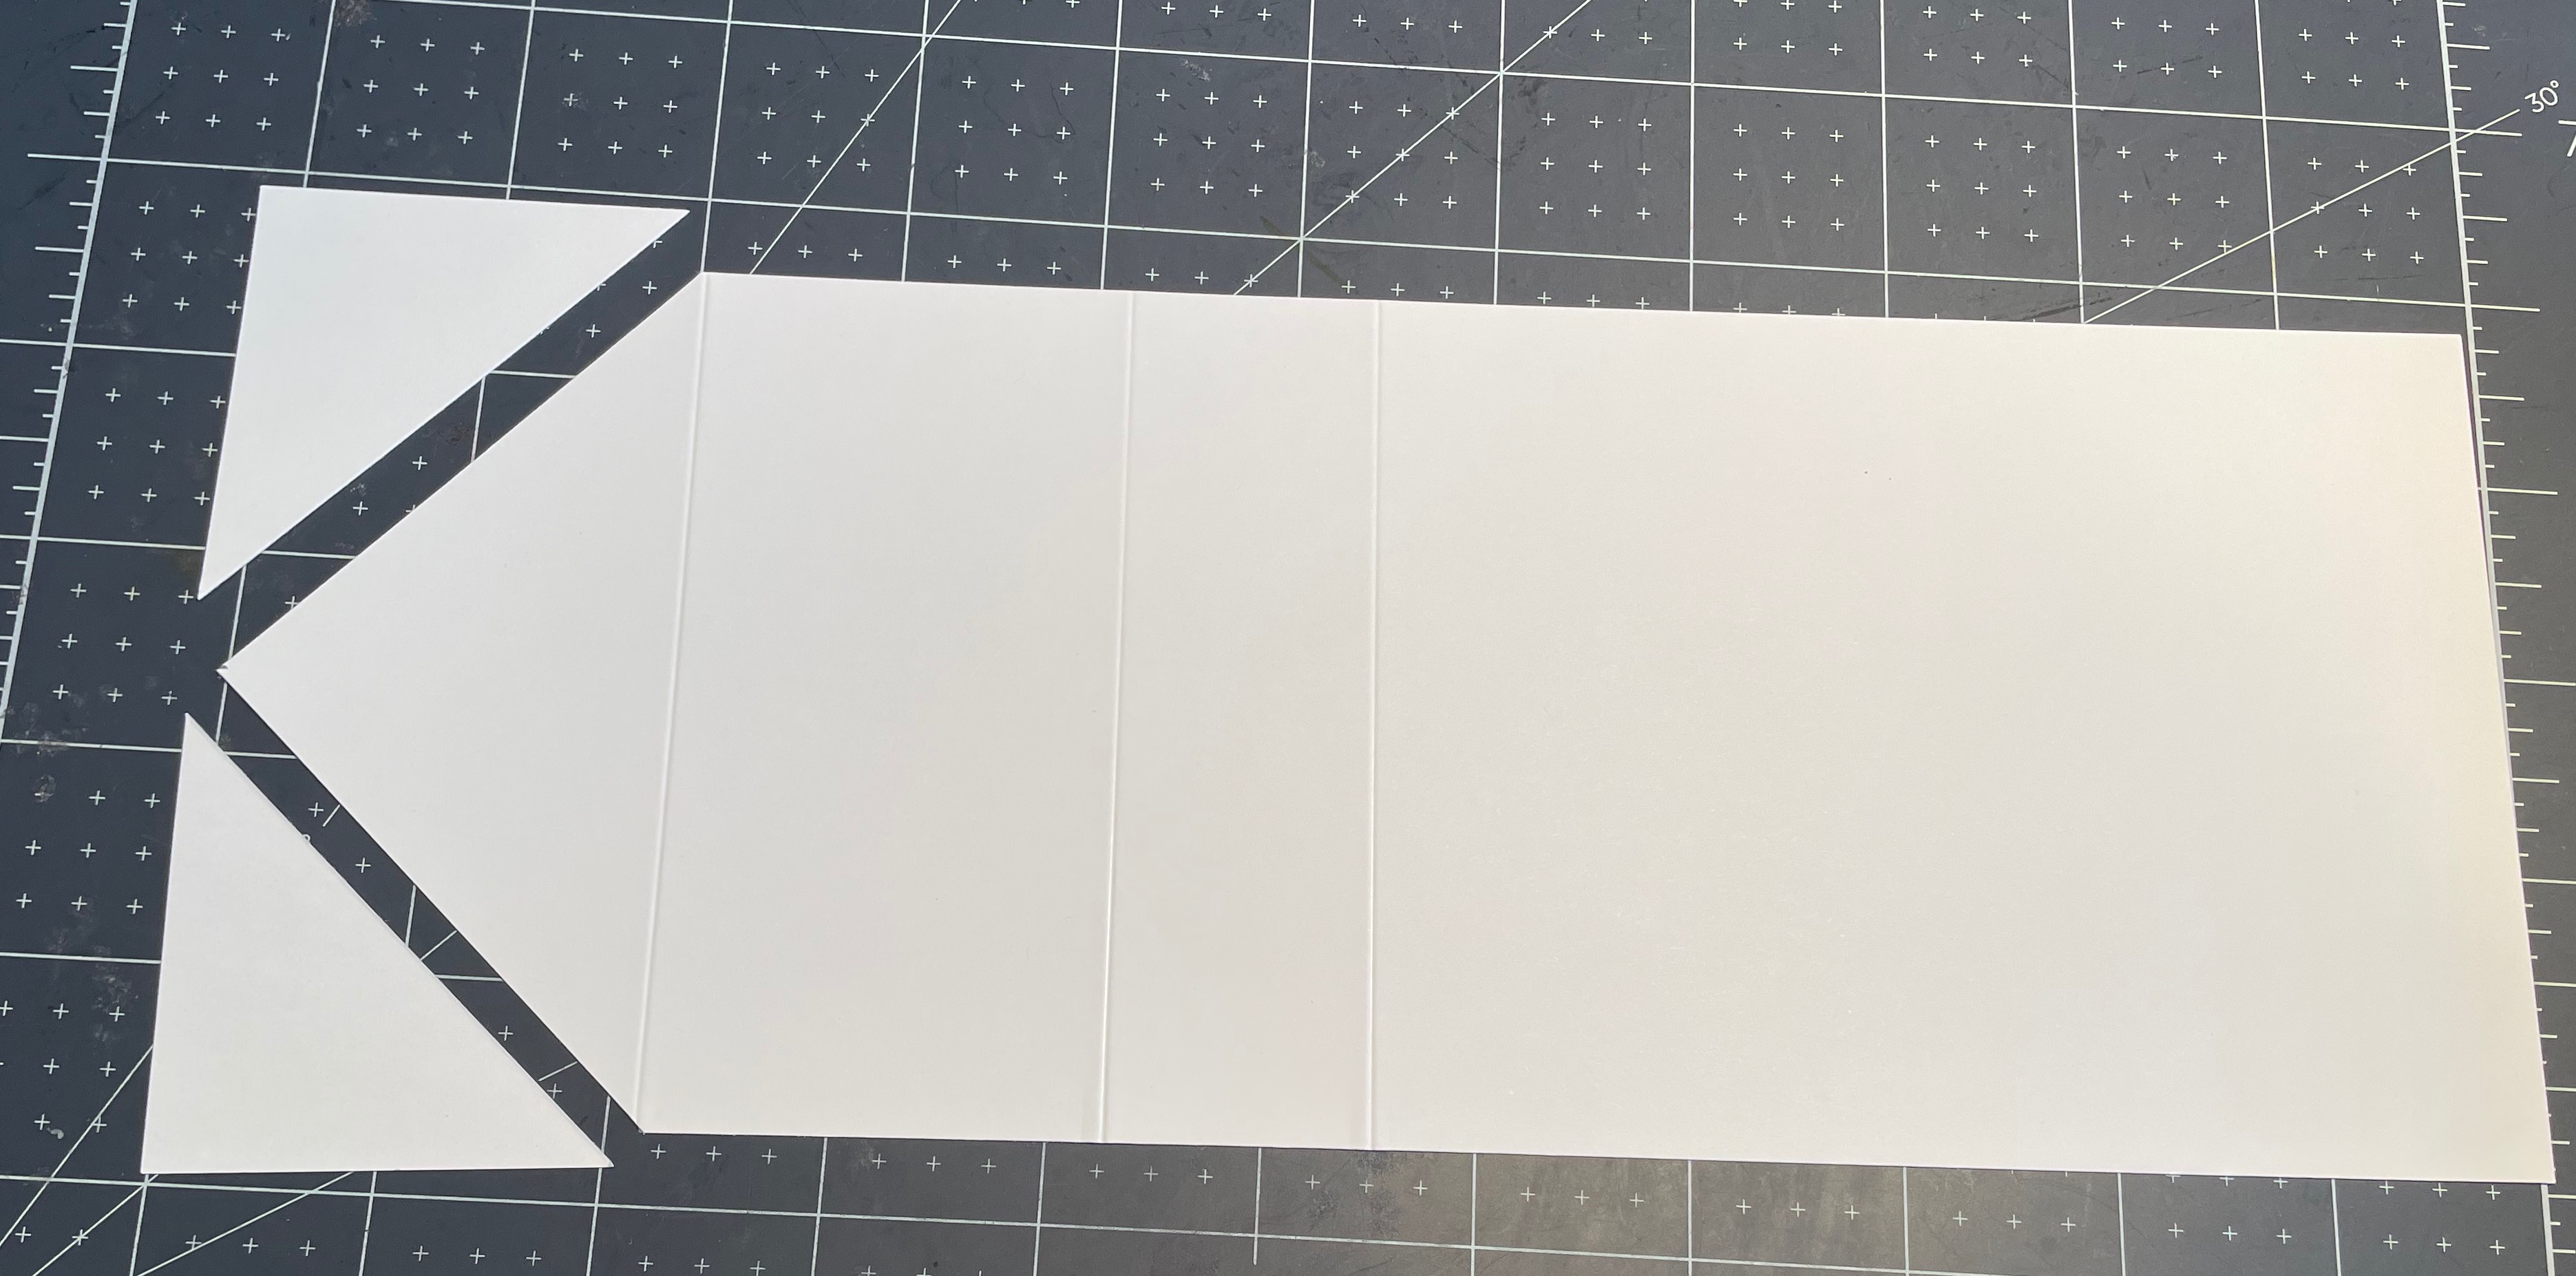
Take your card base is fold in half at the 5 1/2″ score line then fold along the other two score lines as shown. Burnish the folds with your bone folder to give them a good crease. This will create your pop up portion of the card.
5 1/2″ is a mountain fold
4 1/4″ is a valley fold
2 1/8″ is a mountain fold


Set aside your card base because now the gluing starts. Line up all your card stock pieces and match up the designer series paper pieces with your card stock. You can also match up the white pieces as well but set them aside. Once you have them all aligned, go ahead and glue the Designer Series Paper to the card stock. Set aside.
Now to do some stamping on the Basic white pieces. For my greetings I used the CELEBRATING YOU stamp set. I love this set as there are 16 different greetings to fit numerous occasions.
- Stamp your greeting “Just for you” on the 3/4″ x 3″ strip
- Stamp “Happy Mother’s Day” on the 2 1/2″ x 3″ card stock. I used the Stitched Rectangles dies to cut it out. This set is retired so If you don’t have this set, trim the paper to 1 1/8″ x 2 1/8″ and then stamp it or use another die shape to cut it out.
- Stamp “You are every bit of Wonderful” on the 1 3/4″ x 4″ piece of card stock.
- Stamp your flower from the Hand Penned Stamp set and then die cut it out. Once you have done that, go ahead and colour it. I used my blender pens.
Now that your stamping is completed, go ahead and glue them to the coorinating card stock. The Happy Mother’s Day does not have a mat piece.
To put it all together
Now that everything is glued and stamped it is time to put it all together.

With your card folded at the 5 1/2″ score line, glue the small portion of white card stock between the 5 1/2 score line and the 4 1/4″ score line together so that portion is closed.
Bend back the flap piece and position and glue the inside with the 4 1/8″ x 4 1/8″ piece of card stock and DSP to the card base. Position one of the squares in the center of the inside as a diamond angle, making sure it is lined up so it is center.
Add dimensionals to the back of the Mother’s Day greeting and place it so it is inside the diamond shape. When the flap is closed you won’t see the greeting peaking out. That little bit of pop up, is what allows the front flap to stand up when it is tucked behind the greeting.
Glue your greeting to the top portion as shown.
For the outside of the card, line up and glue the two panels to the top and middle portions of the card front as shown.
Take your other square of card stock and position the floral image over it. Position your ribbon behind the flower and once you are happy with how it looks, glue it all down. DO NOT use dimensionals or it will make the card too bulky.
TIP: I used glue dots on the ribbon as it holds the ribbon in place better than liquid glue.
Once it is all together, add glue to the diamond shaped flap and place your square as shown.

Here is another card I made using the same instructions. However, my error, I cut my Happy Birthday sentiment larger on this card and one corner peaks out when the card is closed (I will need to go back and fix that)
As you can see, when the card is opened and the bottom of the flap is tucked behind the inside greeting, it stands up beautifully.
For this card, I also added a little flower beside my Happy Birthday greeting. I didn’t add any bling or gemstones to either card but that is always an option.
Supplies used.
Hand Penned Stamp/die bundle
Celebrating You Stamp Set
Basic White Card Stock
- 11″ x 4 1/4″
- 1 3/4″ x 4″
- Scrap to stamp flower
- 3/4″ x 3″
- 2 1/2″ x 1 1/2″
Fresh Freeshia Card Stock
- 4 1/8″ x 1 1/8″
- 2″ x 4 1/8″ (cut 2)
- 4 1/8″ x 4 1/8″
- 2 3/4″ x 2 3/4″ (cut 2)
- 1″ x 3 1/2″
Hand Penned Designer Series Paper
- 4″ x 1″
- 1 3/4″ x 4″ (cut 2)
- 4″ x 4″
Heart and Home Designer Series Paper
- 2 3/4″ x 2 3/4″ (cut 2)
Fresh Freesia Ribbon
- Approx 10-12″
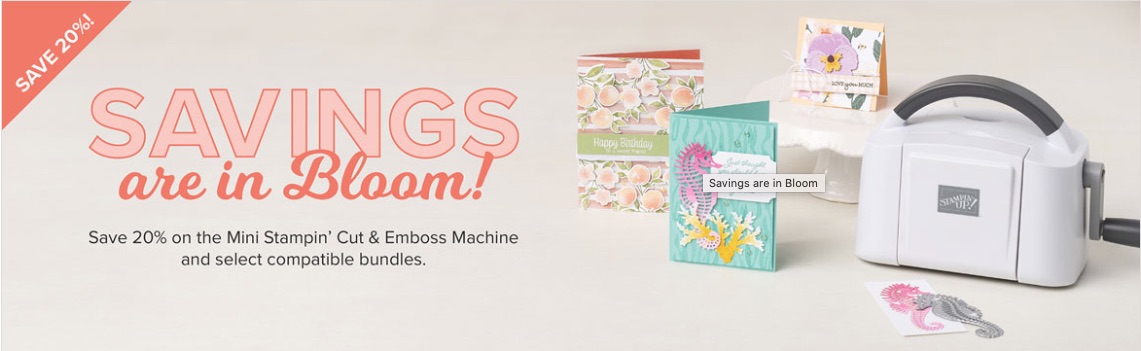
Do you like to save money when purchasing supplies? Well now you can.
During the month on March (1-31 only) purchase the mini Cut & Embossing machine for just $82.00 $65.50. That will give you a 20% discount and who doesn’t love that? This unbeatable bargain won’t be back any time soon, so snatch up this steal of a deal while you can.
There are a number of select stamp-and-die bundles that are compatible with the Mini Stampin’ Cut & Emboss Machine and they are also available for purchase at a 20% discount off the full retail price of the stamp-and-die bundles. To visit my online store and see all the details, CLICK HERE And don’t forget to check out the Clearance Rack while you are there for additional savings. When shopping please use my Host Code – TWRX6V2X. In appreciation for your business, I will send a gift and thank you card for anyone who shops with me.
To see these bundles in detail, click on any picture and it will bring you to my online shop.


Now that you’ve enjoyed this post…..
- Whenever you need crafting supplies, just CLICK HERE – You’ll be redirected to my Stampin’ Up! shopping page!
- Thank you for using my Current Host code TWRX6V2X when your order is under $200.00. All orders placed with me, will receive a gift from me as a thank you. I appreciate your support.
- Be inspired, CLICK HERE! to see even more crafting projects
- Shop the CLEARANCE RACK with discounts up to 60%
- Download The United Through Creativity Digital Download FREE from Stampin’ Up!
- Contact me to receive my Monthly Newsletter, CLICK HERE

Susan Beale
Independent Stampin’ Up! Demonstrator
Ontario Canada
Email: sjbeale@canadianstamper.com
- Website: www.canadianstamper.com
- Facebook: https:facebook.com/canadianstamper
- Instagram: www.instagram.com/canadianstamper
Reader Interactions