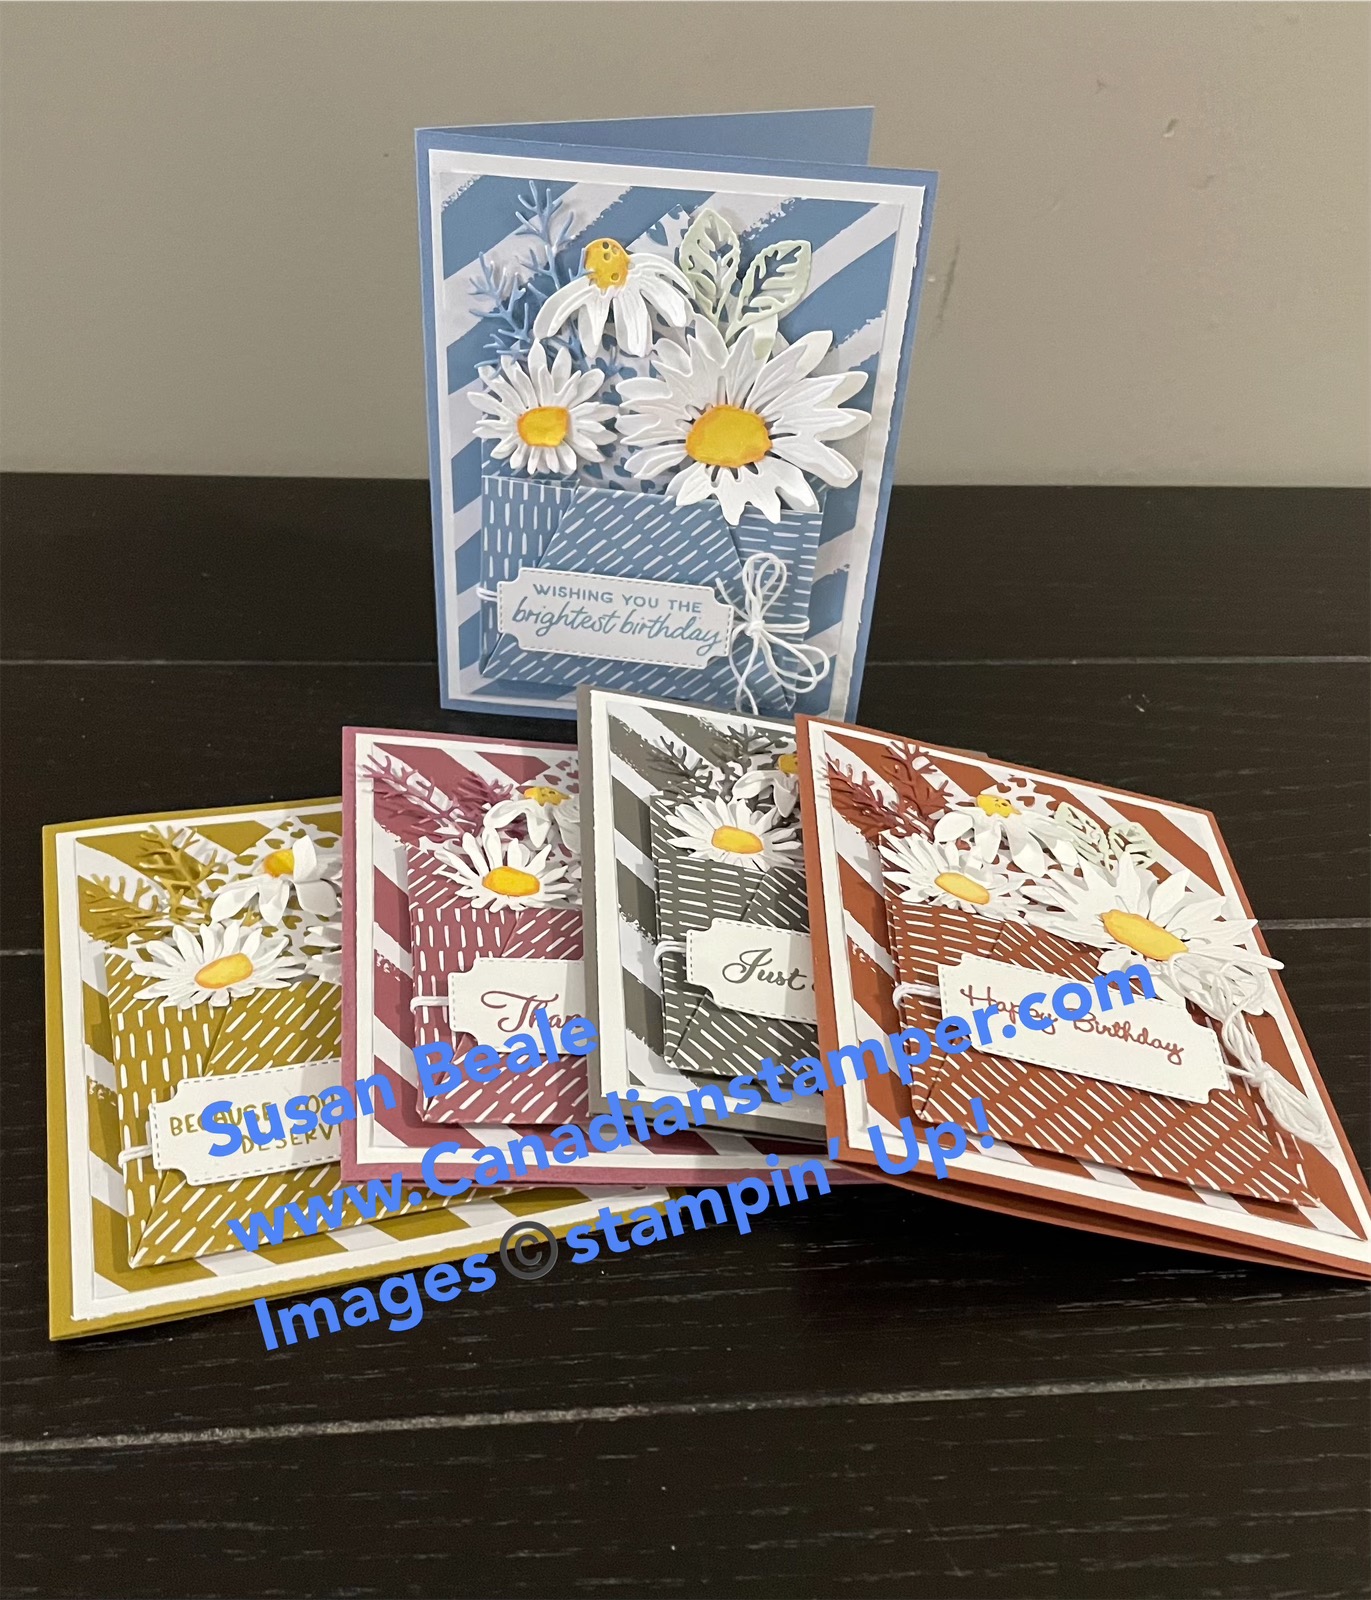
I love daisies, they are such a bright and colourful flower and they just make me smile when I see them. I also love creating fun fold cards so when I saw Donna’s card, (www.Donna-stamp.blogspot.com) I just had to make this lovely card as well.
I decided to make up these cards using the the new 2023-2025 In-Colors.
So let’s get started
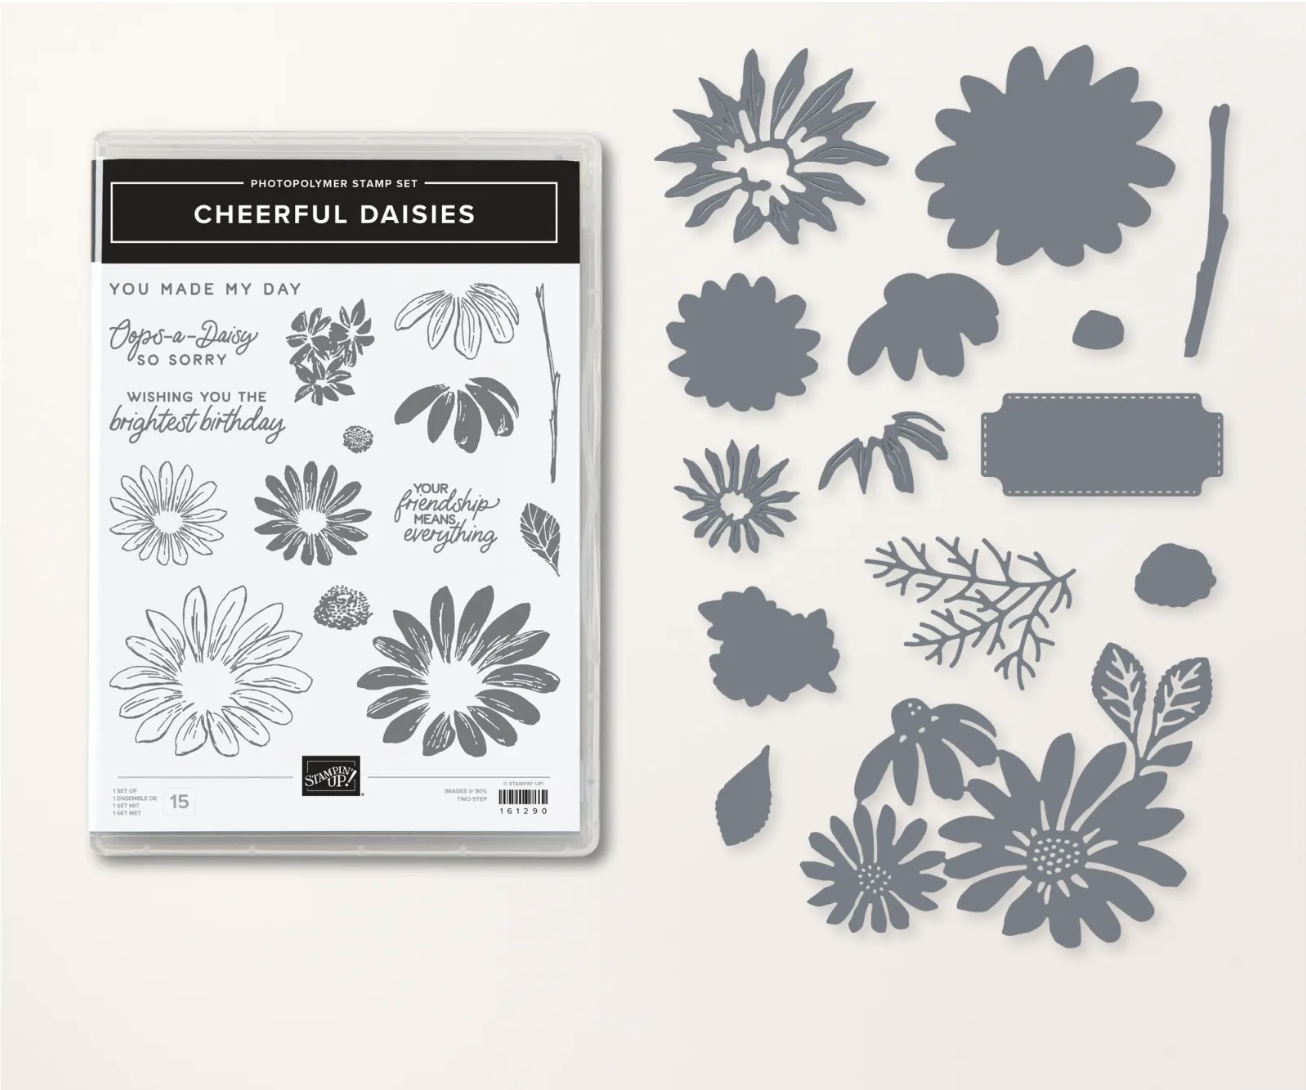
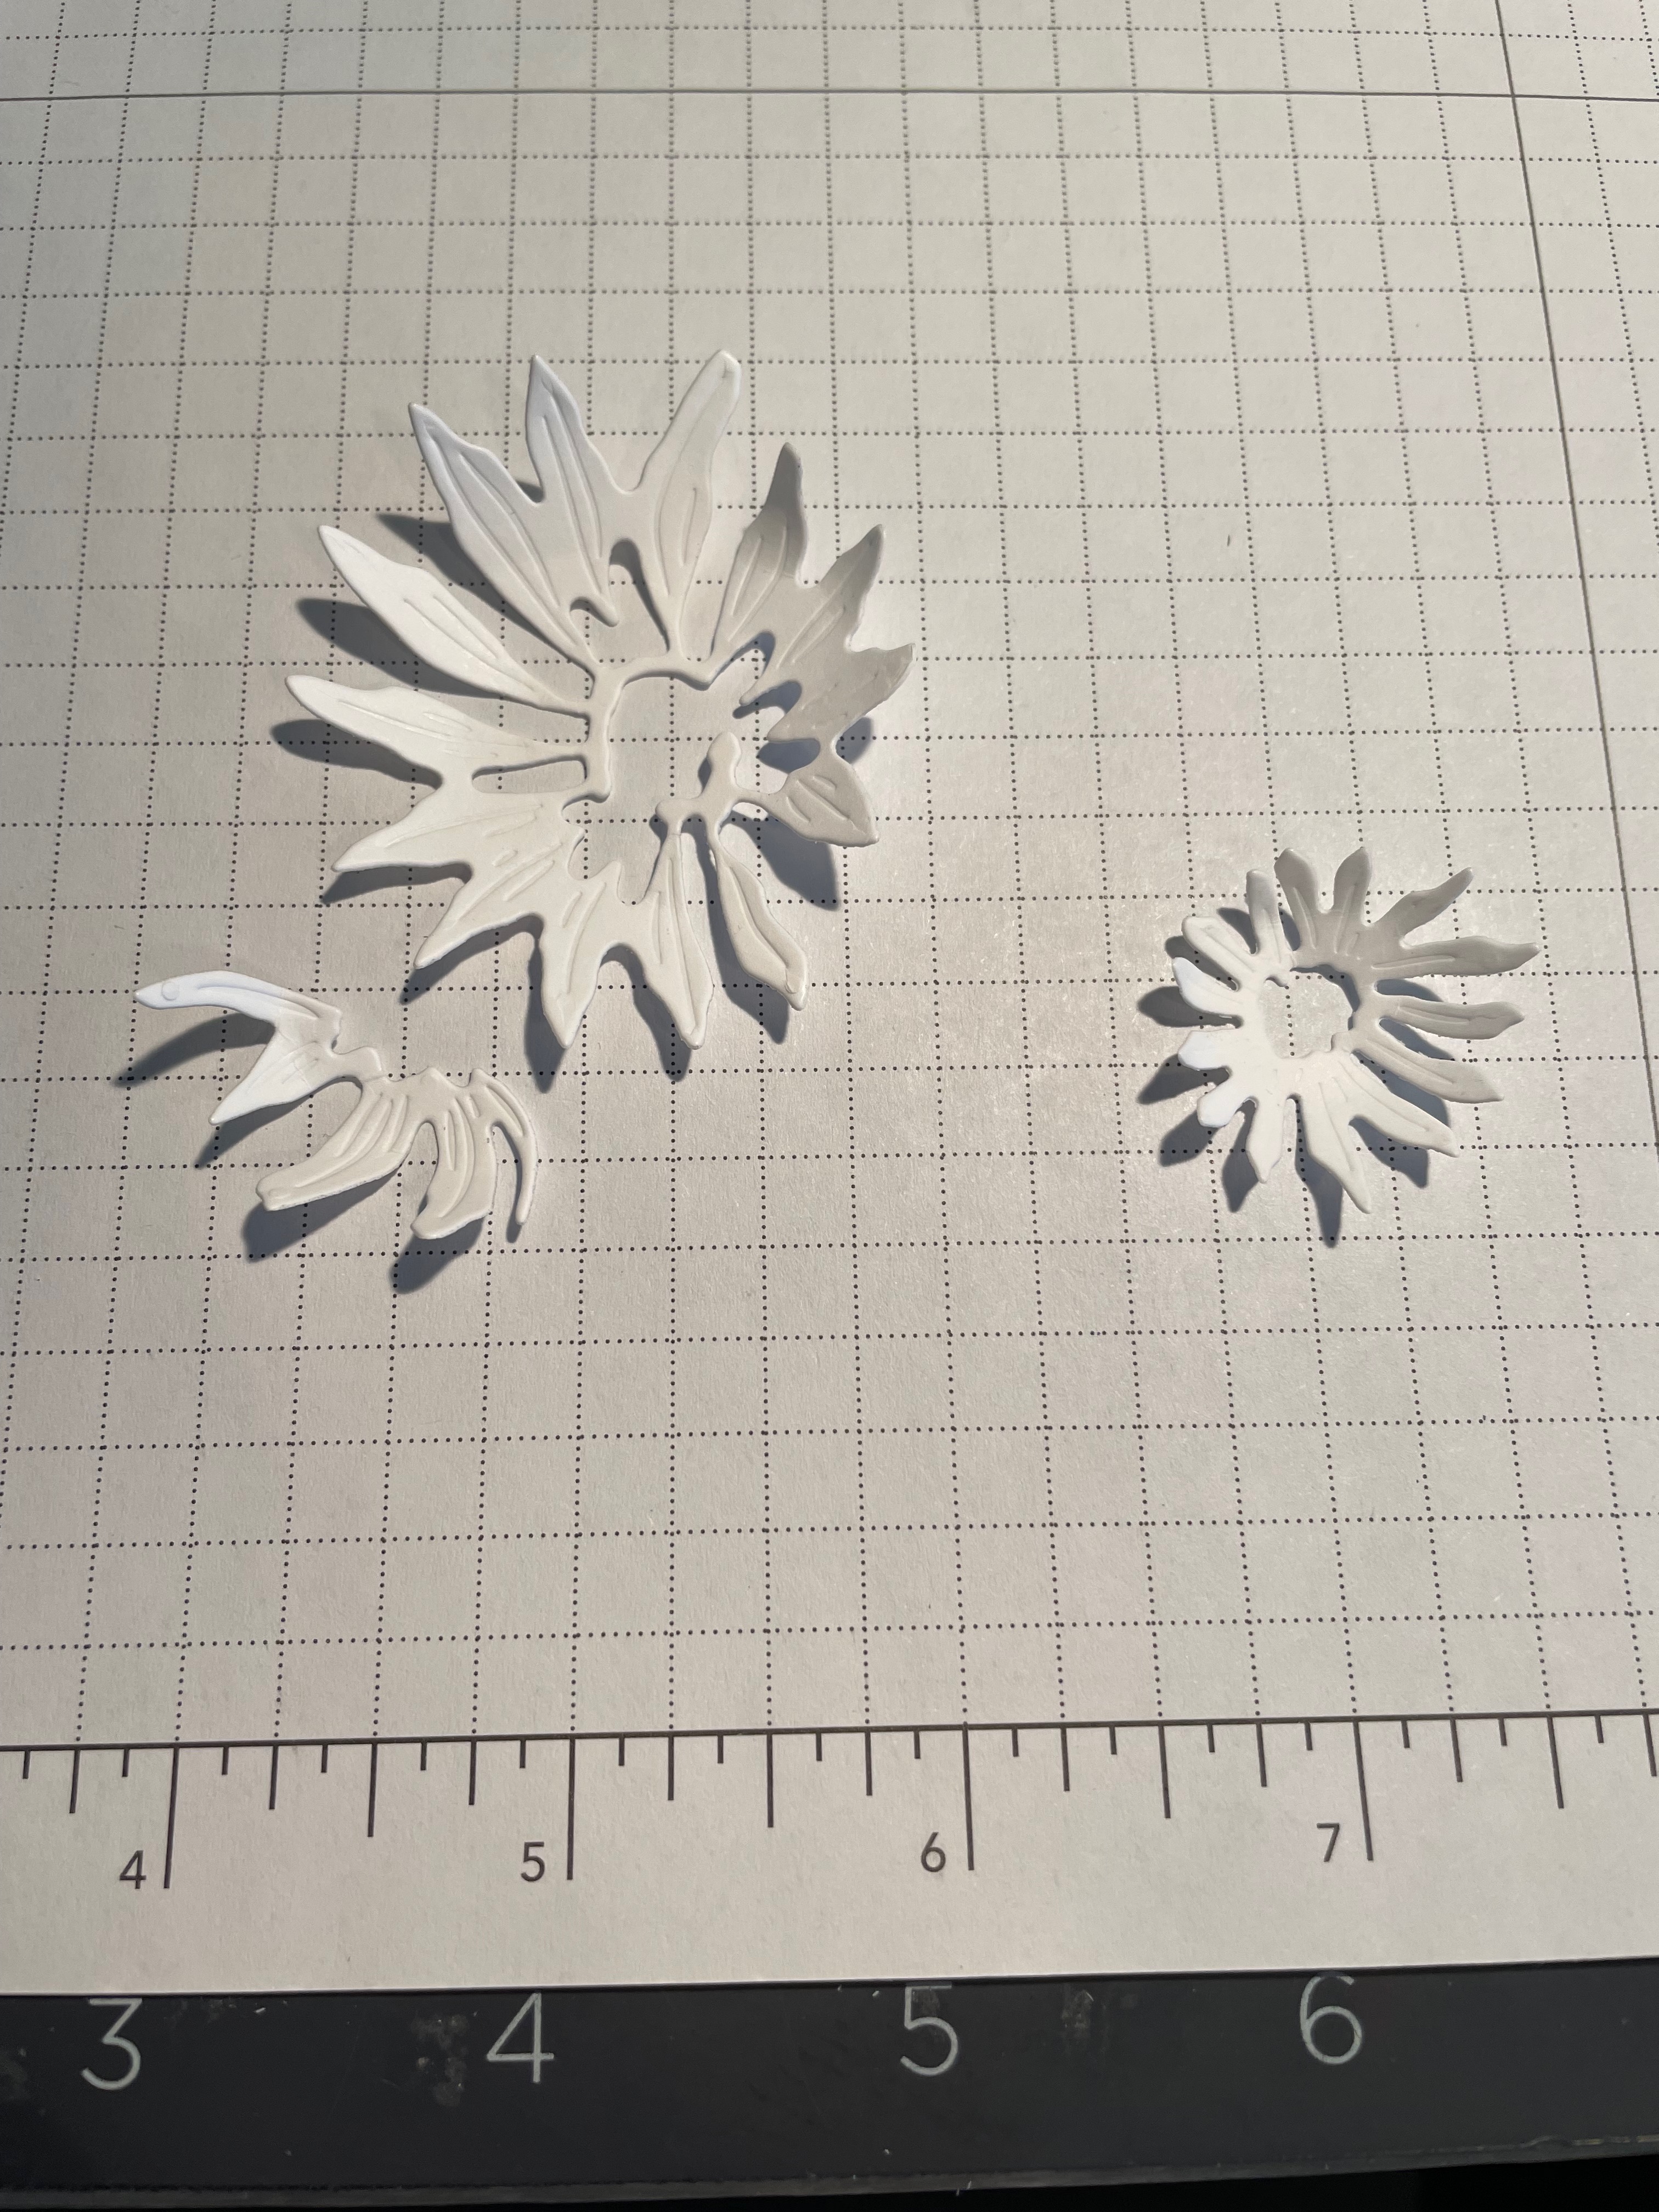
First I pulled out this adorable bundle which comes with 15 stamps and 14 coordinating dies. These dies line up perfectly over the stamped images.
For my cards, I did not stamp the images first, because I decided to just use white card stock with no stamped details. I love that you don’t need to and they still look gorgeous.
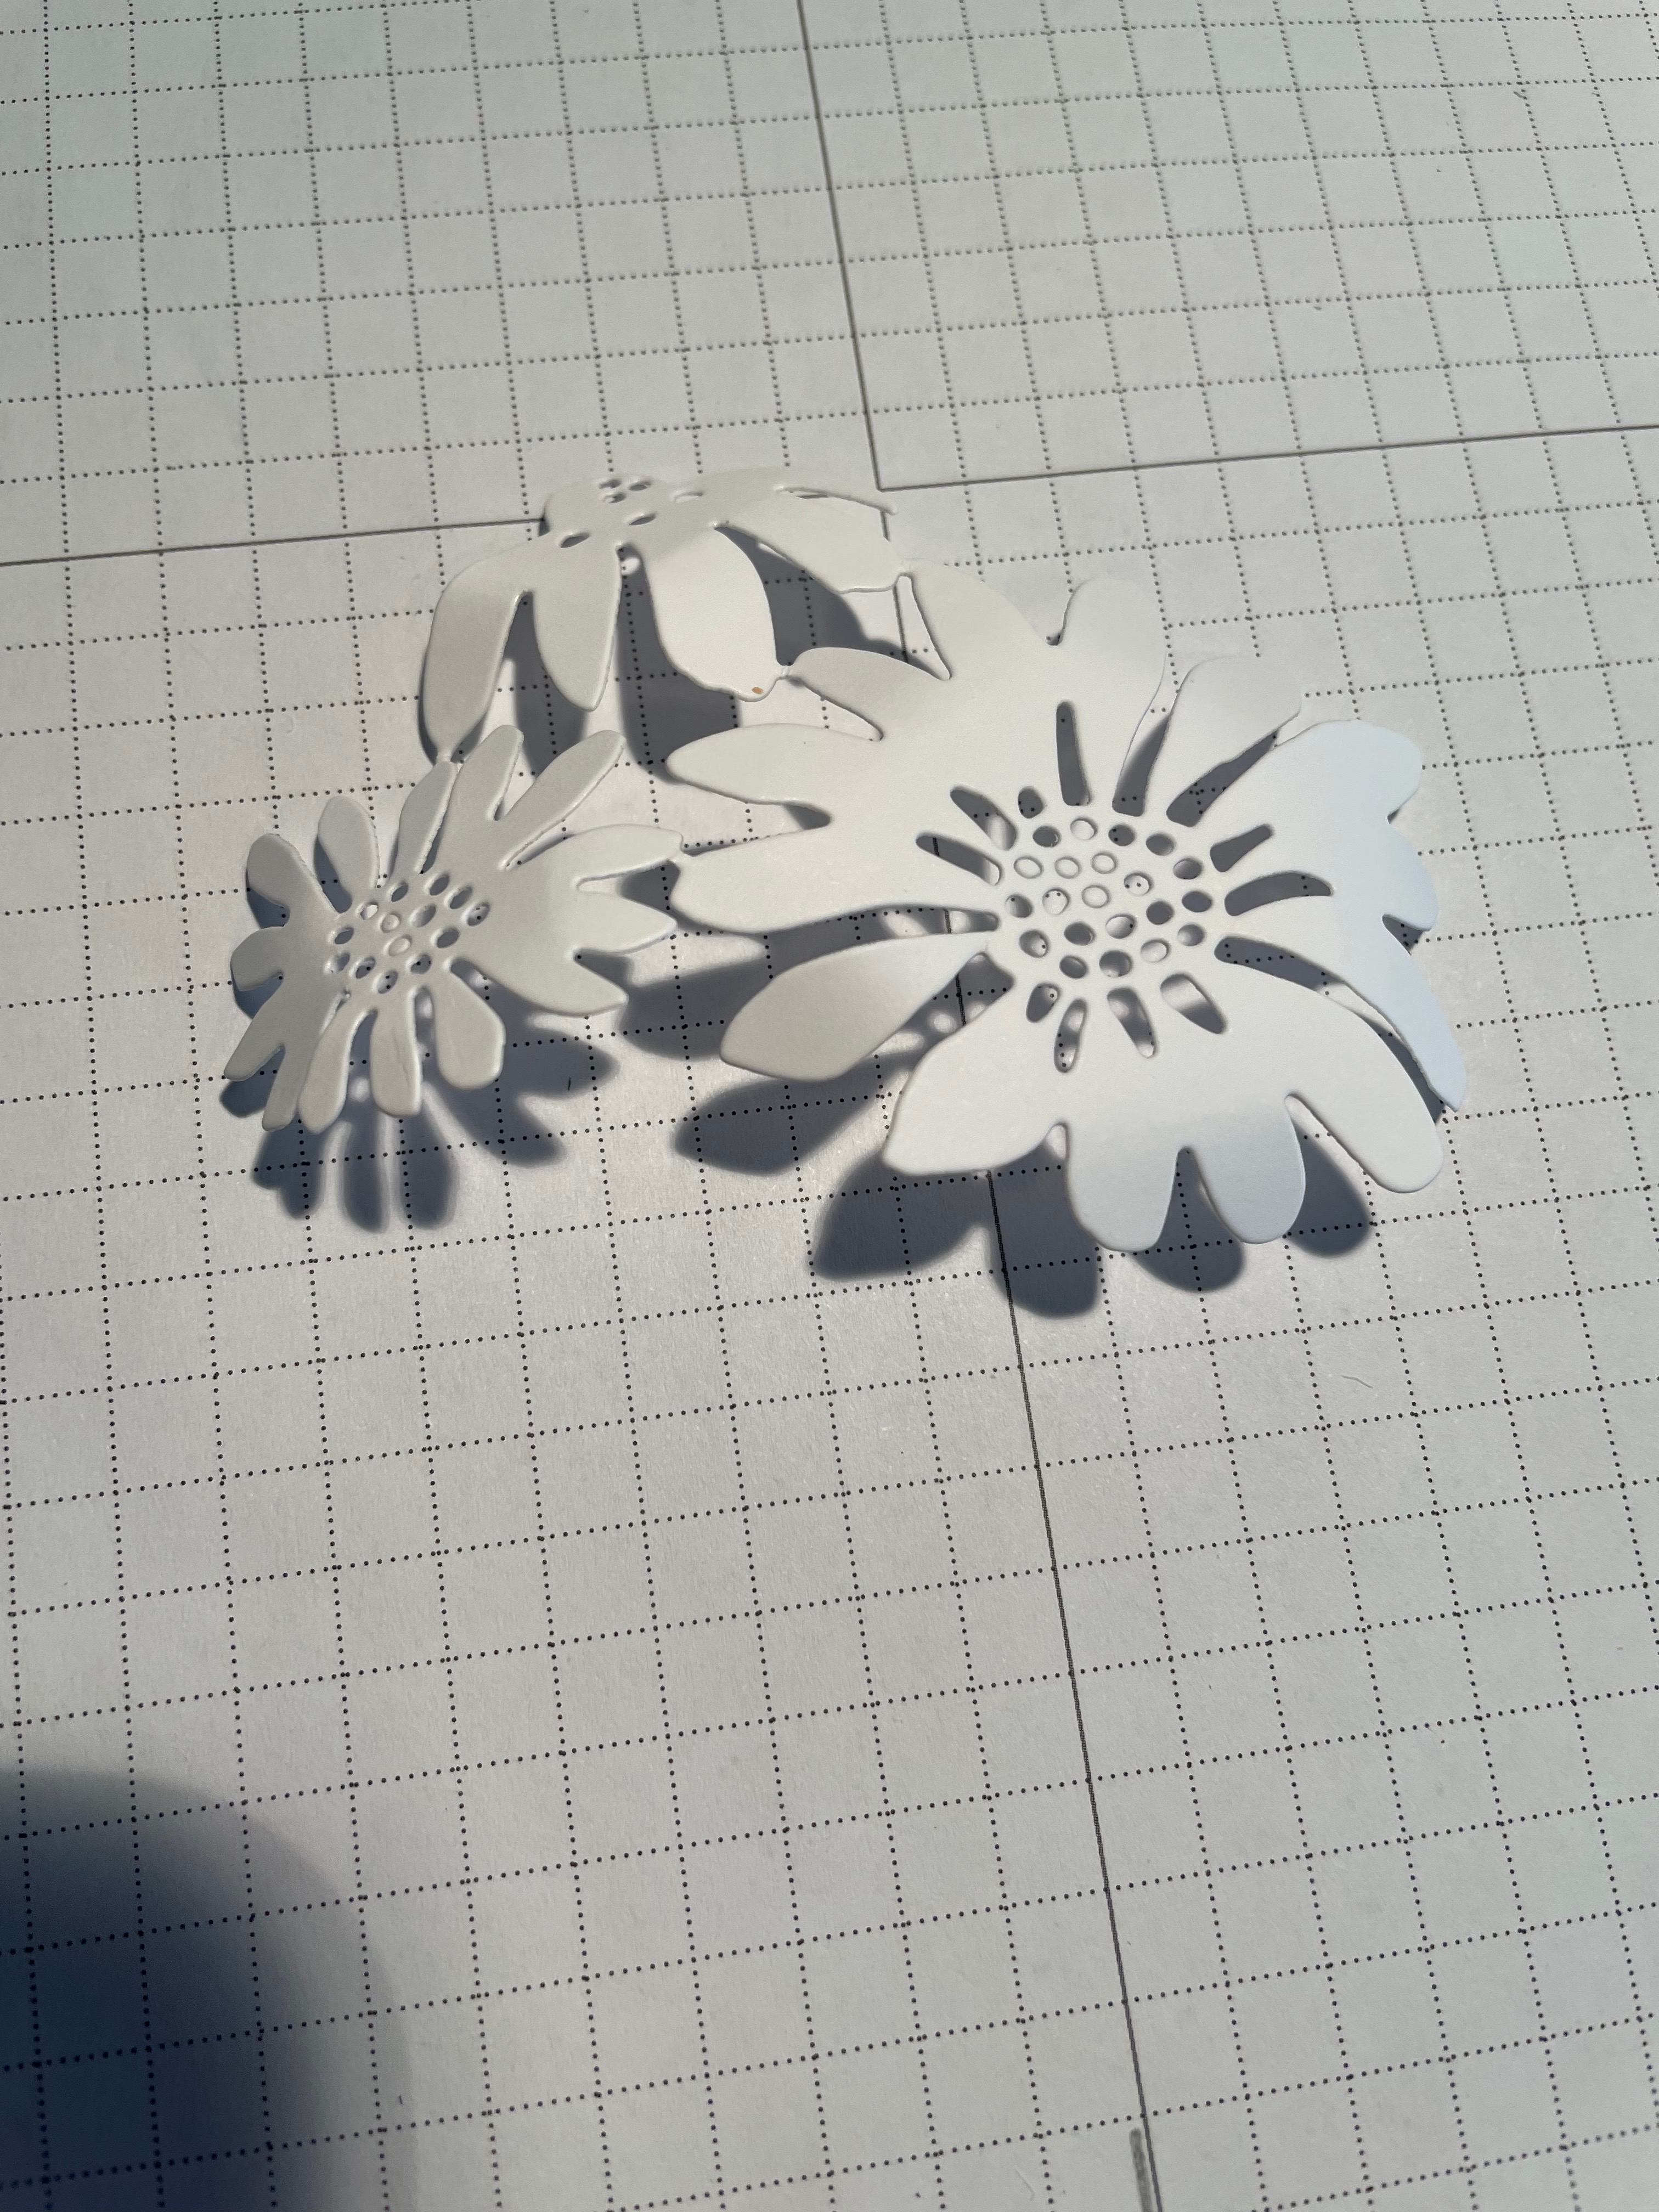
I also love how the die petals have a little bit of embossed design for added texture.
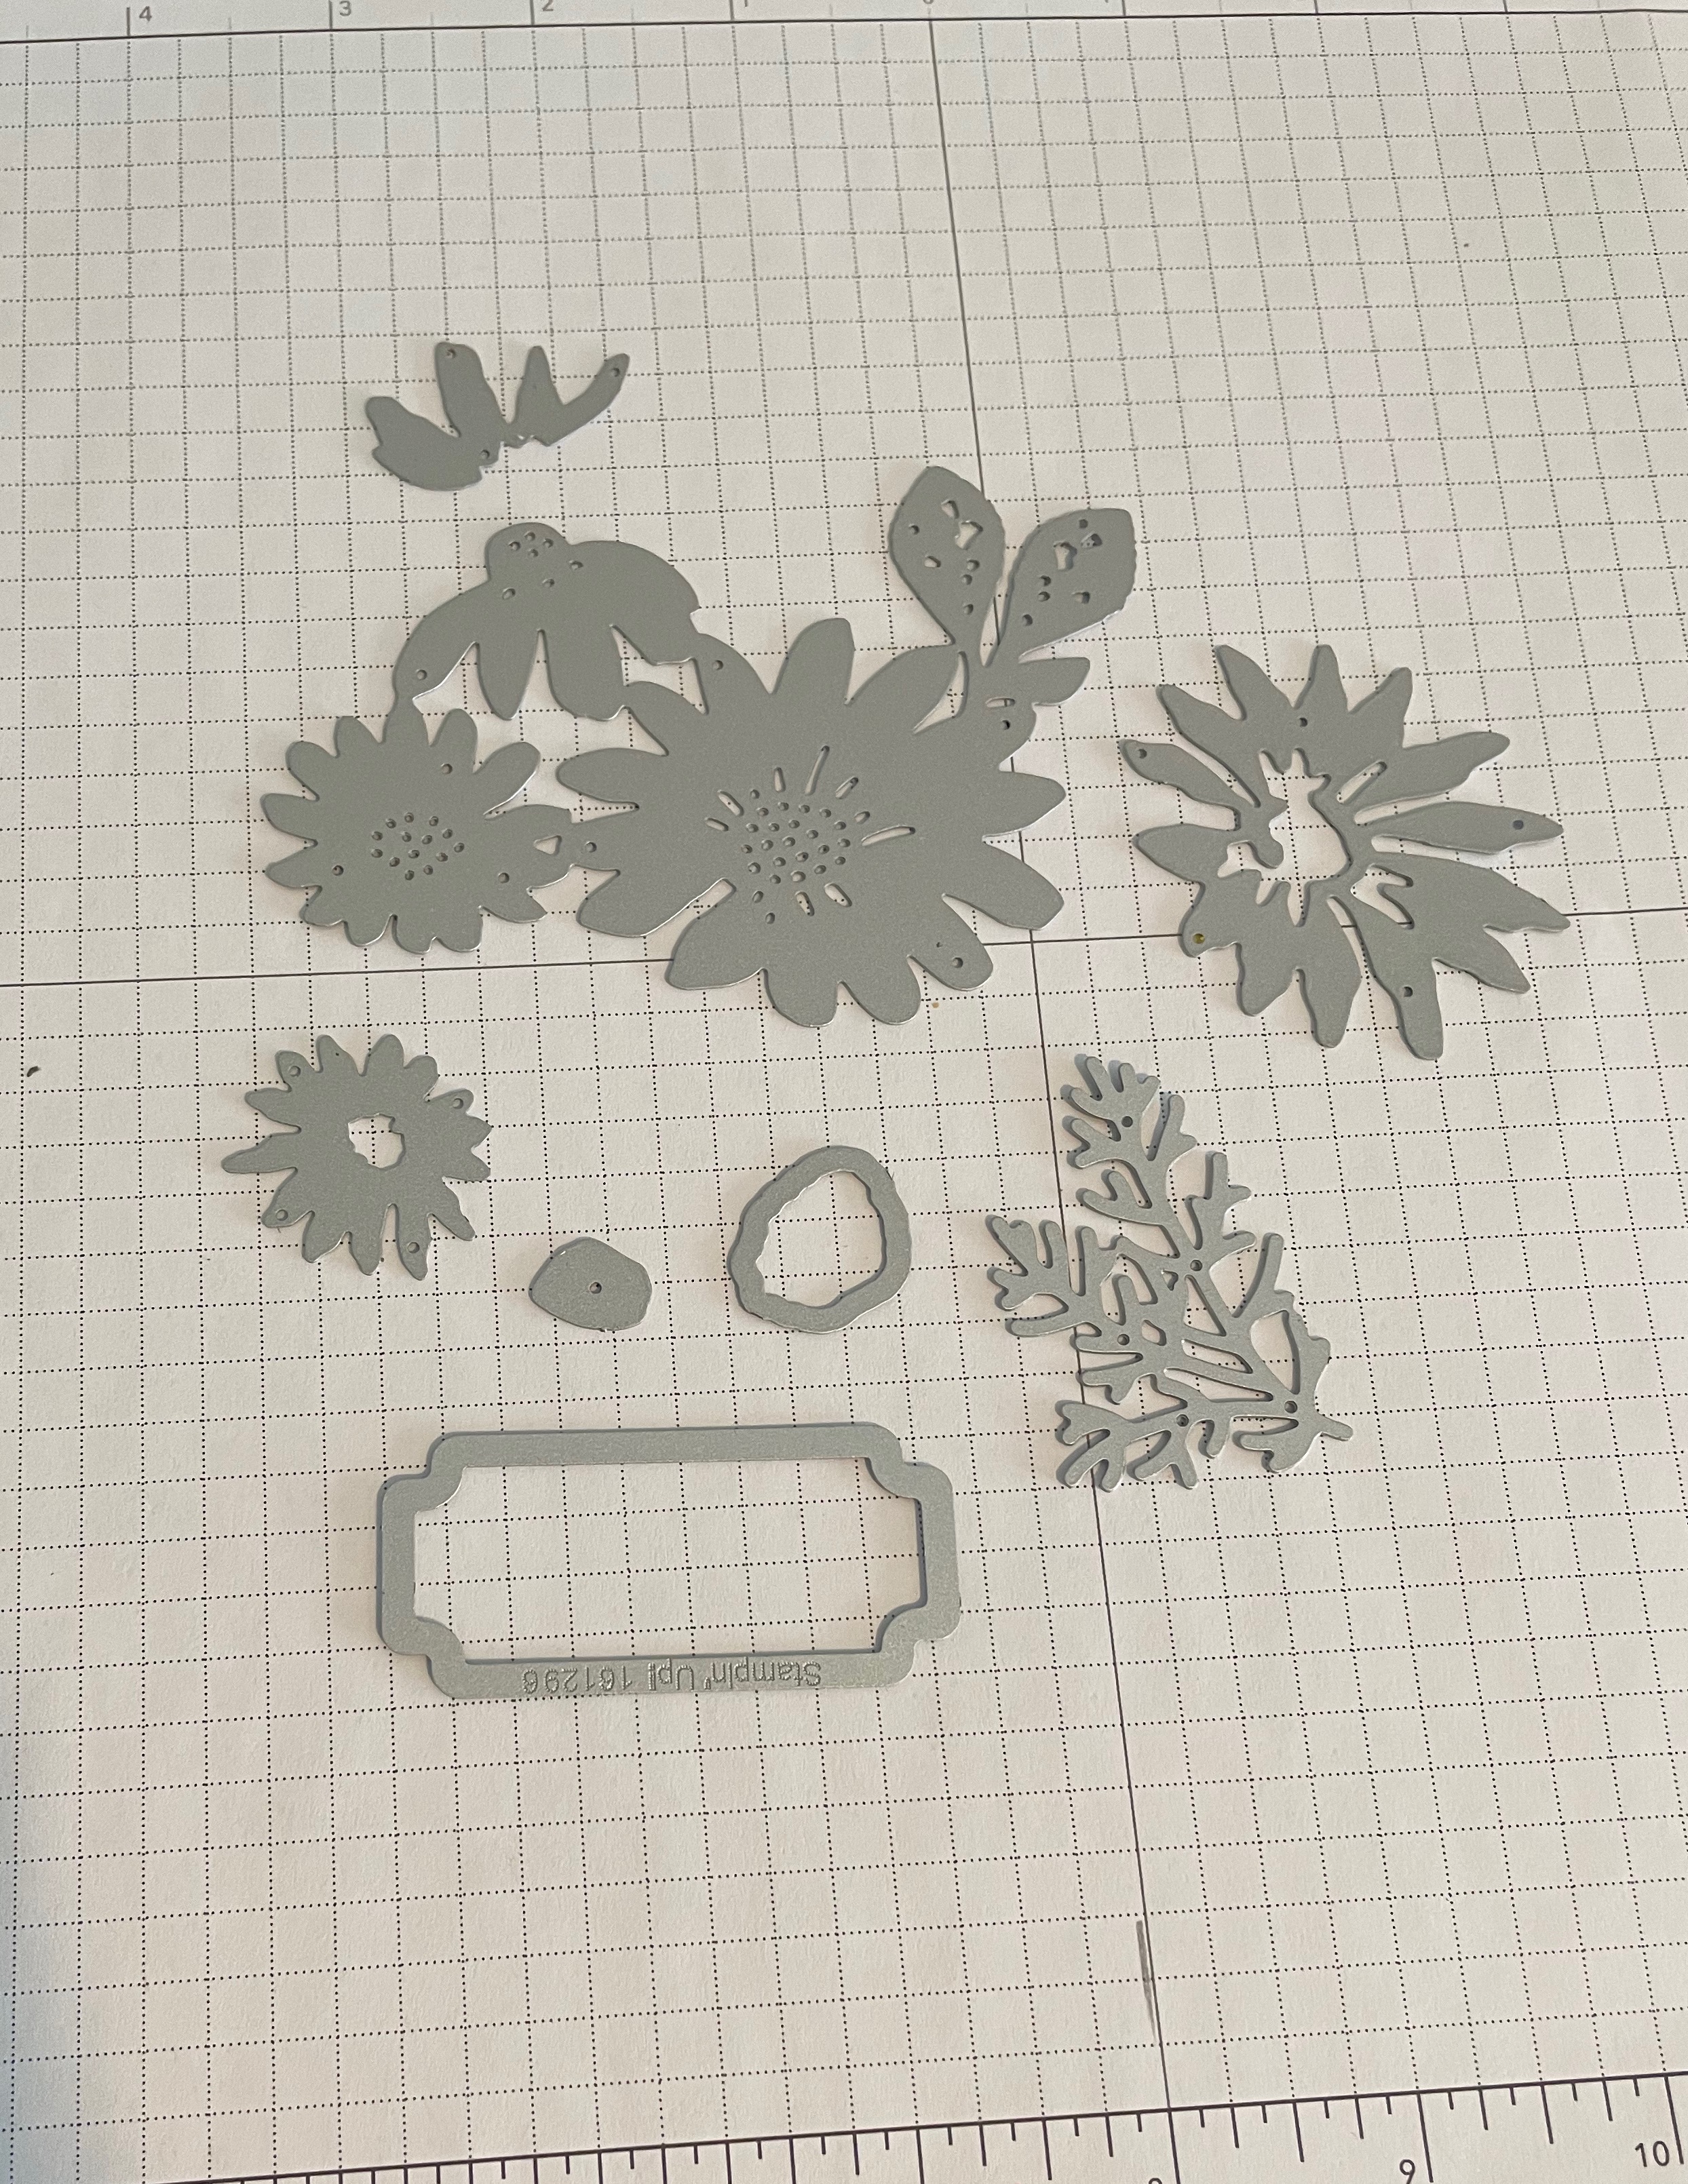
So I pulled out all the dies I wanted to use to make my cards. Since I am making five cards, I cut out each die five times.
I have to say, I love love love the largest die which includes three daisies and a leaf.
After cutting them all out,I set them aside and got to work on my cards
First of all I made my card bases from each of the 2023-2025 In-Colors, I added the white matting to the card front and then adhered the large striped background to the white matting. I then set these aside and got to work making up the flower pots for each card
To Make the flower pot
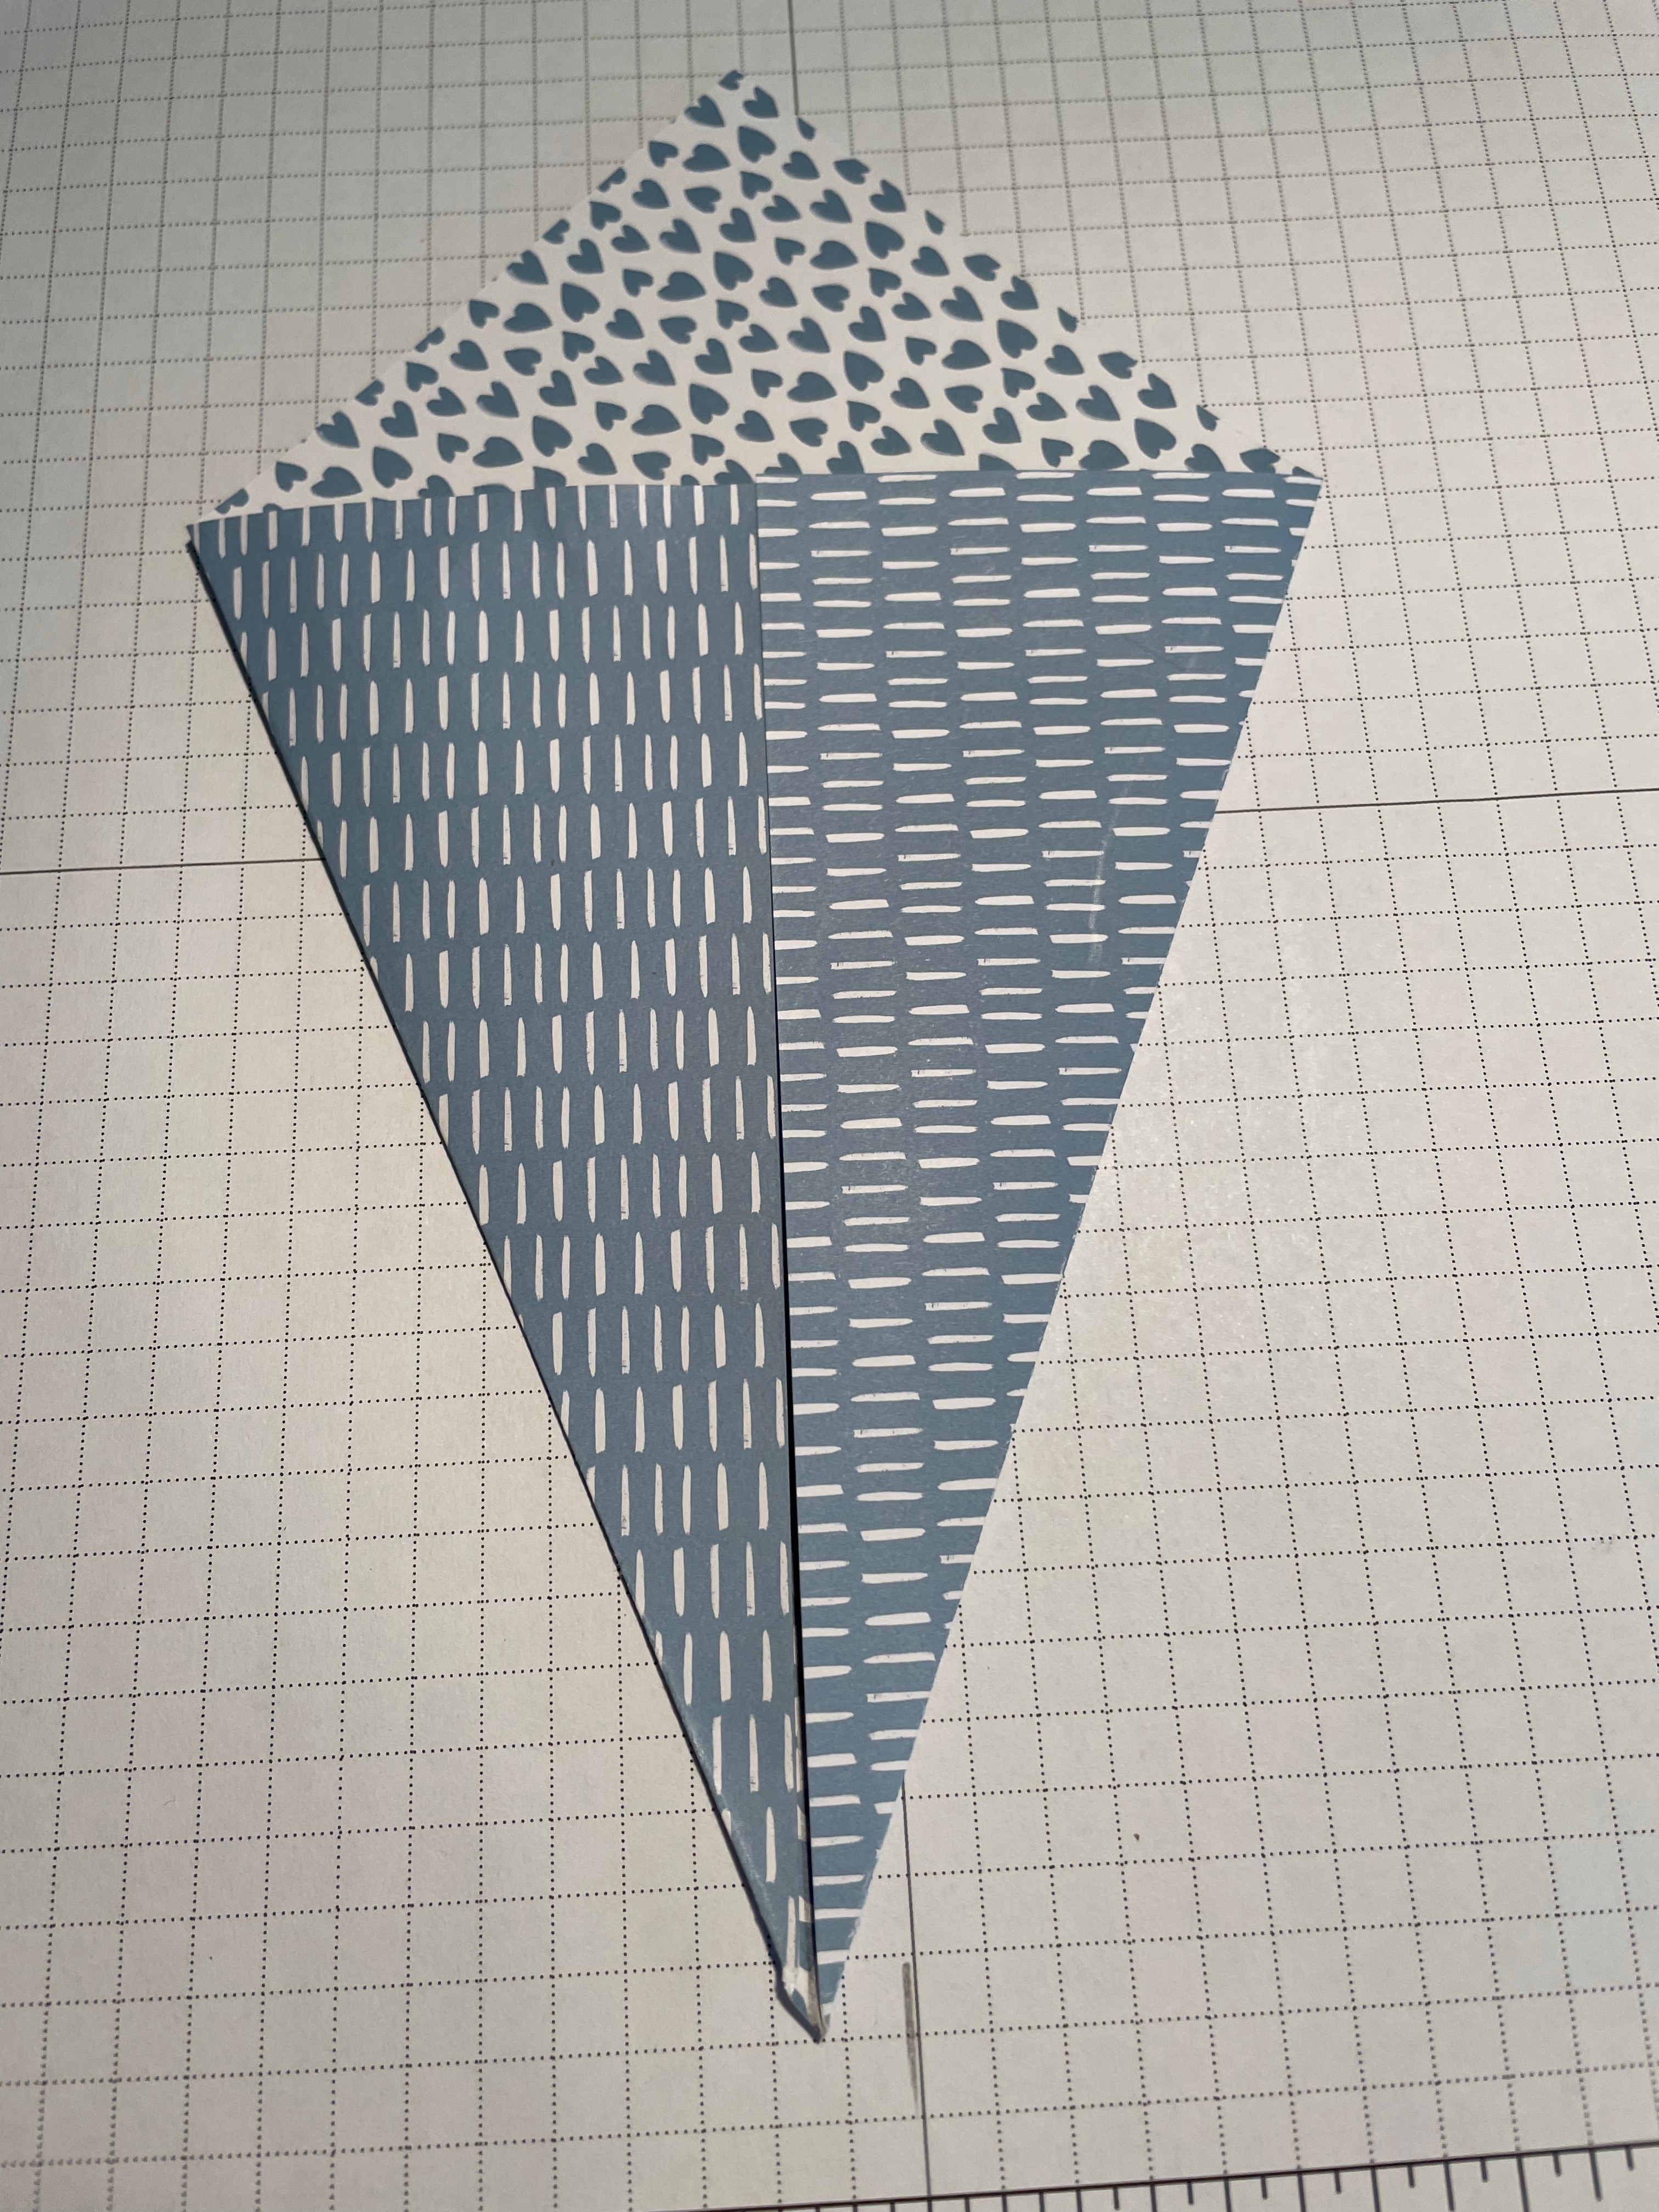
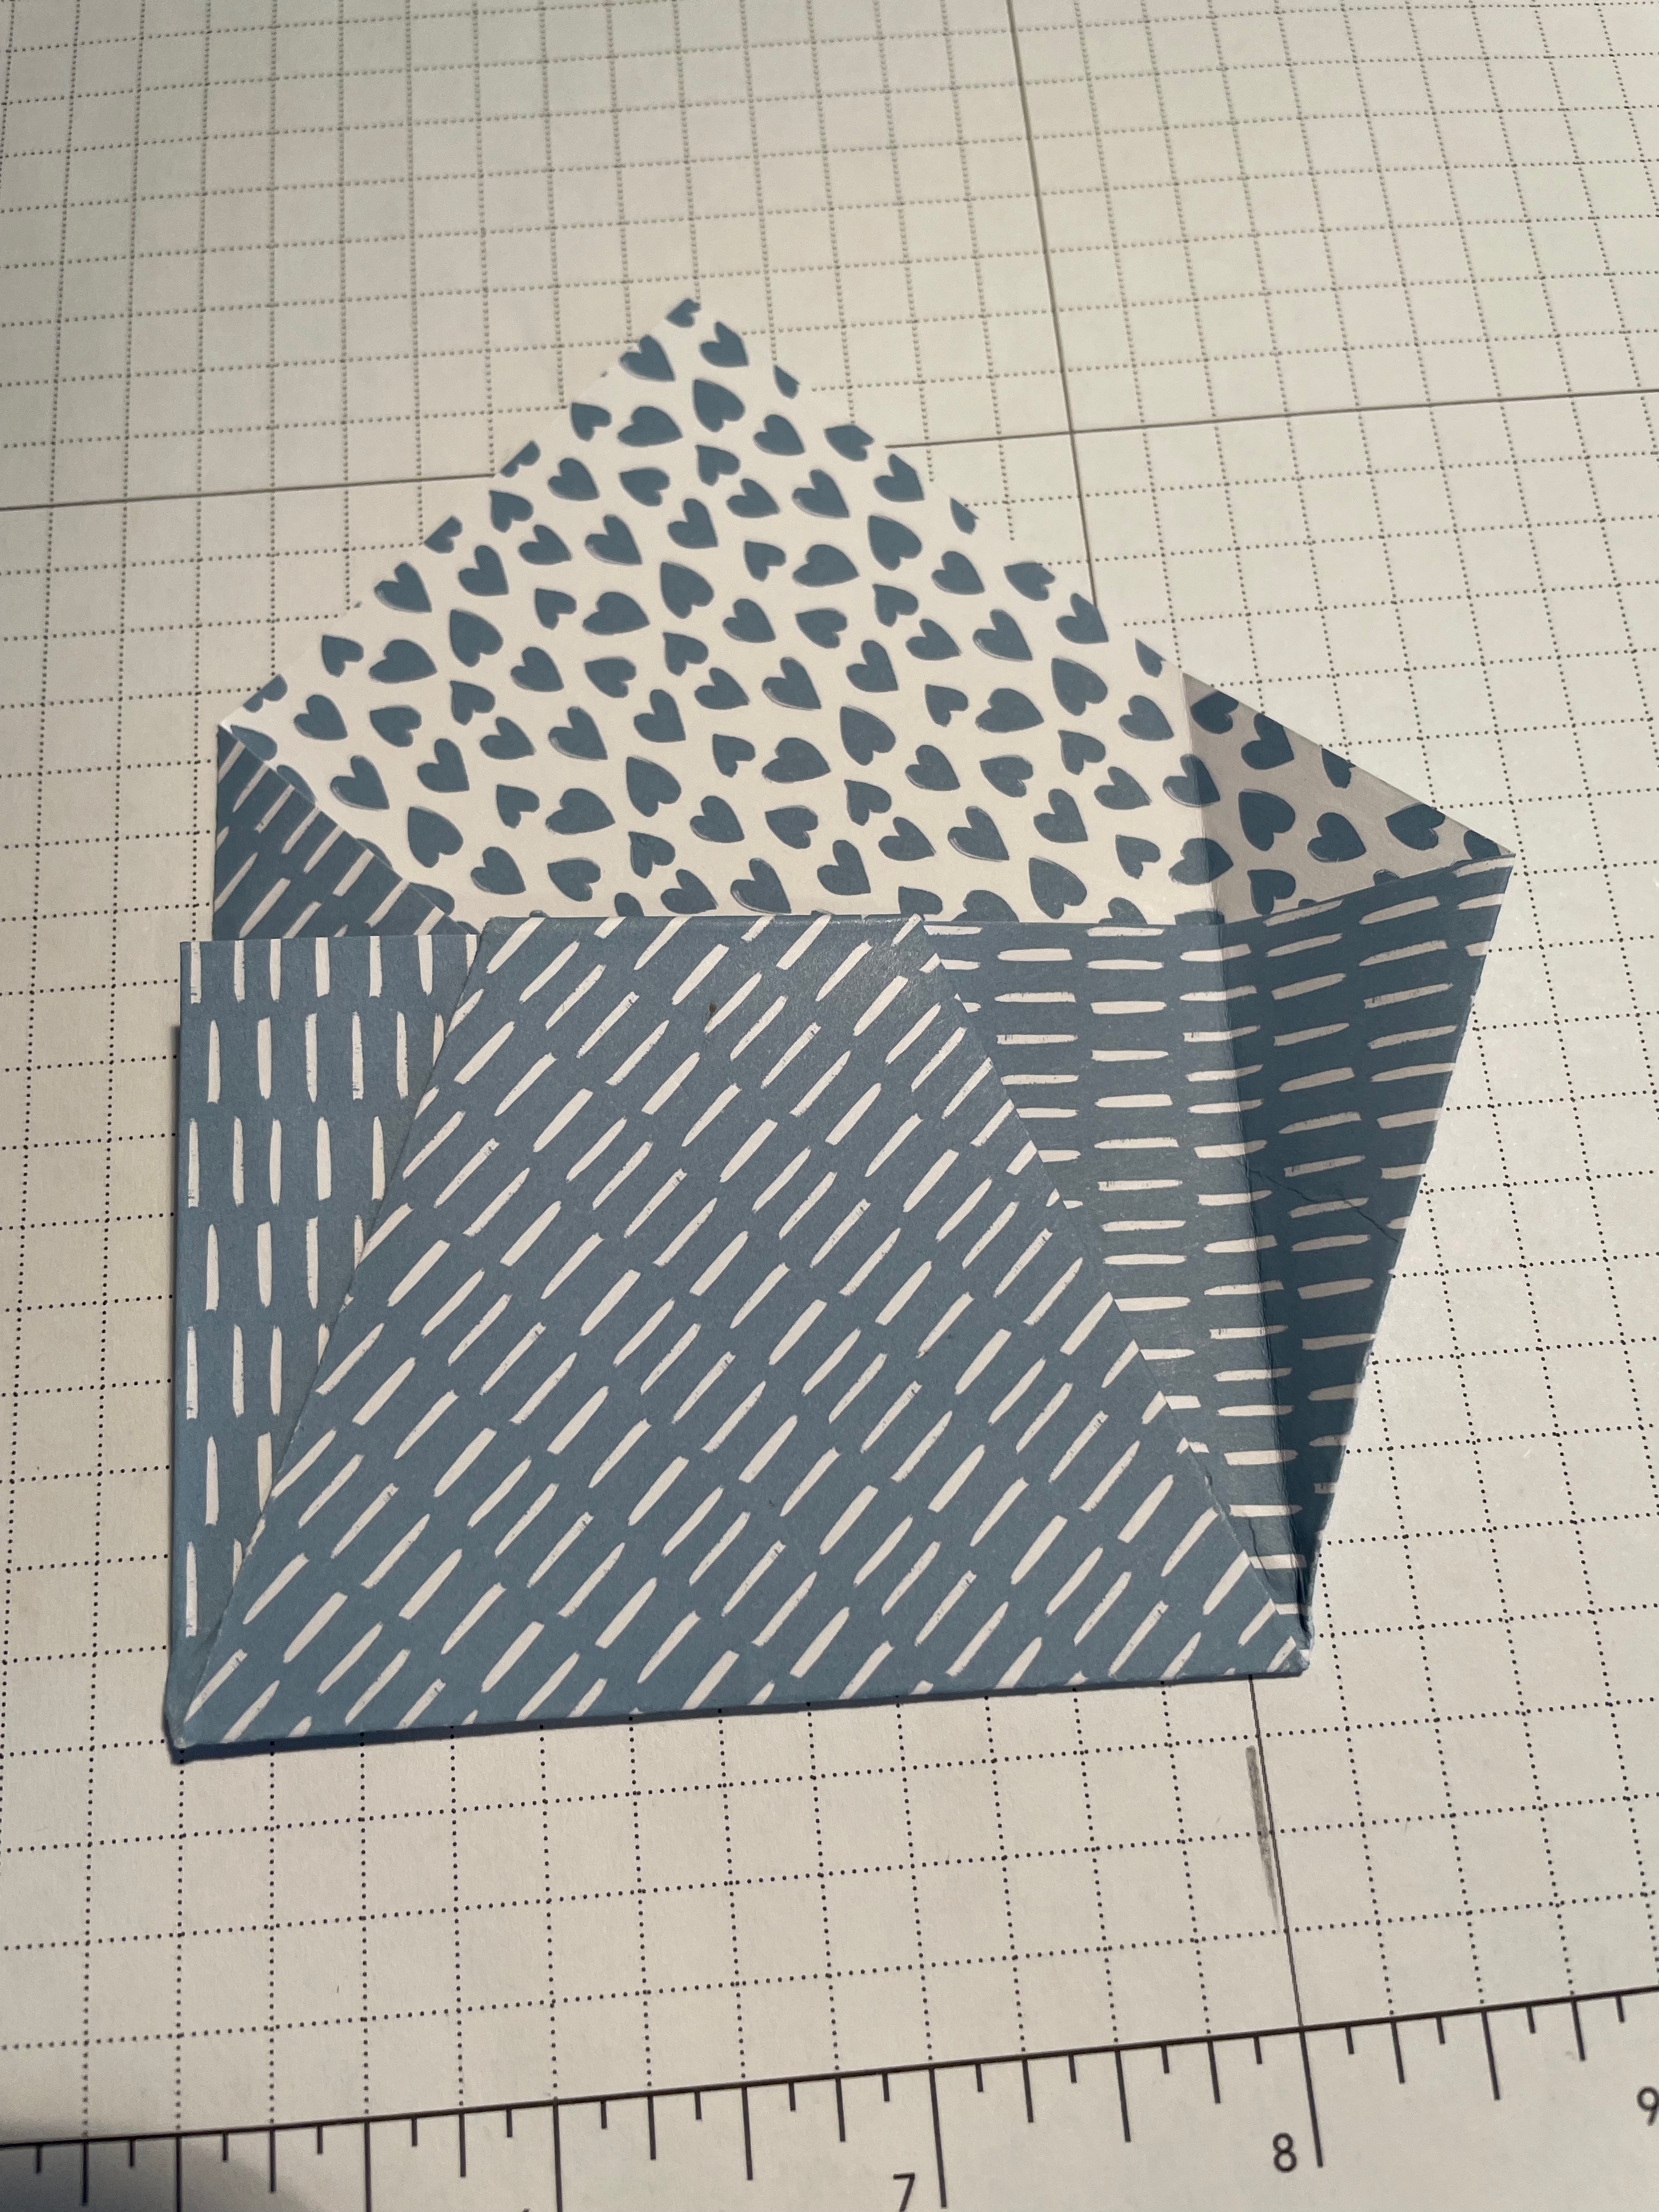
Take a piece of 6” x 6” DSP and turn it so it is diamond shape in front of you and the paper you want to see in underneath. With a ruler positioned from the top corner to the bottom corner, draw a pencil mark from the bottom corner to about half way up.
- Picture 1: Fold the two sides inwards so they line up with the pencil mark. Make sure the points at the bottom are sharp. You can see on the first picture it wasn’t quite sharp so I placed my ruler along the pencil mark and fixed it by creasing the paper against the ruler.
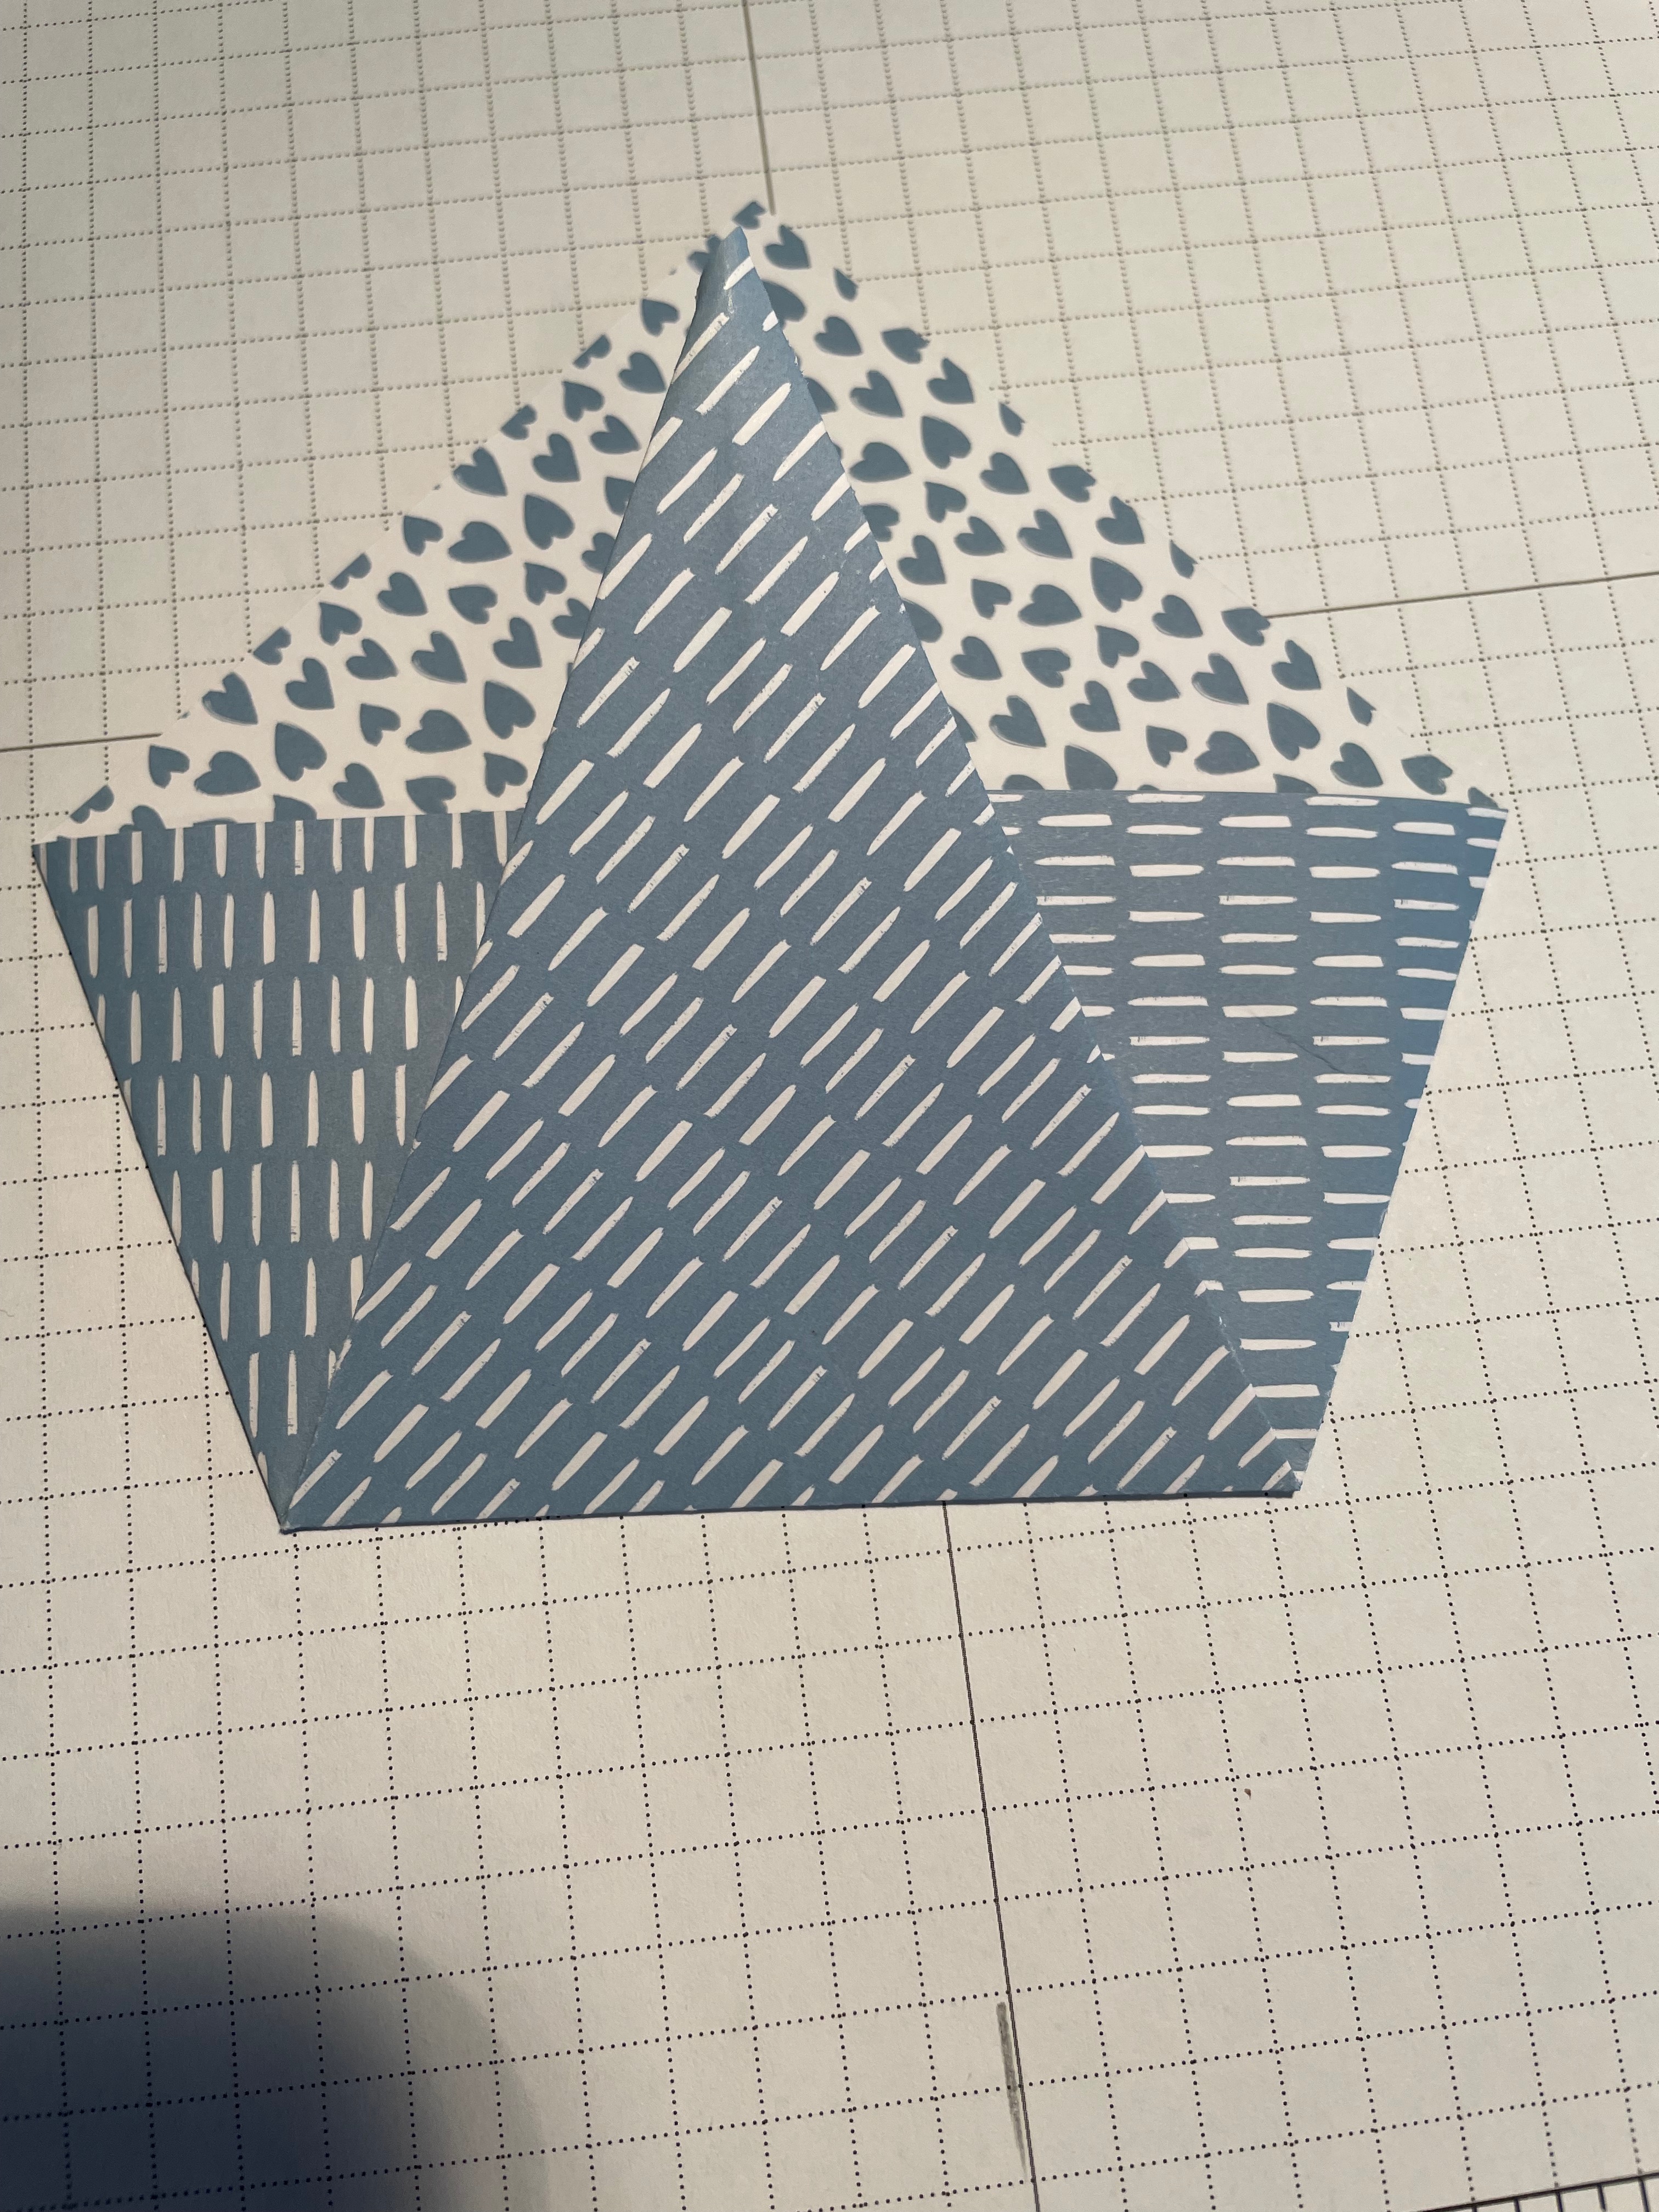
- Picture 2: Once you have sharp points, fold up the centre so the “pot” is about 2 1/4″ high.
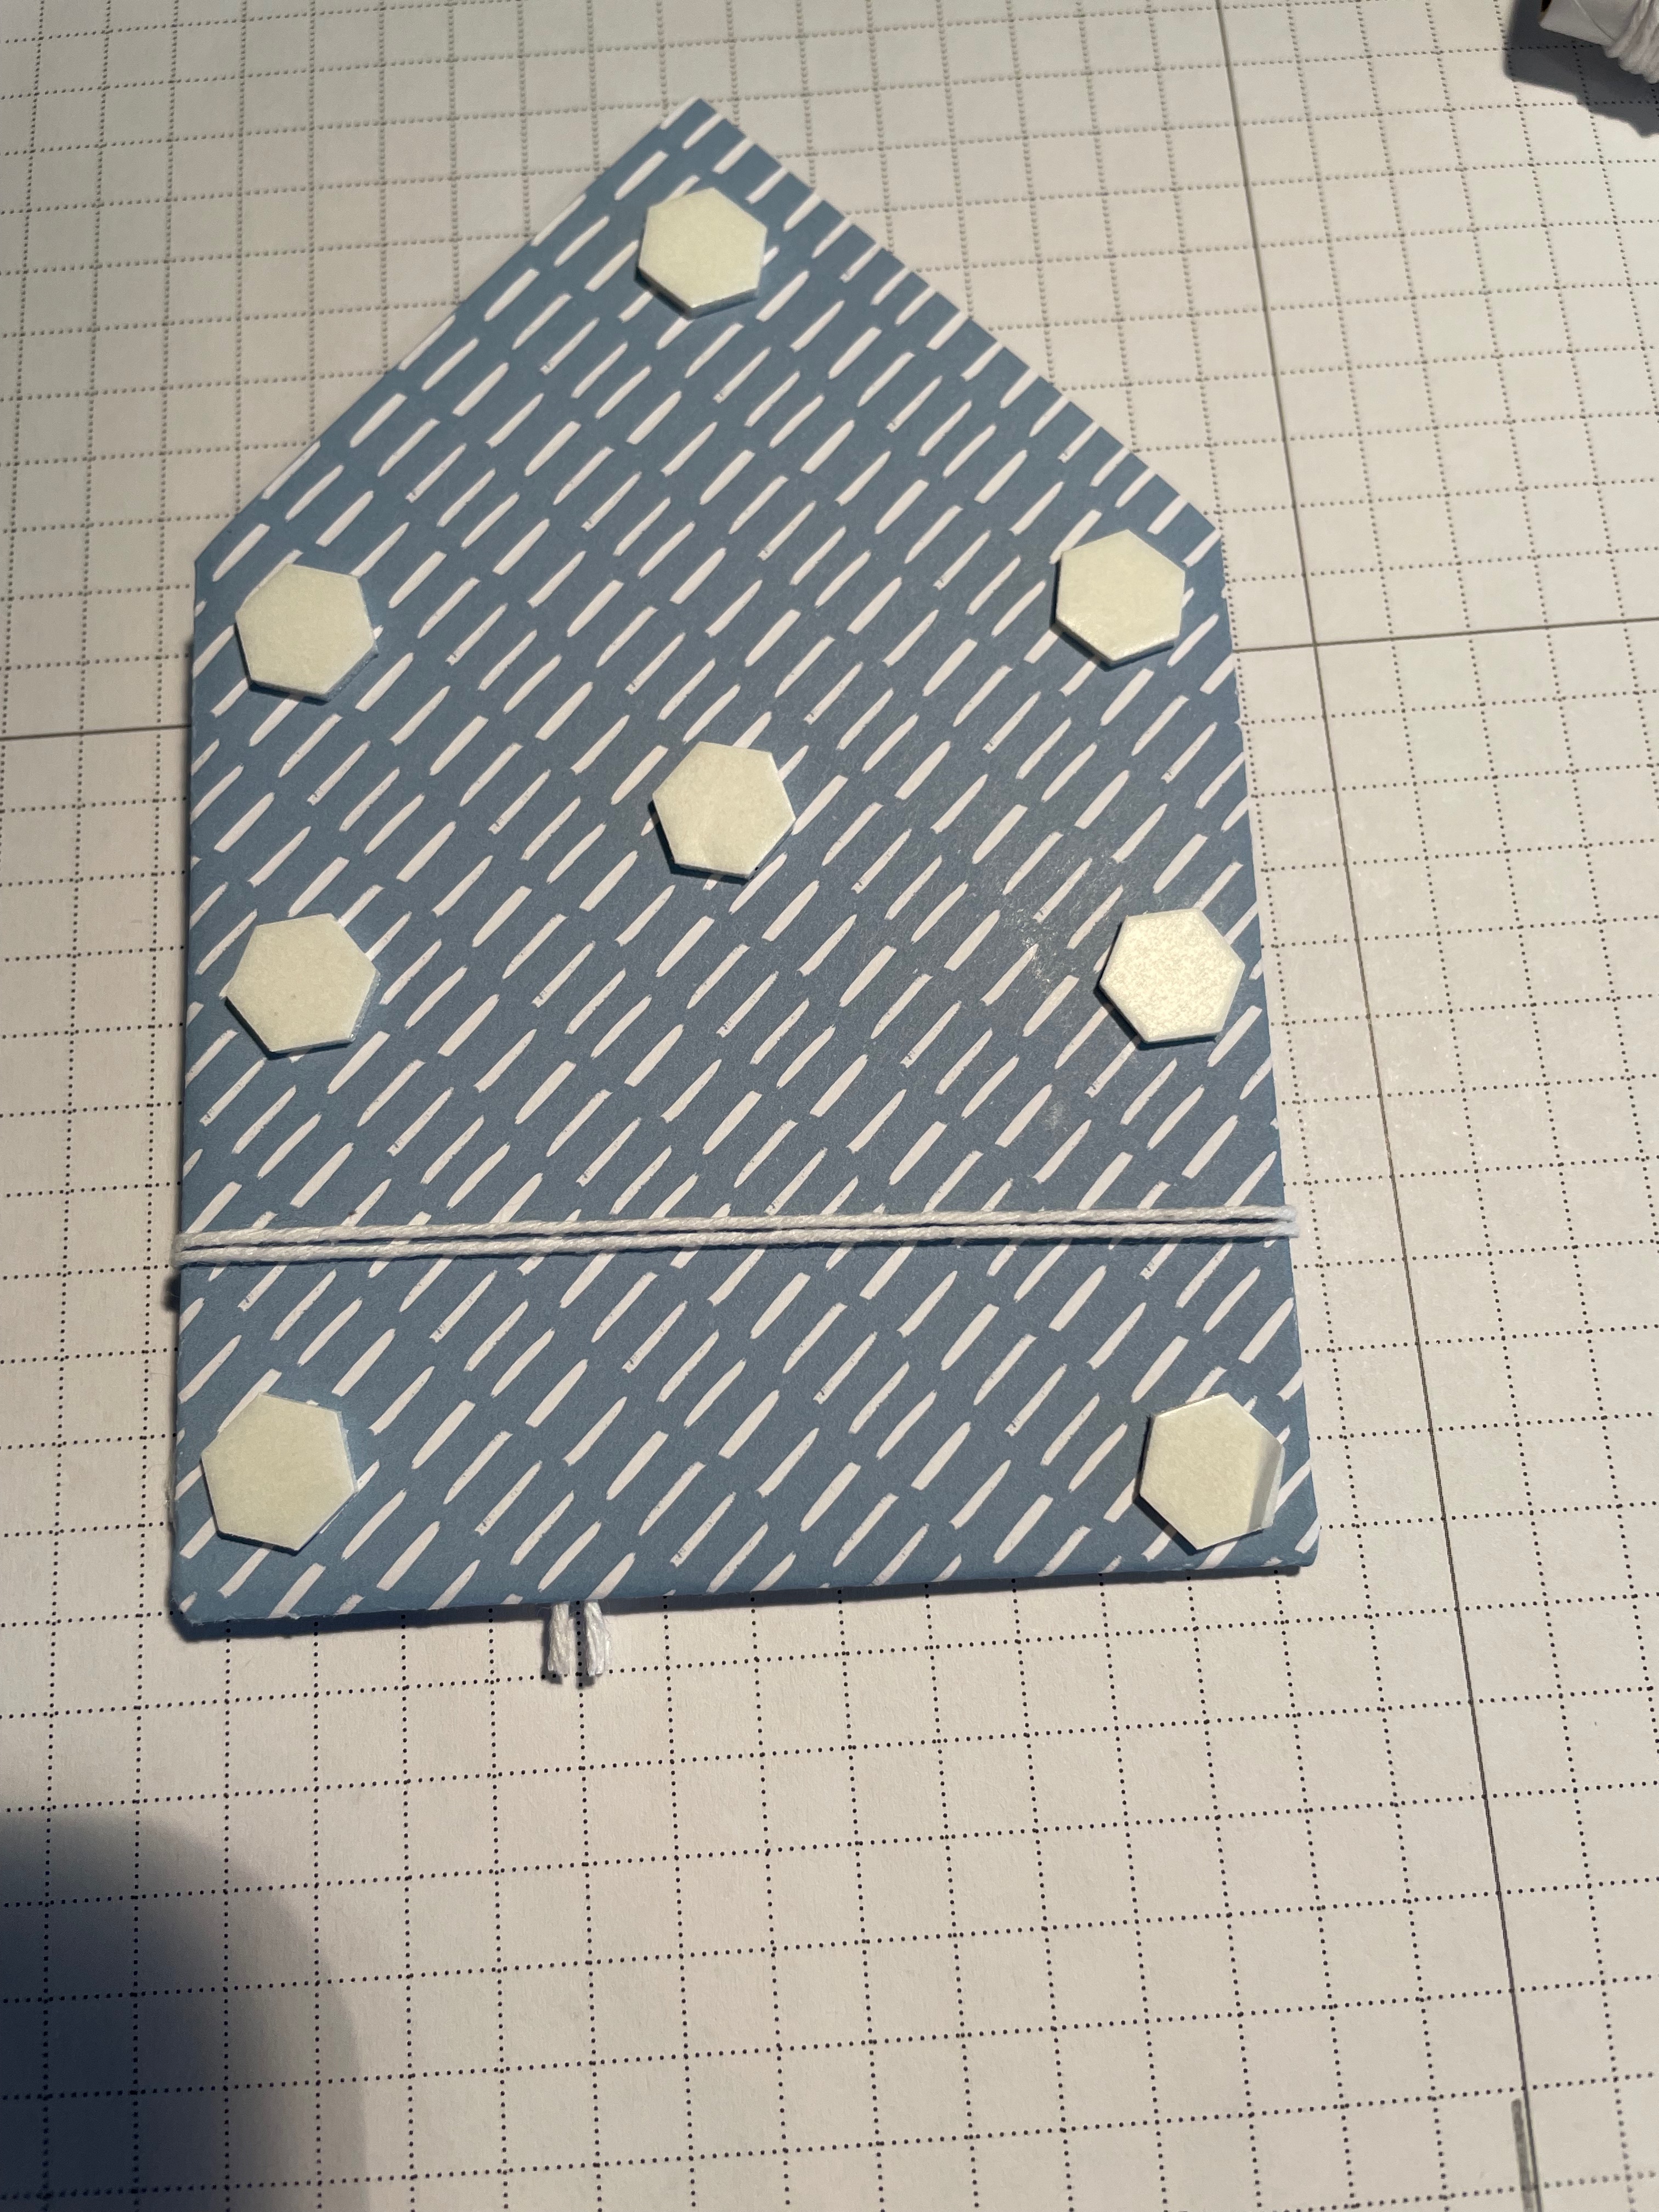
- Optional: Since the point is going to be tucked underneath, I folded the point back and forth along the top of the pot, to create a fold line. It isn’t necessary but I found tucking it under was easier with a fold line
- Picture 3: Next fold the two sides so they line up with the edges of the centre triangle piece, again, making sharp points at the bottom. Open up the pot and using your fingers, fold the sides inward. Burnish all the fold lines again to give it a crisp look. Add a little adhesive to the back of the triangle top and tuck it under the pot.
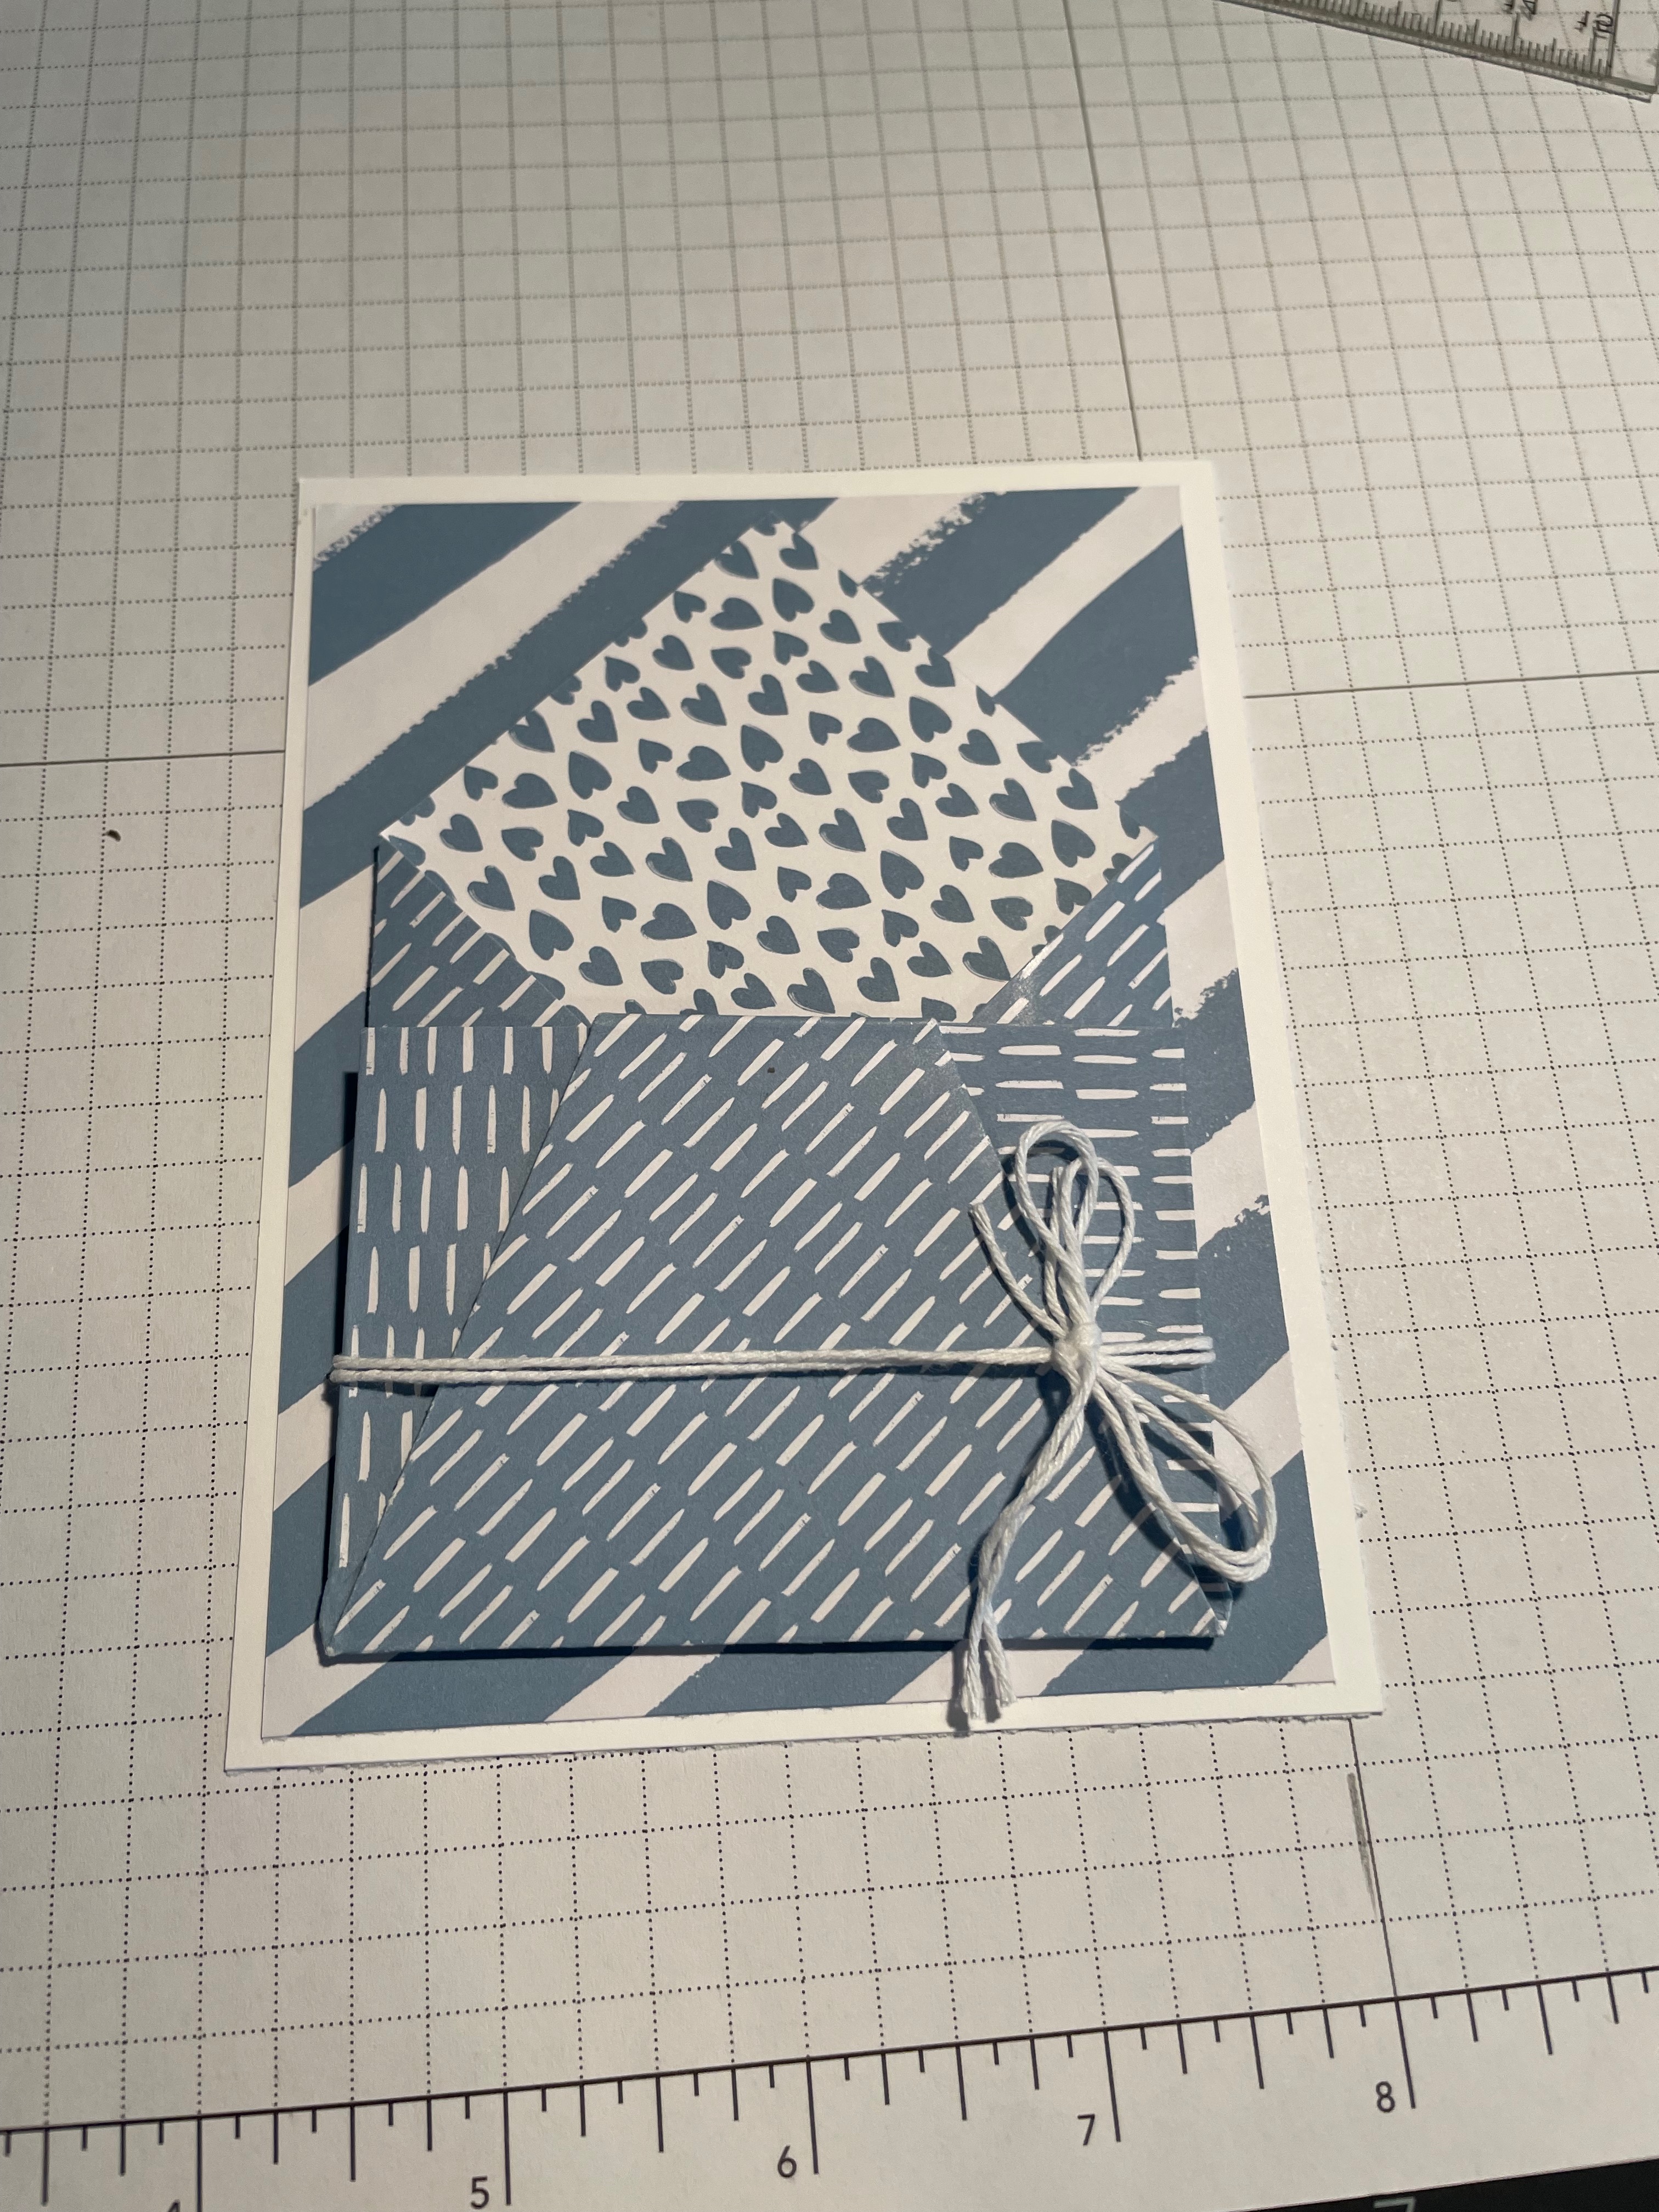
Wrap a double layer of white baker’s twine around the pot and tie a bow in the front. Add dimensional’s to the back and adhere to the front of the card, making sure the dimensional’s don’t touch the twine so you can adjust the twine afterwards if needed.
Now to put it all together.
First of all I cut off the leaf from the large die and coloured it with Soft Seafood which gives it a very light green colour. I didn’t want it white but also didn’t want the green to be a dominant colour. I then coloured the branches with the coordinated In-Color for each card. For the center of the daisies, I used my blender pens and around the edges added some light pumpkin pie before colouring the rest in dark Daffodil Delight. I then curled the leaves of the larges die under and then curled the other petals upwards. You can easily see the bit of embossing on the upper petals.
To assemble. I tucked in the largest die with dimensional’s inside the pot then lightly added some liquid glue around the center of the other petals and added them to the daisy fronts. I love how they pop up when curled. I then adhered the center pieces to the two larger daisies and coloured the center of the smaller daisy.
To finish off my cards, I stamped my greetings in the coordinating ink colour, adjusted the twine and adhered the greeting with dimensional’s
I really like how each card looks and between the card stock, the designer series paper and the ink, it all coordinates beautifully.
I haven’t decided yet but I may add a little bling around the card front but am not sure it is even needed.
The cards are blank inside for now and I will keep it that way until I go to use them. When I do, I will stamp a small daisy and/or add a strip of the coorinating designer series paper to the inside. I have already added some of the designer series paper to the envelope flaps for added pizazz.
Visit my ONLINE STORE at any time, 24/7, to see all the amazing products or to purchase supplies. Before your close your order, don’t forget to add my current Host Code XHQUPCPF. Everyone who places an order with me using the host code, will receive a thank you card & gift in appreciation.
If your order is over $200, DO NOT use the host code as you will earn your own Stampin’ Up! rewards with your order. You will still receive a thank you card and gift from me.
You can place your order directly online. However, if you are not comfortable placing orders online, I will be happy to place an order for you. Please contact me at susanbeale@canadianstamper.ca to discuss.
Product List
")

 Designer Series Paper")


I hope you have enjoyed this post….
- Whenever you need crafting supplies, just CLICK HERE – You’ll be redirected to my Stampin’ Up! shopping page!
- Thank you for using my Current Host code XHQUPCPF when your order is under $200.00. All orders placed with me, will receive a gift from me as a thank you. I appreciate your support.
- Be inspired, CLICK HERE! to see even more crafting projects
- Shop the CLEARANCE RACK with discounts up to 60%
- Contact me to receive my Monthly Newsletter, CLICK HERE

Susan Beale
Independent Stampin’ Up! Demonstrator
Ontario Canada
Email: sjbeale@canadianstamper.com
- Website: https://canadianstamper.com
- Facebook: https:facebook.com/canadianstamper
- Instagram: http://www.instagram.com/canadianstamper


Leave a Reply