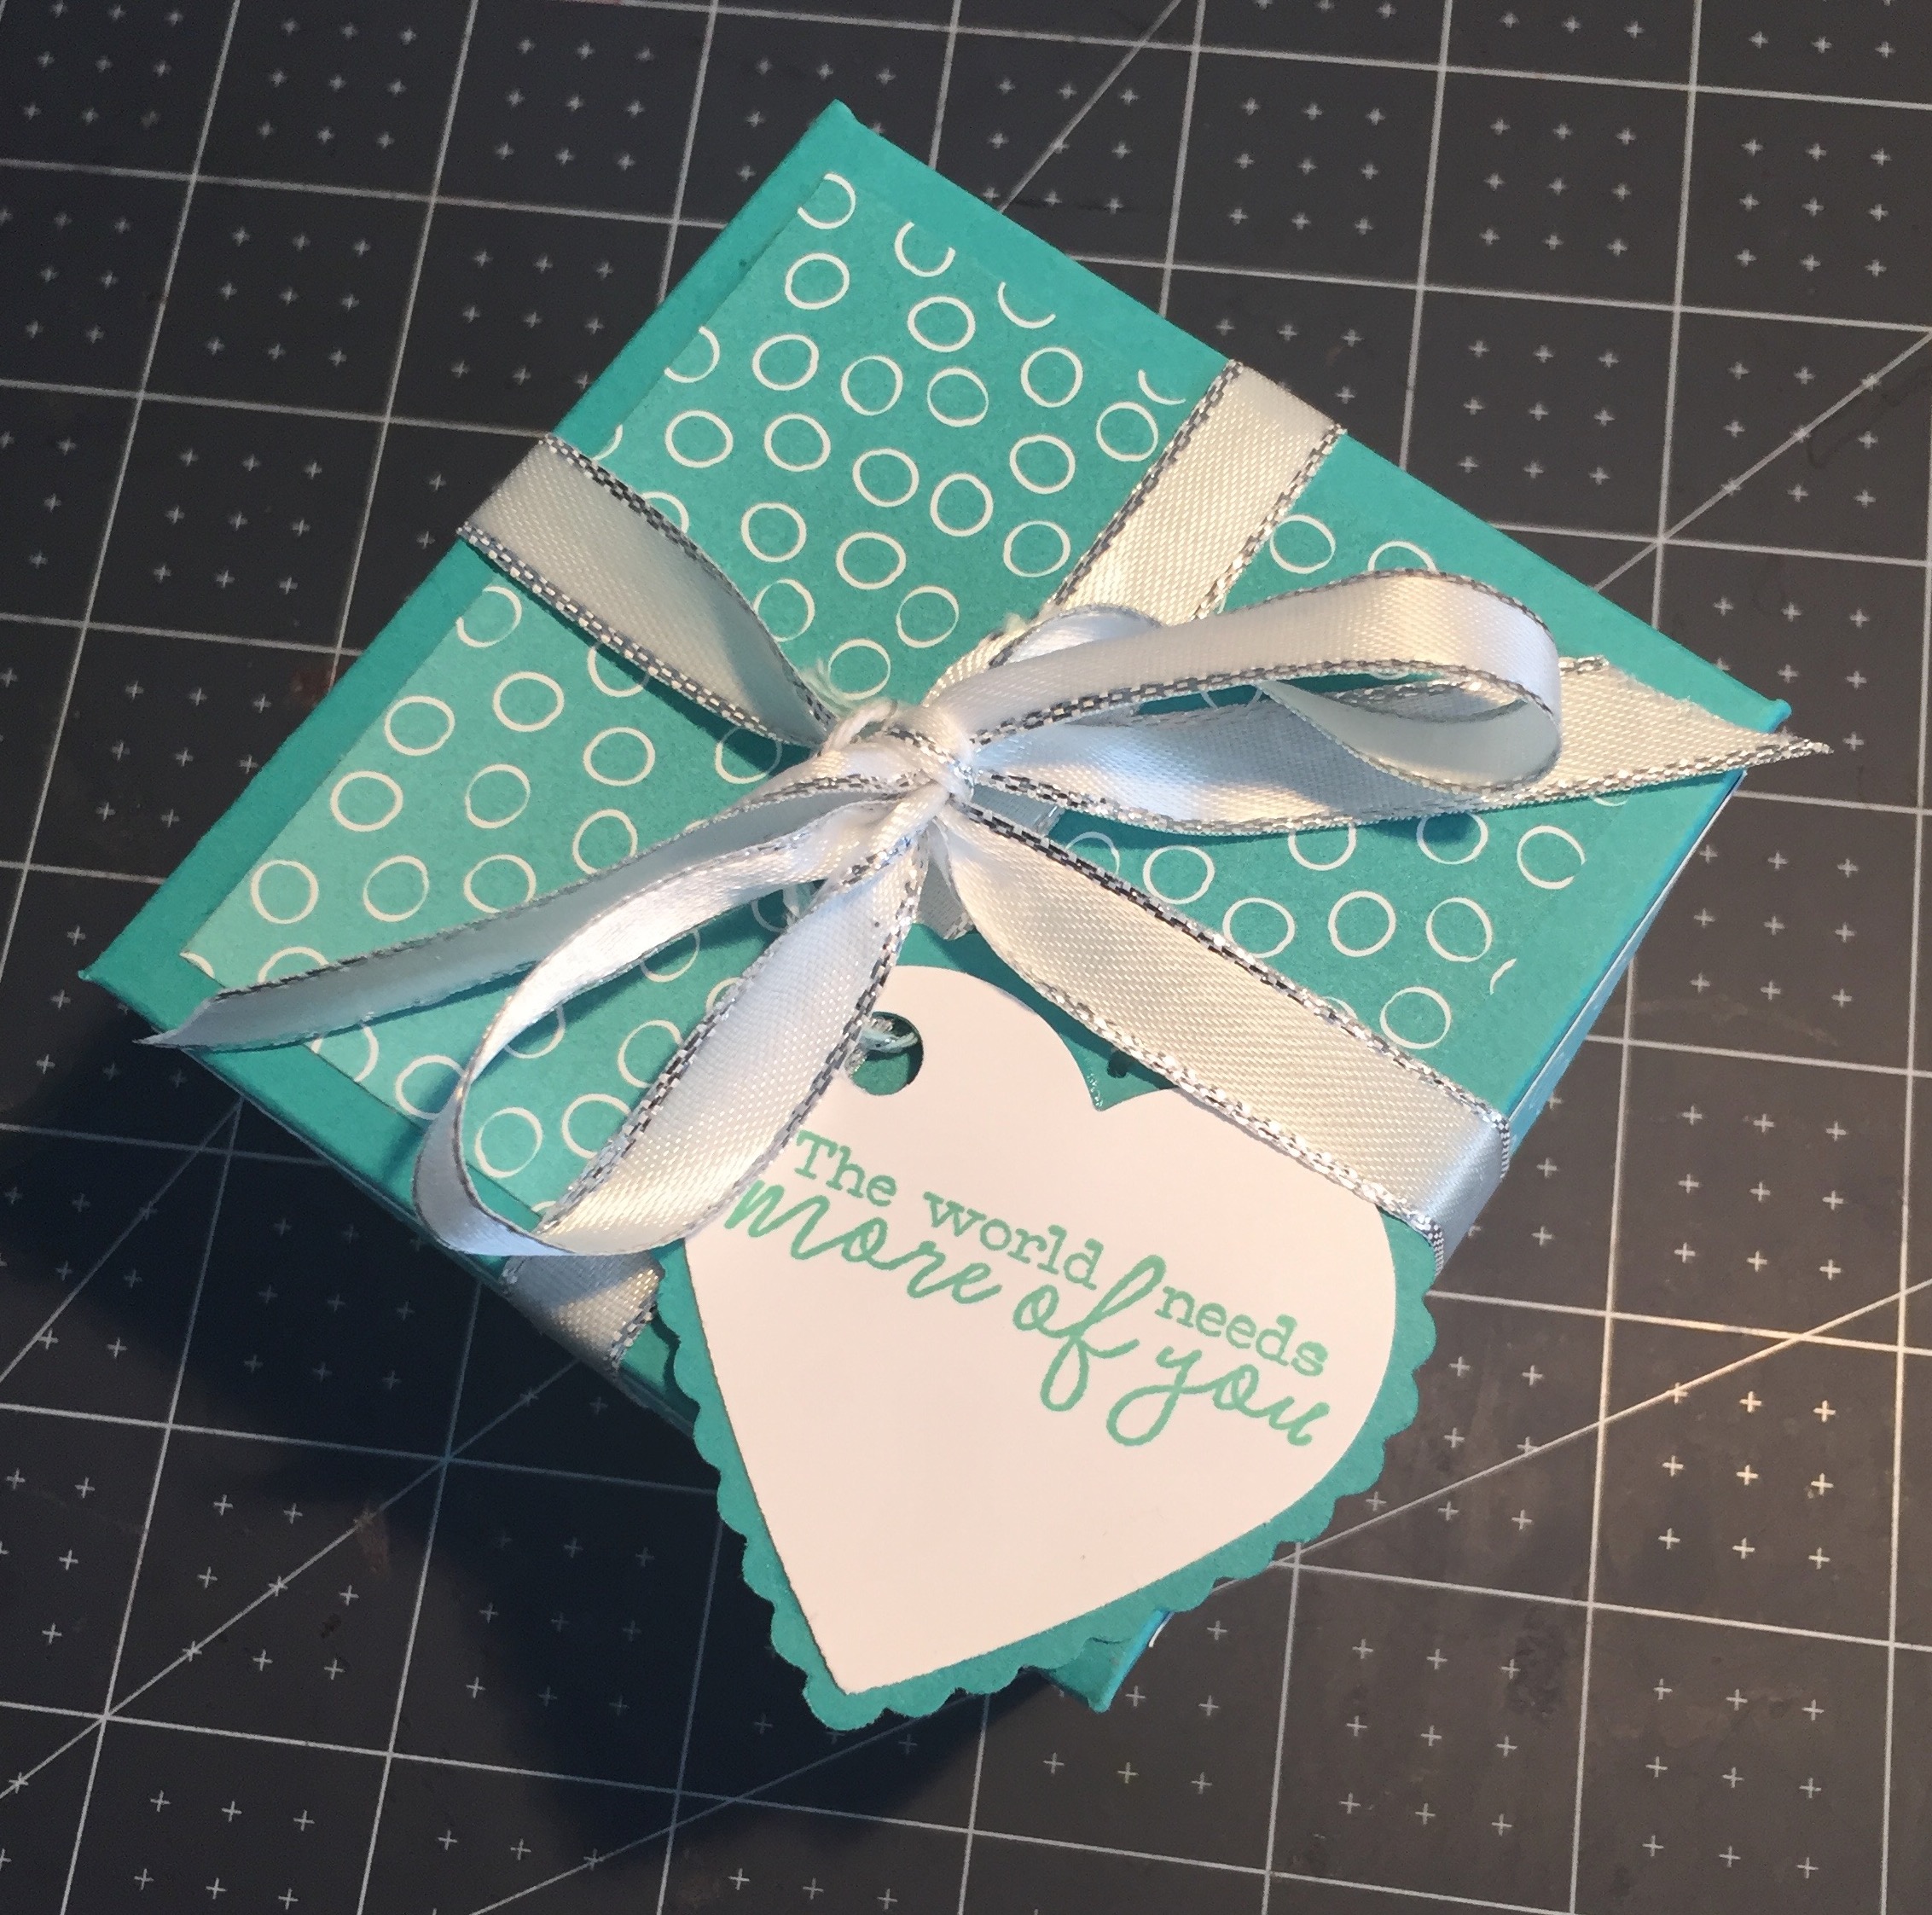
Today I would like to share with you a cute little treat box. When you lift the lid, the sides fold down to expand and you will see four little boxes with a treat in each box. Each box holds a single Ferarro Rocher chocolate. I originally saw this treat box on Pinterest and was inspired by Stamp with Nellie’s design so had to make one up for myself.

Although the treat box looks complicated to make, I was surprised by how easy it was to put together. They take a little time to make up due to all the pieces and the snipping required but I invite you to try it and see for yourself.
I love how this makes a perfect little gift. It’s a great way to show someone you appreciate them. Can you imagine their surprise when they open that box?
To make each little box for the inside;
- For all four boxes, score at 1 1/2″ on all 4 sides and fold and burnish with your bone folder. At opposite ends, cut along the score line from the edge to the first score line. Cut a small wedge to make folding the box easier. Adhere the flaps and fold up the pieces to form your box.
- For the Lids, score all four pieces of DSP at 1/2″ (gently so you don’t rip the paper) and cut and fold the same way you did for the box. Now adhere the flaps and fold up the pieces to form the lid. Place the lids on the boxes and set aside for now.
Your cutting should look like this, then just fold up the flaps and adhere in place.


To make the main box;
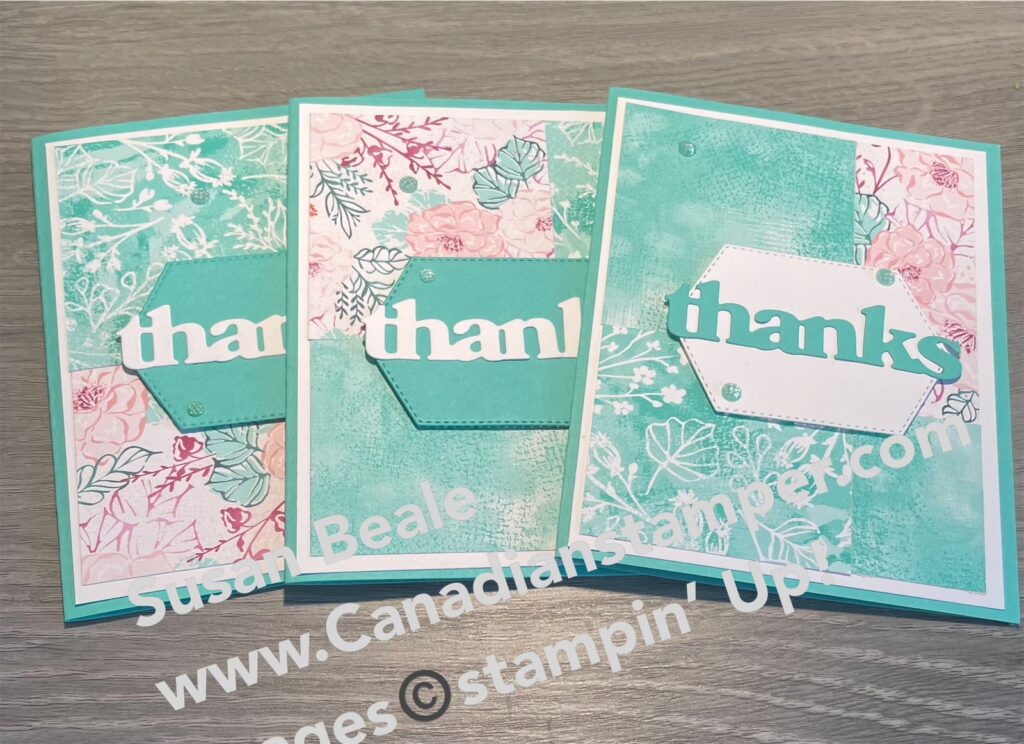
- For the Main box, score your card stock at 2″ on all for sides. Fold and burnish all the score lines. In each corner, cut along the score lines to remove all four corners. Adhere the Designer Series paper to all four sides. For this Box, I used the Oh So Ombre Designer Series paper which I earned free with my purchase during Sale-a-bration. I love this paper and all the colours included.
- For the Main lid, score your card stock at 3/4″ on all for sides. Adhere the Designer Series Paper to the center top and sides of the lid. Cut, fold and adhere the flaps as you did with the small boxes.


To Assemble your box;
- Stamp your sentiment and adhere to the matting. Adhere to the inside center of the box.
- If you decide to add DSP to the inside of the card, do so now. In my example I did not decorate the inside.
- Place (do not adhere yet) each small box/lid on the inside of the main card base along the score line and the edge of the paper, leaving a tiny space for easy folding. Make sure you place each box in the same corner around the card stock, so the box will close properly. Close up the box to ensure it all lines up. Adjust as needed and adhere to the card base.
- Add your treats to each little box and fold it all up, adding the lid to keep the box closed.


Now that your box is complete, wrap your box with a nice ribbon and add a sentiment. In my example I I used the beautiful Silver Metallic Edged Ribbon and punched out a heart and stamped my sentiment on that, tying it to the top of the box.
Supplies required;
- Main Box with lid
- Base:
- Card stock – 7 1/4″ x 7 1/4″
- Designer Series Paper – 3″ x 2 3/4″ for the sides of the outer box
- (Optional: you can also cut DSP to decorate the inside of the box as well)
- Lid:
- Card Stock – 4 7/8″ x 4 7/8″
- Designer Series Paper – 3″ x 3″ for the top
- Designer Series Paper – 3″ x 1/2″ (cut 4) for the sides of the lid
- Inside the box:
- Card stock – 3″ x 3″ (Mat)
- White Cardstock 2 3/4″ x 2 3/4″ (for your sentiment)
- Small Boxes for the treats:
- card stock – 4-1/2″ x 4-1/2″ square (cut 4) for the boxes
- Designer Series Paper – 2-9/16″ x 2-9/16″ (cut 4) for the lids
- Ribbon of your choice, I used the beautiful Silver Metallic Edged Ribbon
- Don’t forget your treats for the inside!

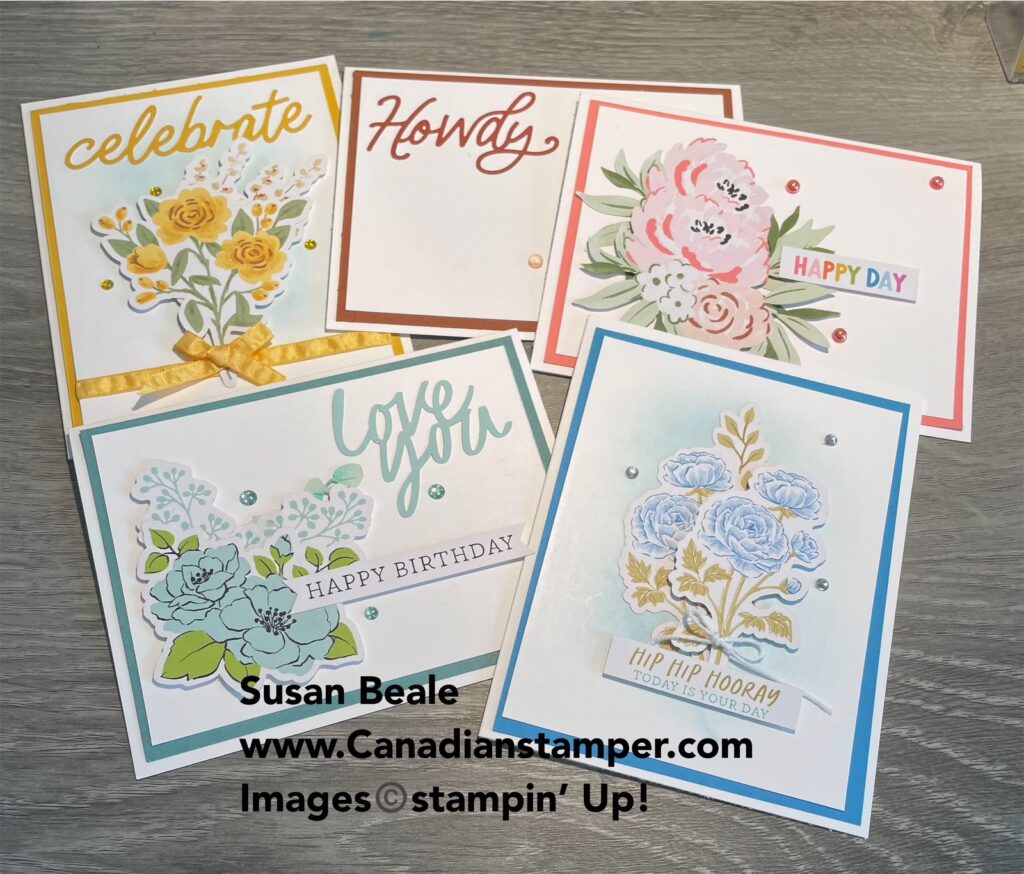
Speaking of Surprises, the March Paper Pumpkin kit, has a few surprises for you . The “Here’s to You” Paper Pumpkin Kit contains enough elements and embellishments to create eight cards and coordinating envelopes. The kit’s exclusive Here’s to You Stamp Set has a sentiment for every celebration! Sign up here before March 10th so you don’t miss out.
With Sale-a-bration ending on Feb 28th, it’s also a great time to purchase a 3 month pre-paid subscription and earn a FREE product from the Sale-a-bration brochure. To receive this great deal, click here to visit my online store.
Details
- Kit contains enough supplies to create 8 cards—4 each of 2 designs—and coordinating envelopes. The kit’s contents include printed card bases, die-cut paper pieces, embellishments, adhesive, and more!
- Card size: 4-1/4″ x 5-1/2″ (10.8 x 14 cm)
- Envelope size: 4-1/2″ x 5-3/4″ (11.4 x 14.6 cm)
- Coordinating colors: Bumblebee, Calypso Coral, Old Olive, Petal Pink, Pretty Peacock, Seaside Spray
- Bonus:
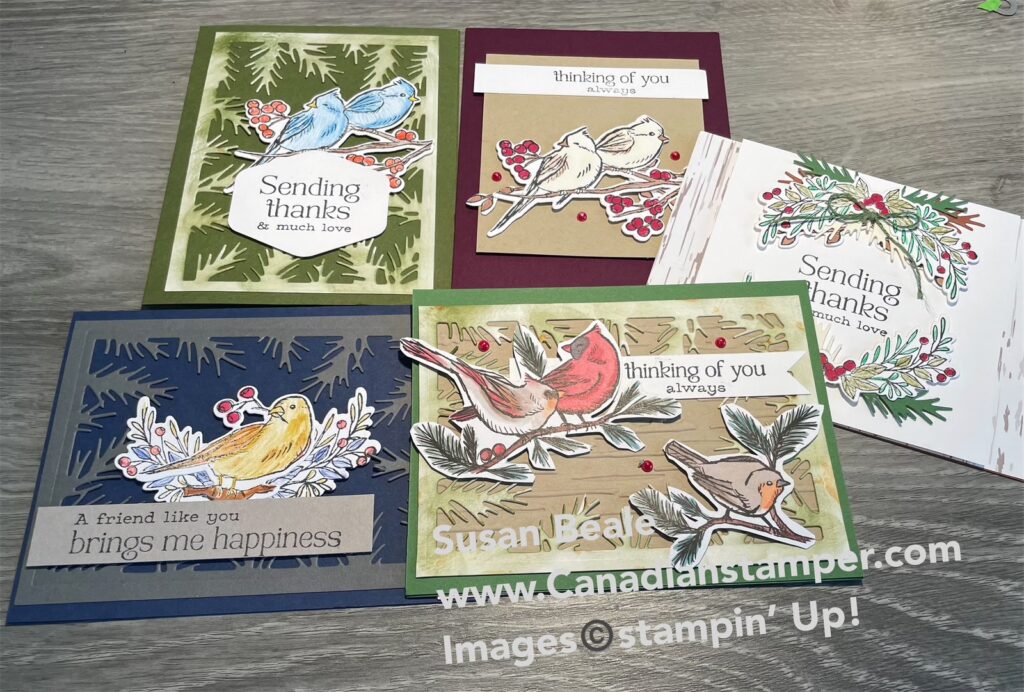
- Includes four free stencils and a stamping sponge to make some beautiful backgrounds .
I hope you have enjoyed this post, please like and follow my blog to see future posts. As always, I welcome your feedback so please leave a comment or a picture of the treat box you made up.
Would you like to be added to my email newsletter? please provide your contact information here
Have a wonderful day
