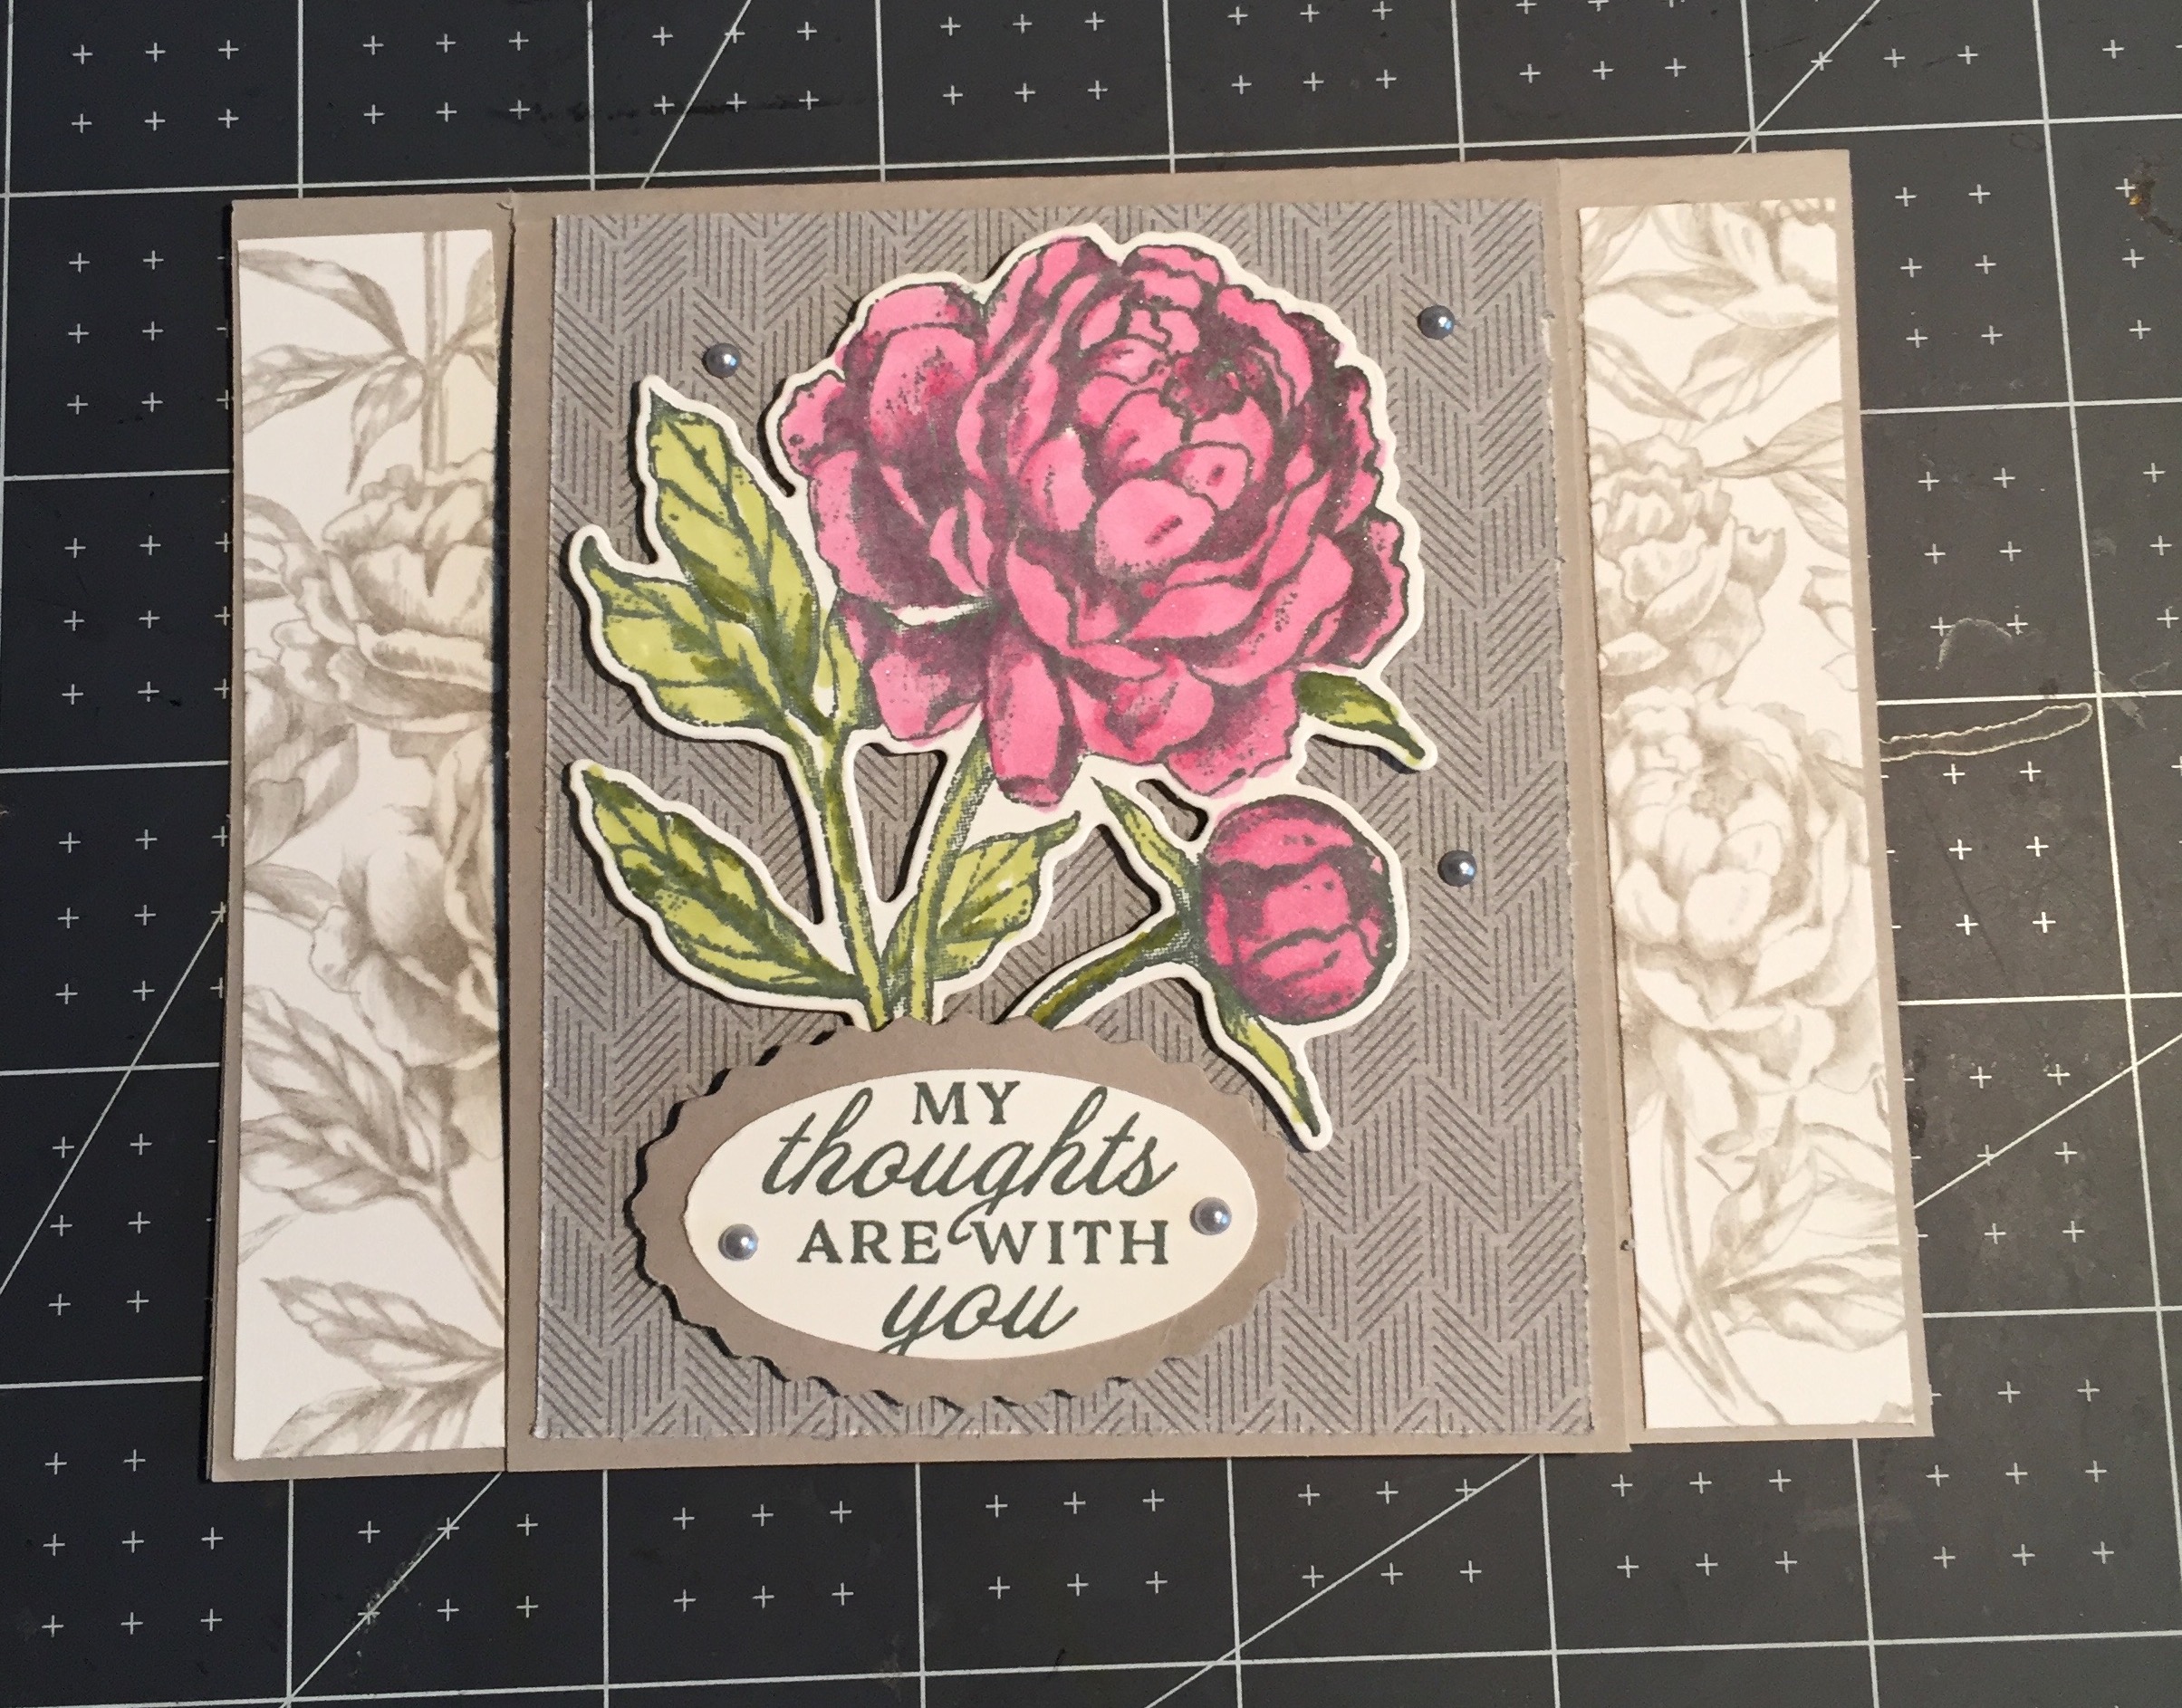
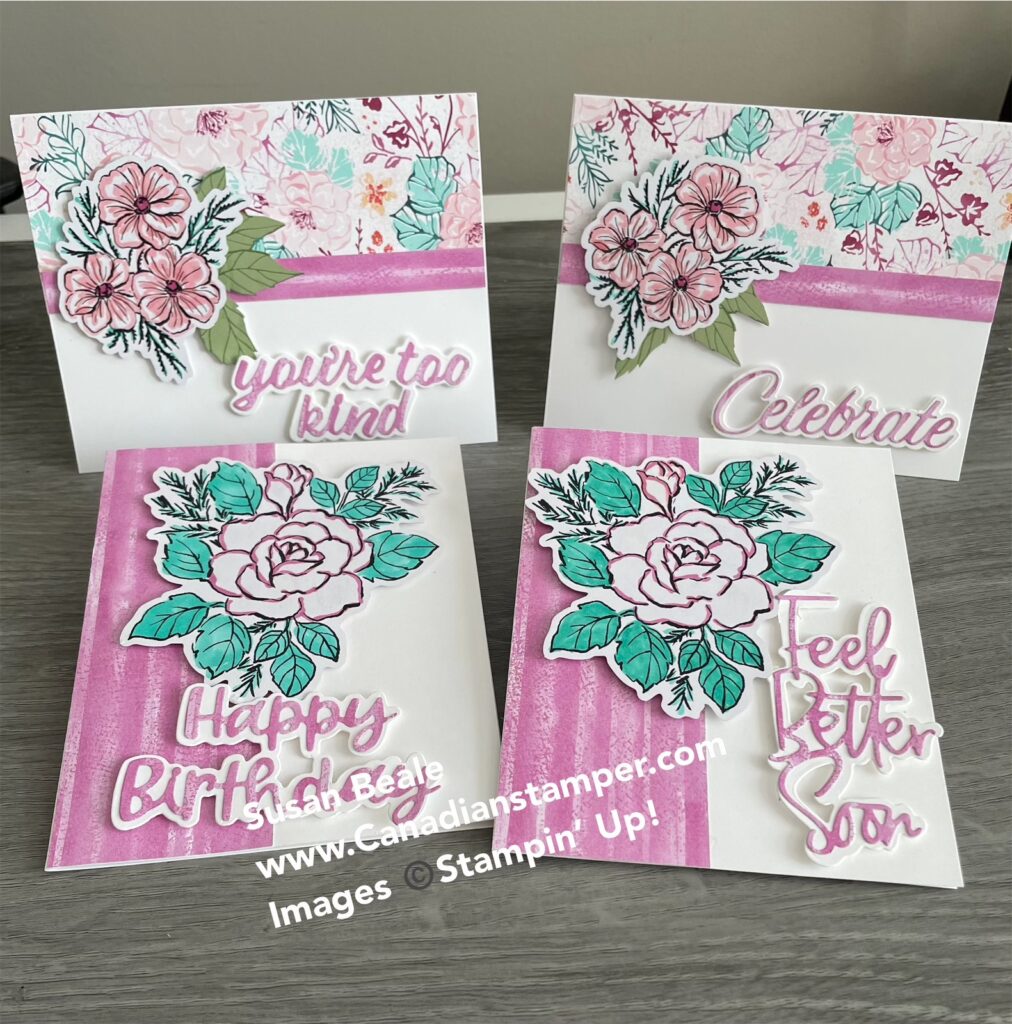
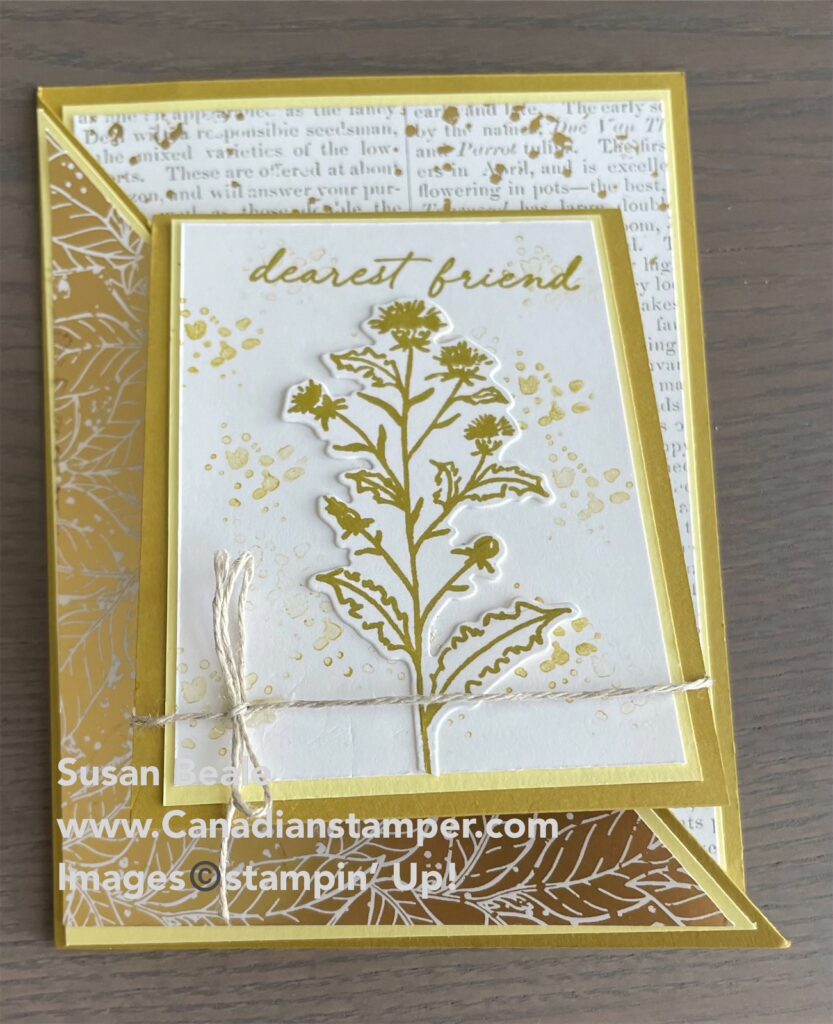
Today I would like to show you a quick and easy way to make a card that stands out without a lot of work. This card also showcases the beautiful double sided paper which make making this card even easier. I used one side of the paper for the panels and the other side of the paper for the middle portion since the pattern wasn’t quite as busy and I wanted the Flower to stand out. I chose to make this a sympathy card because you never know when you will need one but this would also make a lovely Birthday or Mother’s Day card as well.
To make this card

Take your card base and score at 4 1/4″ then fold in half and crease with your bone folder to give it a nice crisp fold line.
Place your card base in your paper trimmer and cut 1″ from the edge to the paper up to the score line. Do this on both sides of the card front.
It should look like this.

Adhere the two DSP panels to the two side panels on the card front. Now add adhesive to the back of the panels and fold the panels down as if you were closing the card.
Now only the middle piece will open.
Take your Basic White card stock and stamp your sentiment then adhere to the inside of the card. I always recommend completing the stamping before adhering the paper in case something doesn’t turn out just right, you can then redo it before adhering it.
Close your card and adhere the opposite side of the DSP to the front of the card and set aside for now.
Option: You could use the same pattern on the card front, but I wanted that contrast to highlight the patterned panels so I chose not to.
On the other piece of white card stock, stamp your flowered image then colour it however you wish to. I chose to colour my flower with the Rococo Rose (retiring May 3) and Old Olive Blender Pens. I then die cut it out using the coordinating die for that flower. Dies makes it so much easier than trying to fussy cut the flower, but that is also an option if you don’t have the dies.
TIP: If you want to minimize the white edging around your cut out image, just lightly sponge a neutral colour, such as a light gray or crumb cake, along the white portion. You won’t even see it on your finished card but it will minimize how the white shows up on your card. Although I didn’t do it on this card, I have done it on other cards with a darker background and you really don’t notice it.
Stamp you sentiment and punch it out using the Dual Ovals Punch. Punch out that large scalloped oval from the punch with scrap Basic Gray card stock to create the mat. Adhere the sentiment to the scalloped mat oval. Add your dimmensionals to the back of the flower and the sentiment, then position on the card front middle portion and press down gently.

This is the inside of the card.
Supplies used
- Basic Gray Card Stock
- 8 1/2″ x 5 1/2″ – Card Base
- 2 1/2″ x 2″ – for the sentiment Mat
- Basic White Card stock
- 3 1/4″ x 4″ – Inside card
- 3″ x 4″ – for the flower
- 2 1/2″ x 2″ for the Sentiment
- Peony Garden Designer Series Paper
- 4″ x 7/8″ – side front panels (Cut 2)
- 4″ x 3 1.4″ – Middle Panel
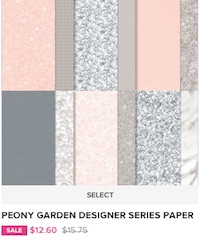
I loved the Prized Peony stamp set and dies. Did you know that the dies can create a 3D flower as well as just cutting out your images? I am thrilled that they will be in the new annual catalogue for another year. Sadly the coordinating Designer Series Paper will be retiring to make room for other lovely patterned paper packages which you can buy on sale until May 3rd or while supplies last and they are selling out fast. To visit my online store, click here


If you need any stamping supplies and live in Canada, I would love to be your Demonstrator. You can click here to go directly to my online store or you can drop me an email if you have any questions.
My current host code for April is 69DMREB2. Use this host code for any orders up to $200.00 and you will automatically be entered into my monthly draw for a free gift. If your order is over $200.00, you don’t have to add the code and you will still be entered into the monthly draw.
I hope you have enjoyed this post, please like and follow my blog to see future posts. As always, I welcome your feedback so please leave a comment. I invite you to try your hand at making this card and I would love to see a picture of your creation.
Would you like to be added to my email newsletter? please provide your contact information here
