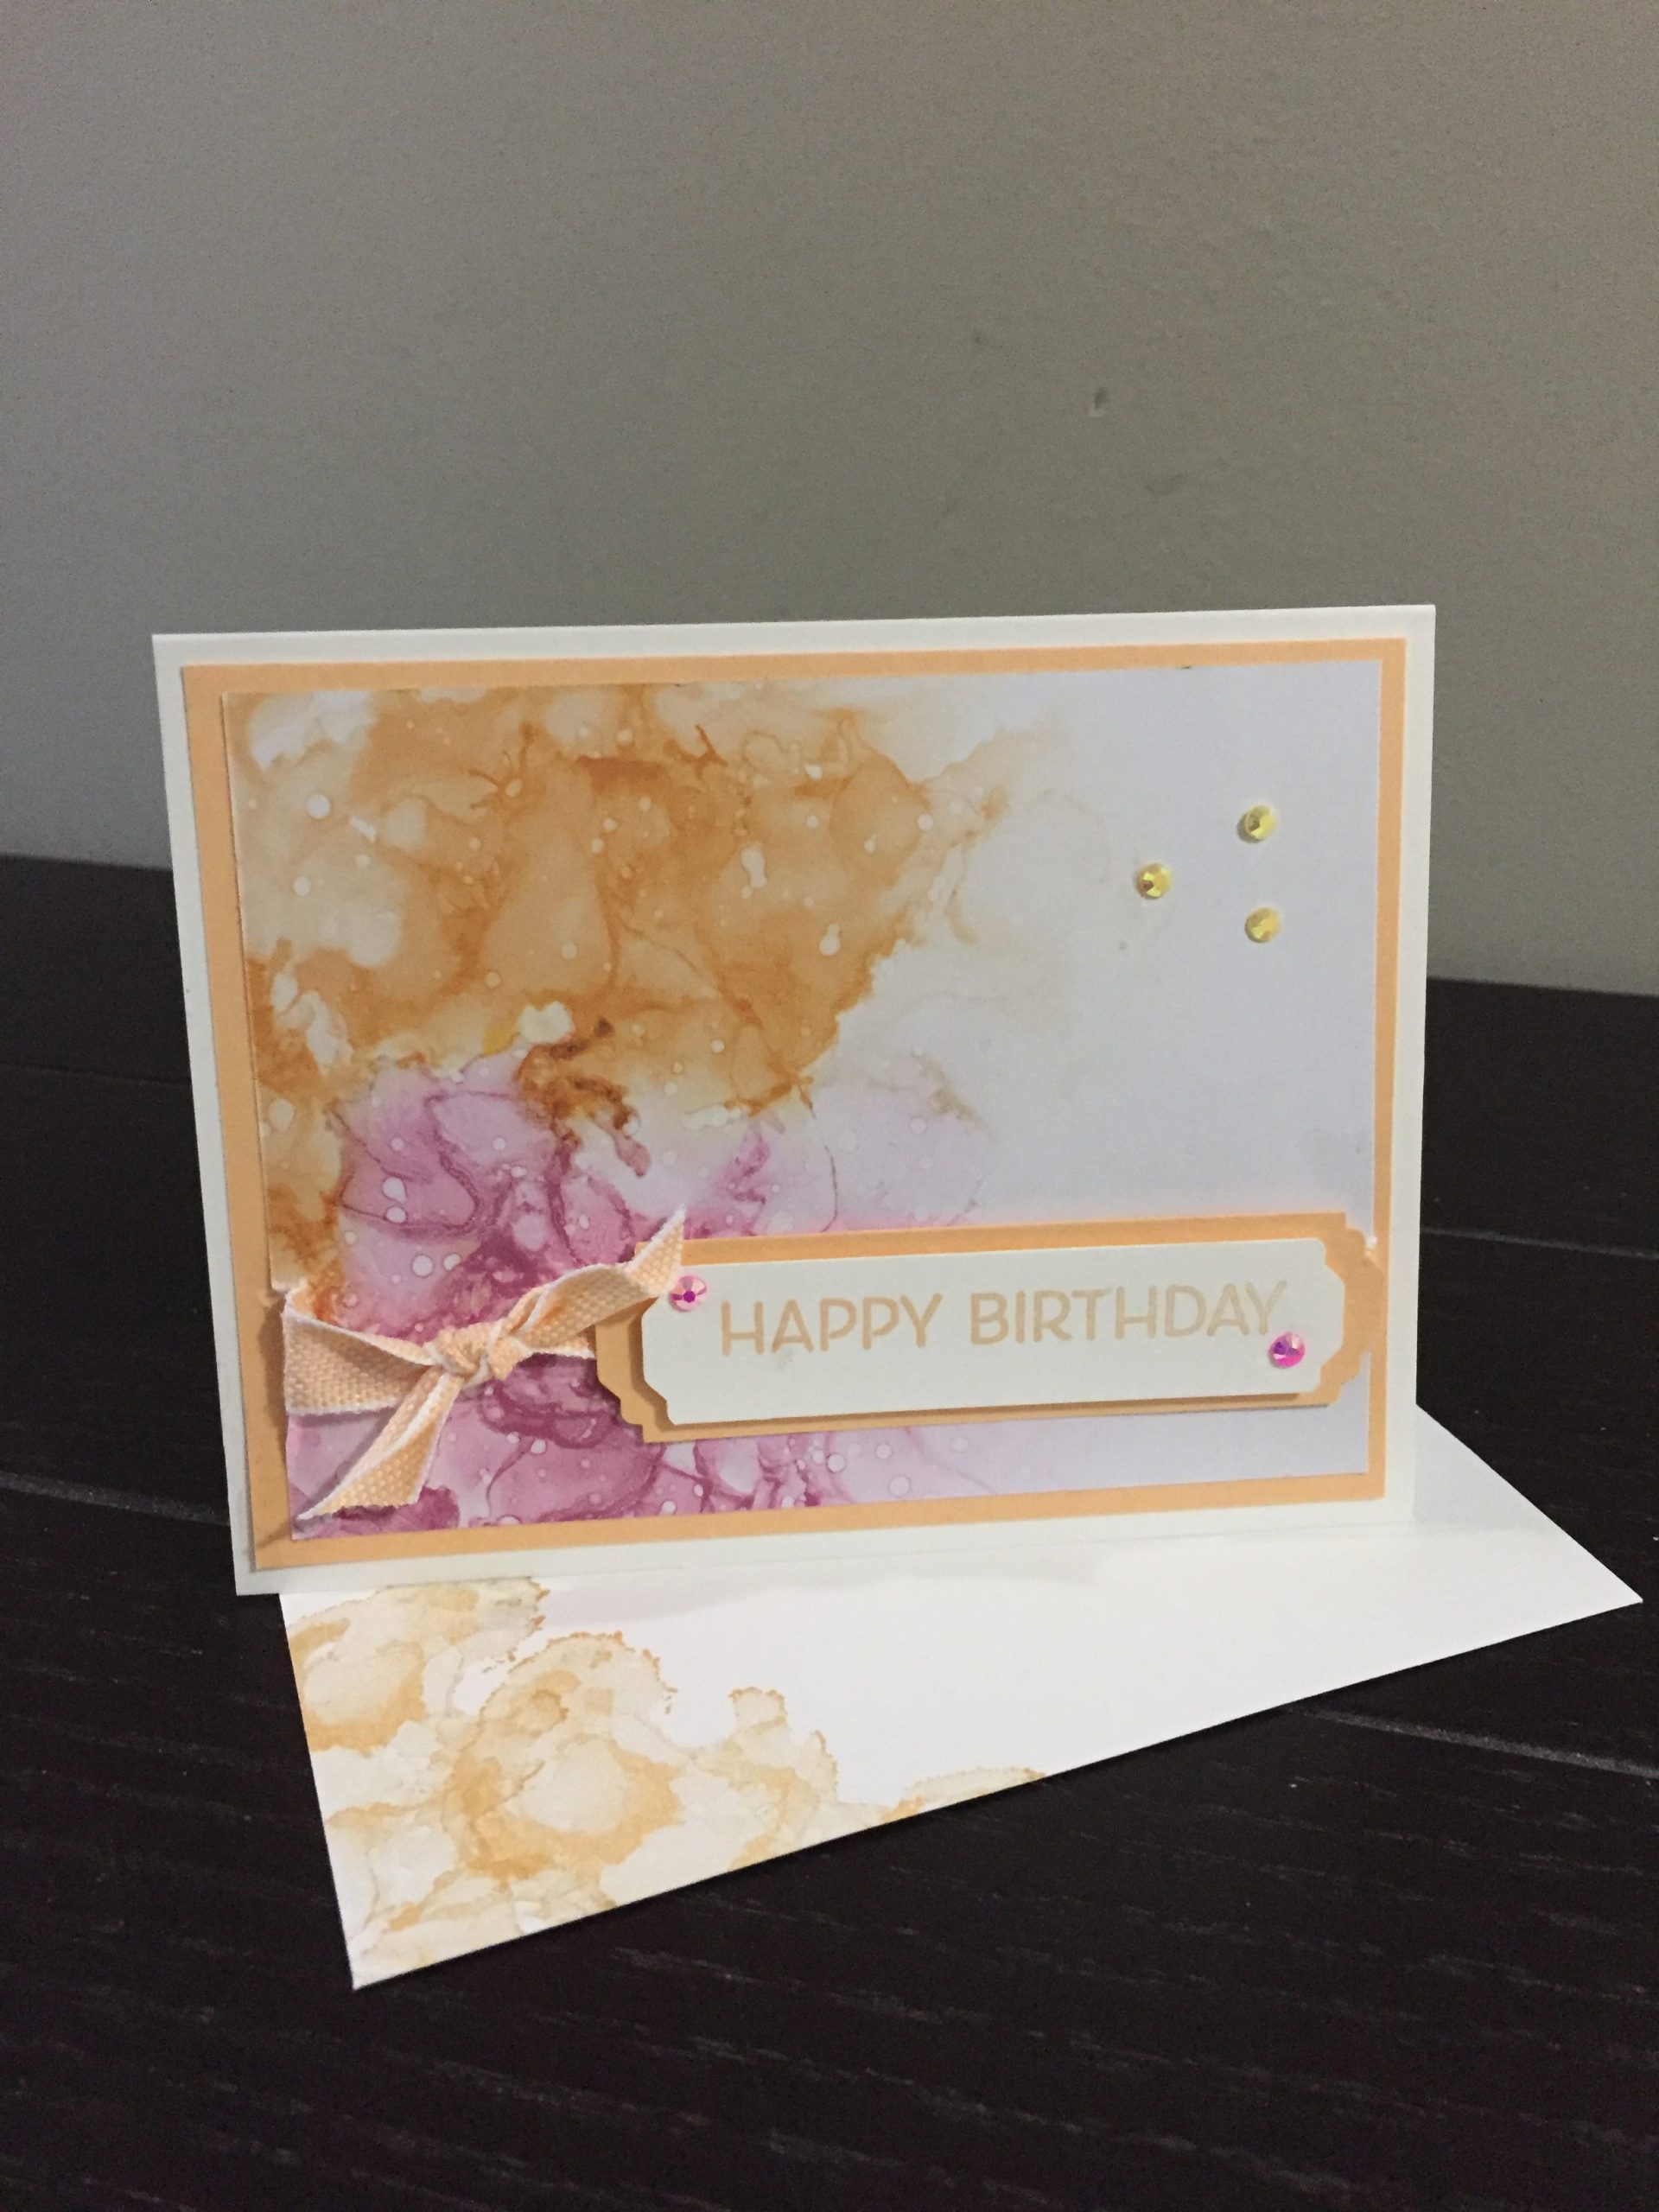
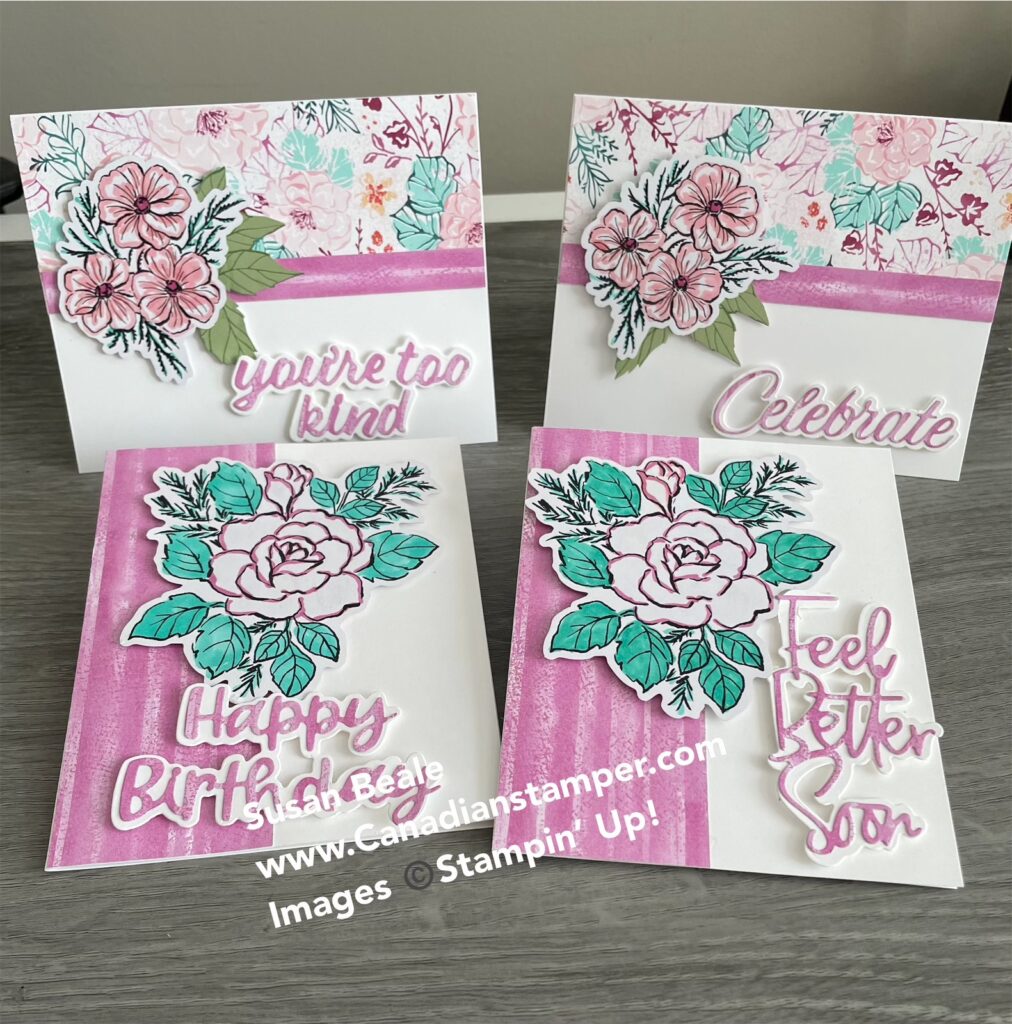
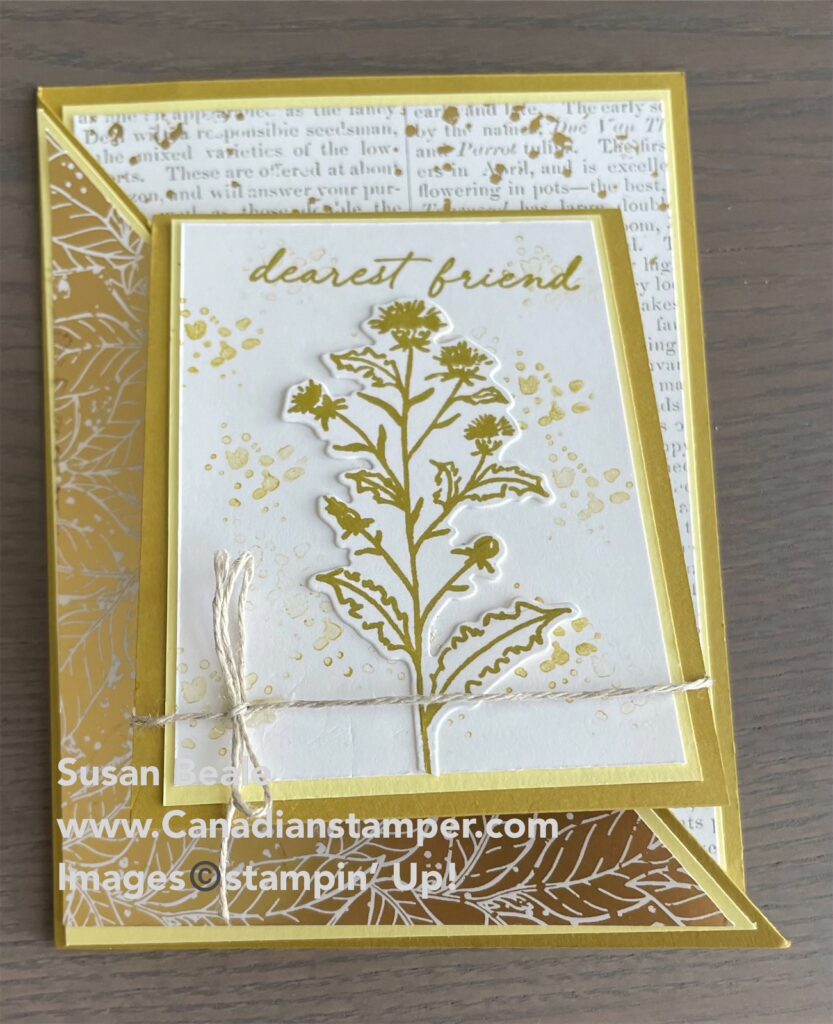
Today I wanted to show you how you can turn some Designer Series Paper into a beautiful card without using a lot of extra’s. This is a great way for beginners to get their feet wet with crafting without the intimidation of trying to put together all sorts of “extras” you may not have in your stash.
Although you cannot really see it in the picture, the exquisite Expressions in Ink Specialty Designer Series Paper package includes florals and gold foiling and is a great choice for wedding projects, springtime, love, and more. Each package includes 12 sheets of patterned paper: 2 each of 6 double-sided designs for just $20.00.
To view this paper online and really see the beauty in detail, click here. When placing orders, be sure to use my June host code QAJVWCSS so you will be automatically entered into my monthly draw. If your order is over $200.00, don’t use the code but you will still be entered into my monthly draw.

As you can see, there are all sorts of colour combinations that will work beautifully with all the coordinating colours below;
Evening Evergreen, Just Jade, Magenta Madness, Mint Macaron, Pale Papaya, Pear Pizzazz, Polished Pink, Shaded Spruce, and gold
For todays’s card I am going to use the DSP on the left below. It doesn’t look like much right? Just wait! The right picture below shows the other side of the paper. You can see the gold flowing through the paper on the right and it’s stunning. Before starting my card, I cut this paper in half then cut each piece at 4″ so each piece is 4″ x 6″. I then trimmed one piece of DSP down to 3 3/4″ x 5″, for my card front, cutting away as little of the pattern as possible.


To Make this card

Score the card base at 4 1/4″ along the long side and fold the card base in half, creasing it with your bone folder.
Turn your card so this becomes a landscape card. Now, position the Pale Papaya ribbon about 1″ from the bottom of the DSP and wrap the ends around to the back and glue. Adhere the DSP to the Pale Papaya card stock then attach to your card front. Take a small piece of ribbon and slip it under the ribbon and tie a knot
I used the Lovely Labels punch (below) to create my labels for the front of the card. However if you don’t have this punch (add it to your wish list) just use the rectangle strips for your sentiment label, trimming down to fit your card front. If you have another label, you could use that as well.

I stamped the “Happy Birthday” sentiment from the Artisically Inked Stamp set onto to the white strip and set aside. Line up the Pale Papaya strip into the Lovely Labels Punch to trim the edges. I usually cut a larger length than I need and trim down several times.
Do the same with the white strip, keep “punching” each end until you are happy with the length of each piece.
Once you are happy with the both pieces, add dimensional’s to the back of the white strip and attach to the Pale Papaya strip. Attach the Pale Papaya strip to the the card front without dimensional’s so it lies flat over the ribbon.
TIP: As you can see, this punch offers two styles of trim and 3 different widths. You get two designs in three widths–1″, 3/4″ and 1/2″. Just cut a strip of paper to the desired width (any length), then slide it in, punch, and get a perfect label.
For the inside of the card, I stamped my sentiment from the Happiest of Birthdays stamp set and I also stamped a similar painted image to the inside of the card and the envelope. It’s just one of the lovely stamps from the Artisically Inked stamp set and you can see how it sort of mirrors with the DSP. To finish my card, I added some In-Color Jewels 2021-2023 to both the card front and the sentiment label.


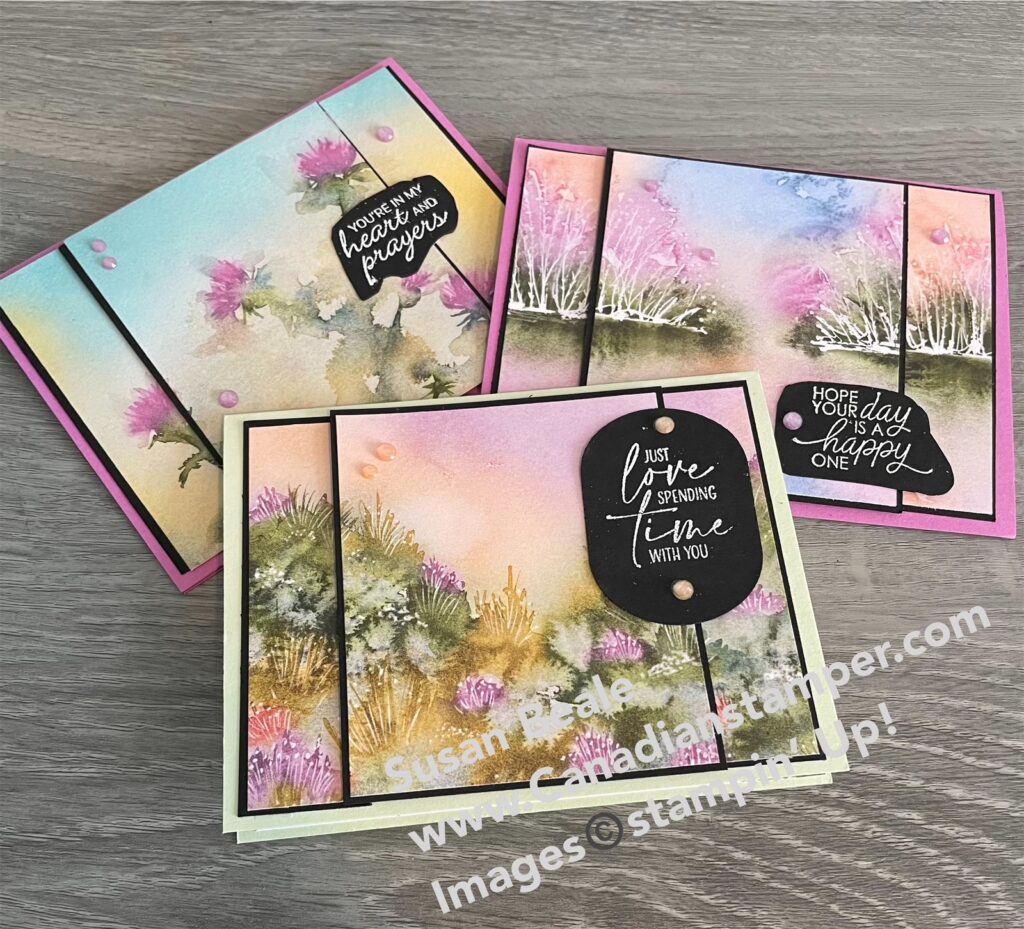
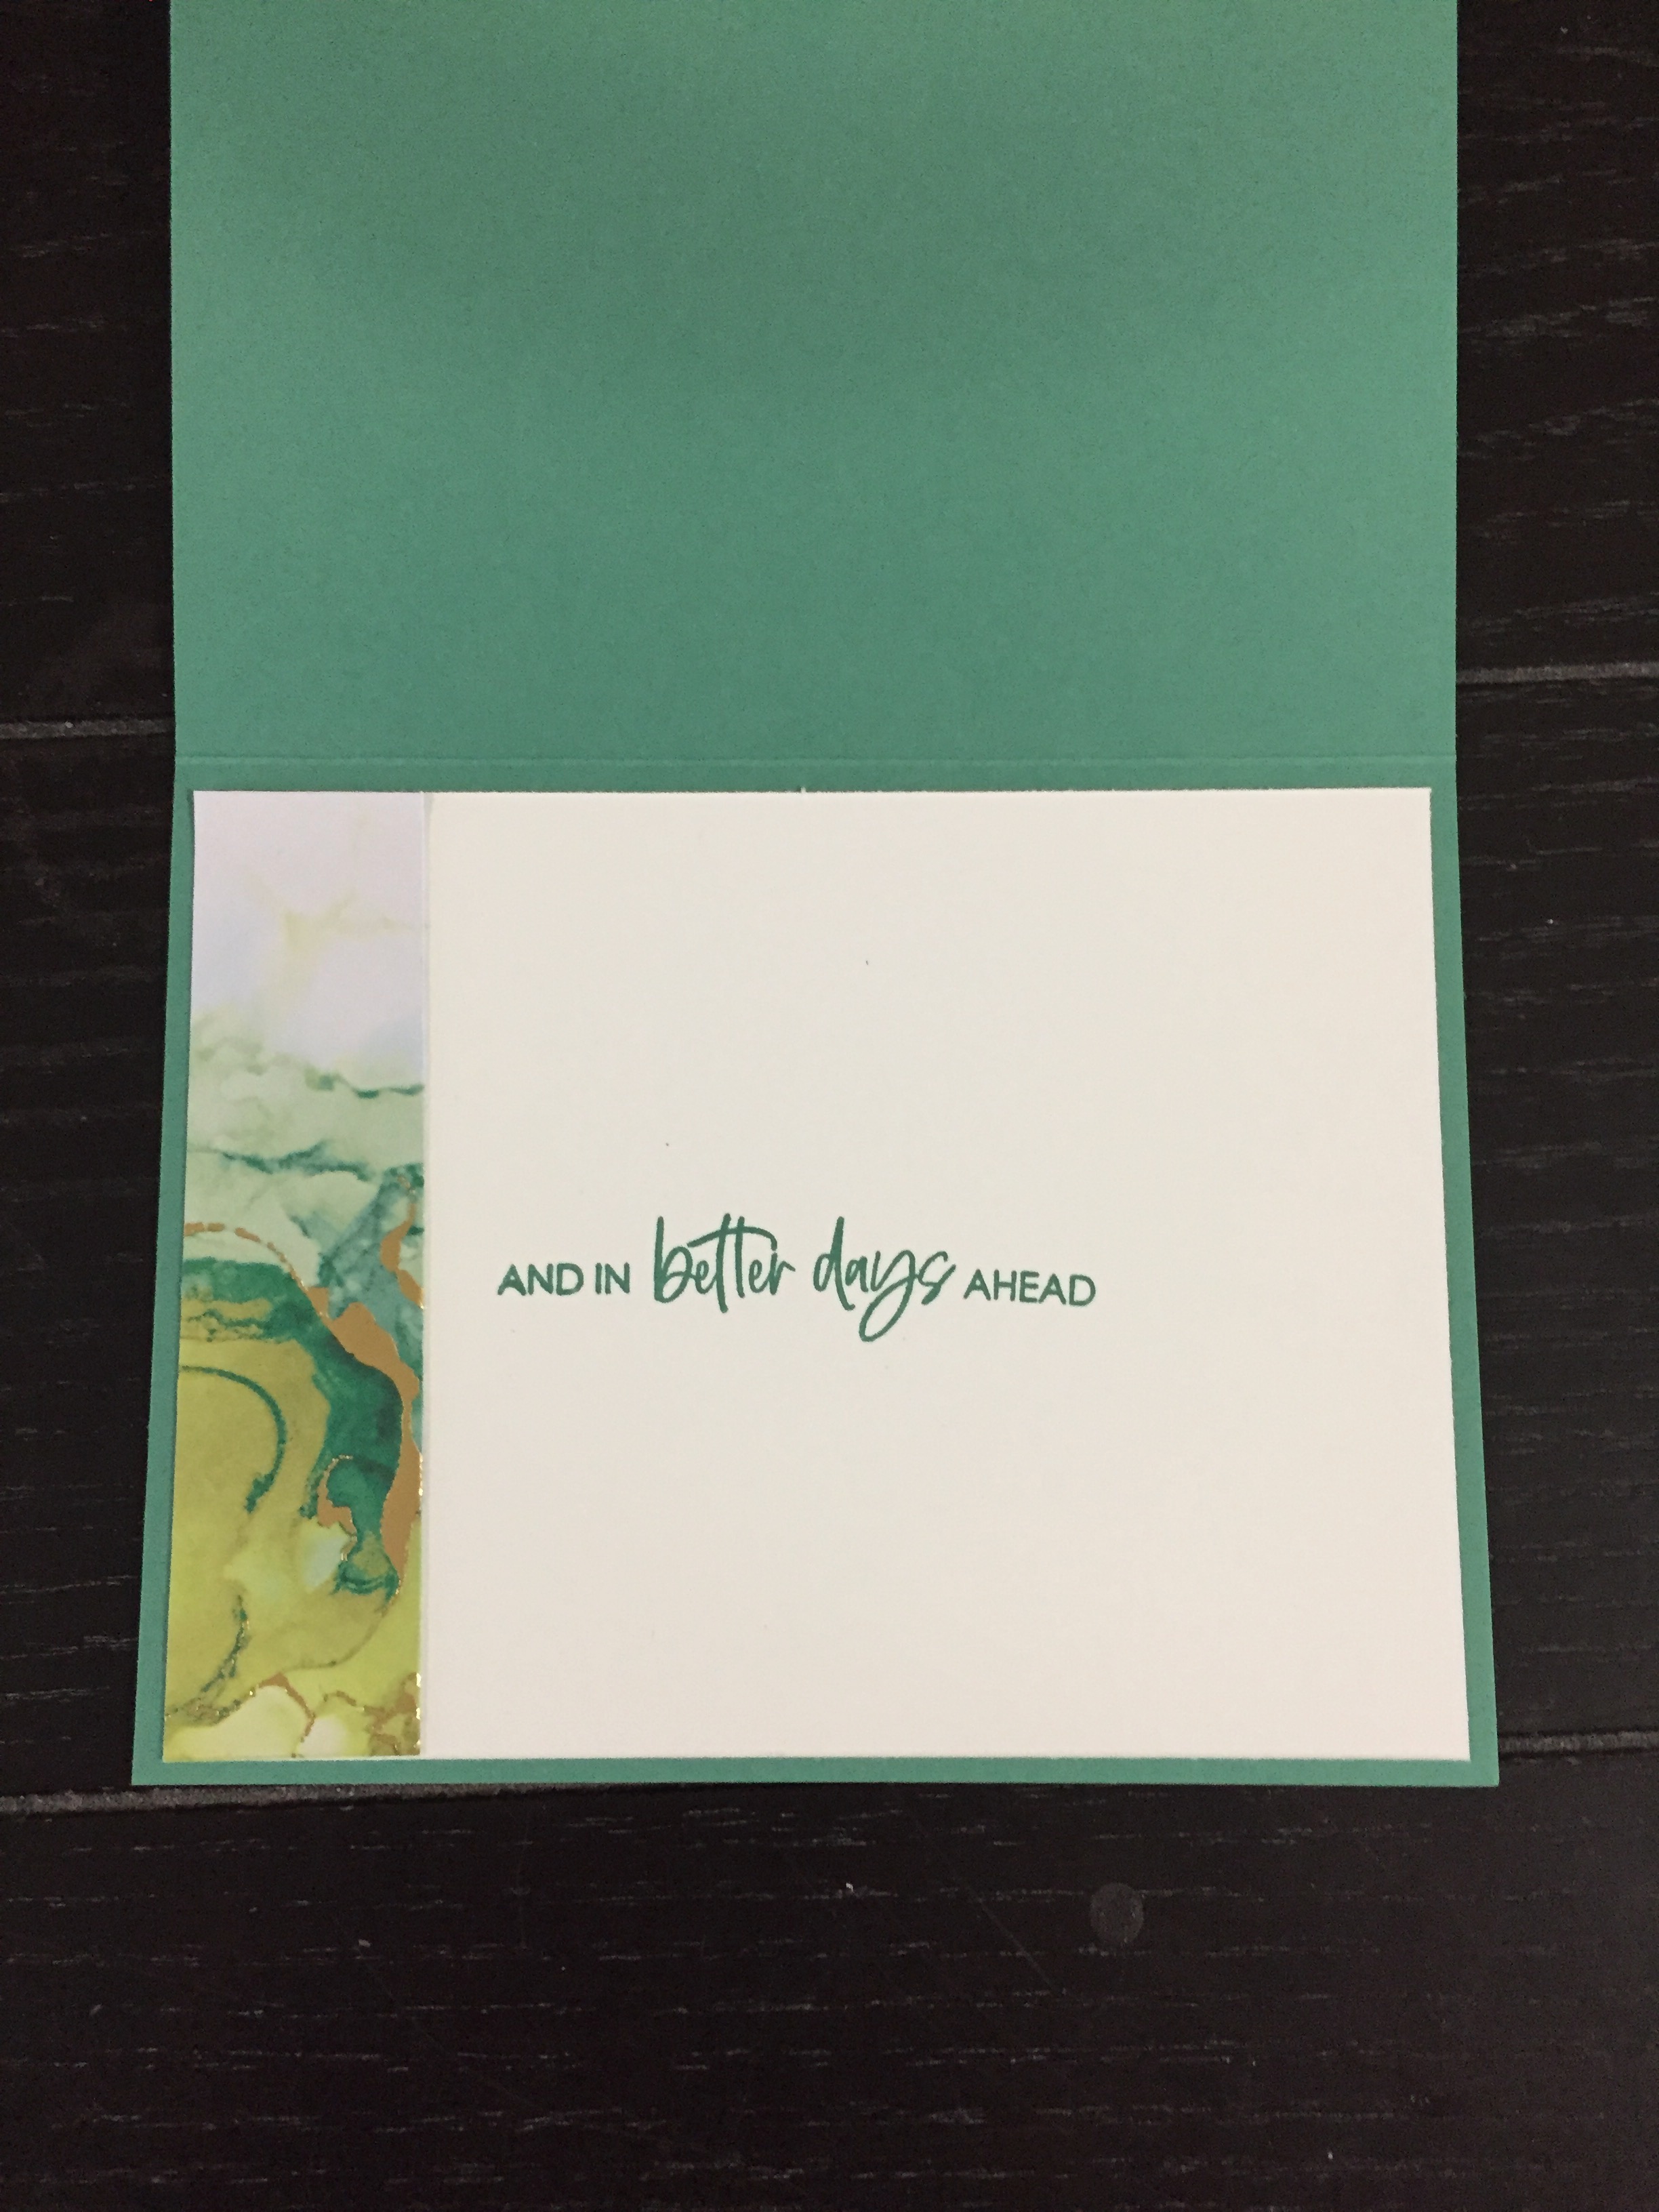
This card below was made exactly the same way. The gold mat around the DSP perfectly matches up with the gold foiling in the DSP. The stamp set used for this card was Color & Contour. I think this card would be perfect as a sympathy card or for anyone who is going through a tough time. I used the colours “Just Jade” for both the card base and the stamped sentiment and the gilded Gems for a little bling. I also stamped the envelope with the same painted image.

Supplies used
- Basic White card stock (#159276)
- 8 1/2″ x 5 1/2″
- 3/4″ x 4″ strip
- Pale Papaya card stock (#155668)
- 4″ x 5 1/4″
- 1″ x 4″ strip
- Expressions in Ink Designer Series Paper (#155464)
- 3 3/4″ x 5″
- Pale Papaya & White 1/2″ ribbon (#155816)
- 6″ in length
- Ink Pad – Pale Papaya (#155670)
- Stamp Set – Artisically Inked (#155542) – Sentiment
- Stamp Set – Happiest of Birthdays (#152539) – Inside Sentiment
- Lovely Labels Punch (#152883)
- In Color Jewels 2021-2023 – (#155571)

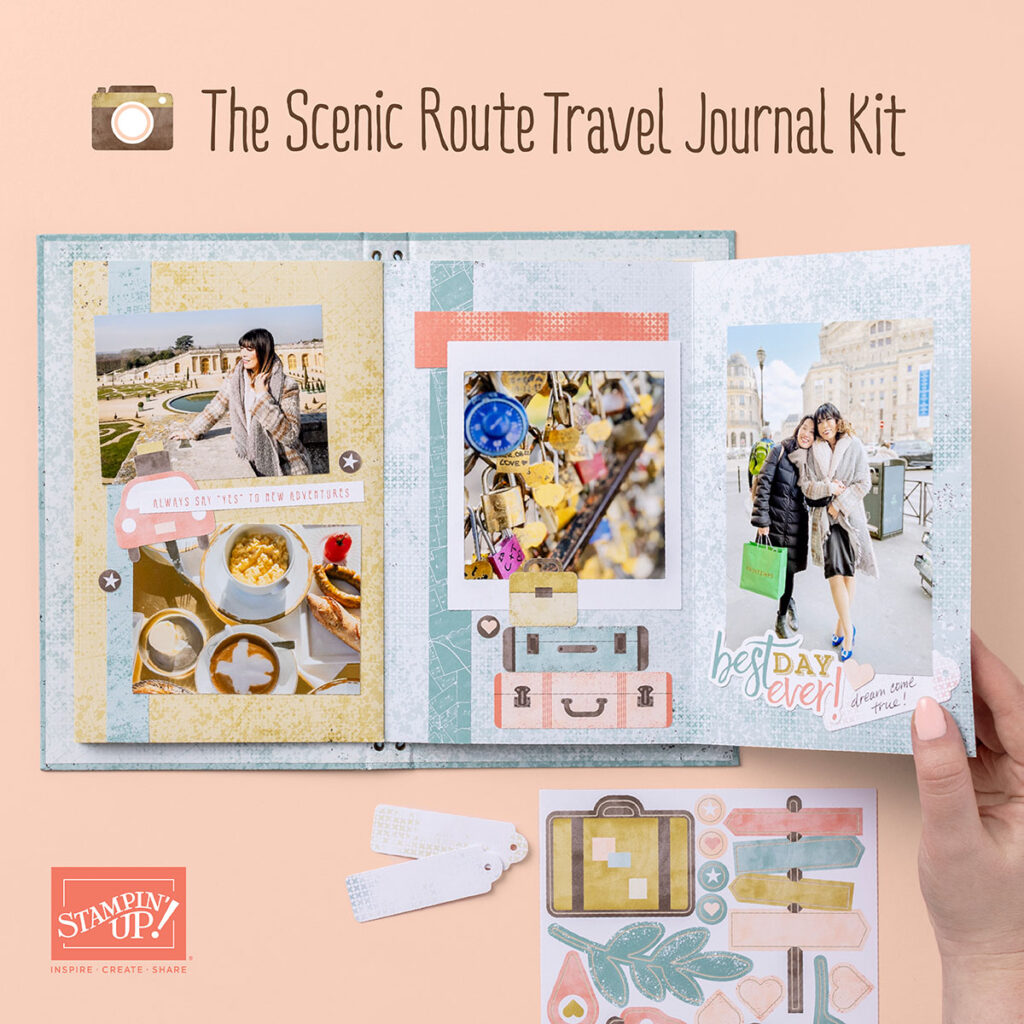
Have you had a chance to check out the new annual catalogue for the 2021-2022 season? Did you notice what is missing from this year’s catalogue? I am talking about card kits, they are not in the catalogue this year. Starting today, June 1st, the Kits Collection By Stampin’ Up! begins
Yes, that’s right, a whole host of kits for all types of crafters. Whether you are new to crafting or an avid crafter, there is something for everyone.
Each kit will provide step-by-step instructions, giving you an expertly choreographed experience that encourages success and builds creative confidence. Kits are all-inclusive, precut, and ready to use; plus, new kits will be added regularly so be sure to check back often!
There is a dedicated section on my Stampin’ Up! Shop that will be just for kits. These Kits will only be available while supplies last so if you see it, grab it while it’s available. When they sell out, they are gone. However, new kits will be added throughout the year so there will always be something new to check out
I love this concept, they’re inexpensive, great for crafting-on-the-go and a great way to introduce new people to the wonderful world of paper craft and we all love paper crafting right?
To check out all the kits available, click here to visit my online store. When placing orders, be sure to use my June host code QAJVWCSS so you will be automatically entered into my monthly draw. If your order is over $200.00, don’t use the code but you will still be entered into my monthly draw.
I hope you have enjoyed this post, please like and follow my blog to see future posts. As always, I welcome your feedback and so please leave a comment. I invite you to try your hand at making this card and I would love to see a picture of your creation.
Would you like to be added to my email newsletter? please provide your contact information here
