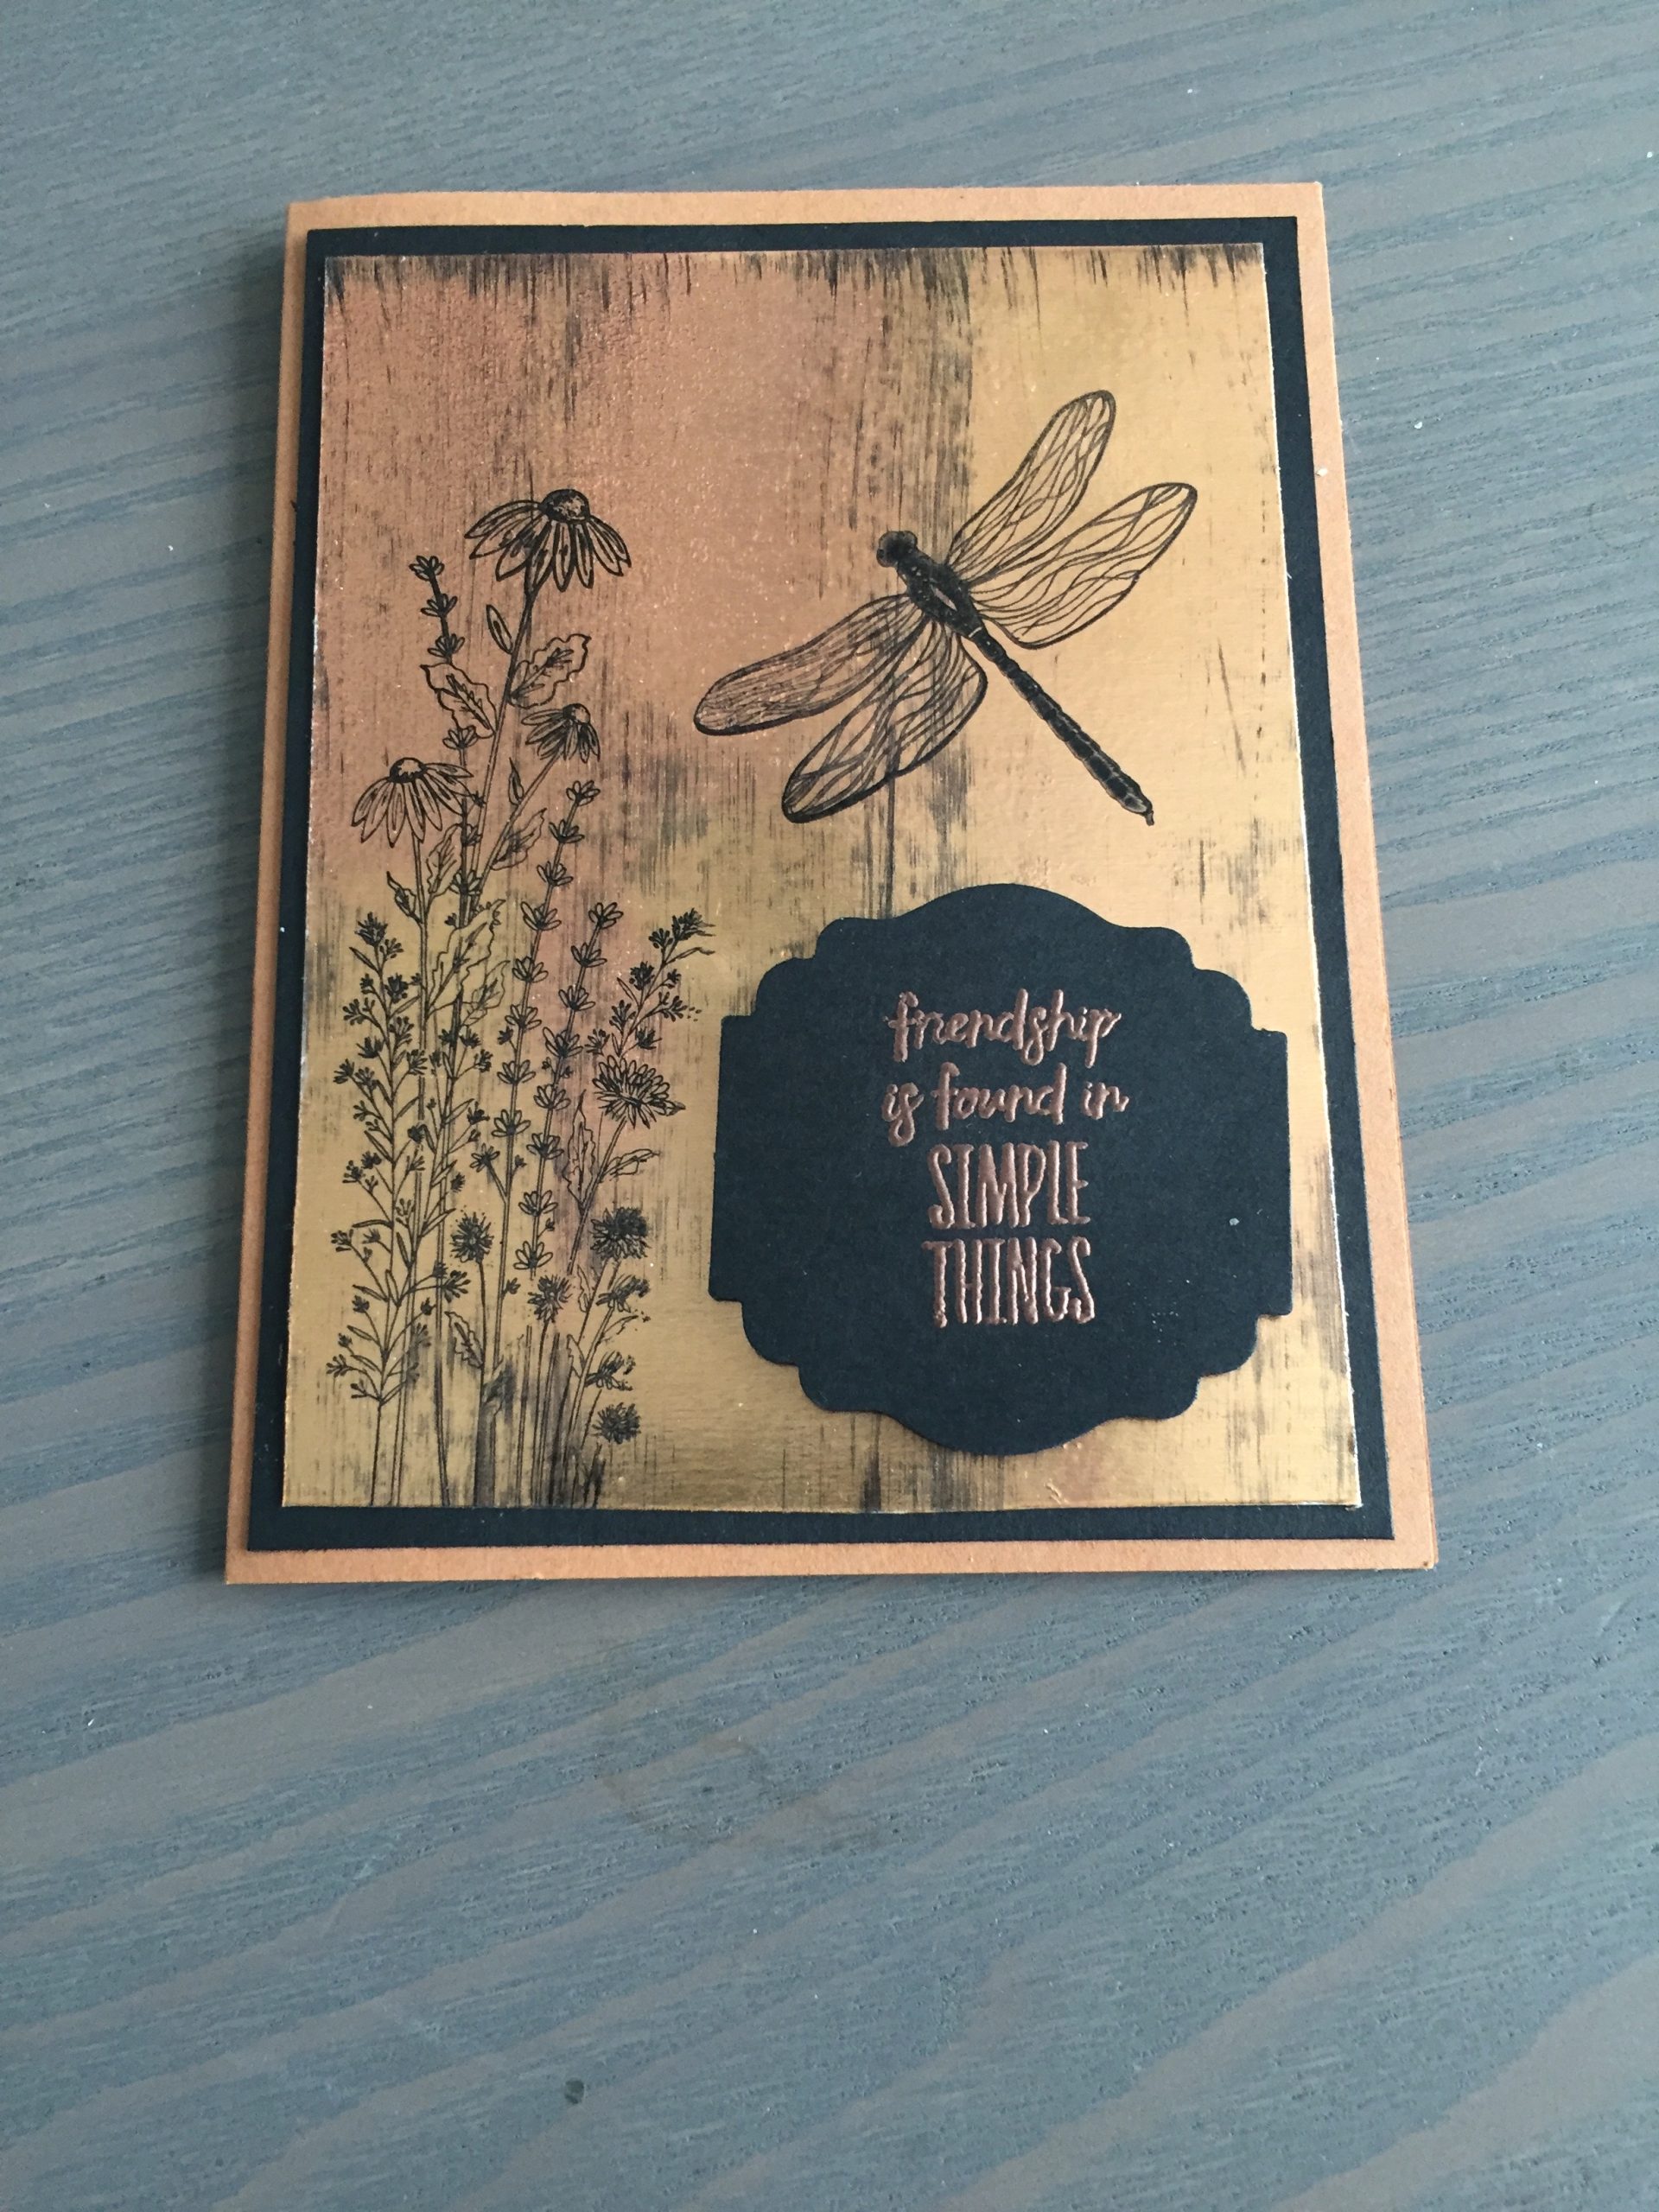
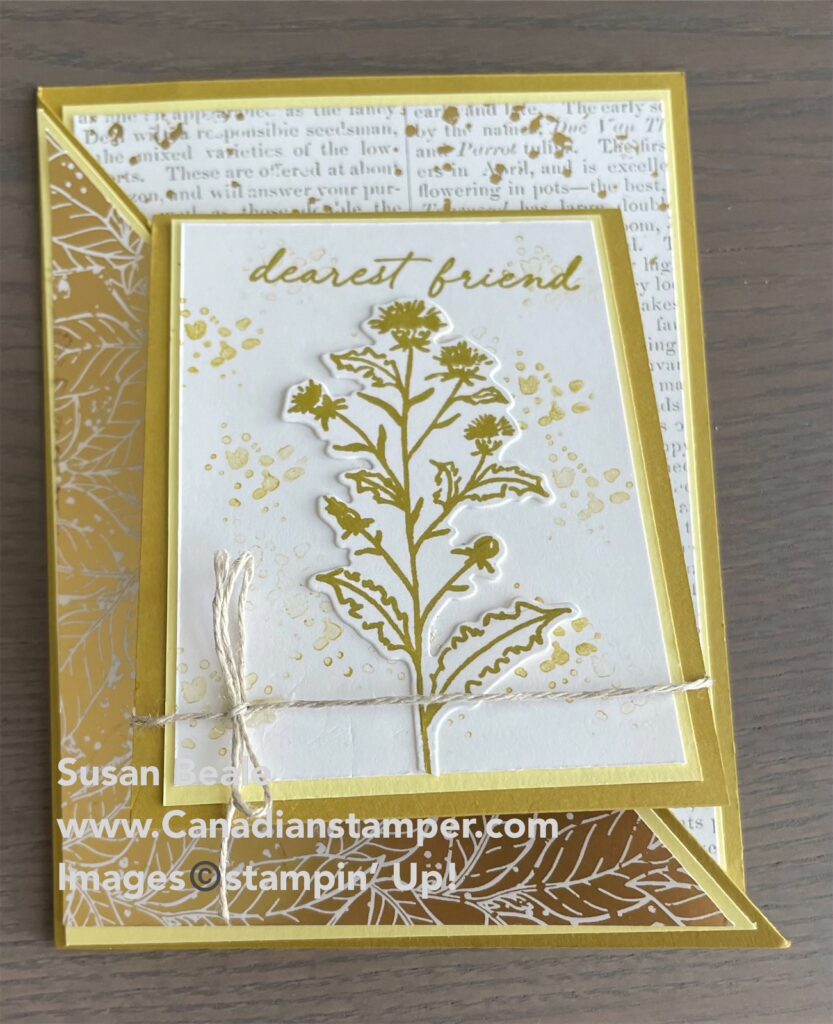
As crafters, we are always trying new techniques. Some we love, other’s not so much. However if we don’t try them, we will never get better at our crafting so I am always encouraging my team to try something new. On my last Zoom meeting earlier this week, I demonstrated how to do the Black Ice Technique. This was new for me as well as I had never done this technique before. Basically, it involves stamping on Copper, Silver or Gold foil paper and dragging ink across it to add a tarnished or old world look to your card.
To try this technique

To start, take a piece of foil paper (copper) and stamp your image with Stazon ink (I don’t recommend Memento Tuxedo ink for this technique). In hindsight, I think I would also use a bigger piece of foil and cut it down to suit your card afterwards.
Stazon Ink is a permanent ink that can be stamped on multiple surfaces. (I love it for stamping on vellum myself). Make sure it is dry before moving on. It shouldn’t smudge when you run your finger over it.
TIP: You can use your heat tool to speed up the drying time.

Once the image is dry, add a little adhesive to the back of your foil to hold it in place. Now drag the Stazon ink VERY lightly from top to bottom (do not stop or you will leave a line you cannot get rid of).
As you can see in the picture, my first attempt was too heavy and you can barely see some of the image. I scraped this piece and tried again. You learn by doing, right?
TIP: Make sure the adhesive is not TOO sticky (rub off a little of the adhesive) so it doesn’t permanently stick to your work surface.
Once you have done this, let it dry (heat tool again) for a few minutes.
ok, now onto the next step.

Add the Versamark ink to your foil by dragging it over the foil in the same manner as the Stazon ink. Versamark is like a glue and I have only ever used it emboss images and sentiments. Very carefully pick up your foil by the edges (don’t touch the foil front or you will remove some of the ink) and cover it with clear embossing powder. Using your heat tool, melt the embossing powder over the entire foil sheet. This gives it a wonderful shine.
For my sentiment, I stamped on black card stock with VersMark, then covered it with copper embossing powder so it matches with the copper foil. I then set it with my heat tool. This, of course, is optional but I like how it coordinates with the foil
At this point you can go ahead and complete your card however you like.
As you can see from the pictures below, I tried this technique on both silver and gold foil as well. I also embossed the sentiments in silver and gold as well. They aren’t my best work (crooked stamping) but you can see how each different type of foil gives a completely different look.


Overall, this technique is just ok, it doesn’t wow me. However maybe I will try it again with different stamps and it might look really cool. I will play with it some more and see. Of the three types of foil I like the gold foil the best. As I mentioned before, new techniques are fun to try and I do love how the black lines run down the page. I hope you will give this technique a try and let me know how what you think. Send me a picture of your completed card so I can see how yours turned out.

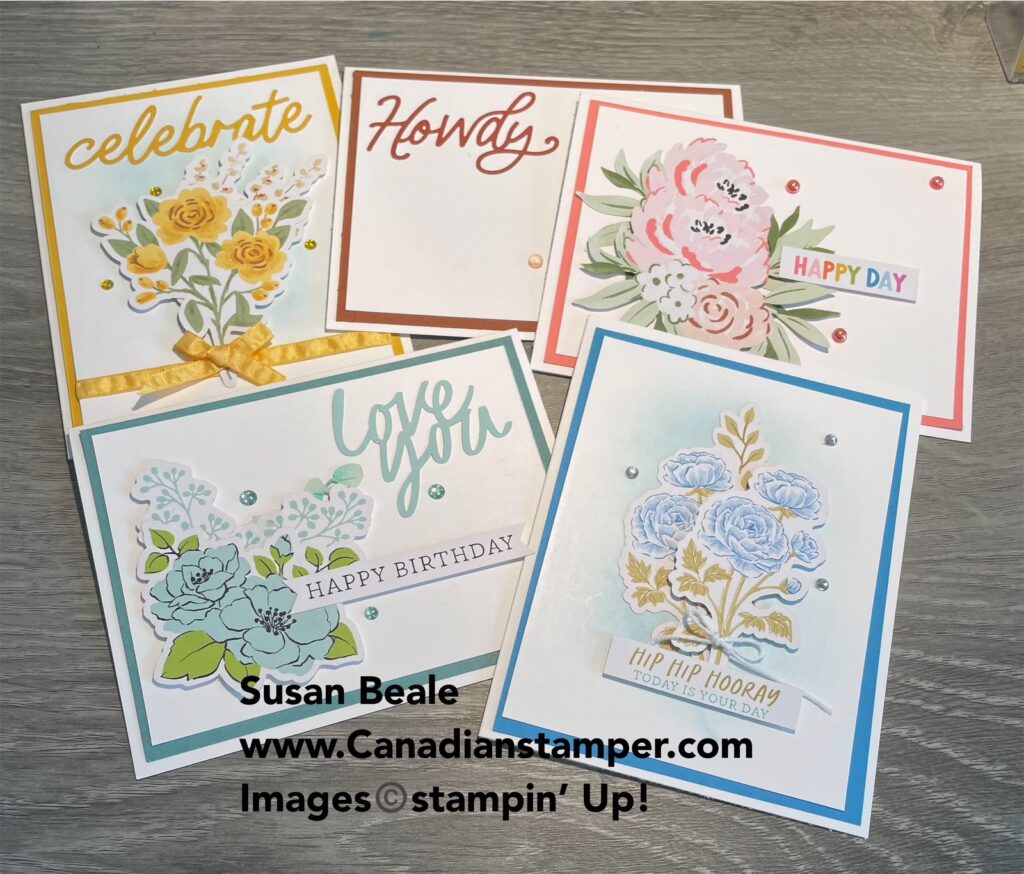
Speaking of techniques, check out the July Paper Pumpkin kit which includes a layering technique. “The Adventure Begins” Paper Pumpkin Kit helps you celebrate in the most creative of ways with enough supplies to create twelve motivating cards—plus coordinating envelopes—all featuring the exciting colors of nature. To sign up and receive this kit, subscribe before July 10th (tomorrow) by clicking here. Once you receive your kit, you can join me for a Zoom meeting later this month, where we will make up each card design together. I will also show you how you can use the various components to make alternative card designs.
Details
- Contains enough supplies to create twelve cards and coordinating envelopes.
- Card size: 4-1/4” x 5-1/2” (10.8 x 14cm)
- Envelope size: 4-1/2” x 5-3/4” (11.4 x 14.6 cm)
- Comes with a Stampin’ Spot plus an exclusive Stamp Set.
- Includes inspirational sentiments and adventure-themed imagery featuring these nature-inspired coordinating colors: Basic Black, Basic White, Bermuda Bay, Crushed Curry, Early Espresso, Flirty Flamingo, Garden Green, Granny Apple Green, Mango Melody, Night of Navy.

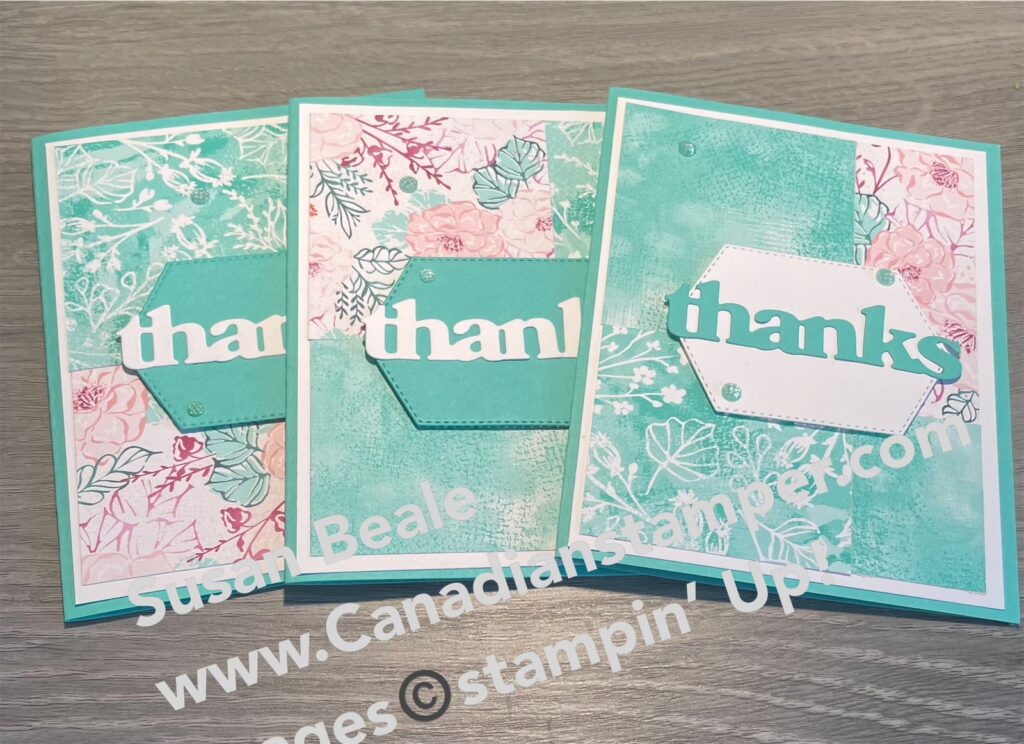
Well the Designer Series Paper Sale is off and running. Until Aug 2, you can save 15% of select paper packages so it’s a great time to add to your stash with all the new colours and patterns. If you are thinking Wow! I love that but don’t want all that paper? Well I have a solution… A paper share.
Basically the way it works: I will order the paper and divide it equally between those participating. This way you get a portion of each package without paying for the full package. All DSP are double sided and 12 x 12” in size with the exception of Tidings of Christmas which is 6 x 6”
To see all the beautiful paper packages available, visit my online store by clicking here. If you decide to purchase just one or two packages, don’t forget to use my July Host Code – ARZXNMQM to be included in my monthly draw. If your order is over $200 don’t use the code but you will still be included in the draw.Cost – $40/pp – this includes taxes and shipping, payable to me in advance, either by e-transfer or cash
Last day to sign up is July 15th. To do this, just contact me here
You will receive a 6 x 6″ sample of every one of the double sided patterned papers from each of the 9 packages.
I hope you have enjoyed this post, I invite you to try this technique and let me know how it goes. Should you have any difficulties, please let me know and I will gladly assist.
If you want to be notified of future posts, please like and follow my blog so you don’t miss out on future posts.
Would you like to be added to my email newsletter? please provide your contact information here
