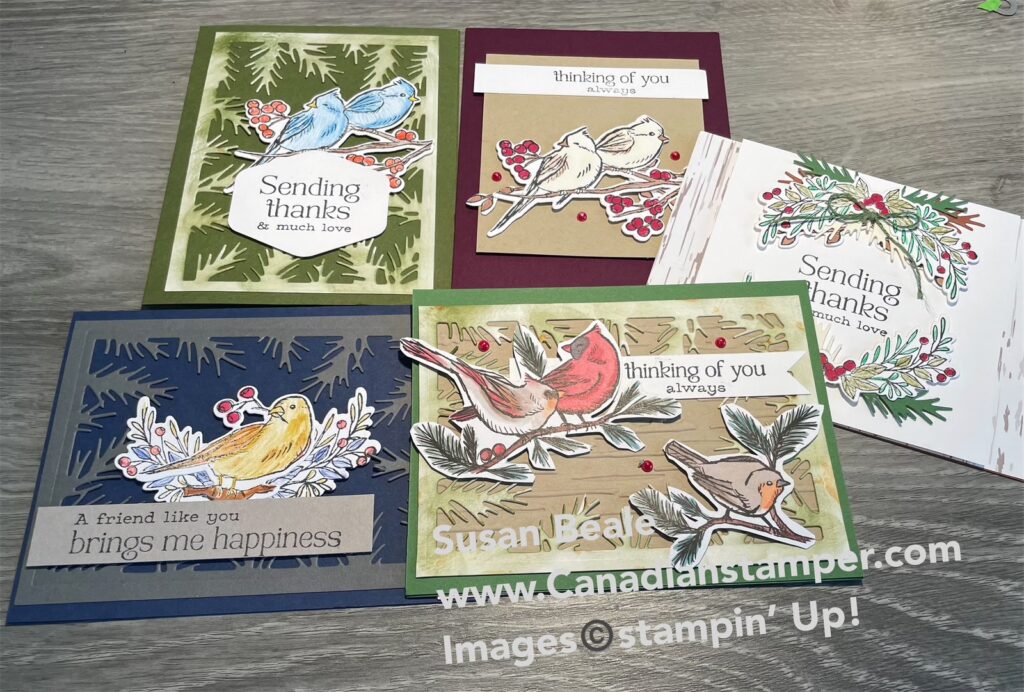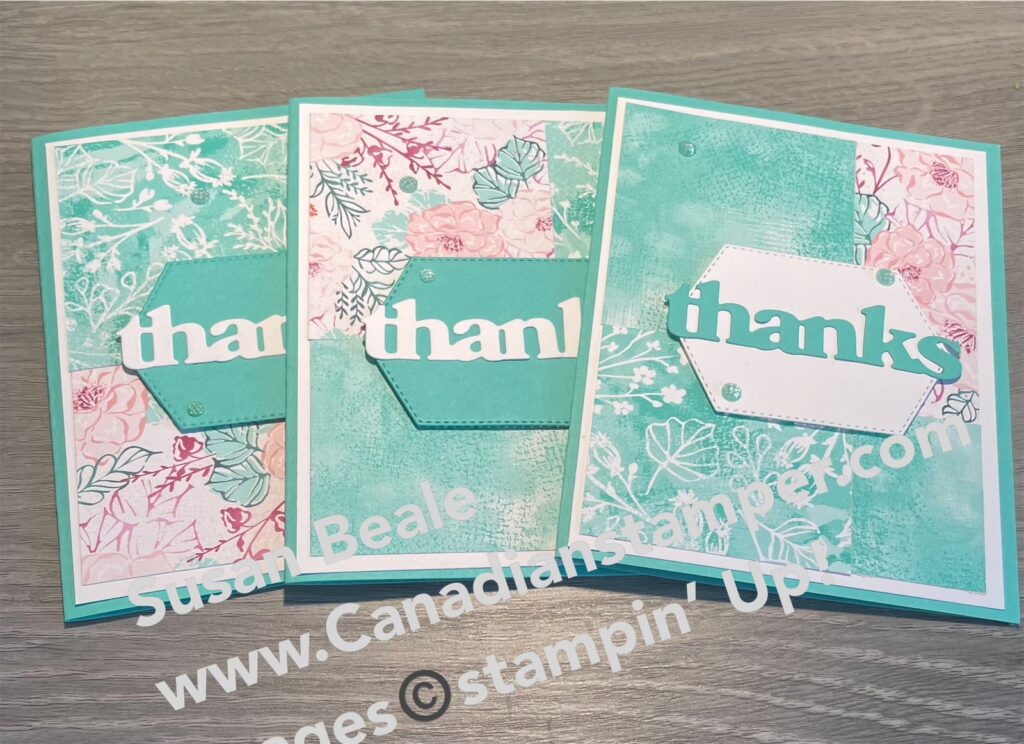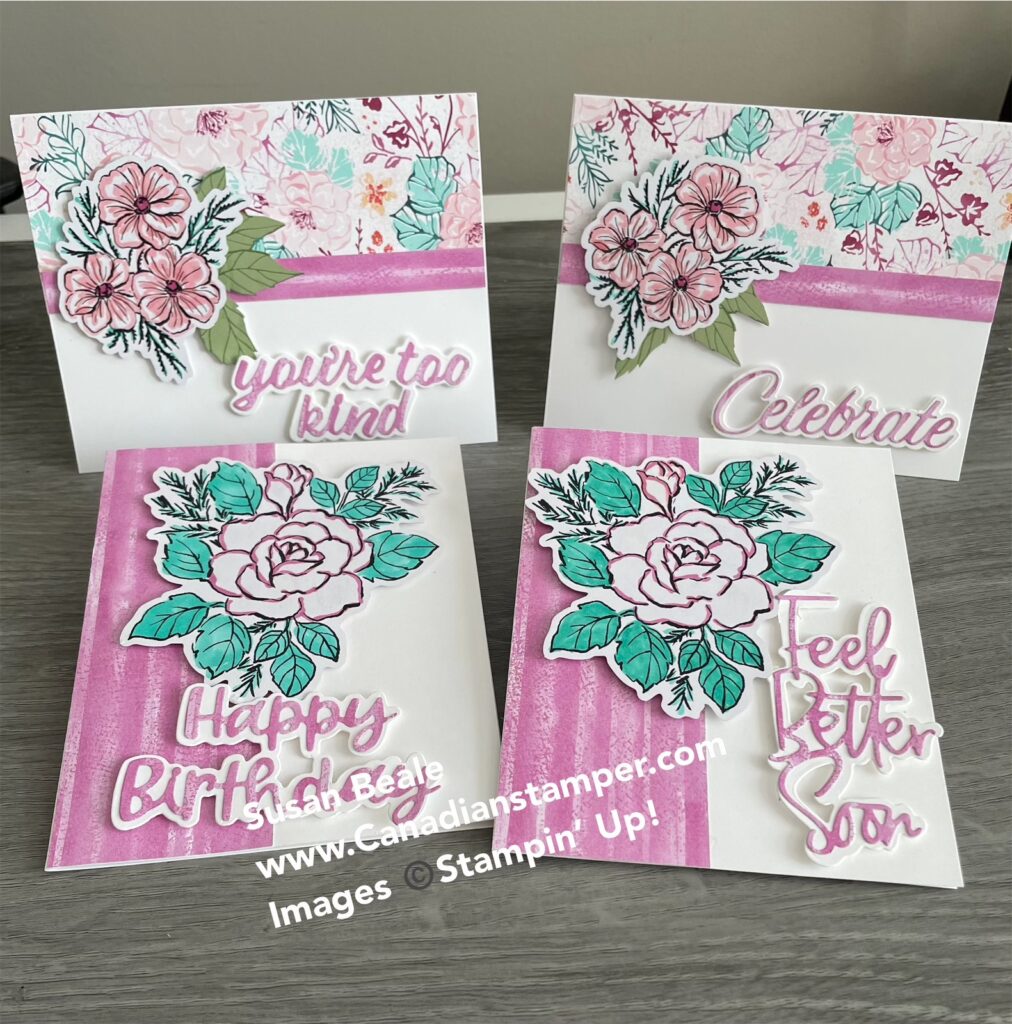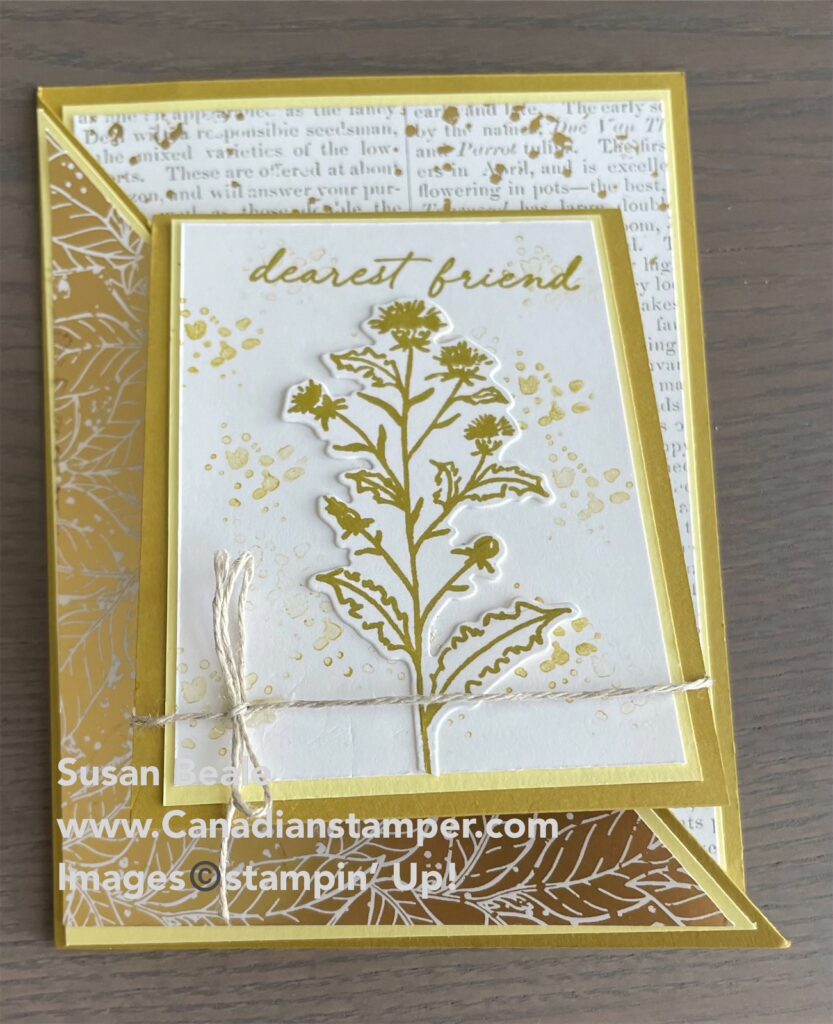

Good morning, today I want to share some tips and techniques to maximize your stamparatis. This is one of the best tools you can have, since it helps you perfectly align stamp images, allows you to stamp multiples of the same project quickly and precisely, and makes sure you can get complete ink coverage. If you don’t have one, I would strongly recommend you invest in one. You can even purchase a cute bag to store it in when not in use or when travelling. To see this product online, click here or the stamparatus case click here. Don’t forget, all purchases of $60 or $120, will earn you FREE products from the Sale-a-bration brochure. Visit my online store to see all the products available. Anyone who makes a purchase during the month of January using my Host Code EUHFQEH will earn a free gift from me, as a thank you, just for shopping with me.
The Stamparatus has all the features you want for easy stamping.
It is compatible with both the red rubber cling and photopolymer stamps
It includes two very strong magnets to hold the paper in place. Magnets can be stored underneath when not in use.
There are measurements on 2 sides for easy reference
Plates can be moved around on the hinges for varied placement
Stamps can be placed on each side of the plates for easy stamping
Includes one foam mat for use with photopolymer stamps
Includes a base with grid for reference
TIP: The Stamparatus has two plexiglas plates complete with grid lines for easy stamp alignment. The plates fit easily into the top and side hinges but sadly, you cannot close both plates at the same time, for flat storage. You need to remove one plate and store it loosely on top. This could result in damaging the loose plate or worse misplacing it.
Solution; If you move each of the plates by one hinge, they will fold flat, without stress on the hinges. It won’t line up correctly but you won’t loose a plate if they are all attached.


Have you ever stamped an image or sentiment and messed it up? Who hasn’t, right? It could be because there wasn’t enough ink on the stamp. Maybe you didn’t press hard enough or maybe your pressed too hard and now you have ink where you don’t want it. Maybe your image or sentiment wasn’t quite straight. We have all been there and experienced the frustration when it happens. It is almost impossible to re-stamp in the exact same place again but with the Stamparatus, there is a solution.
TIP: Do a test to see if you have everything set up the way you like it. First, cut a piece of regular copy paper the size you want to stamp (such as a card front) and place on the pad, securing it with the magnets. Then position your stamp on the paper where you want your stamped image to be. Close the plate over it so it’s now sticking to your plate. You could also use the grid lines on the plate, to line up your stamp to ensure it’s straight. Now apply Ink and stamp. Did you get enough ink on your stamp? No? open our plate, then ink and stamp again. I love how that works because the stamp hasn’t moved, you can add more ink to it until you are happy with the result.. Is your stamp straight? No? Reposition it and stamp again until you are happy with how it looks. I have done this many times, just to try out an idea or two. This way I don’t waste card stock until I am ready to REALLY stamp.
TIP: When making multiple cards, that are all the same, the stamparatus will reduce your work time substantiantily. First, do your test to ensure everything is lined up the way you want it to be. If you are using more then one stamp, you can use all four sides of the plates, just unhinge the plate, turn it over and position another stamp. Once you have everything positioned the way you want, stamp your card stock and remove it. Replace card stock with your next piece, then repeat. How easy is that?
CAUTION: if you are using more than one colour, with your multiple stamps, make sure you are using the right colour with the right stamp. I learned that lesson the hard way….
TIP: Cleaning your stamps while they are still on the plates can be problematic. You could remove the plate and run it over your Stampin Scrub, which really isn’t a solution because the edges could scratch your plates. You could remove the stamps by hand but that could be a bit messy and could ruin one of your projects if you have dirty fingers. Solution: The quickest and easiest way to do this is to place a damp Simply Shammy on the base and close the plate over it (no messy fingers) By pressing lightly, it will clean your stamp and then you can use the Shammy to remove any ink marks on your plates for an easy cleanup. Of course, you could also just rub the shammy over the stamps themselves before removing. Rinse out the Shammy with soap and water and it is all ready to use again.

I hope you find the tips I have mentioned above useful. There is still so much more to using the Stamparatus, I will have to make another post. I haven’t even begun to share with you some additional tips about how you can create templates to help with your designs or to reduce your work. More to come another time.
If you have enjoyed my post, please like and follow my blog so you will see future posts.
I welcome your feedback so if you want to see tips on something in particular, please leave a comment.


