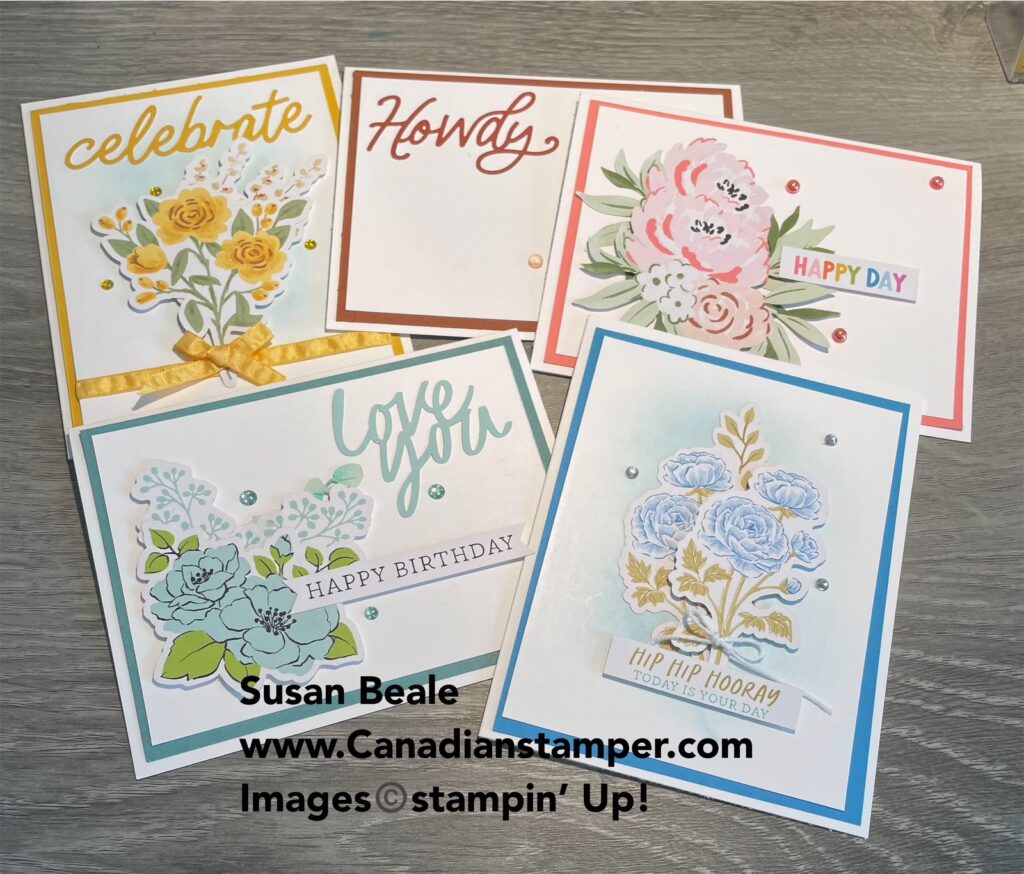
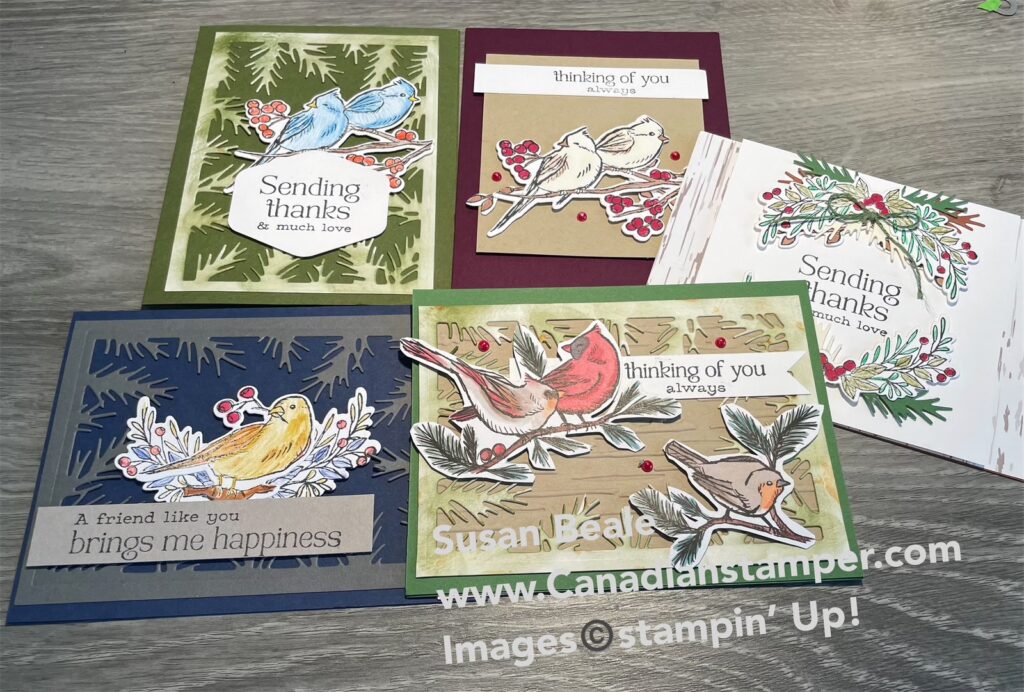
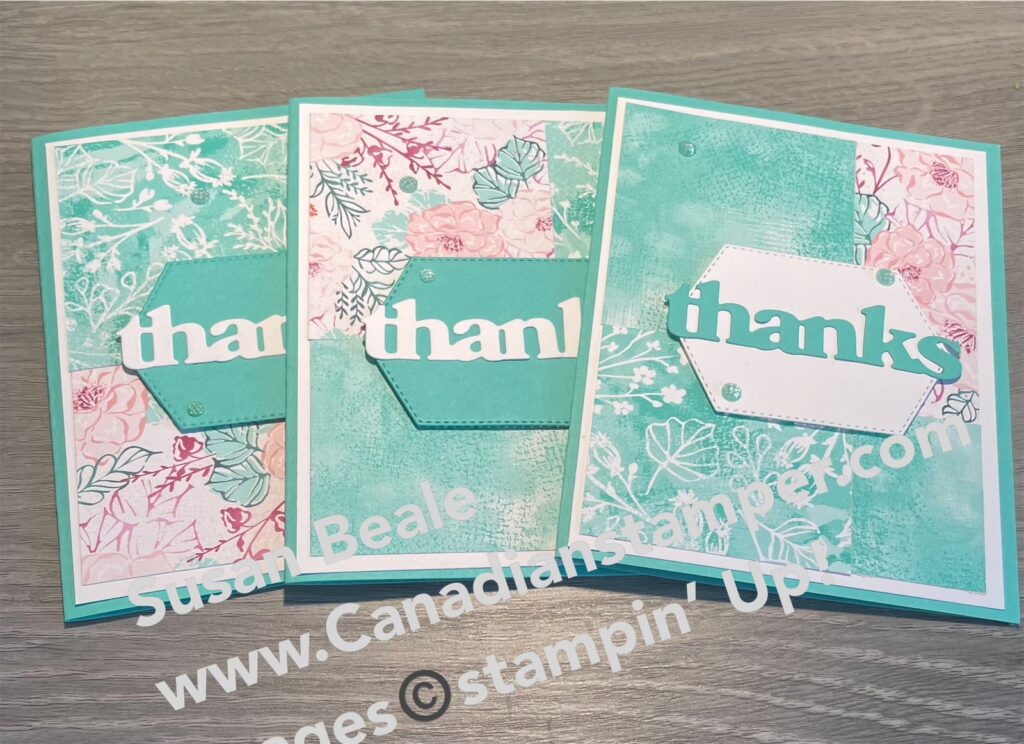
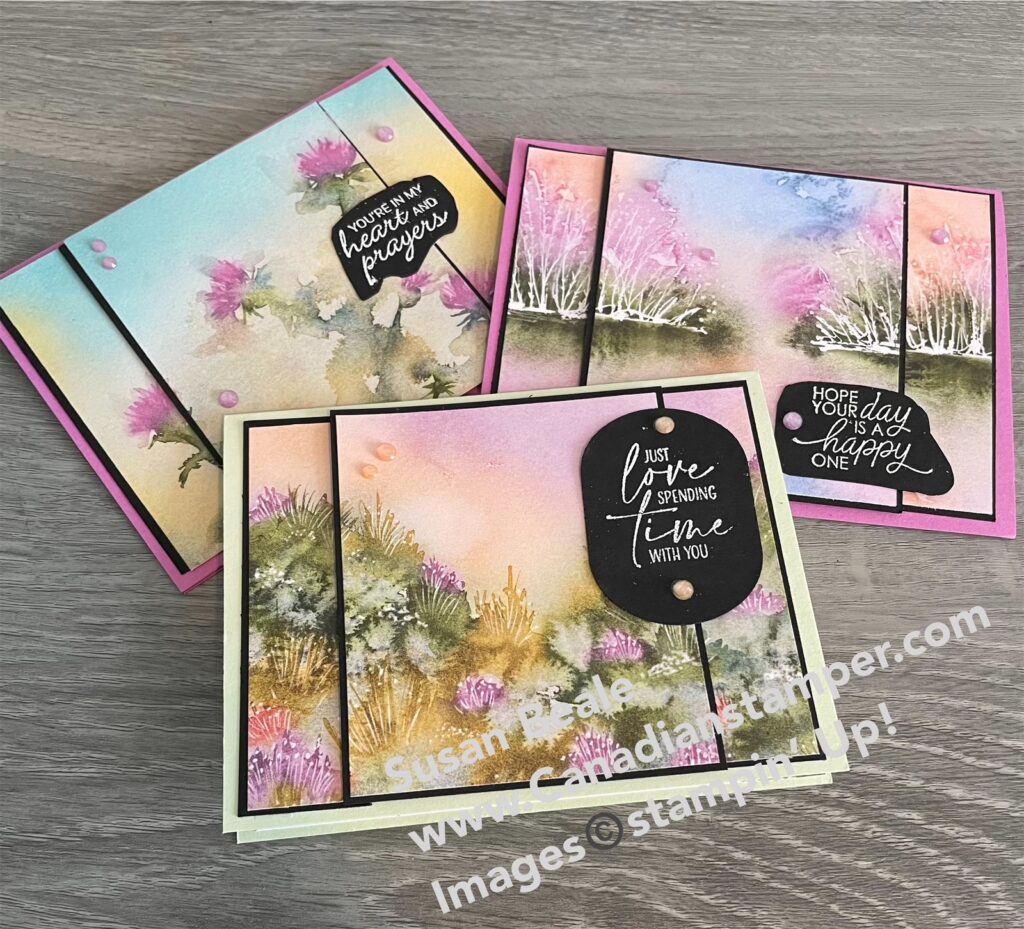
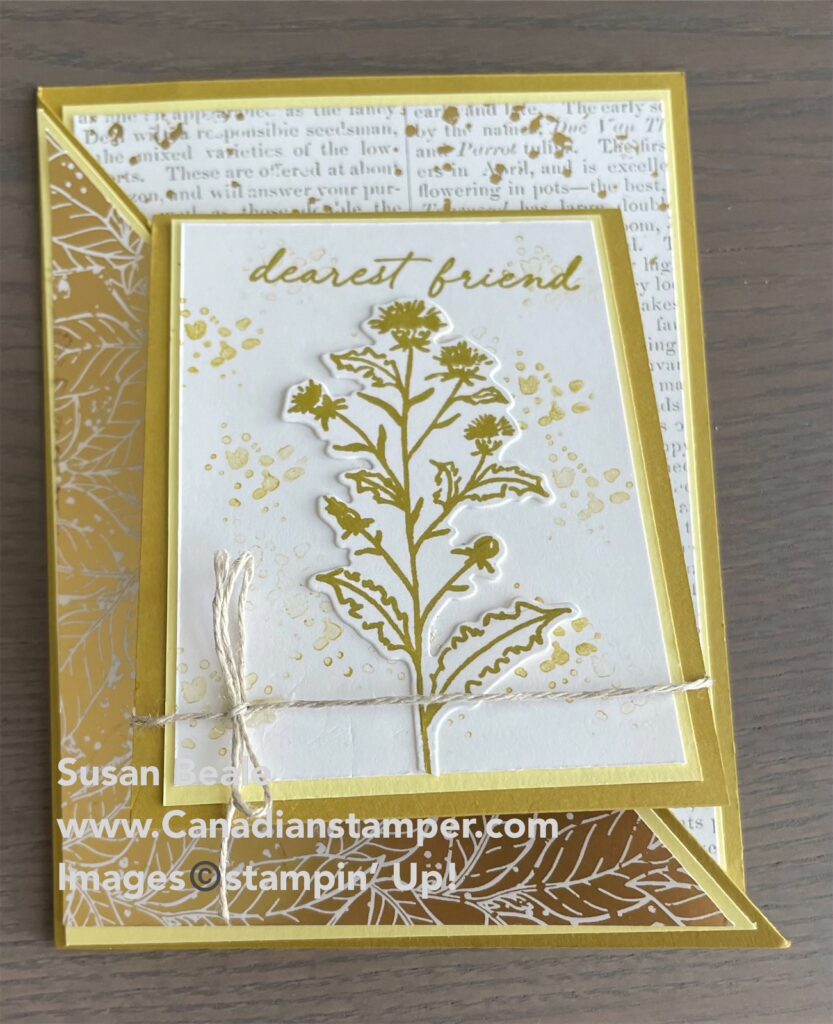
I love making cards that look a little different from the usual cards you might find in a card shop. I think that is one of the reasons I became an Independant Stampin’ Up! demonstrator. I get to use some amazing products from Stampin’ Up! to design or create cards and projects not found elsewhere. Today I want to share with you how to make a Four Panel Card . I love how the finished card looks and it’s really quite easy to make.


Four Panel Card
To make this card, you will need the following supplies;
- Cardstock; Basic white for the card base and sentiment
- Cardstock: Poppy Parade for the matting
- DSP: Art Gallery Designer Series Paper
- Stamps: Peaceful Moments & Art Gallery
- Ink: Real Red classic stamp pad
- Blender Pen: Light Real Red
- Ribbon – Metallic Edge
Cut your card stock and DSP as per the measurements below;
- Card Base for the first three panels – 5 1/2″ x 11″
- Card Base Panel for the forth panel – 4″ x 2 1/2′
- White card stock for sentiment – 2 1/4″ x 3/4″
- Mats;
- 5 1/4″ x 4″
- 4 1/2″ x 3″ (cut 2)
- 3 3/4″ x 2 1/4″ (cut 2)
- 2 1/2″ x 1″ (front sentiment)
- Designer Series Paper layers;
- 5 x 3 3/4″
- 4 1/4″ x 2 3/4″ (cut 2)
- 3 1/2″ x 2″ (cut 2)
TO MAKE:
- Score the larger card base on the 11″ side at 1/4″, 3 1/2″ and 6 3/4″
- Turn your paper to the 5 1/2″ side with the 1/4″ score line at the top of you paper trimmer
- Line up your paper at the 3/4″ mark and cut down to the 6 3/4″ score line
- Move your paper to the 1 1/2″ mark and cut down to the 1/4″ score line
- Remove your paper and with a pair of scissors, trim off the long thin strips at the 6 3/4″ score line
- On the same side, trim of the 1/4″ rectangle along the score line to the small cut line
- Place your paper sideways with the largest panel on your right and fold your card stock inwards, then outwards, then inwards along the 1/4″ score line. You should now have 3 panels.
- Adhere the 4″ x 2″ piece of card stock to the small 1/4″ fold to create the fourth panel.
- Optional; If you only want three panels, you can trim off the 1/4″ fold at the score line.


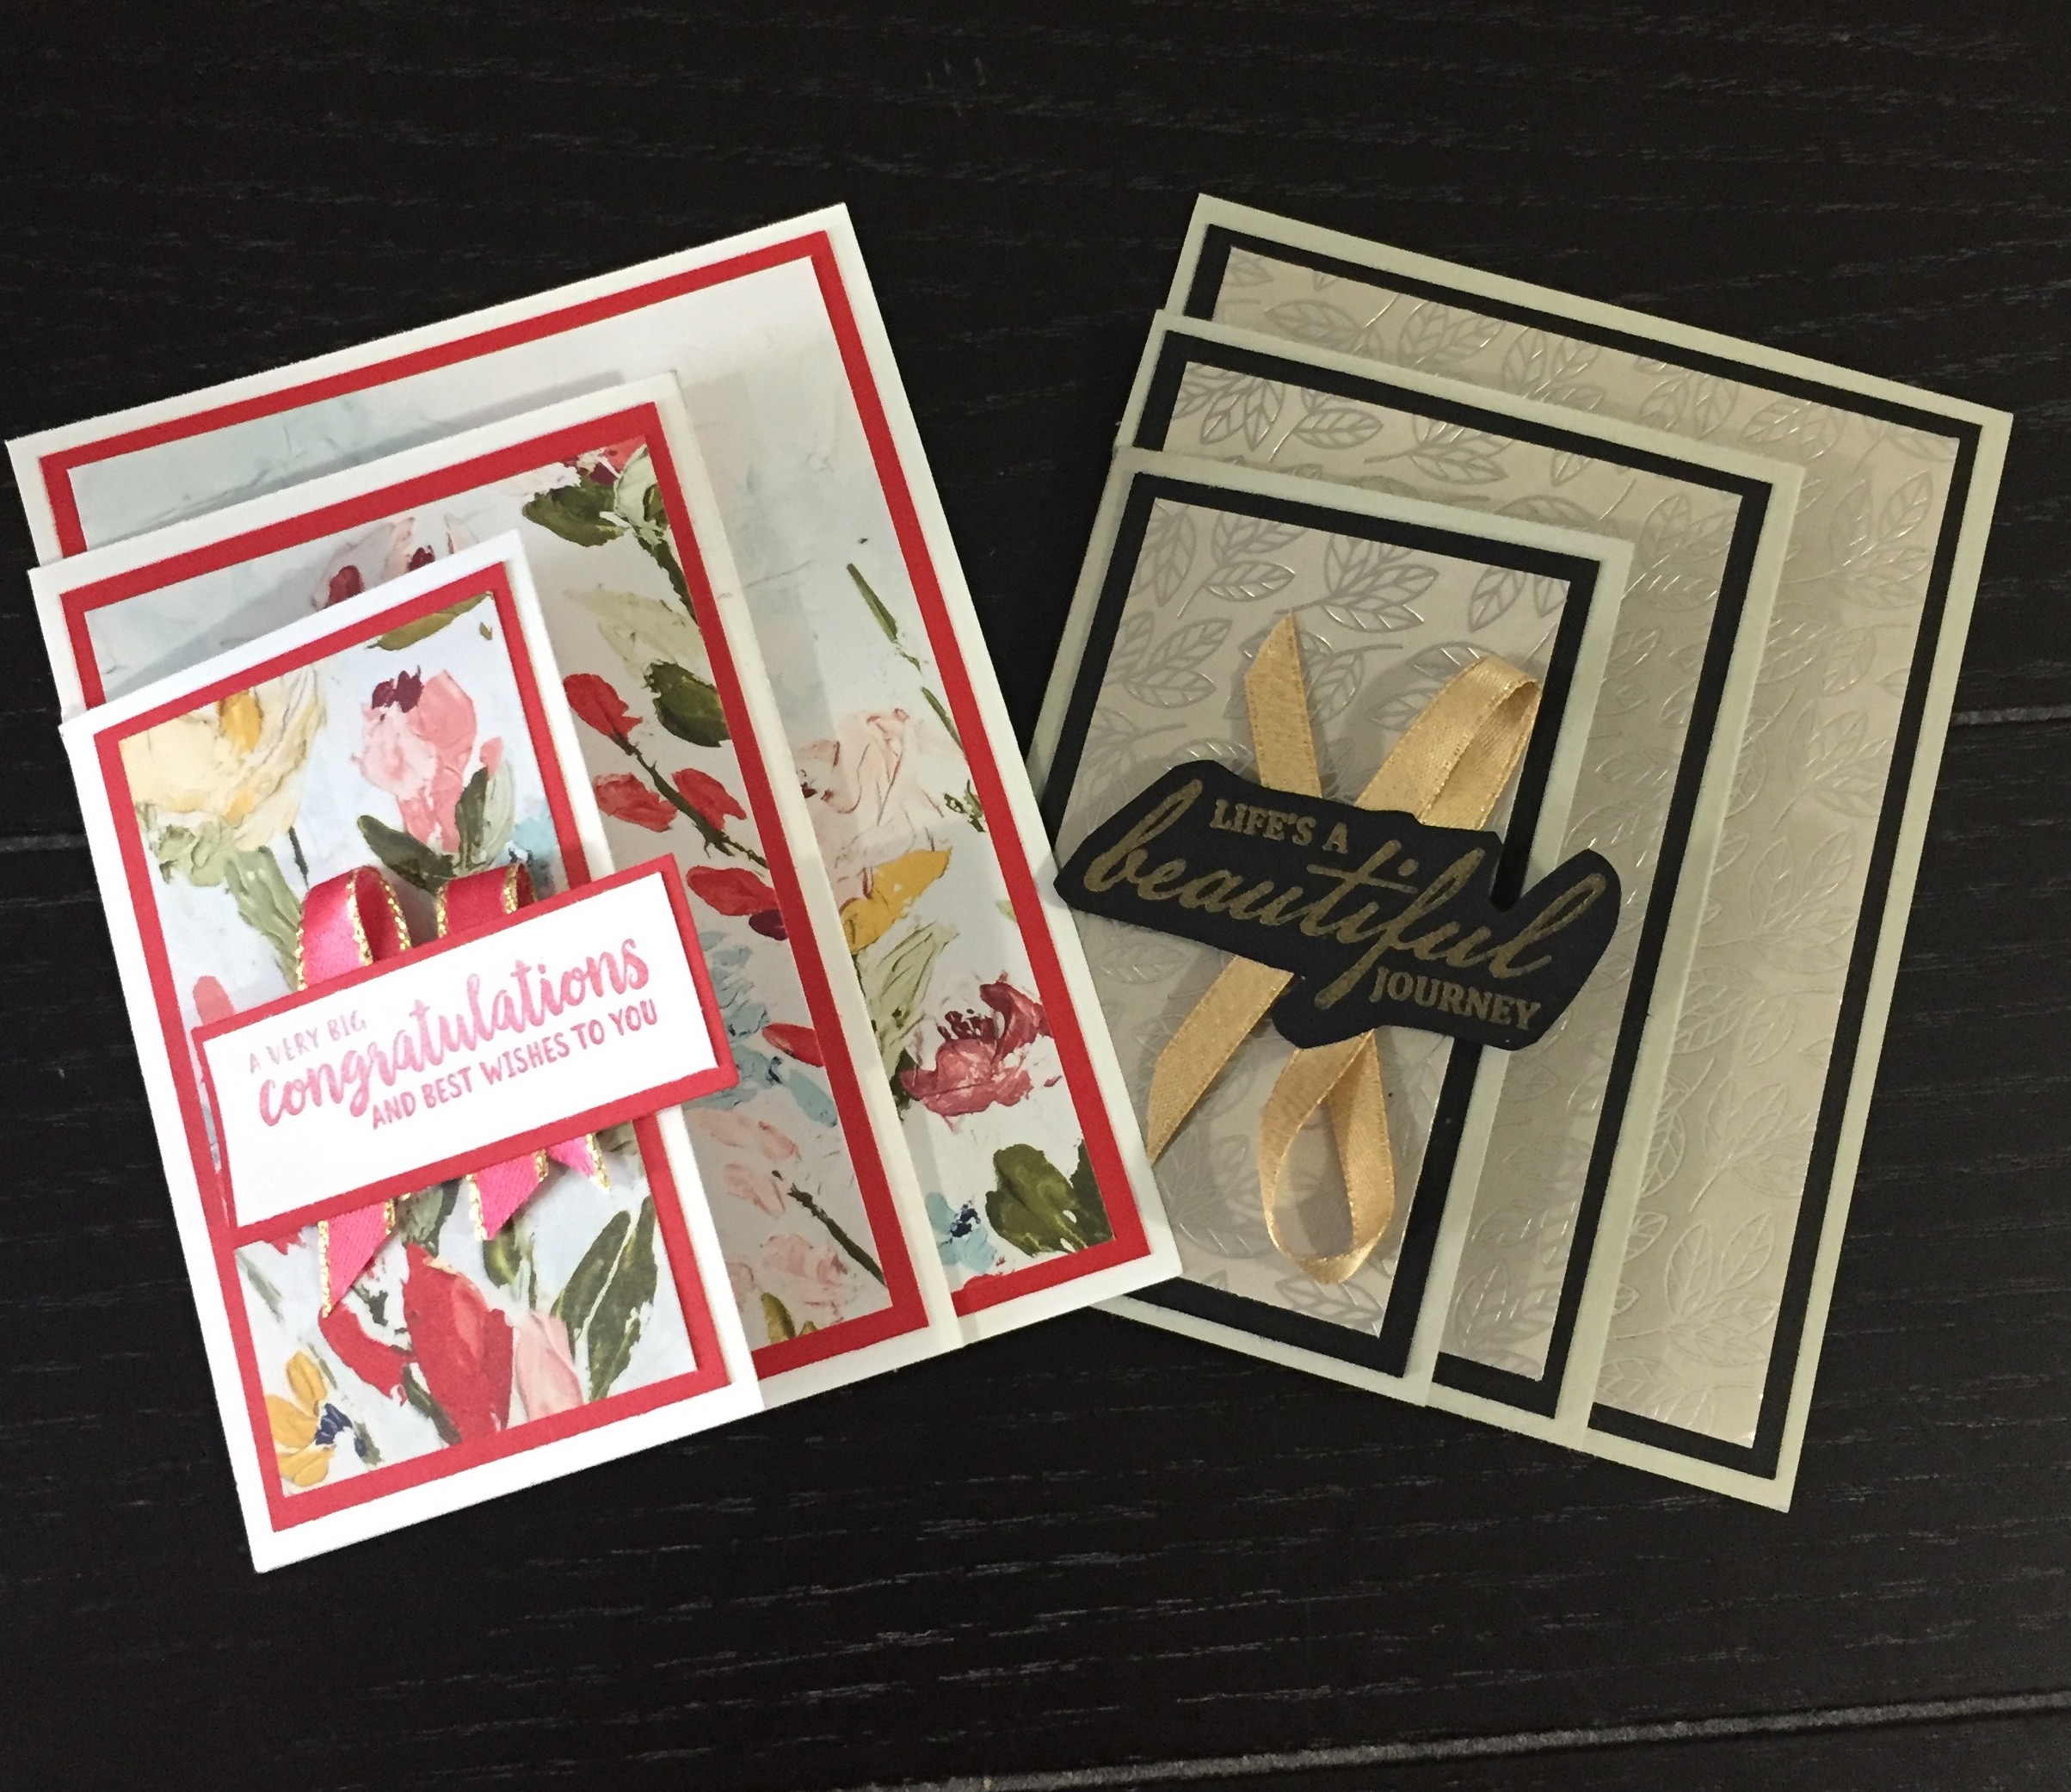
Now it’s time to decorate. I first applied the mats as shown making sure they are lined up along the bottom. I then stamped my sentiments on the the two Designer Series paper layers before adhering all four layers to the mats
Option: You can replace any layer for plain card stock with stamped images instead of DSP.
I stamped my sentiment to the white card stock and adhered it to the mat. I then coloured the ribbon with my blender pen, leaving the gold metallic exposed. I love how we can use our blender pens to colour ribbon & embellishments.. I then adhered the ribbon to the back of the sentiment then added dimmensionals so I could add it to the front of the card. I wanted to have a little bit of an overlap so I was careful not to place a dimmensional on the part that overlapped or it would stick to the inside panel. Your card is now finished.
Below is another similar card I made with different Designer Series Paper. For this card I used a combination of DSP; Love you Always and the World of Good Specialty Designer Series Paper. I also used the Beautiful World Stamp Set for the sentiments. Although the picture doesn’t do it justice, the front sentiment is embossed with gold embossing powder and it looks beautiful. As you can see, one card can yield to very different looks.


Stampin’ Up!’s Sale-a-bration sale is half way through this amazing sale and there is just one month left to take advantage of earning free stamps or Designer Series Paper from the brochure. With every $60 or $120 purchase from either the Annual or mini Catalogue, you can choose your free item to expand your supplies. To visit the online store, click here.
However, before you do that, think about becoming a demonstrator by joining my team, and receive even more for less. Whether you are a hobby crafter or you want to explore running your own home business, this is a great time to become a demonstrator. Here are some things to consider;
Regular purchase example;
- Choose ANY products – $165.00
- 5 Pack of Designer Series Paper – $78.75
- TOTAL Cost – $243.75 (plus tax & shipping)
Click here to Join my team as a demonstrator by purchasing your Starter kit;
- Choose ANY products – $165.00
- 5 Pack of Designer Series Paper – $78.75 (FREE when you join during Sale-a-Bration)
- TOTAL Cost – $135.00 (includes tax & shipping)
You cannot beat the savings plus as a demonstrator on my team, you will enjoy the following;
- The generous demonstrator discount (20-25 percent) on future purchases.
- Support from creative resources like a demonstrator website filled with training, Stampin’ Connection, and Demonstrator Business Web Services.
- A low-cost, high-value Starter Kit.
- Opportunities to see and purchase new Stampin’ Up! products first.
- Stampin’ Up! events, where you stamp, learn, and have a blast with your fellow Stampin’ Up! lovers!
- 100% support from me to help you whenever you need it.
As always, I welcome your feedback so please leave me a comment or a suggestion for future posts. If you have any questions or are looking for additional information, please contact me.
Thank you
Sue
