[vc_row][vc_column][vc_column_text woodmart_inline=”no” text_larger=”no”]
With all the lovely stamp sets in the new Sep-Dec 2023 mini catalogue, I have started making up my Christmas Cards. I love sending out Christmas cards and it has become as part of my Christmas season tradition. I spend the evening playing Christmas music while enjoying a glass of wine and writing and addressing my cards. It makes for a nice peaceful evening and it just makes me smile to do this. I hope everyone who receives a card knows that I am thinking of them over the holidays.
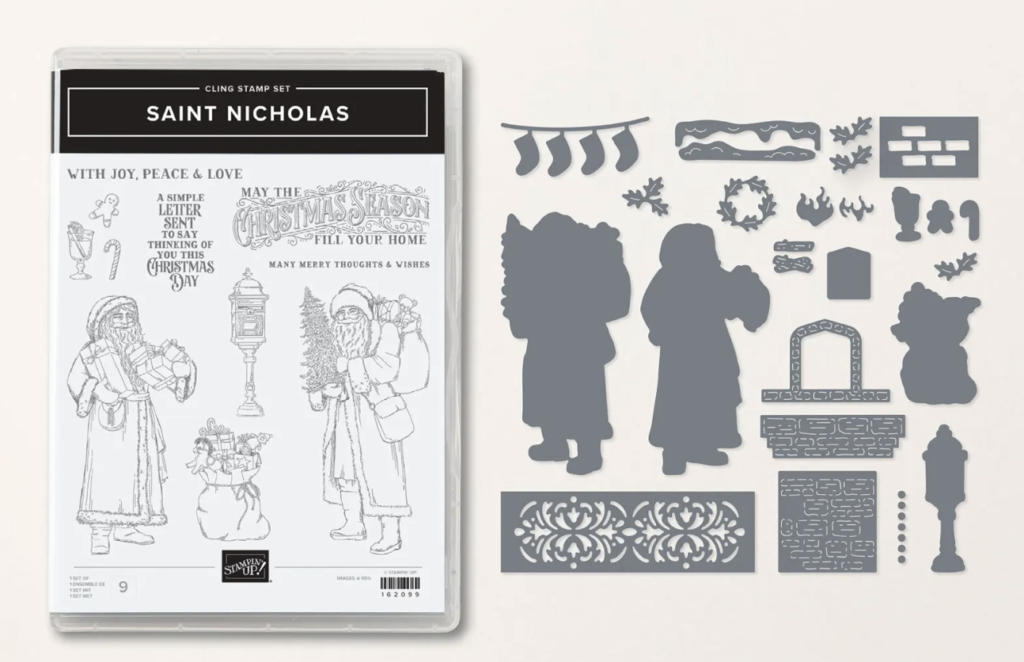
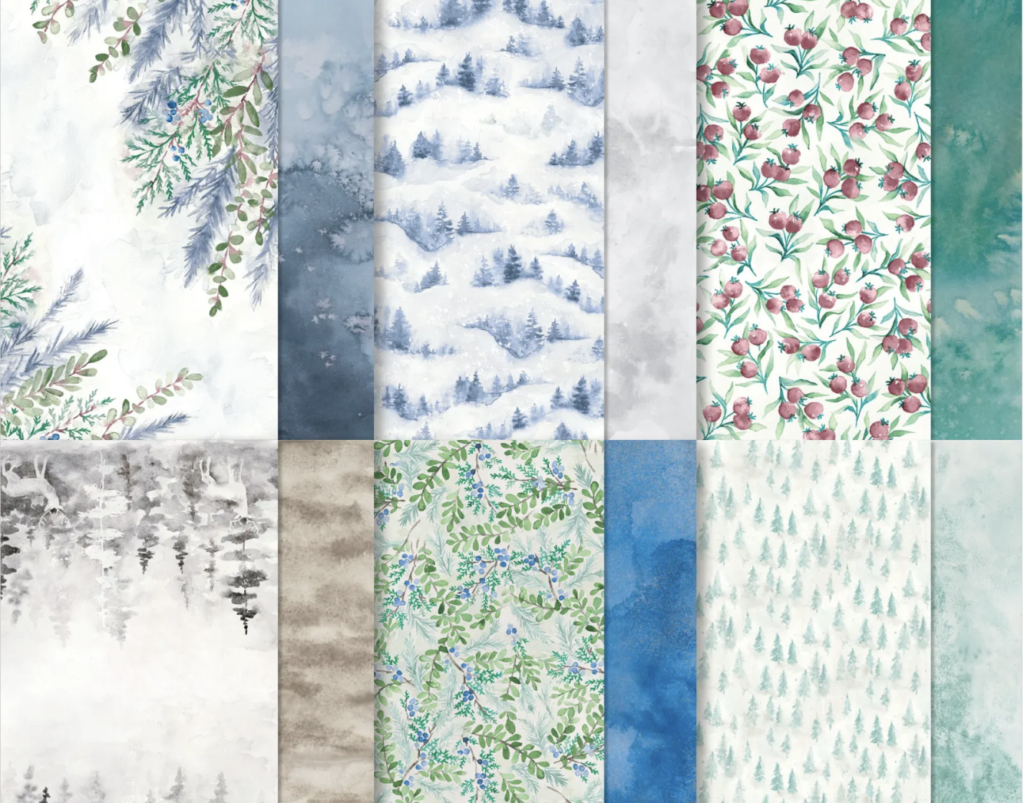
So today, I would like to show you a couple of cards I recently made. These cards feature the Saint Nicholas Stamp Set and the lovely Winter Meadow Designer Series paper. As you can seen, the stamp and die bundle lends itself to all sorts of possibilities for cards and I just love the greetings included. The Designer series paper is just gorgeous and I find myself reaching for this paper more and more with every card I make.
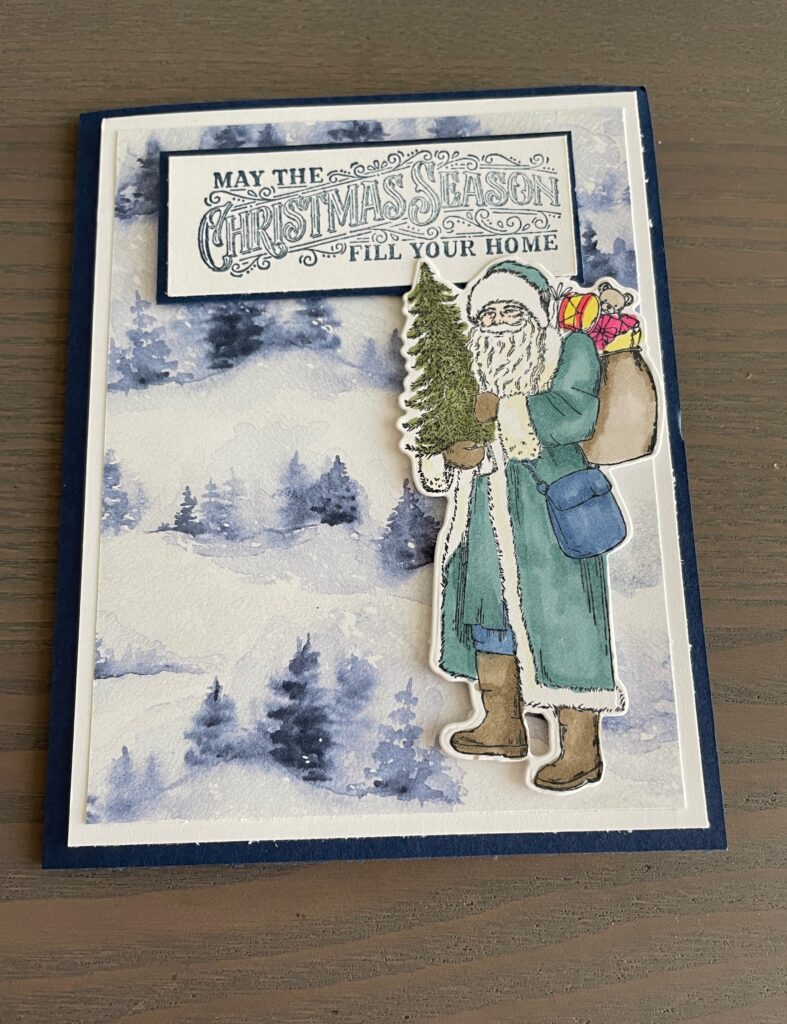
For my first Card,I adhered the designer series paper to a Basic white matting, then adhered to the front of the card. base. That alone makes a lovely card front.
I then stamped the Saint Nicholas image on Basic White then die cut it out. I used a selection of Blender Pens to colour the image then adhered to the card front with dimensionals.
My Sentiment is from the same stamp set and I stamped it on Basic White card stock then matted it on Night of Navy Card Stock. I then adhered it to the top of the card with dimensionals.
I love how simple this card was to make.
For my second card, I basically repeated the same process. However with this card, I reversed the colours. My card base is Basic White and the Matting is Night of Navy.
On this card, I stamped the Saint Nicholas image as well as the sack of presents, and coloured them with a selection of Blender Pens then then used the dies to cut them out. I then adhered the images to the card front with dimensionals. I love how this set includes images facing both left and right.
For my sentiment, after stamping, I used a retired punch to punch out my greeting. I then ran the edges across my ink pad to make it stand out a little bit more. I then adhered it to the top of the card with dimensionals. This punch may be retired but I use it a lot for my cards and gift packages.
Product List
")


 Designer Series Paper")


[/vc_column_text][html_block id=”11645″][vc_separator color=”black” wd_hide_on_desktop=”no” wd_hide_on_tablet=”no” wd_hide_on_mobile=”no”][/vc_column][/vc_row][vc_row][vc_column][html_block id=”11646″][/vc_column][/vc_row][vc_row][vc_column][/vc_column][/vc_row][vc_row][vc_column][/vc_column][/vc_row]
Leave a Reply