[vc_row][vc_column][vc_column_text]I recently made a post (Jan 12) on how to use the masks included with the Enduring Beauty bundle, with step by step instructions. However, today I want to show you a completely different sponging technique that doesn’t involve the dies or the masks, only the large floral stamp. I think it is pretty cool and I hope you will give it a try. Although I am not using the masks, I am using the lovely Enduring Beauty floral image.
So let’s get started.
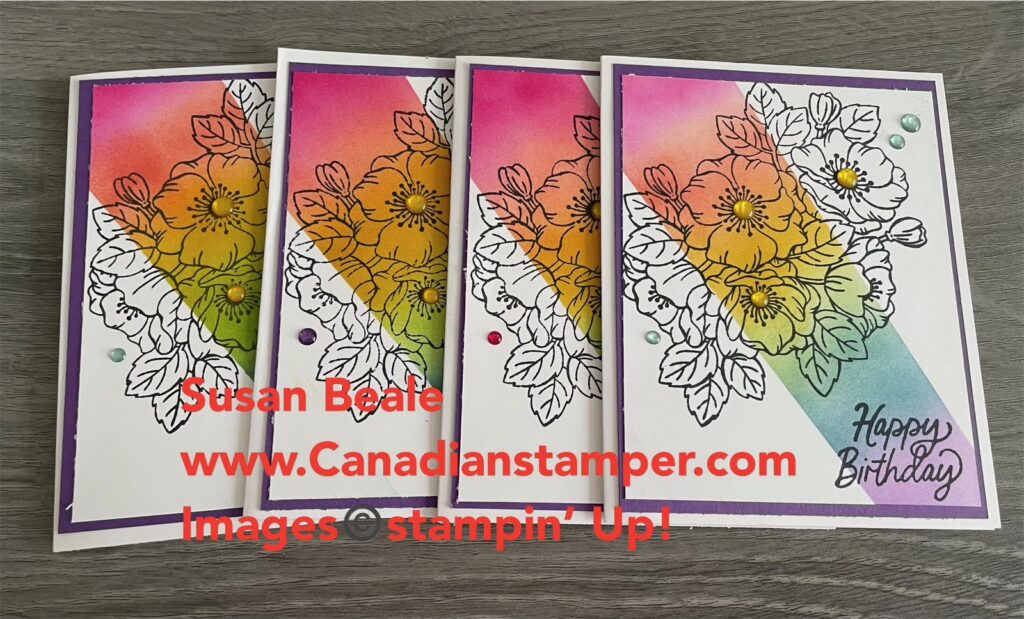
I first stamped my image on a piece of 3 3/4″ x 5″ piece of card stock. This was stamped with Black Tuxedo Memento Ink and the sentiment used is from the Beautiful Balloons stamp set.

As you can see from the image above, I adhered the card stock to some grid paper with some post it note tape to hold it in place. I usually just put a glue dot on the back to hold it in place when sponging which is usually enough. However with this method I wouldn’t recommend it. This method needs more stability than that

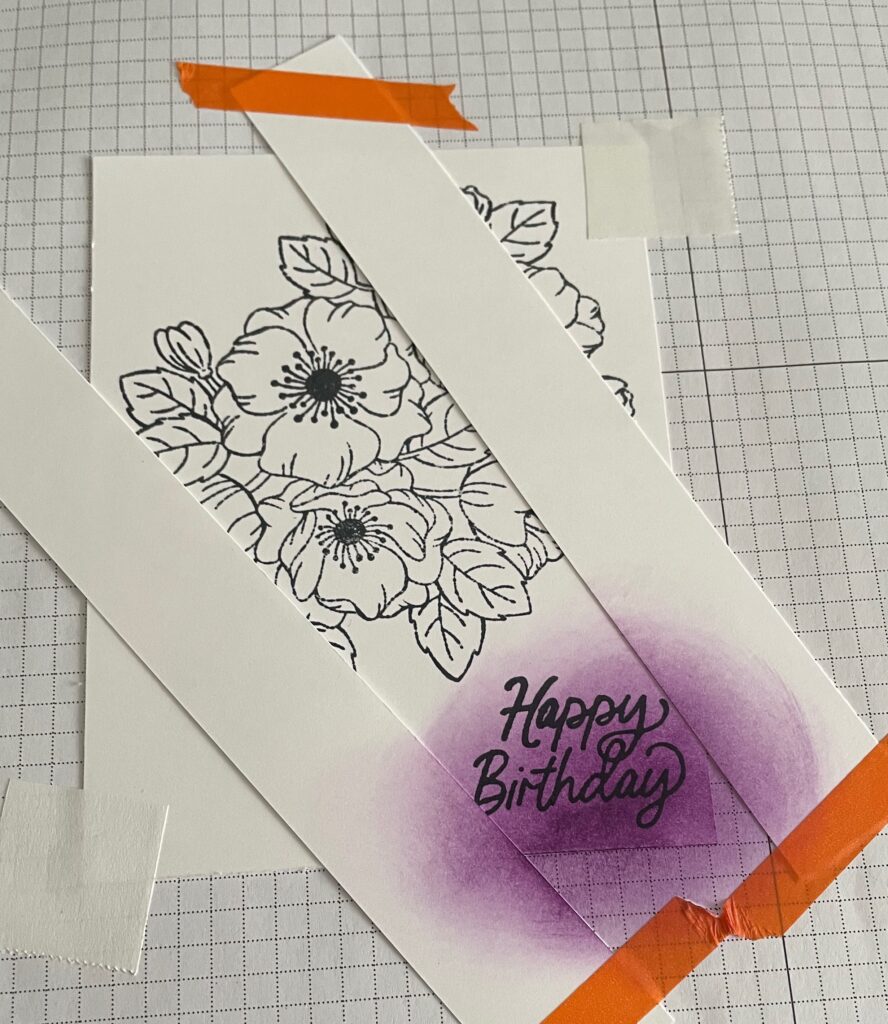
I added two strips of card stock which are about 1 1/2″ in width. There were some scraps I had on hand so decided to use them. I also used some old washi tape (I have a lot) to hold them in place. You could make the strips wider or cover the rest of the card but I didn’t want to cut wider strips so used the scraps. I sponge on faith LOL!
Once everything is firmly in place, I started using my blender brushes.
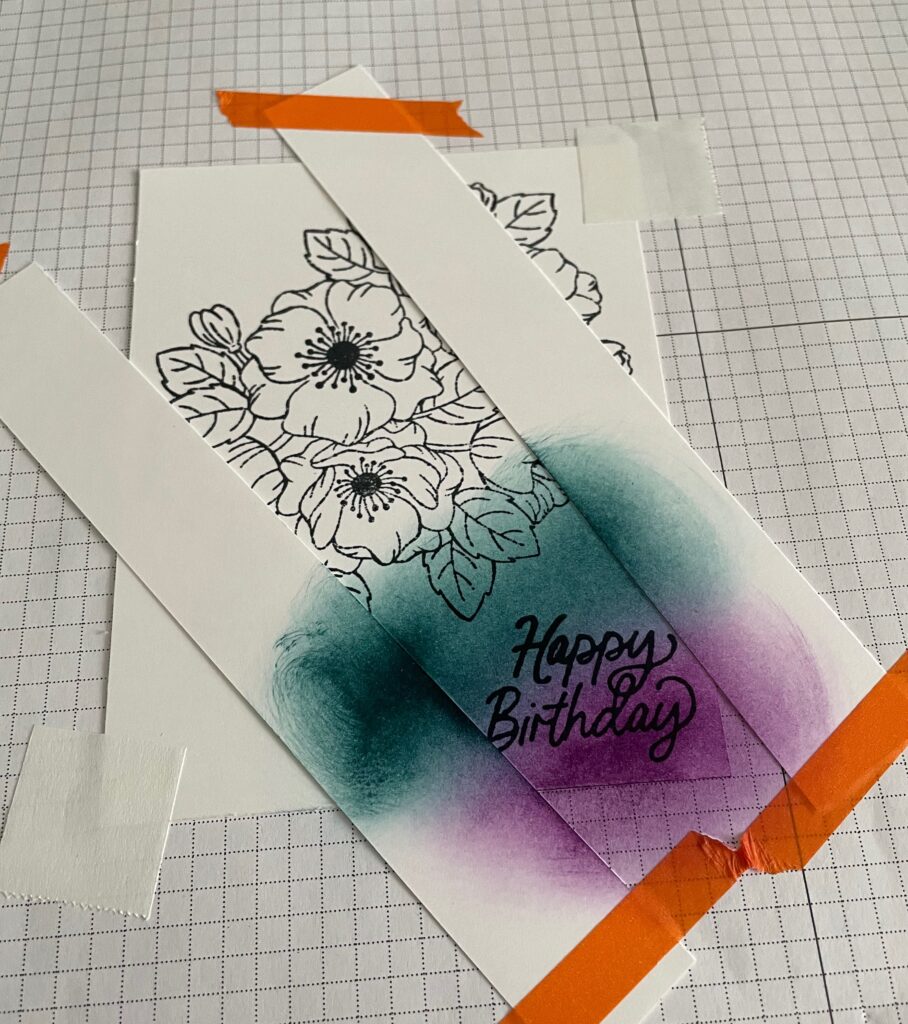
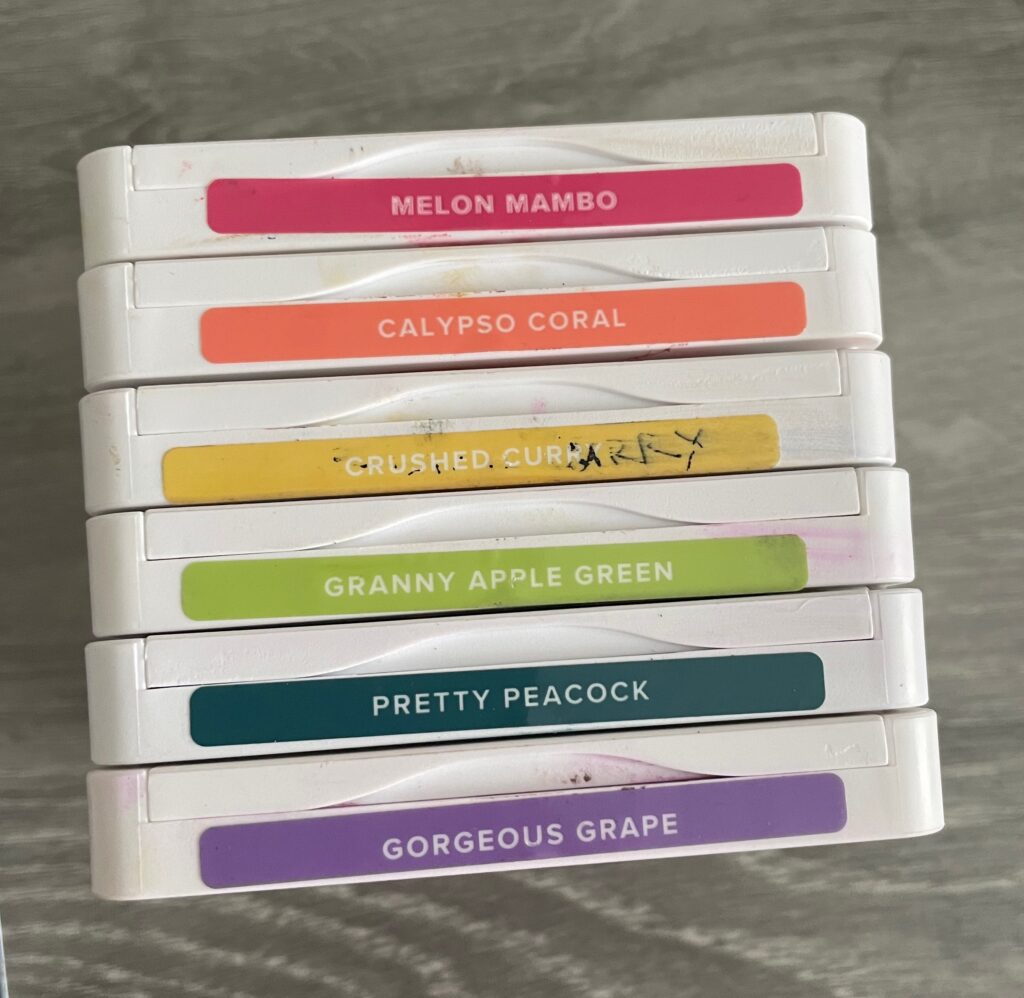
Starting from the bottom, I used the colours on the left and sponged between the two strips of paper. As I moved up the ladder so to speak, I overlapped the colours to make it as smooth as possible. Hold the strips in place as you sponge, so they don’t shift. Take care not to sponge outside the strips. As you can see I came VERY close with the Pretty Peacock.

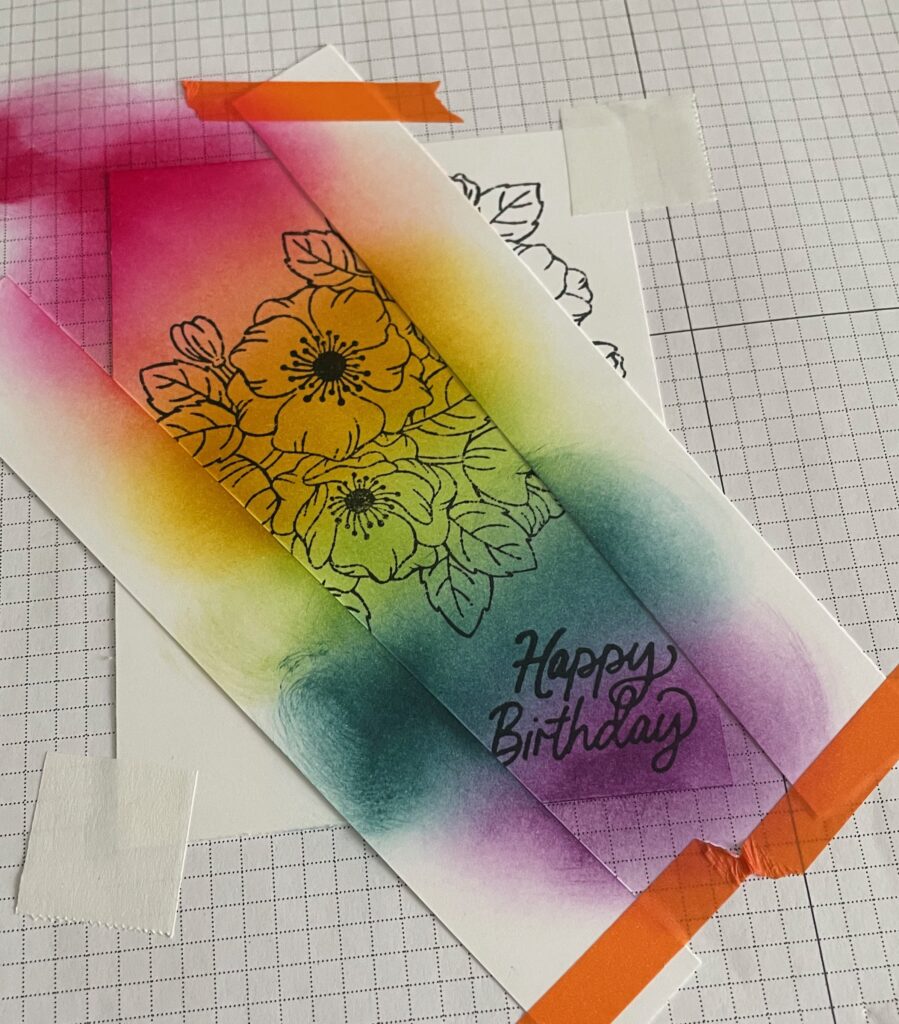
When you reach the top you are done. STEP AWAY FROM THE CARD STOCK AND GO WASH YOUR HANDS. The process is easy to do but it can create inky fingertips and can be easily ruined. While you are there, rinse off your blender brushes. I love multitasking hehe…
Ok, with clean hands, go back and carefully remove the two strips and you will see your finished image with the sponging over (or behind) it.. Pretty cool right. I love how the sponging is now looking like part of the background instead of the foreground.
Tip; Whenever I try a new technique, I usually do a practice run. Below is a picture of the sponging done without a stamped image. As you can see on the bottom left, there is part where I actually sponged outside the strip. I could try to hide it but I ended up just throwing it away and trying again. Did I use wider strips? Nope, just tried again…
TIP: To make multiple cards using the same technique, cut your card stock in advance, then just lift off one end of the two strips and remove the finished piece and insert a next piece of card stock and repeat…
To compete your card, adhere a mat to the back and then add to the front of your card base. I also added Glossy Dots to the floral centres and a couple dots around the card front for a little extra bling.
As you can see below, I made four cards and each one looks slightly different, because you cannot exactly duplicate your sponging. These cards will be mailed out as part of my monthly card swap. Four of us exchange cards every month. We make up the same card for everyone which makes it easy but then you receive back three different cards. We have NEVER EVER come close to creating a similar card and I find this a great source of inspiration using different ideas and techniques. I highly recommend it.
Product List
")
")


Visit my ONLINE STORE at any time, to see all the amazing products or to purchase supplies.
Before you close your order, don’t forget to add my current Host Code – D4V3NWVD if your order is less then $200.00. Everyone who places an order with me using the host code, will receive a thank you card & gift in appreciation.
If your order is over $200, DO NOT use the host code since you will earn your own Stampin’ Up! rewards with your order. You will still receive a thank you card and gift from me in appreciation.
You can place your order directly online at any time. However, if you are not comfortable placing orders online, I will be happy to place an order for you. Please contact me at susanbeale@canadianstamper.ca to discuss.
[/vc_column_text][/vc_column][/vc_row][vc_row][vc_column][html_block id=”11646″][/vc_column][/vc_row]
Leave a Reply